
Welcome page 만들기
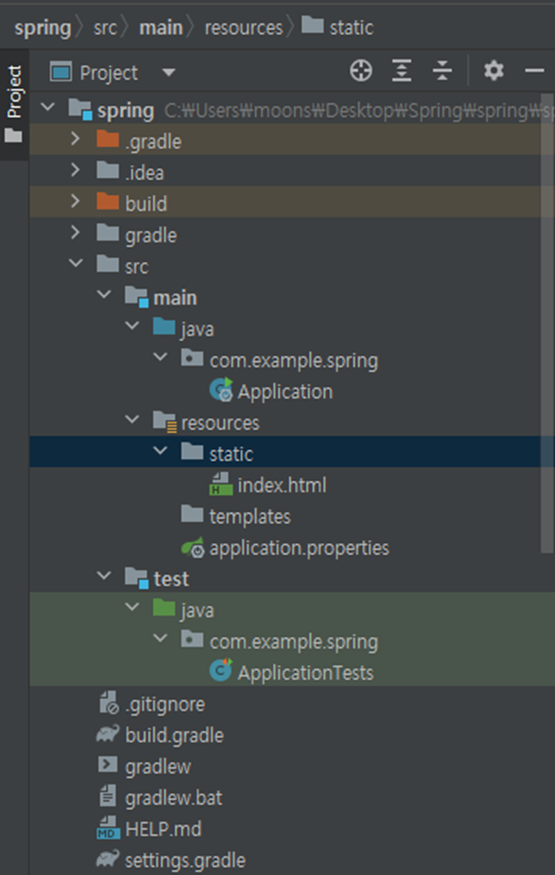
resources-static에서 index.html 파일을 하나 생성한다.
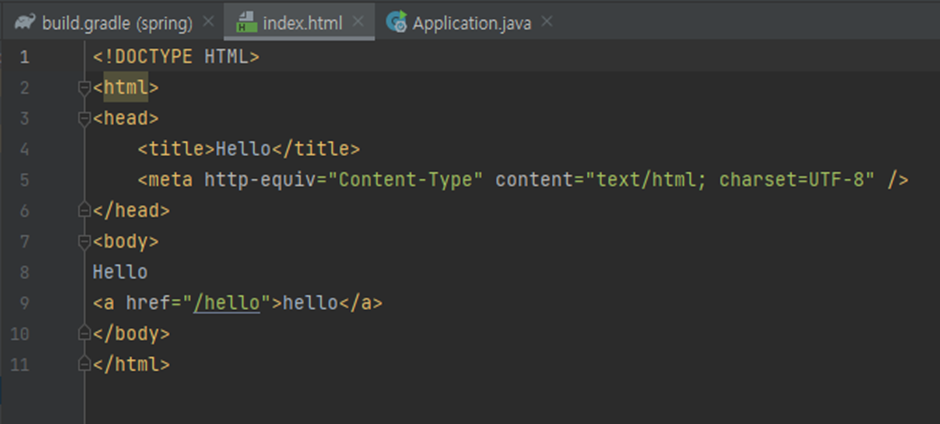
<!DOCTYPE HTML>
<html>
<head>
 <title>Hello</title>
 <meta http-equiv="Content-Type" content="text/html; charset=UTF-8" />
</head>
<body>
Hello
<a href="/hello">hello</a>
</body>
</html>
html코드를 넣어준다.
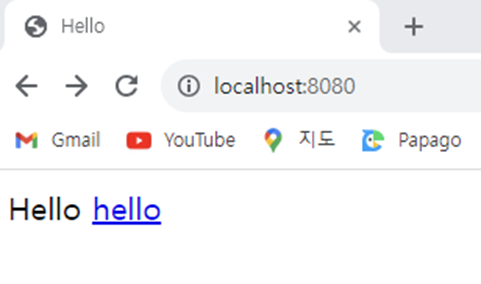
Welcome page가 생성 되었는데 Welcome page는 도메인을 누르고 들어왔을 때 첫 화면이라고 생각하면 된다.
Spring.io
https://docs.spring.io/spring-boot/docs/current/reference/html/web.html#web.spring-hateoas1.1.6. Welcome Page
Spring Boot supports both static and templated welcome pages. It first looks for an index.html file in the configured static content locations. If one is not found, it then looks for an index template. If either is found, it is automatically used as the welcome page of the application.
Welcome page와 관련된 공식문서이다.
index.html을 static에서 먼저 찾고 만약에 찾지 못하면 index.template를 찾는 방식으로 동작한다고 한다.
controller 생성
첫 번째 진입점이 controller이다.
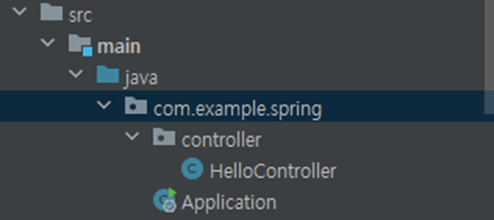
com.example.spring에 controller package 생성하고
controller안에 HelloController class를 하나 만들어준다.
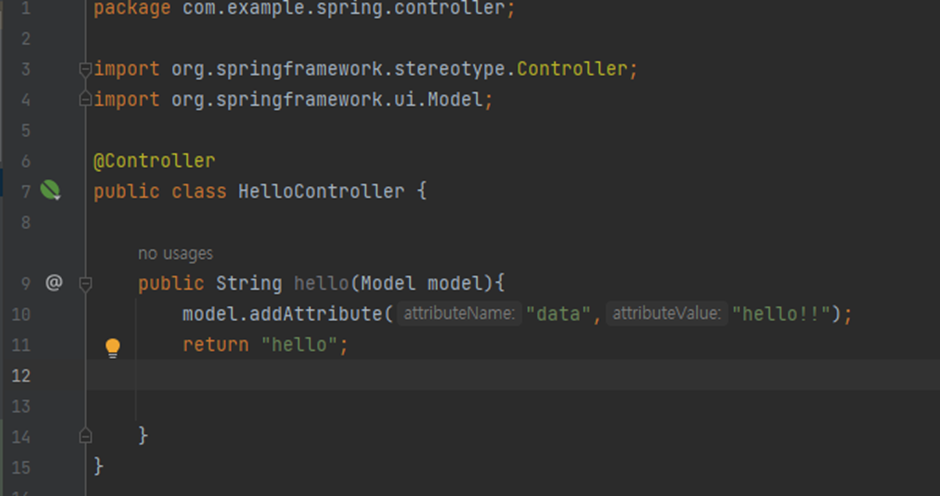
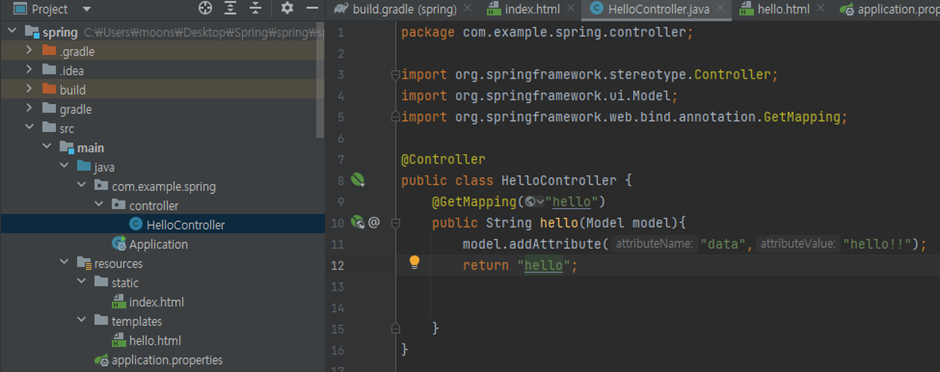
@Controller
public class HelloController {
 @GetMapping("hello")
 public String hello(Model model) {
 model.addAttribute("data", "hello!!");
 return "hello";
 }
}
controller annotation을 반드시 적어준다.
패키지가 올바르게 import 되었는지 확인도 해준다.
get mapping을 해서 hello라고 들어오면 이 메소드를 호출해준다.
여기서 모델은 mvc(model–view–controller)의 model인데 mvc는 소프트웨어 공학에서 사용되는 소프트웨어 디자인 패턴이다.
그 다음 resources-templates에서 hello.html을 만들어준다.
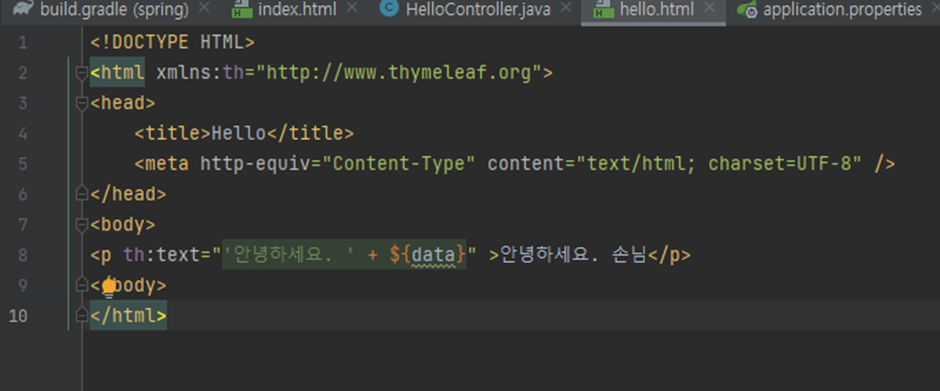
<!DOCTYPE HTML>
<html xmlns:th="http://www.thymeleaf.org">
<head>
 <title>Hello</title>
 <meta http-equiv="Content-Type" content="text/html; charset=UTF-8" />
</head>
<body>
<p th:text="'안녕하세요. ' + ${data}" >안녕하세요. 손님</p>
</body>
</html><html xmlns:th="http://www.thymeleaf.org">th는 thymeleaf의 th이며 위의 한 줄을 선언을 해주면 thymeleaf의 문법을 사용할 수 있게 된다.
<p th:text="'안녕하세요. ' + ${data}" >안녕하세요. 손님</p>HelloController->addAttribute에서 key로 넣었던 data이고 value는 hello가 된다.
model.addAttribute("data", "hello!!");HelloController class에서 key로는 data, value로는 hello를 넣어줬는데
public String hello(Model model){
model.addAttribute("data","hello!!");
return "hello"
}안녕하세요. 손님
여기서 {data}는 hello로 치환이 된다. localhost:8080/hello
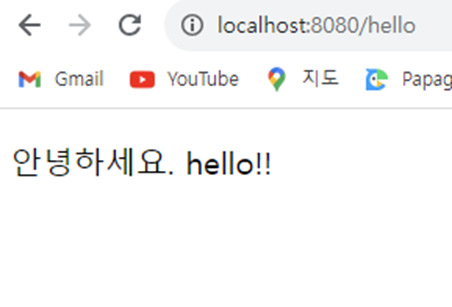
return “hello”의 의미는 hello.html을 실행시키라는 의미이다.
templates/hello.html을 찾아서 렌더링을 해주고
Spring이 찾아서 파일을 Thymeleaf 템플릿 엔진이 처리해준다.
컨트롤러에서 리턴 값으로 문자를 반환하면 viewResolver가 화면을 찾아서 처리해주는데
스프링 부트 템플릿 엔진 기본 viewName으로 mapping한다.
-컨트롤러에서 리턴 값으로 문자를 반환하면 뷰 리졸버( viewResolver )가 화면을 찾아서 처리한다.
-스프링 부트 템플릿엔진 기본 viewName 매핑
-resources:templates/ +{ViewName}+ .html
References
스프링 입문 - 코드로 배우는 스프링 부트, 웹 MVC, DB 접근 기술 https://www.inflearn.com/course/%EC%8A%A4%ED%94%84%EB%A7%81-%EC%9E%85%EB%AC%B8-%EC%8A%A4%ED%94%84%EB%A7%81%EB%B6%80%ED%8A%B8