이제부터는 인증 모듈을 구현하기 위한 여정을 떠나보겠다.
이번에는 회원가입과 로그인 기능을 간단하게 구현하고 암호화에 대해서 쓰고
다음 글에서 JWT와 토큰 발행하여 인증하는 방법에 대해서 작성해보겠다.
인증 모듈 준비하기
CLI로 Module, Controller, Service 생성
처음 게시글 모듈을 만들었을 때처럼 CLI를 이용하여 모듈, 컨트롤러, 서비스를 생성할 것이다.
nest g module auth
nest g controller auth --no-spec
nest g service auth --no-spec
유저 엔티티 생성
유저에 대한 인증이기 때문에 유저 엔티티를 생성
// user.entity.ts
import { BaseEntity, Column, Entity, PrimaryGeneratedColumn } from 'typeorm';

@Entity()
export class User extends BaseEntity {
  @PrimaryGeneratedColumn()
  id: number;

  @Column()
  username: string;

  @Column()
  password: string;
}
유저 레포지토리 생성
// user.repository.ts
import { Repository } from 'typeorm';
import { InjectRepository } from '@nestjs/typeorm';
import { User } from './user.entity';

export class UserRepository extends Repository<User> {
  constructor(
    @InjectRepository(User)
    private userRepository: Repository<User>,
  ) {
    super(
      userRepository.target,
      userRepository.manager,
      userRepository.queryRunner,
    );
  }
}
Auth Module, Controller, Service에 의존성 주입하기
// auth.module.ts
import { Module } from '@nestjs/common';
import { AuthController } from './auth.controller';
import { AuthService } from './auth.service';
import { TypeOrmModule } from '@nestjs/typeorm';
import { UserRepository } from './user.repository';

@Module({
  imports: [TypeOrmModule.forFeature([User])],
  controllers: [AuthController],
  providers: [AuthService, UserRepository],
})
export class AuthModule {}
// auth.service.ts
import { Injectable } from '@nestjs/common';
import { InjectRepository } from '@nestjs/typeorm';
import { UserRepository } from './user.repository';
@Injectable()
export class AuthService {
constructor(
@InjectRepository(UserRepository) private userRepository: UserRepository,
) {}
}// auth.controller.ts
import { Controller } from '@nestjs/common';
@Controller('auth')
export class AuthController {
constructor(private authService: AuthService) {}
}회원가입 기능 구현
비밀번호를 데이터베이스에 저장하는 방법
-
원본 비밀번호를 저장 (매우 나쁜 방법)
- 1234 ===> 1234
-
비밀번호를 암호화 키(Encryption Key)와 함께 암호와 (양방향)
- 어떠한 암호를 이용해서 비밀번호를 암호화하고 그 암호를 이용하여 복호화도 가능
- 링크에서 시현가능


- 암호화 키가 노출되면 알고리즘은 대부분 오픈되어있기 때문에 위험도가 높다.
-
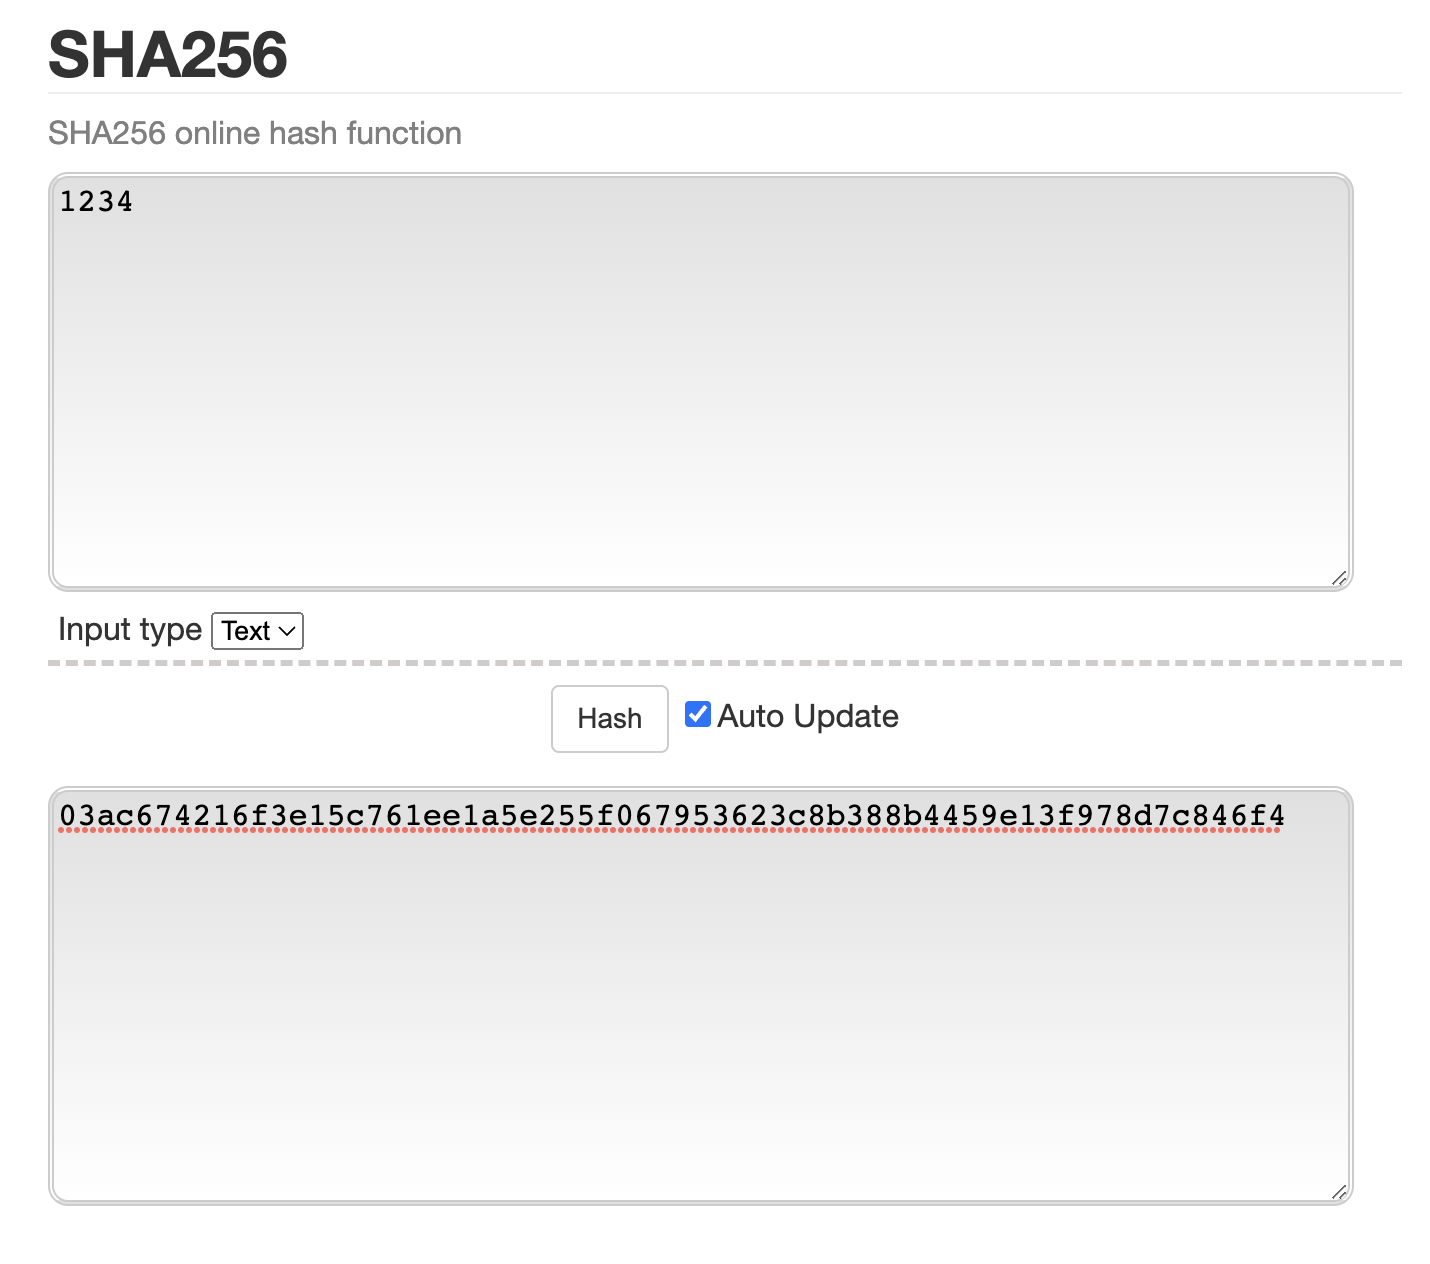
SHA256 등으로 해시(Hash)해서 저장(단방향)
- 링크에서 시현가능

- 레인보우 테이블을 만들어서 암호화된 비밀번호를 비교해서 비밀번호 알아냄
레인보우 테이블
레인보우 테이블은 해시 함수(MD5, SHA-1, SHA-2 등)을 사용하여 만들어낼 수 있는 값들을 대량으로 저장한 표이다.
-
솔트(salt) + 비밀번호(Plain Password)를 해시 Hash로 암호화해서 저장
- 예) A 유저 1234 ===> uniaueSaltValue1_1234
B 유저 1234 ===> uniaueSaltValue2_1234 - 유니크한 salt값을 붙여 그 값을 암호화하여 저장한다.
- 예) A 유저 1234 ===> uniaueSaltValue1_1234
비밀번호 암호화
bcryptjs
npm i bcryptjs
// auth/dto/auth-credential.dto.ts
import { IsString, Matches, MaxLength, MinLength } from 'class-validator';

export class AuthCredentialDto {
  @IsString()
  @MinLength(4)
  @MaxLength(20)
  username: string;

  @IsString()
  @MinLength(4)
  @MaxLength(20)
  @Matches(/^[a-zA-Z0-9]*$/, { // 영어와 숫자만 가능
    message: 'password only accepts english and number',
  })
  password: string;
}
// user.repository.ts
async createUser(authCredentialDto: AuthCredentialDto): Promise<void> {
const { username, password } = authCredentialDto;
const salt = await bcrypt.genSalt(); // 유니크한 salt값을 생성
const hashedPassword = await bcrypt.hash(password, salt);
const user = this.create({ username, password: hashedPassword }); // salt와 해시된 비밀번호를 저장
try {
await this.save(user);
} catch (error) {
if (error.code === '23505') {
// @Unique(['username']) 추가
throw new ConflictException('Existing username');
} else {
throw new InternalServerErrorException();
}
}
}// service
async signUp(authCredentialDto: AuthCredentialDto): Promise<void> {
return this.userRepository.createUser(authCredentialDto);
}
// controller
@Post('/signup')
signUp(
@Body(ValidationPipe) authCredentialDto: AuthCredentialDto,
): Promise<void> {
return this.authService.signUp(authCredentialDto);
}로그인
// service
async signIn(authCredentialDto: AuthCredentialDto): Promise<string> {
    const { username, password } = authCredentialDto;
    const user = await this.userRepository.findOneBy({ username }); // username은 유니크한 값이다.

    if (user && (await bcrypt.compare(password, user.password))) {
      return 'login success';
    } else {
      throw new UnauthorizedException('login failed');
    }
  }

  // controller
  @Post('/signin')
  signIn(
    @Body(ValidationPipe) authCredentialDto: AuthCredentialDto,
  ): Promise<string> {
    return this.authService.signIn(authCredentialDto);
  }
bcrypt.compare(): 첫번째 인자와 두번째 인자를 비교한다.
라고 생각하고 궁금해서 콘솔로 컨트롤러를 통해 들어온 값과 db에 저장되어있는 값을 콘솔로 찍어보았다.
들어온 값: 1234
저장된 값: $2a$10$Ymac531GHXVDwhsPIwHwXOQyt5B1rzu5D6xBU1RifPlIJQXT8cN36
위와 같이 찍히는데 찾아보니 비밀번호를 저장할때 사용된 bcrypt.hash() 함수의 결과값에 salt값이 같이 존재하기 때문에 그 salt값으로 비교가 가능한 것이라고 한다.
참고