참고 링크
https://developer.apple.com/tutorials/swiftui/creating-and-combining-views#introduction
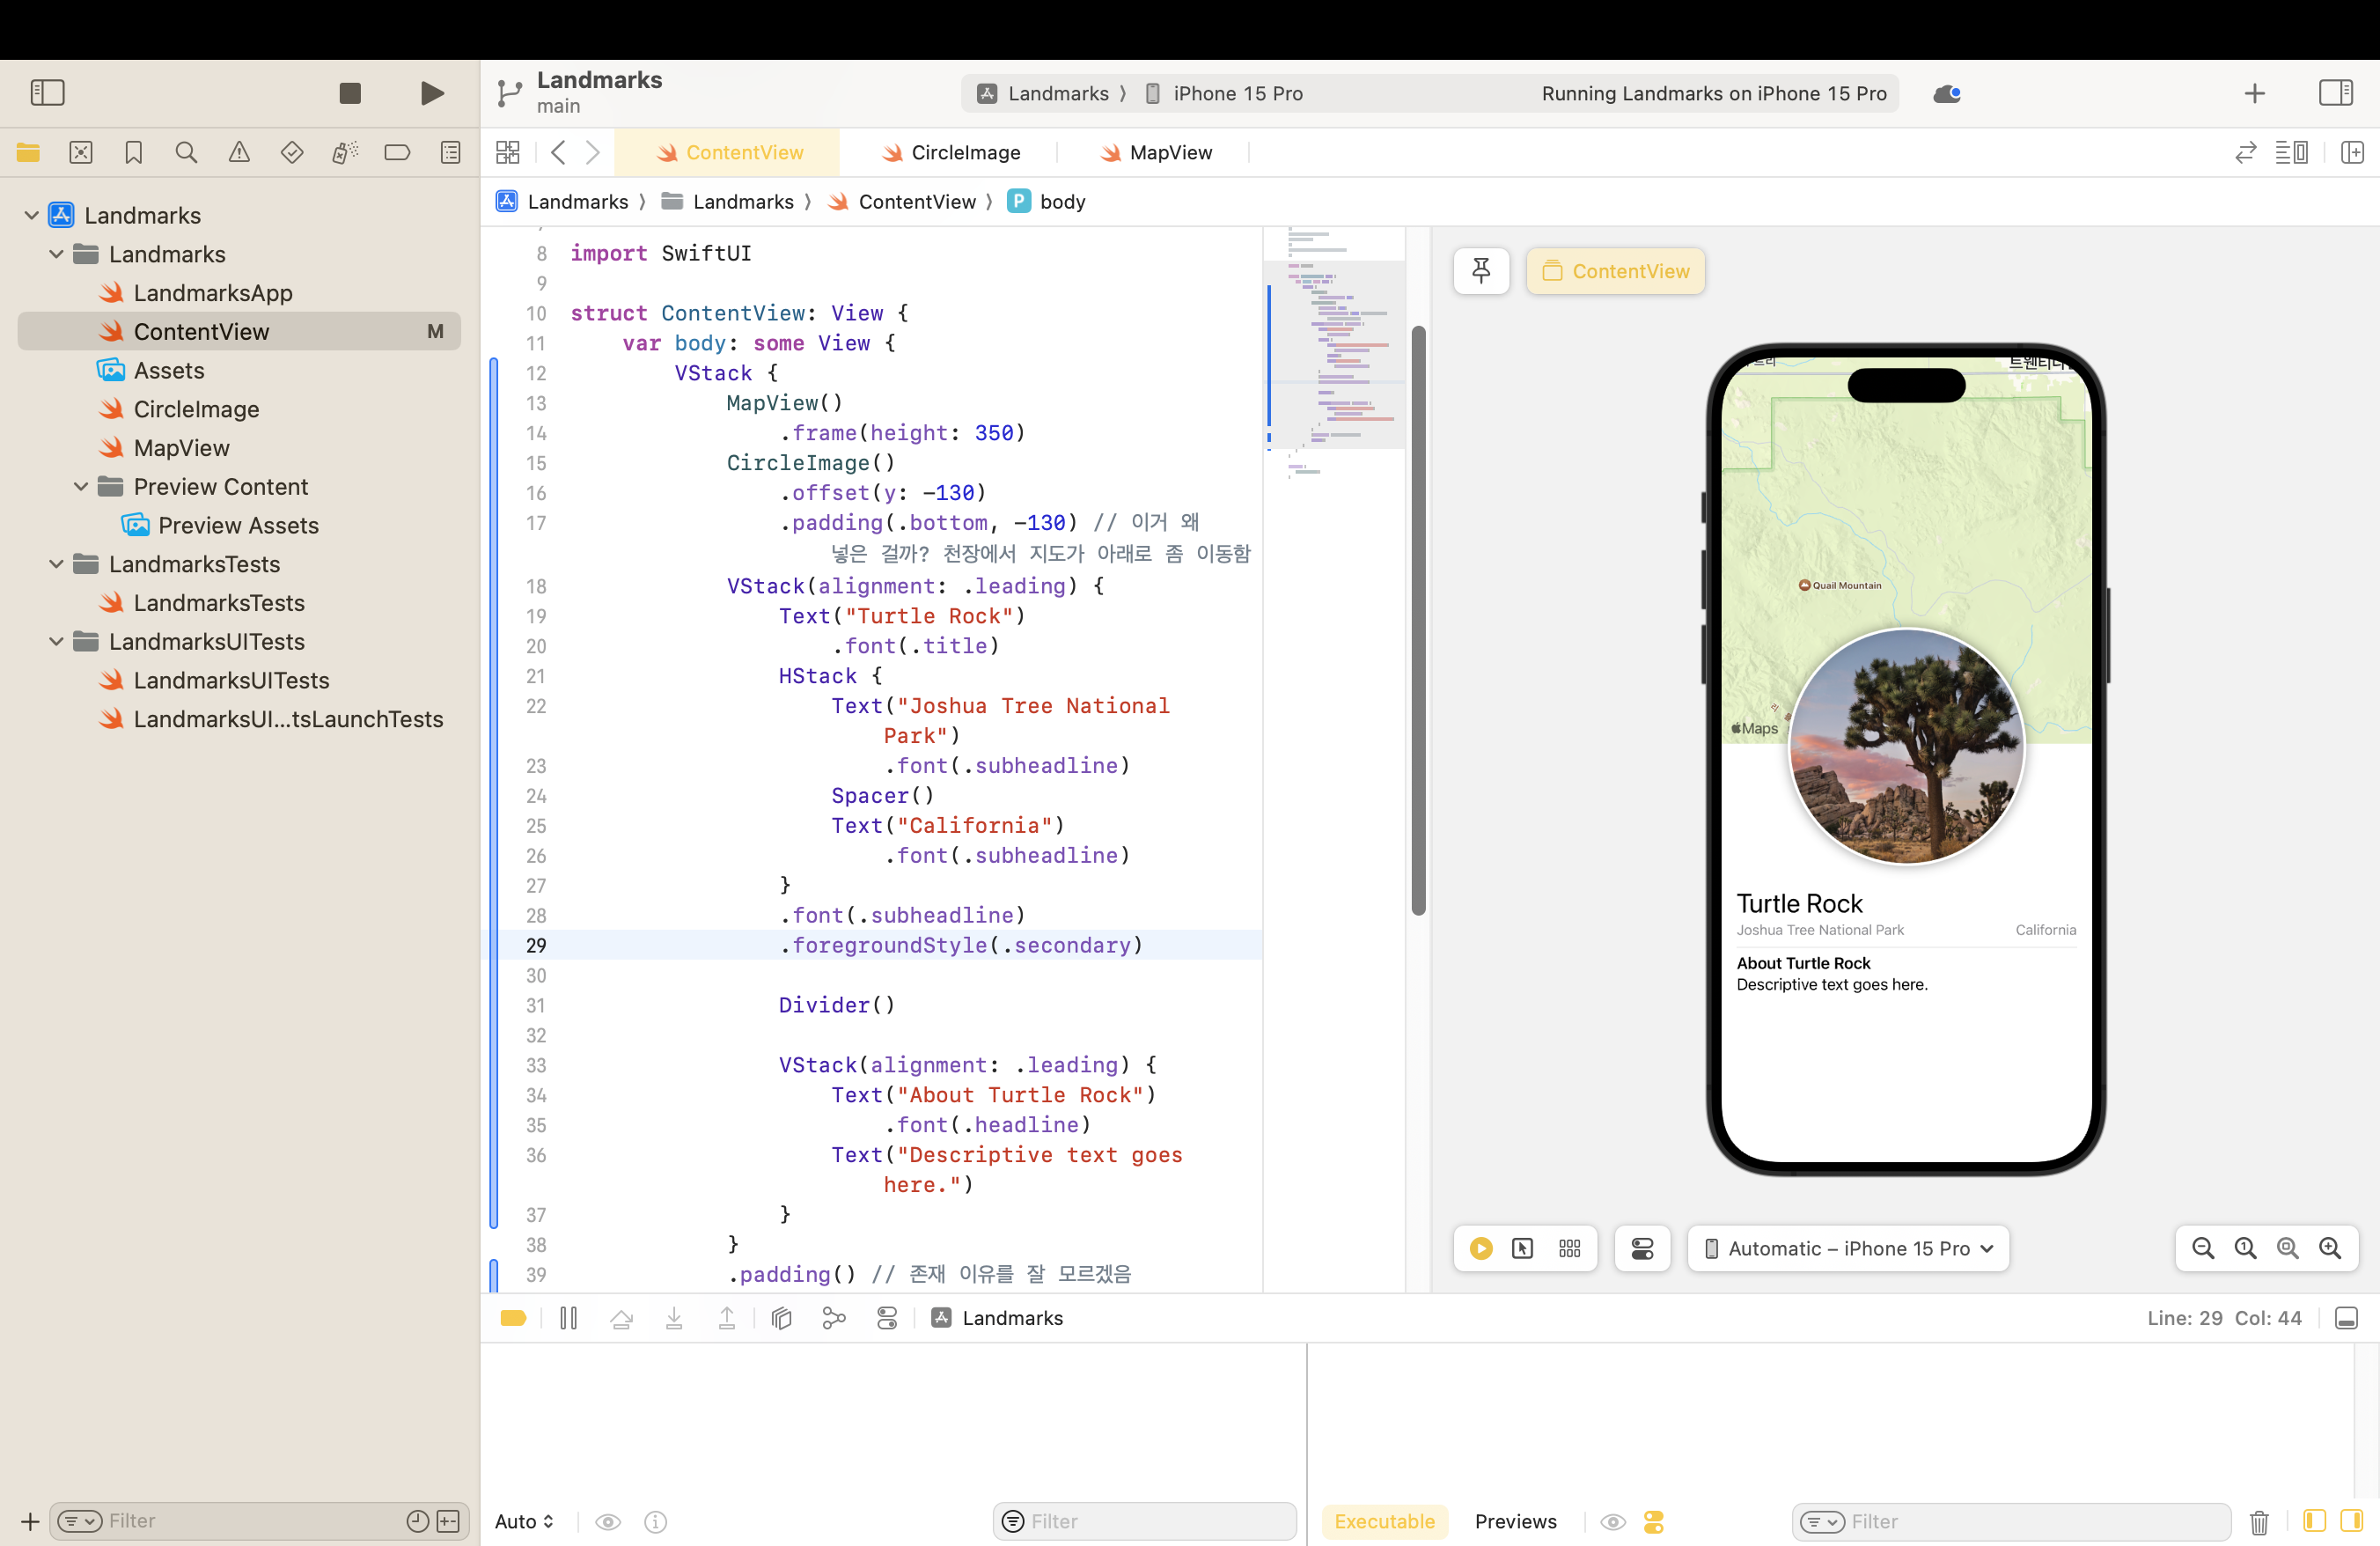
Landmark를 보여주는 어플리케이션 중 개별 랜드마크의 페이지를 만들었다.
SwiftUI Inspector
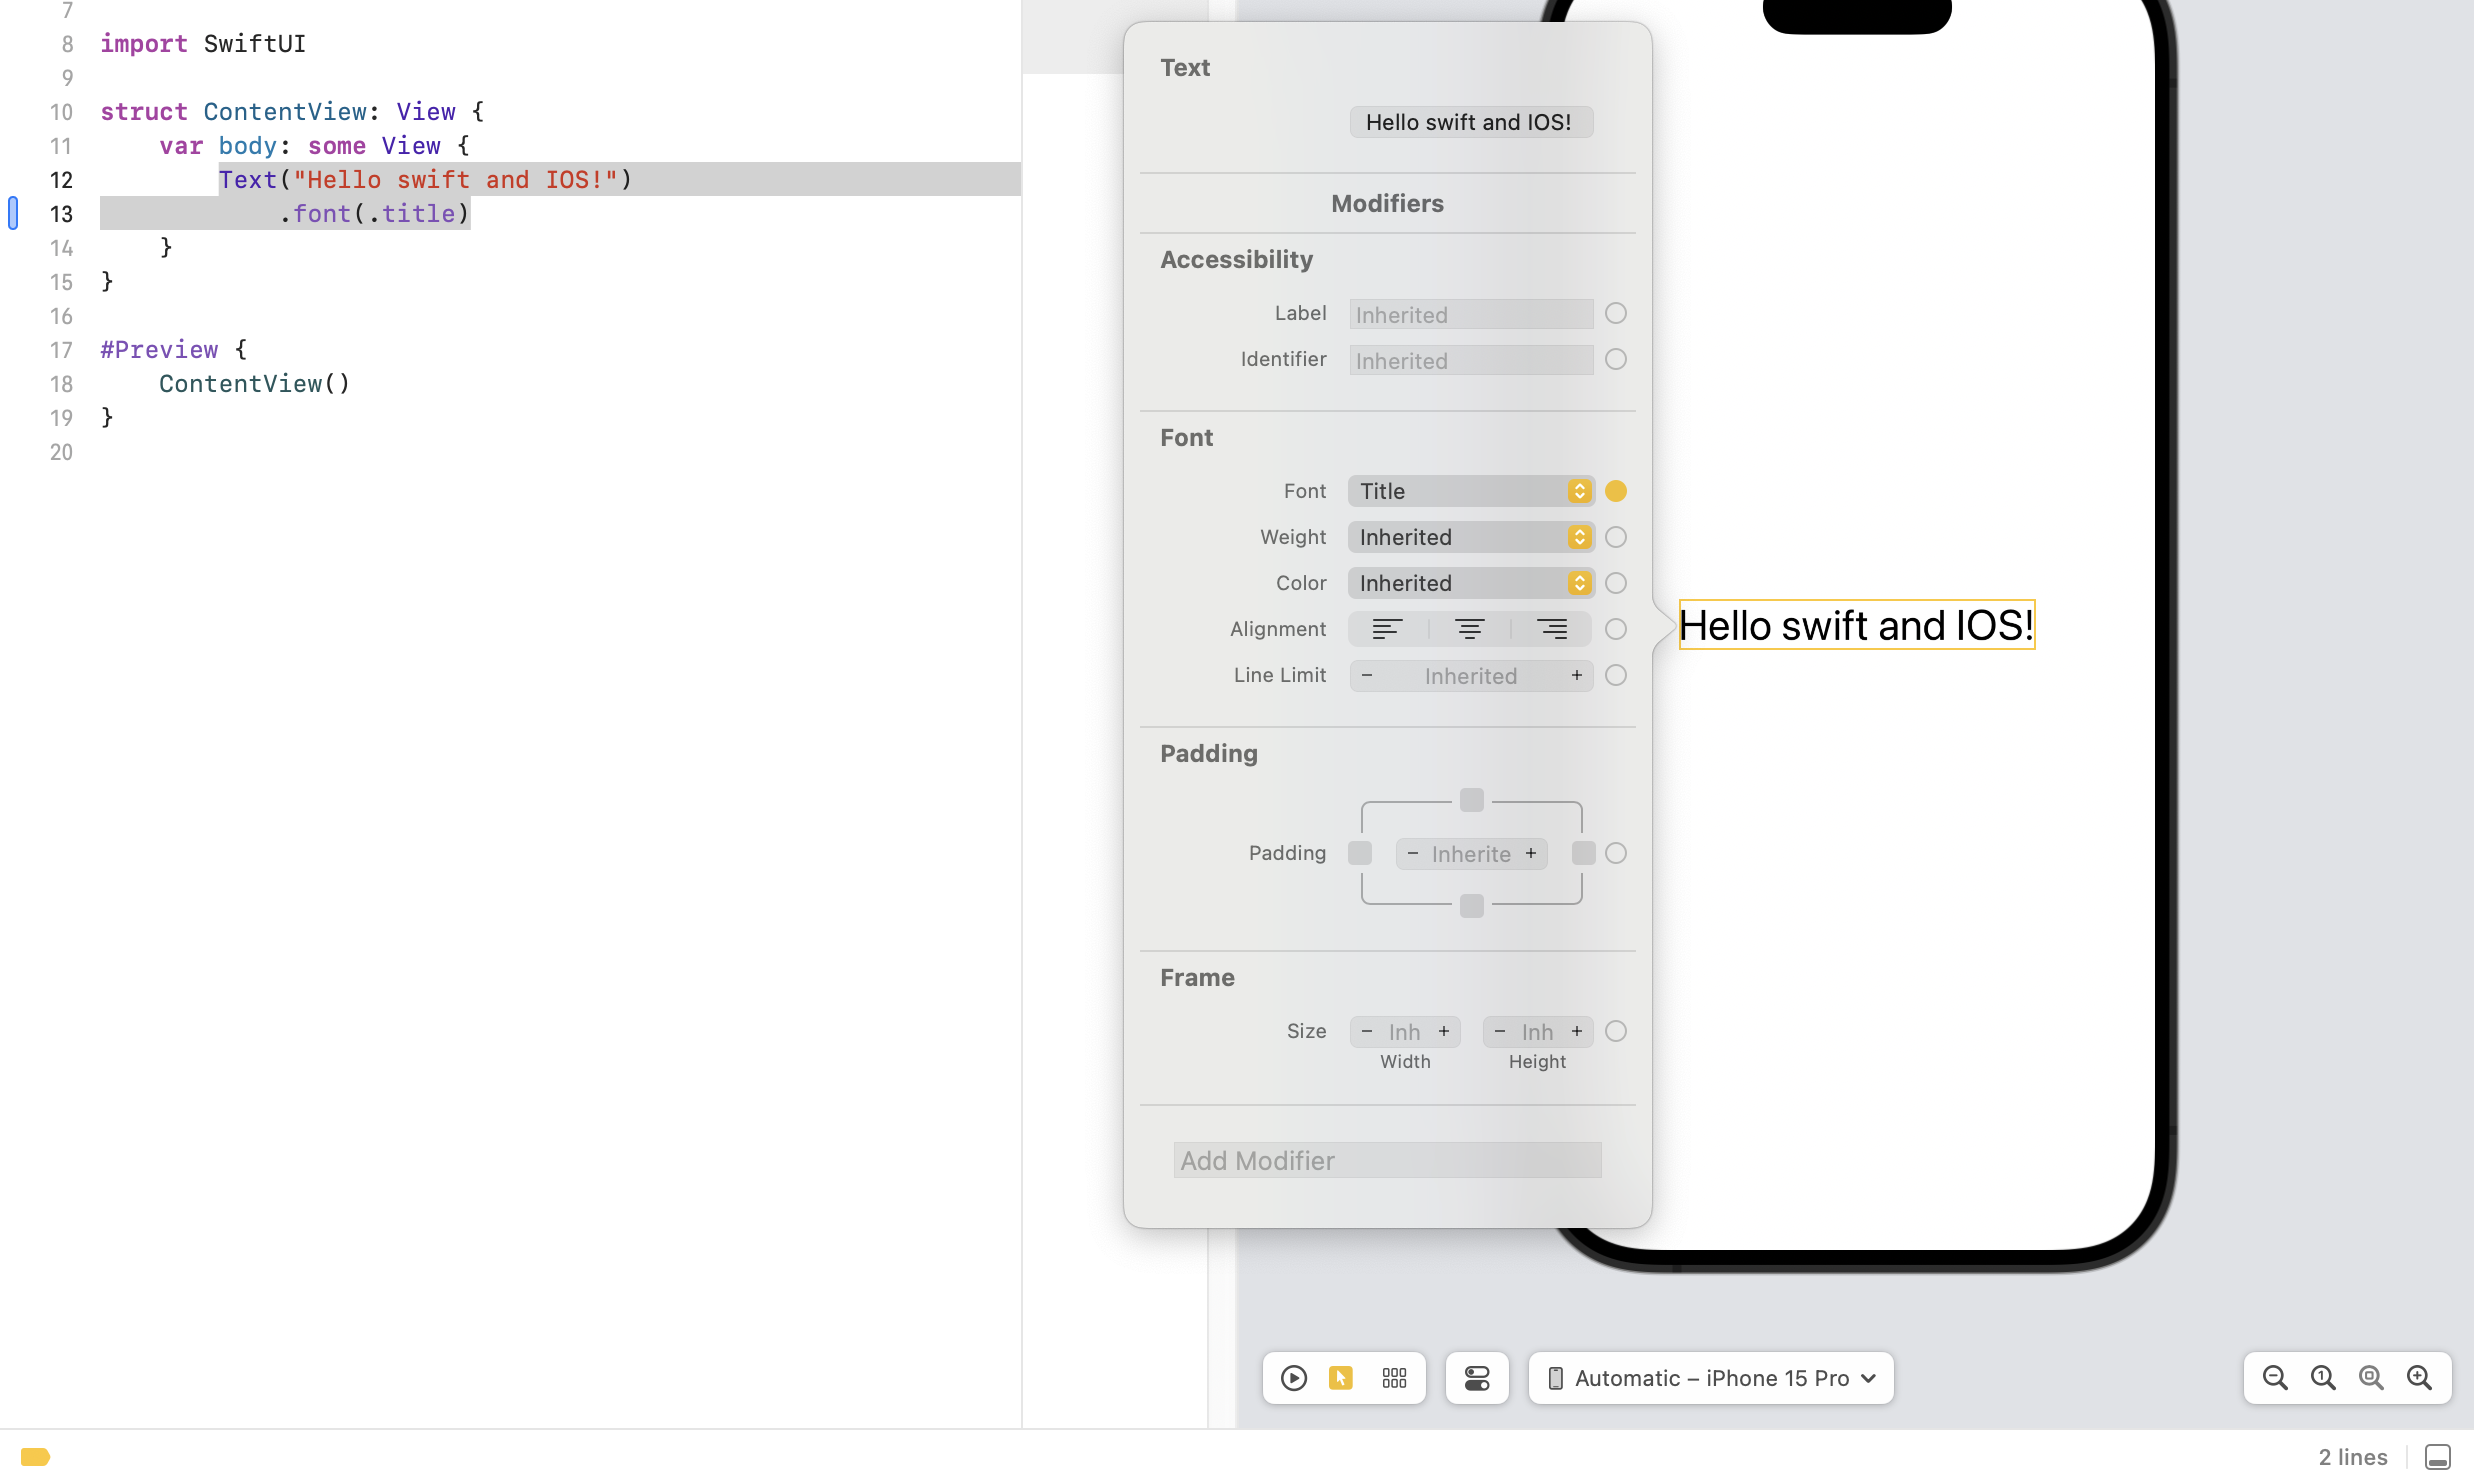
Selectable 모드로 변경 후 command + control을 누른 후 컴포넌트를 클릭하면 inspector을 열 수 있다. 코드뿐만 아니라 Inspector를 이용해서 속성을 수정할 수 있다.
소스 파일 업로드
File > New > File... > SwiftUI View 클릭 후 파일의 이름을 설정한다.
예시로 turtlerock 이미지를 올린다면
1. xcode Assets을 클릭 후 turtlerock 이미지를 드래그한다.
2. File > New > File... > SwiftUI View를 클릭한다.
3. CircleImage.swift로 파일명을 설정한다.
4. 그 파일 안에서 사진을 활용할 형태로 가공한다. 이 사진의 경우 .clipshape(Circle())을 작성해 마스크를 씌어 동그라미로 만들었다.
5. 마지막으로 해당 사진을 활용하는 ContenView에서 CircleImage()를 불러온다.
CircleImage.swift
https://github.com/soaringwave/Landmarks/blob/main/Landmarks/CircleImage.swift
modifier method
https://developer.apple.com/documentation/swiftui/view/modifier(_:)
			MapView()
                .frame(height: 350)
            CircleImage()
                .offset(y: -130)
                .padding(.bottom, -130)
위처럼 modifier를 사용해서 컴포넌트를 조절할 수 있다.
