개요
ResponseEntity가 있는데 굳이 만들어서 사용하는 이유
Spring이 기본적으로 제공하는 ResponseEntity를 응답으로 사용해도 문제 없지만, 커스텀 응답을 만들어 사용하면 일관된 API 응답 형식을 사용할 수 있어 자주 사용한다.
장점
- 일관된 API 응답 형식
단점
- 복잡성이 높아질 수 있다.
- 응답 구조를 복잡하게 만들면 가독성이 떨어질 수 있다.
ResponseEntity로 래핑된 구조가 아니면HttpStatus코드나 헤더 설정을 직접 관리해야 한다.
커스텀 응답 클래스와 ResponseEntity를 같이 사용할 지
커스텀 응답 클래스를 사용하기로 했으면 ResponseEntity를 같이 사용할 지 결정해야 한다.
ResponseEntity를 사용하지 않고 별도 클래스로 사용하기
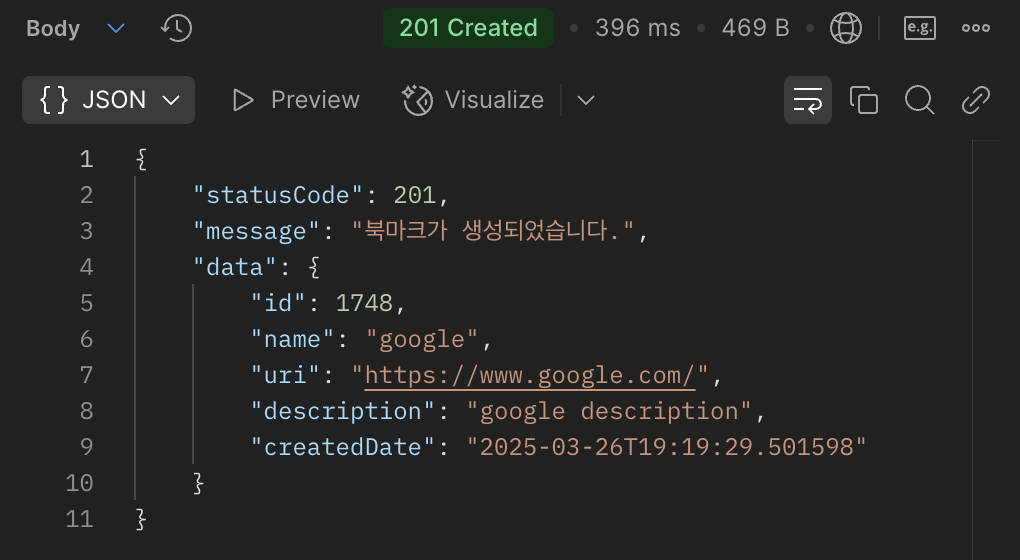
return new ApiResponse(HttpStatus.OK.value(), "성공", data);코드가 간결하고 응답 구조가 일관적이다.
별도의 처리가 없으면 ApiResponse에 statusCode를 넣는다고 실제로 상태코드가 변하진 않는다.
응답의 상태코드, 헤더 조작을 위해 추가적인 처리가 필요하다.
ResponseEntity 자체를 배제하지는 않고 내부적으로 활용하는 경우
return ResponseEntity.ok(new ApiResponse<>(HttpStatus.OK.value(), "성공", data));상태코드, 헤더를 ResponseEntity로 설정할 수 있다.
ResponseEntity가 표준이긴 하지만, 개인적으로 헤더까지 활용하지 않는 경우에는 단일로 사용하는 방식이 나은 것 같다.
ResponseEntity를 같이 쓰면 상태 코드 정보가 중복되는게 가장 큰 이유인데, 개발자의 실수로 응답 body에 포함된 statusCode와 실제 응답 코드가 달라질 수도 있고 실수로 ApiResponse에 잘못 적어도 알아차리기 어렵다.
또, ResponseEntity.noContent()를 사용하면 body가 없어서 204 NO CONTENT 로 응답할 땐 응답 형식이 유지되지 않는다.
물론, 정해진 답은 없으므로 더 좋아 보이는 방식을 선택하면 된다. 커스텀 응답에ResponseEntity를 활용하는 것도 좋은 절충안일 수 있다.
커스텀 응답 클래스
@Getter
@AllArgsConstructor
public class ApiResponse<T> {
	@NonNull
    private int statusCode;
    @NonNull
    private String message;
    @NonNull
    private T data;

    public ApiResponse(int statusCode, String message) {
       this(statusCode, message, (T) new Empty());
    }
}
커스텀 응답 클래스는 필요에 맞게 설정하면 된다.
일반적으로 상태코드, 메시지, 응답에 포함될 데이터를 추가한다.
제네릭을 사용하면 응답 시에 잘못된 타입을 정적 분석이나 컴파일 에러로 쉽게 찾을 수 있어서 좋다.
statusCode를 문자열로 사용해서 "200-1", "200-2" 같이 같은 OK 응답이라도 경우에 따라 구분하도록 할 수도 있다.
응답 데이터가 없는 경우 null을 응답하도록 해도 되지만, 응답할 내용이 없는 클래스로 대체해 응답에 data 자체가 나오지 않게 했다.
public class Empty {
}
상태 코드 설정 Aspect
응답할 때 ResponseEntity를 사용하지 않으면 실제 상태 코드는 항상 200으로 응답된다.
Aspect로 ApiResponse.statusCode에 따라 응답의 상태 코드를 변경할 수 있다.
@Aspect
@Component
@RequiredArgsConstructor
public class ApiResponseAspect {

	private final HttpServletResponse response;

	@Around("""
            (
                within
                (
                    @org.springframework.web.bind.annotation.RestController *
                )
                &&
                (
                    @annotation(org.springframework.web.bind.annotation.GetMapping)
                    ||
                    @annotation(org.springframework.web.bind.annotation.PostMapping)
                    ||
                    @annotation(org.springframework.web.bind.annotation.PutMapping)
                    ||
                    @annotation(org.springframework.web.bind.annotation.DeleteMapping)
                )
            )
            ||
            @annotation(org.springframework.web.bind.annotation.ResponseBody)
            """)
	public Object responseAspect(ProceedingJoinPoint joinPoint) throws Throwable {
		Object rst = joinPoint.proceed();

		if(rst instanceof ApiResponse apiResponse) {
			int statusCode = apiResponse.getStatusCode();
			response.setStatus(statusCode);
		}

		return rst;
	}
}
이제 ApiResponse.statusCode에 따라 실제 응답 코드가 설정된다.
예외 핸들링에도, 핸들러에서 커스텀 응답으로 응답하도록 설정하면 오류 응답도 일관적으로 처리할 수 있다.