Spring Rest Docs 적용기

신뢰성 없는 문서
프로젝트에서 API 명세를 위해 구글 액셀시트를 사용하고 있었습니다.
하지만 단점이 하나 있었는데요, 바로 신뢰성이 부족하다는 점 입니다.
코드를 업데이트 시키고 명세를 업데이트 시키지 않아 백엔드와 프론트엔드 사이에서 다시 맞춰가는 비용이 컸습니다.
물론 업데이트를 정확하게 하지 않은 저의 잘못이지만... 😅 이런 문제를 사전에 방지하고자 Spring Rest Docs를 적용하게 됐습니다.
📚 Spring Rest Docs란?
Spring에서 제공하는 API 명세 자동화 툴 입니다.
다른 명세 도구들과 다르게 테스트 코드에 함께 붙여 작성하며, 테스트 코드가 통과해야지만 문서가 생성됩니다
다른 툴보다 신뢰성 높은 명세를 작성하고자 하는 저희 팀에 적절한 도구입니다.
적용
적용 전 고려할 사항
Spring Rest Docs를 적용하기 위해 결정해야 할 2가지 사항이 있습니다.
⚒️ 테스트 도구 (RestAssured, MockMvc)
저희 팀은 슬라이스 테스트를 위한 MockMvc를 사전에 사용하고 있었으므로, MockMvc를 사용했습니다.
RestAssured는 전 구간 테스트를 위한 툴이고, @SpringBootTest를 사용하기 때문에 슬라이스 테스트를 위시한 방식과 맞지않고, 시간이 오래걸린다는 단점이 존재합니다.
✏️ 문서 작성 방식 (Markdown, Asciidoc)
벨로그도 마크다운이라 친숙한 마크다운으로 진행하려 했지만, 다른 분들이 적용하신걸 보니 매우매우 복잡하고 다른 문서를 가져오는 import가 여러모로 부족하여 Asciidoc을 사용했습니다.
build.gradle
plugins {
	id 'java'
	id 'org.springframework.boot' version '2.7.10'
	id 'io.spring.dependency-management' version '1.0.15.RELEASE'
	id "org.asciidoctor.jvm.convert" version "3.3.2" // 아스키 독 플러그인
}

group = 'com.mate'
version = '0.0.1-SNAPSHOT'
sourceCompatibility = '11'

configurations {
	asciidoctorExtensions
	compileOnly {
		extendsFrom annotationProcessor
	}
}

repositories {
	mavenCentral()
}

dependencies {
	// mockmvc
	testImplementation 'org.springframework.boot:spring-boot-starter-test'
	testImplementation 'org.springframework.security:spring-security-test'

	// test - junit5
	testImplementation 'org.junit.jupiter:junit-jupiter-api:5.3.1'
	testRuntimeOnly 'org.junit.jupiter:junit-jupiter-engine:5.3.1'


	asciidoctorExtensions 'org.springframework.restdocs:spring-restdocs-asciidoctor'
	// Spring Rest Docs에서 mockMvc를 사용해 스니펫 조각들을 뽑아낸다는 의미.
	testImplementation 'org.springframework.restdocs:spring-restdocs-mockmvc'

	compileOnly 'org.projectlombok:lombok'
	// h2
	runtimeOnly 'com.h2database:h2'

	annotationProcessor 'org.projectlombok:lombok'
	testAnnotationProcessor 'org.projectlombok:lombok' // Spring Rest Docs로 인한 추가
}

ext {
	snippetsDir = file('build/generated-snippets')
}

test {
	// 테스트의 아웃풋이 위에서 설정한 스니펫 디렉토리로 출력(저장)된다.
	outputs.dir snippetsDir
	useJUnitPlatform()
}

asciidoctor {
	dependsOn test // 테스트 이후 작동 설정
	configurations 'asciidoctorExtensions' // 위 설정한 configuration 적용
	inputs.dir snippetsDir // snippetsDir를 입력으로

	baseDirFollowsSourceFile() // 특정 파일 인클루드 시, 경로를 베이스 디렉토리로 맞춰줌.
}

asciidoctor.doFirst {
	delete file('src/main/resources/static/docs')
}

task copyDocument(type: Copy) {
	dependsOn asciidoctor
	from file("build/docs/asciidoc")
	into file("src/main/resources/static/docs")
}

build {
	dependsOn copyDocument
}
테스트 코드
ExerciseController.java
@RestController
@AllArgsConstructor
@Slf4j
@RequestMapping("/exercises")
public class ExerciseController {
    private final ExerciseService exerciseService;

    @PostMapping
    public ResponseEntity<BaseResponse> create(@RequestParam("member") Long memberId,
                                               @RequestPart("file") MultipartFile multipartFile) {
        TodayExerciseResponseDto todayExerciseResponseDto = exerciseService.save(memberId, multipartFile);
        return new ResponseEntity<>(new BaseResponse(todayExerciseResponseDto), HttpStatus.OK);
    }
파일을 제출하는 API 입니다.
ExcerciseControllerTest.java
@Test
@DisplayName("운동 인증 테스트")
@WithMockUser(username = "김씨")
    // 오류사항1
void create() throws Exception {
    MockMultipartFile multipartFile = new MockMultipartFile("file", "file".getBytes(StandardCharsets.UTF_8));
	// 서비스 모킹
    when(exerciseService.save(anyLong(), any(MockMultipartFile.class)))
            .thenReturn(new TodayExerciseResponseDto(imageUrl1));

    this.mockMvc.perform(RestDocumentationRequestBuilders.multipart("/exercises")
                    .file(multipartFile)
                    .header("Authorization", "Bearer " + token)
                    .queryParam("member", "1")
                    .contentType(MediaType.MULTIPART_FORM_DATA)
                    .with(csrf())) // 오류사항2
            .andExpect(status().isOk())
            // 이쪽부터 문서 명세. 테스트 코드에 붙어있다. 성공시 작동
            .andDo(document("exercise_post_API", // generated-snippets에 만들어질 폴더 이름

                    requestParameters( // 파라미터 명세
                            parameterWithName("member").description("멤버 id"),
                            parameterWithName("_csrf").description("csrf").ignored() // requestParam 사용시 에러처리
                    ),
                    requestParts( // 멀티파트 파일 명세
                            partWithName("file").description("동영상 파일")
                    ),
                    responseFields( // 응답 필드 명세
                            fieldWithPath("isSuccess").description("성공여부"),
                            fieldWithPath("code").description("코드"),
                            fieldWithPath("message").description("설명"),
                            fieldWithPath("result").description("결과"),
                            fieldWithPath("result.imageUrl").description("이미지 URL")
                    )

            ));
}
테스트 코드가 좀 길어진다는 단점이 있습니다.
⚙️ 테스트
빌드
터미널에서 빌드를 진행해줍니다.
./gradlew clean build
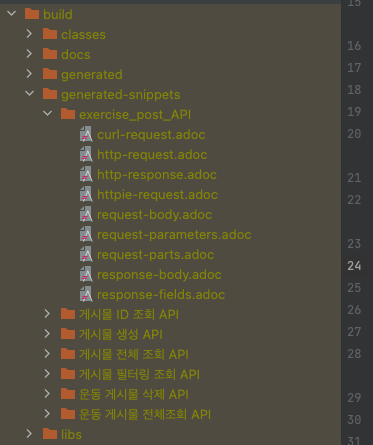
그럼 요렇게 build/generated-snippets안에 저희가 테스트 코드에 붙여서 만들었던 문서화가 잘 동작하는 것을 확인할 수 있습니다.
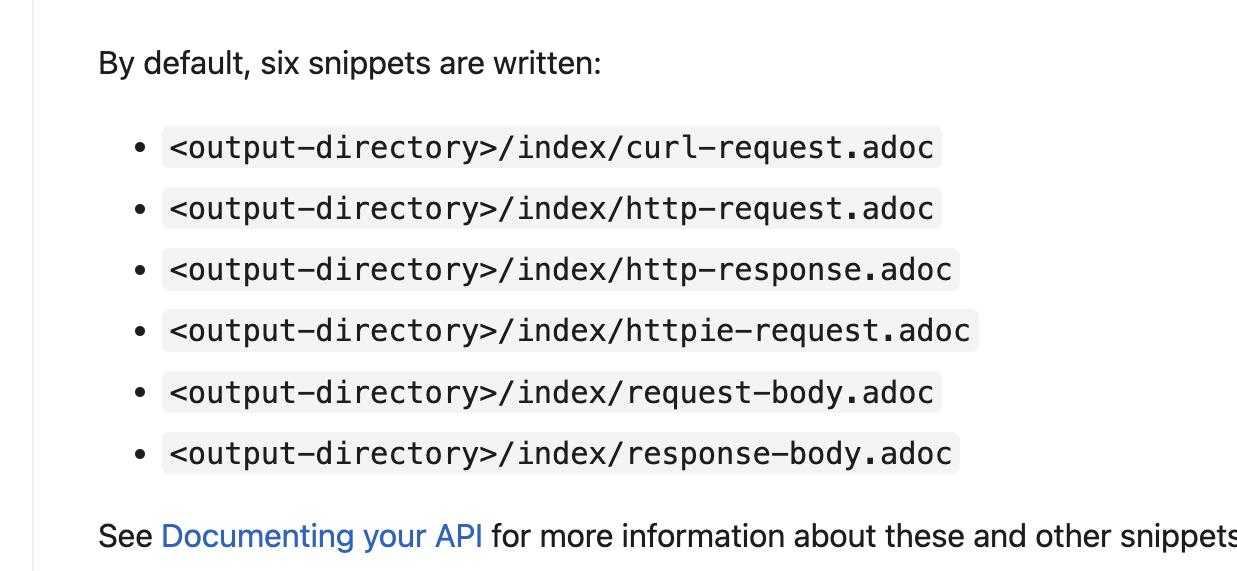
Spring REST Docs 공식문서를 확인하면 기본 6개의 adoc 조각들이 생성되는데요, 저는 RequestPart로 멀티파트 파일을 추가로 명세했기 때문에 request-parts가 추가로 생성된 것을 확인할 수 있습니다.
인덱스 만들기
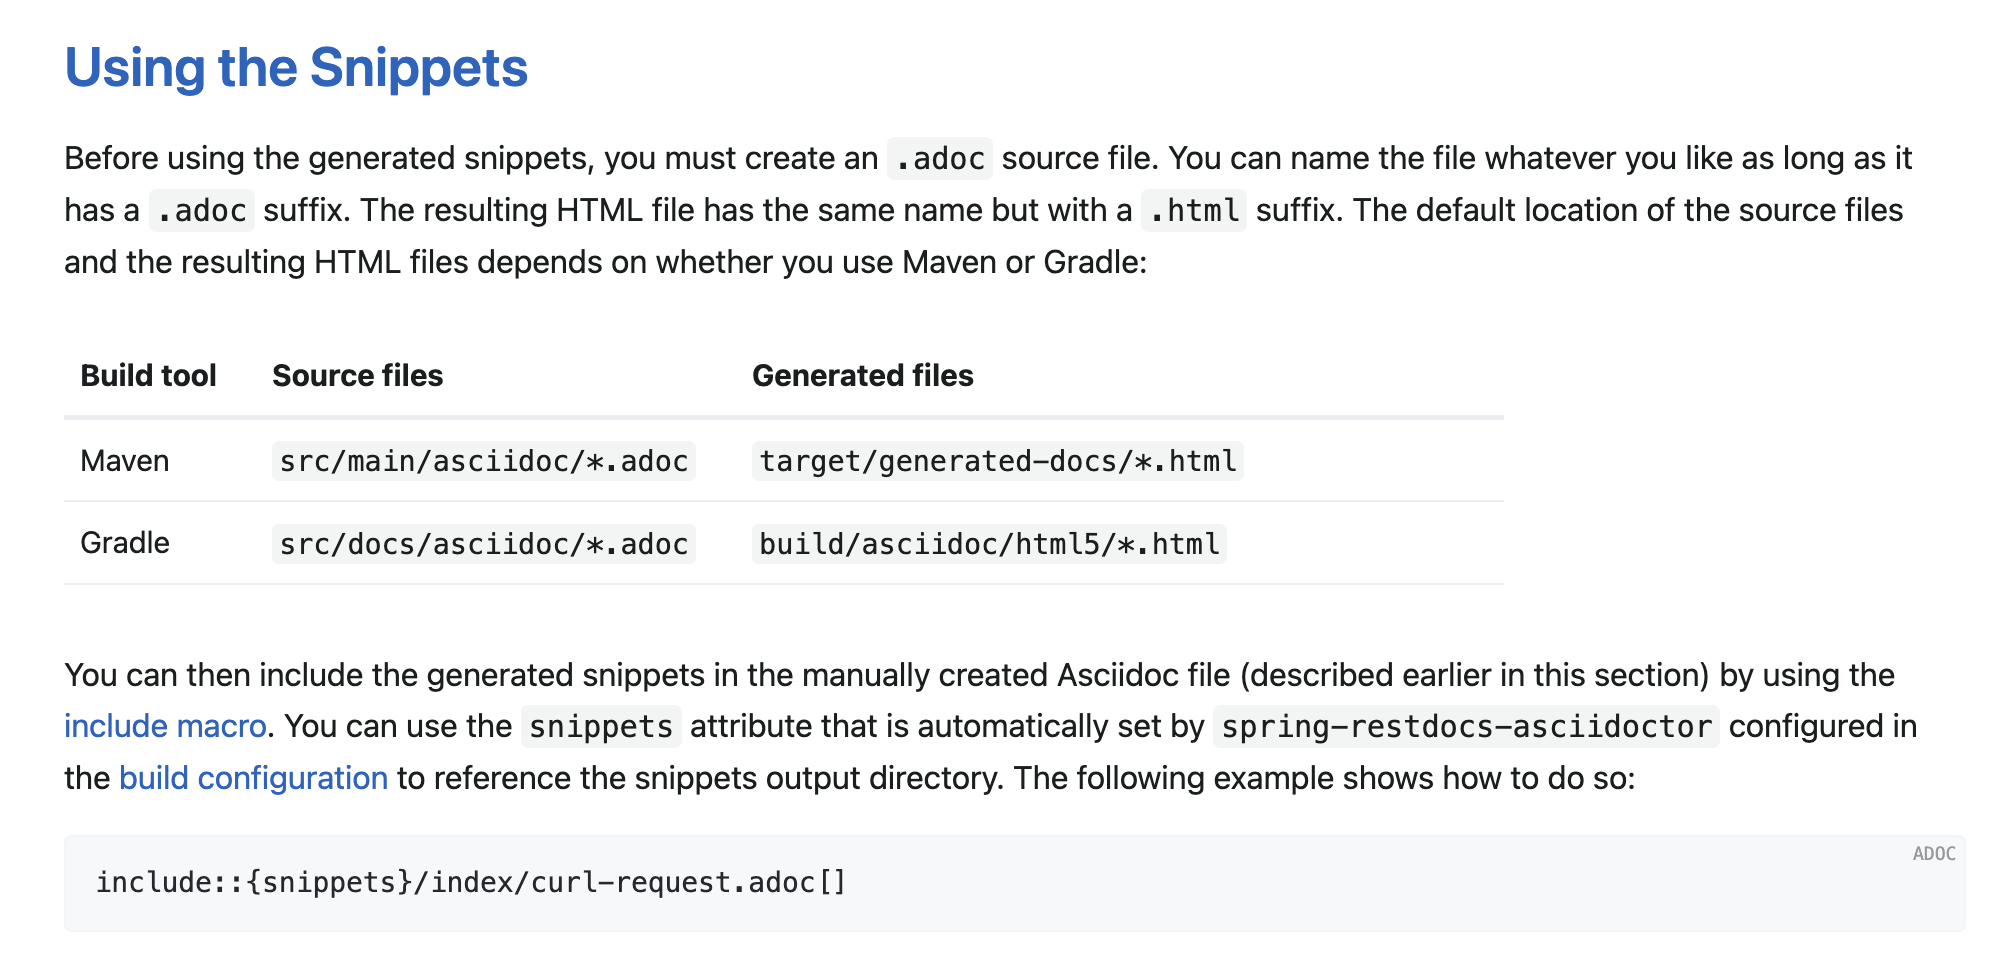
또 공식문서를 확인해보면 기본으로 src/docs/asciidoc/에 존재하는 adoc 파일을 html로 변환하도록 되어있습니다.
따라서 index.adoc을 만들어 인덱스를 만들어봅시다.
= Hel-gather API 명세
:doctype: book
:icons: font
// 문서에 표기되는 코드들 하이라이트
:source-highlighter: prettify
// 컨텐츠를 왼쪽에 두겠다는 의미
:toc: left
:toclevels: 2
:sectlinks:

[[모집]]
== 모집 API
[[모집-게시글-API]]
=== 모집 생성 API
// operation은 [스니펫 폴더명][snipeets='사용할 조각, 조각']으로 지정합니다.
operation::게시물 생성 API[snippets='http-request,request-parameters,request-parts,http-response,response-fields']

[[모집-ID-조회-API]]
=== 모집 ID 조회 API
operation::게시물 ID 조회 API[snippets='http-request,request-parameters,request-parts,http-response,response-fields']
...
Asciidoc은 마크다운과는 다르게 =, ==, ===로 헤드크기를 지정합니다.
그 다음, operation은 스니펫 폴더 이름 자체를 넣으시고, 사용할 조각들을 명시해줍니다. 그 다음 Asciidoc 플러그인이나 그냥 html로 띄워버리시면 다음과 같이 나타납니다.
왼쪽에 목차가 나타나고, Request parameters는 모집 생성 API 폴더에 request-parameters.adoc이 비어있기 때문에 오류가 발생합니다. 빼주세요.
실제 사용
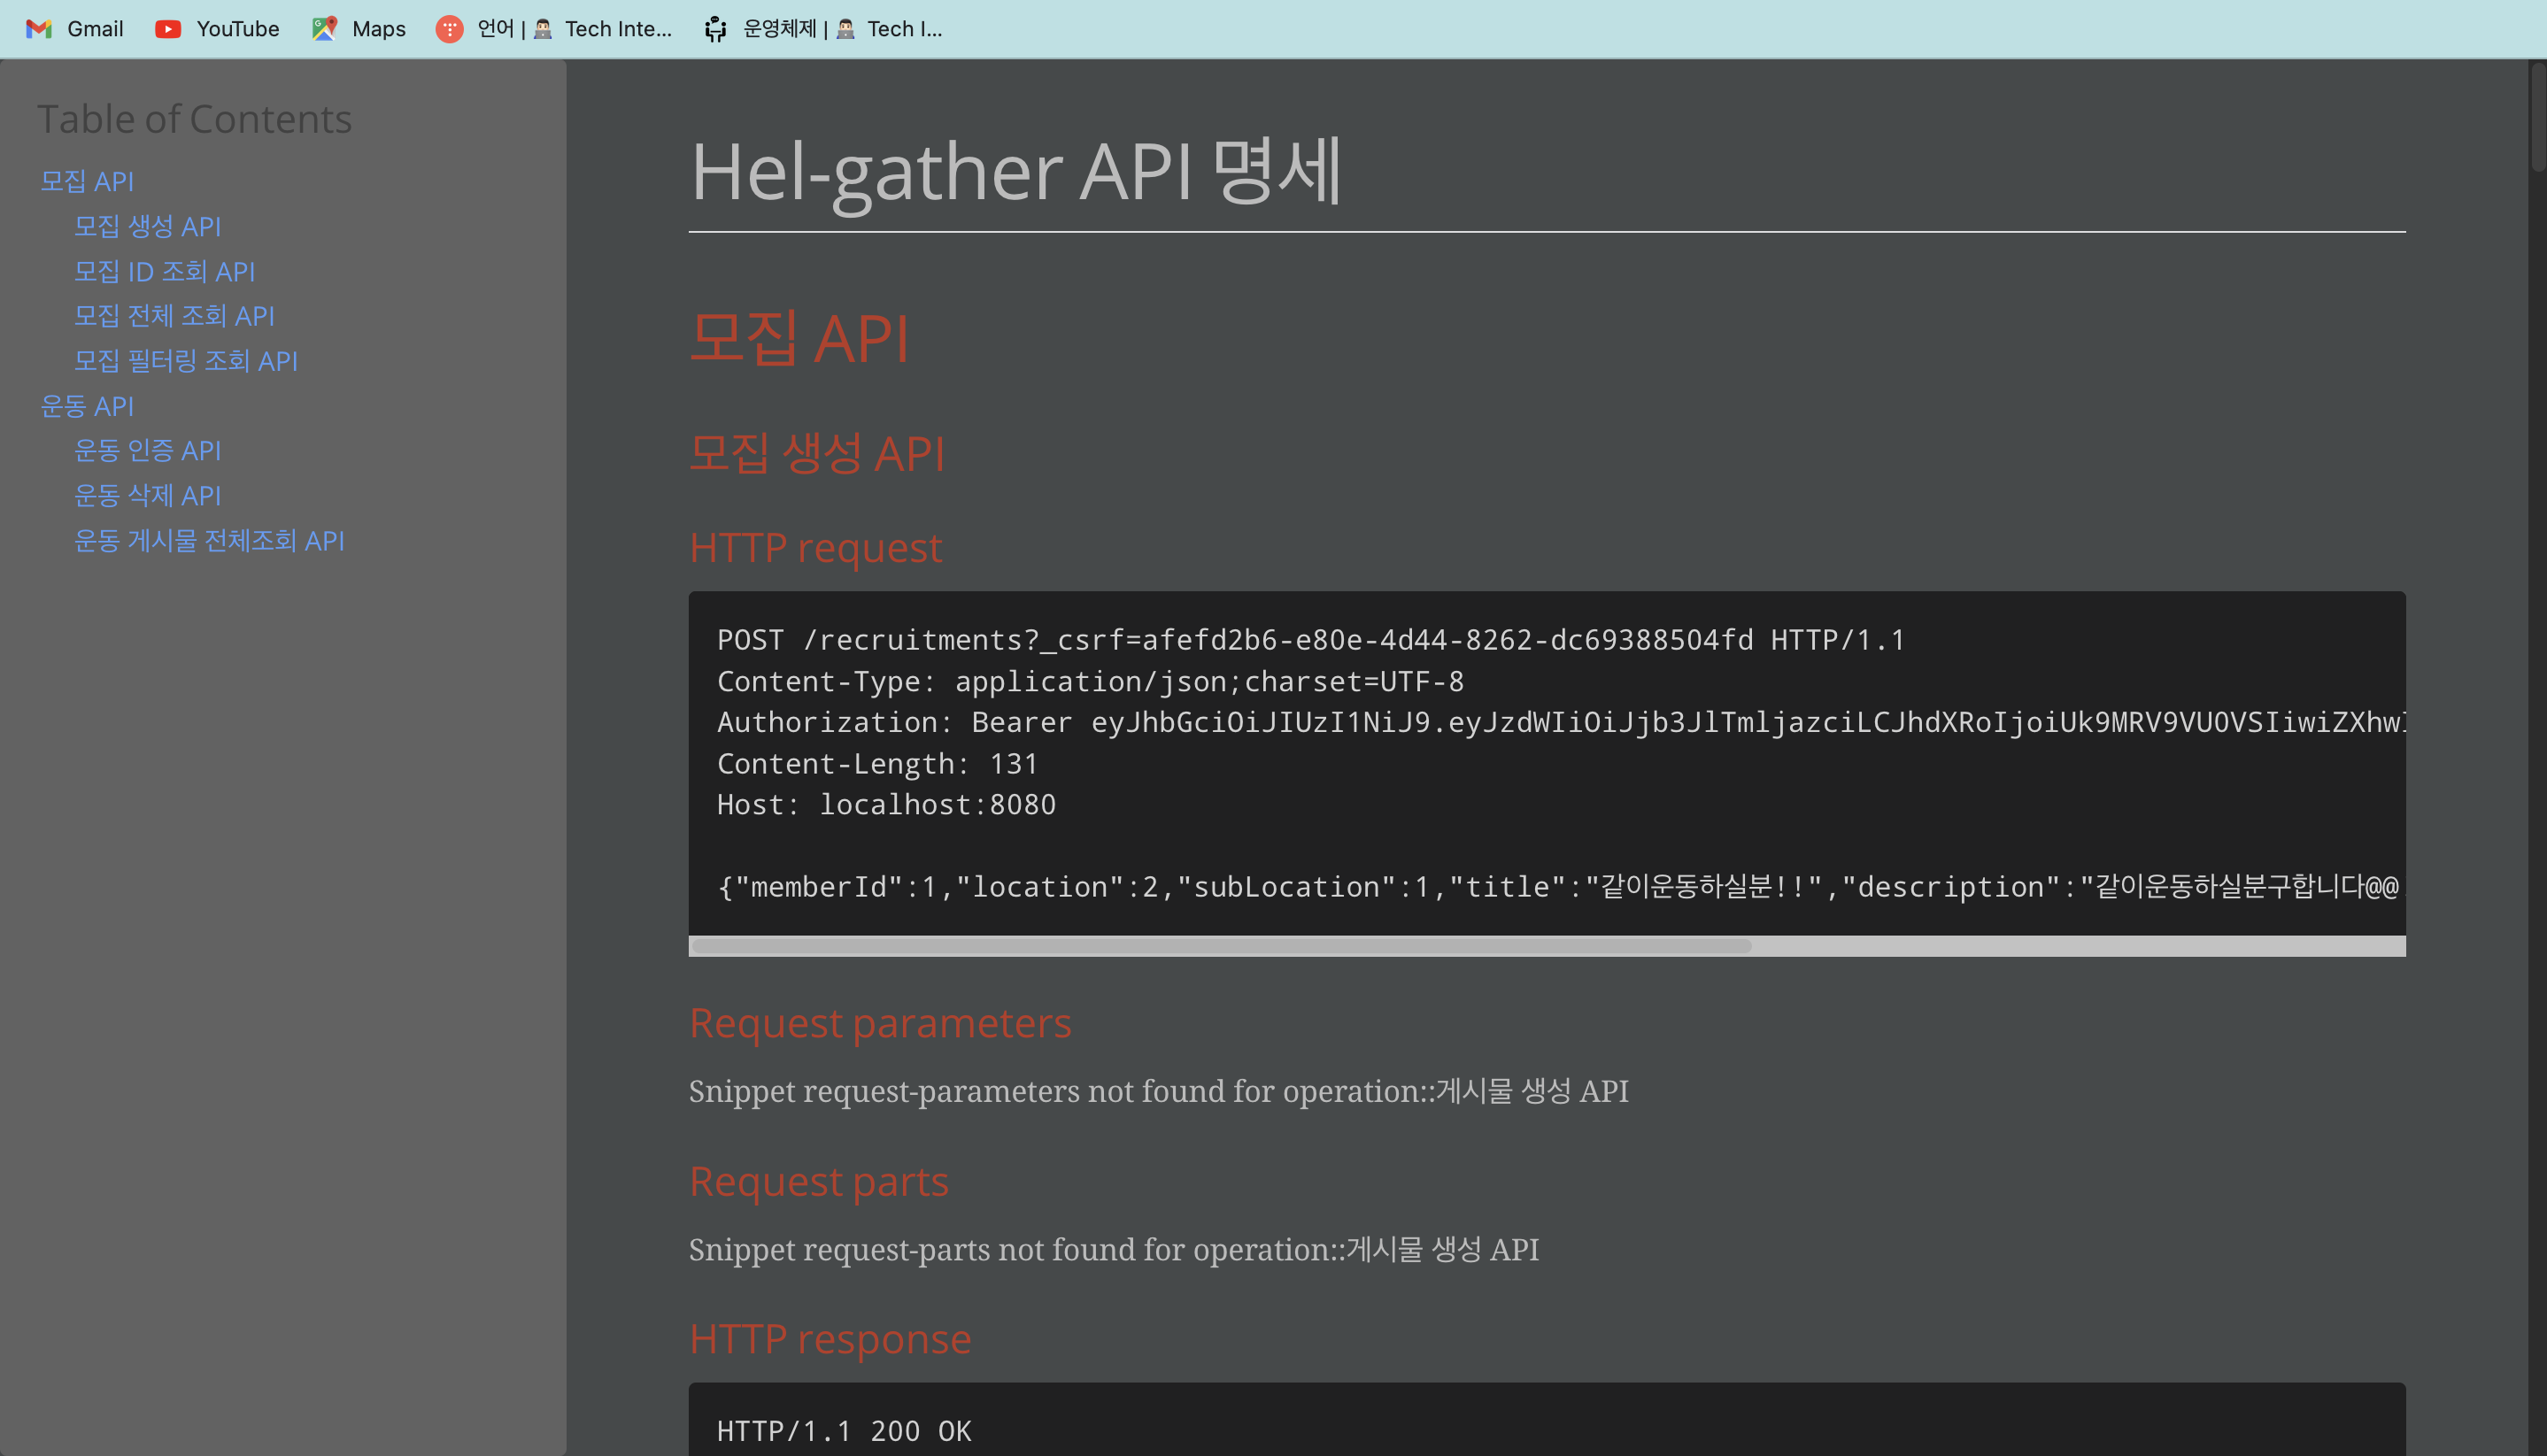
이제 모두 준비가 됐으니 resources/static에 docs폴더를 만들어주고 빌드를 진행해줍니다.
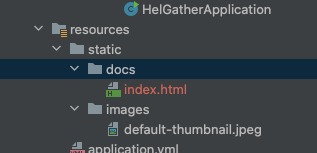
빌드가 성공적으로 끝나면 index.html 파일이 생성됩니다. 실제 서버를 띄우시고
로 접속하시면...
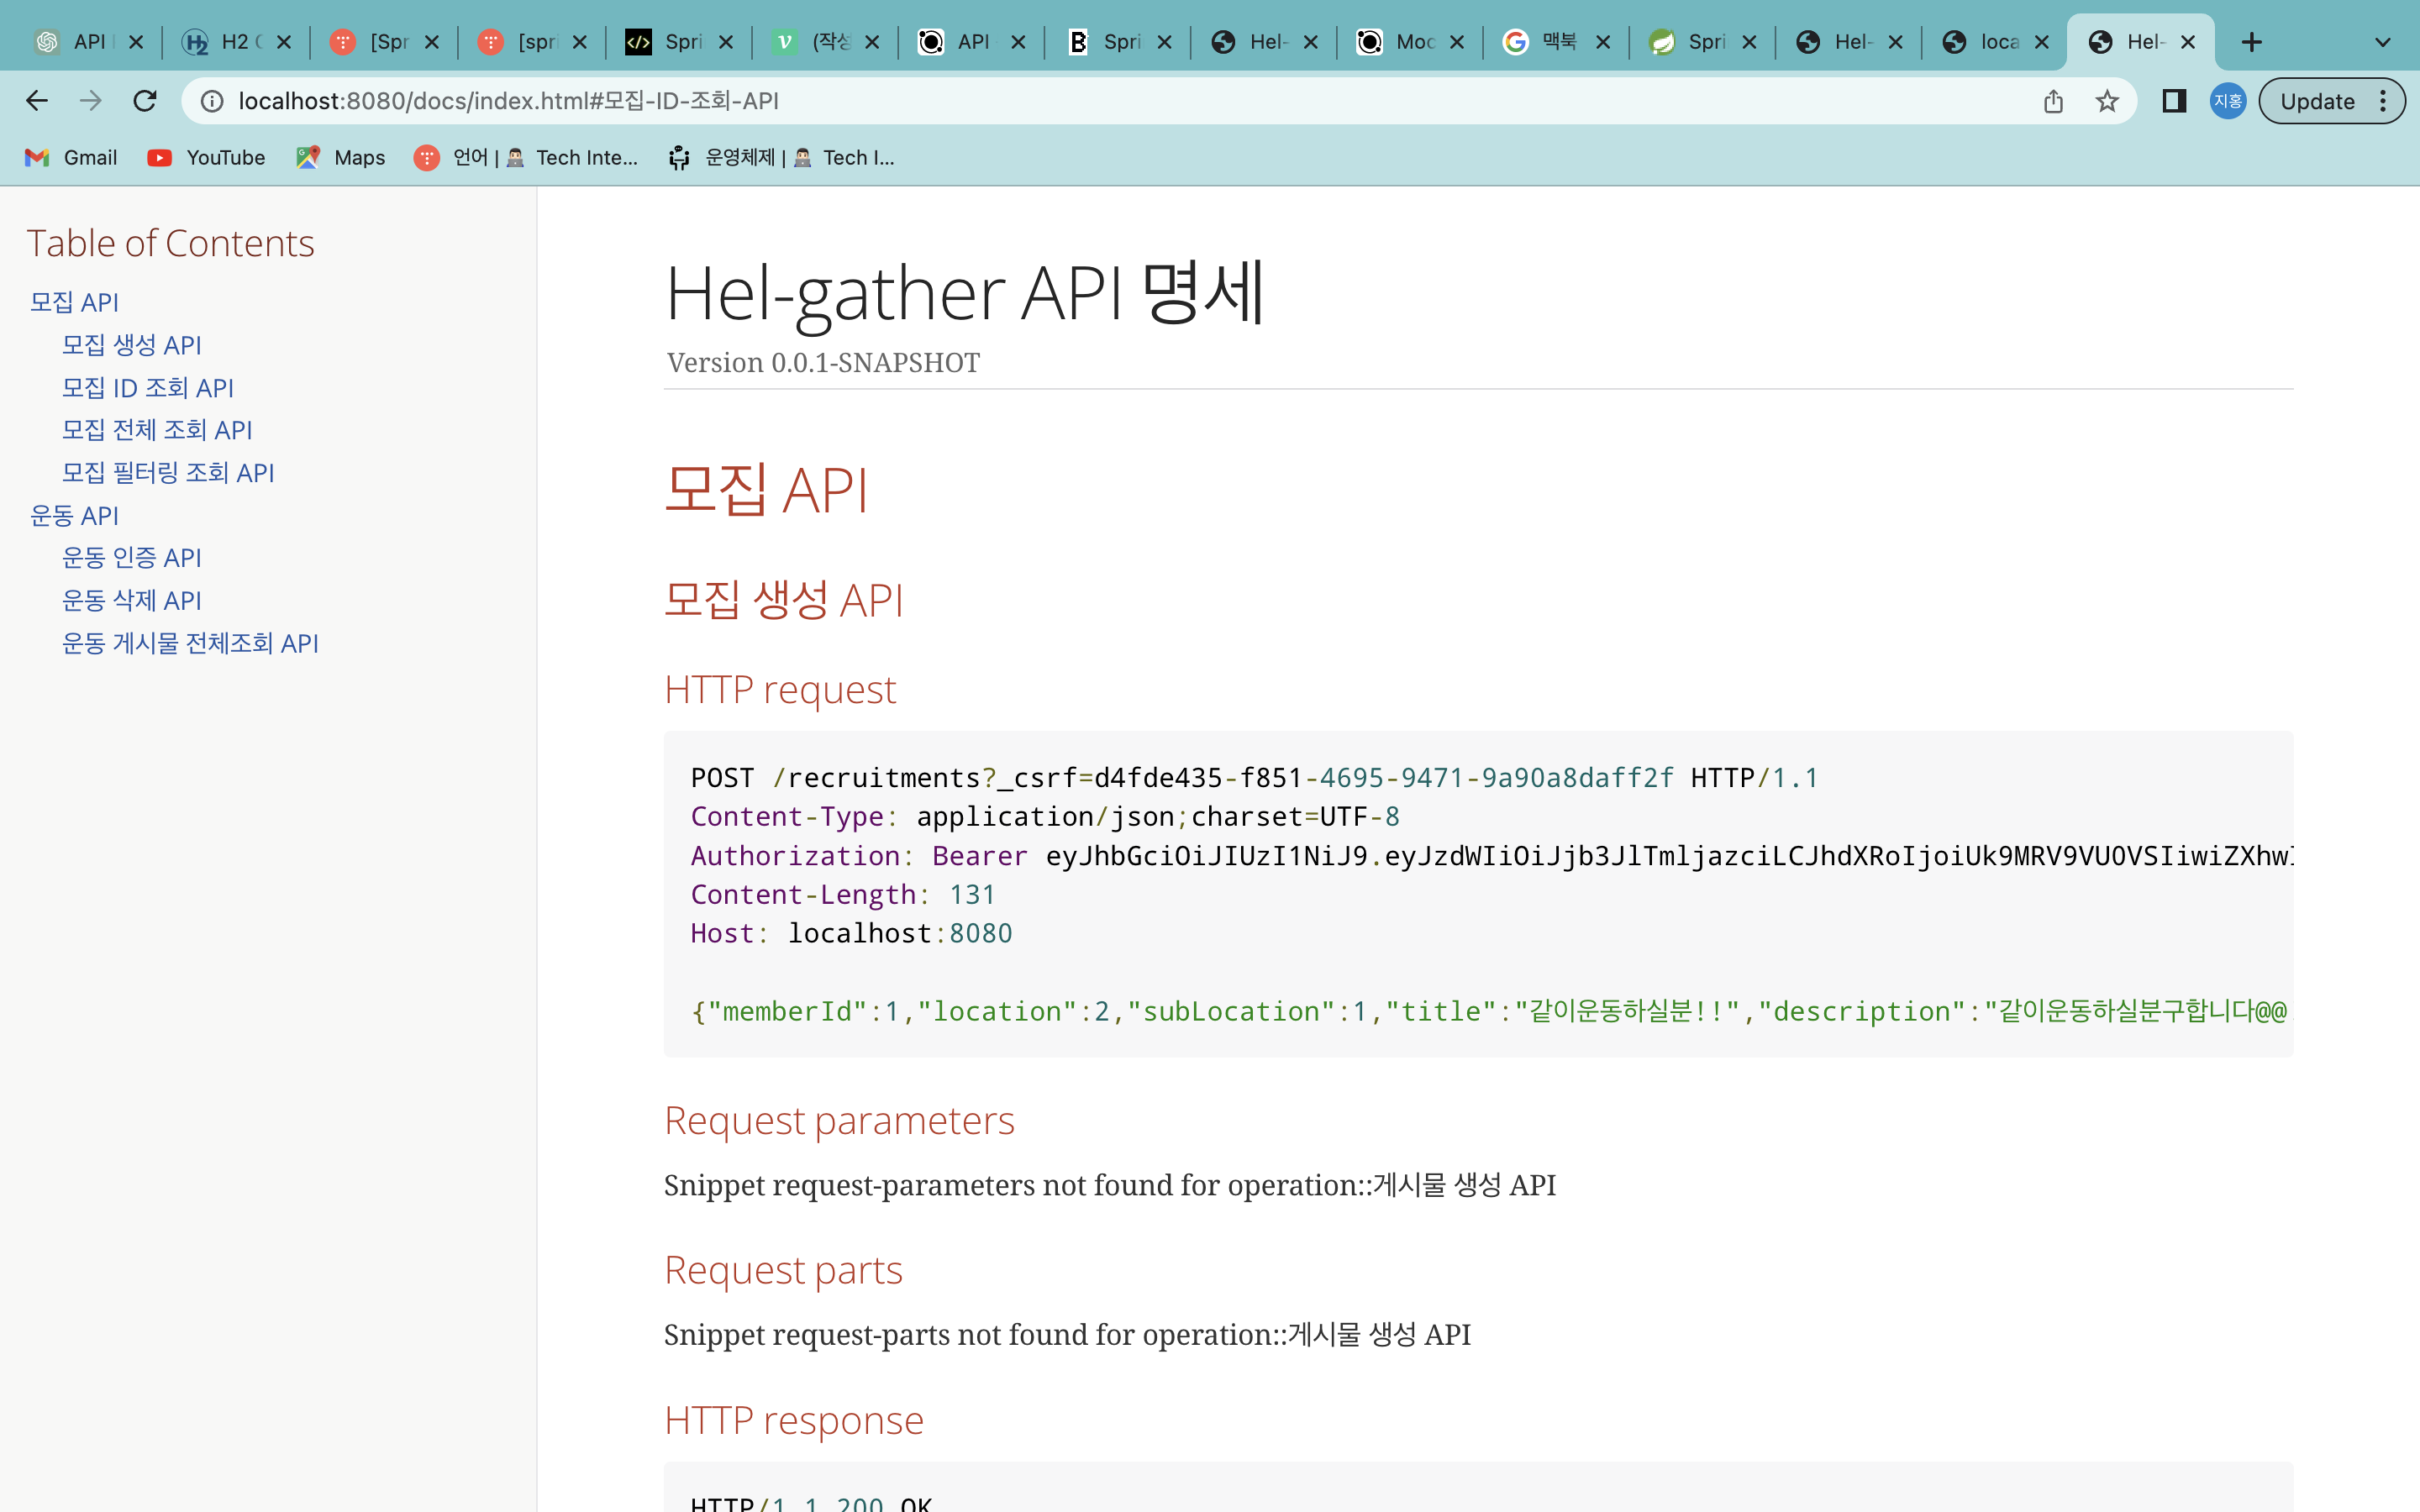
이렇게 명세가 뜹니다.
아직 JSON 포맷에 맞게 만든다던가 좀 더 예쁘게 만들려면 연구가 더 필요할 것 같습니다.
References
https://spring.io/projects/spring-restdocs
https://techblog.woowahan.com/2597/
https://tecoble.techcourse.co.kr/post/2020-08-18-spring-rest-docs/
https://hudi.blog/spring-rest-docs/
https://backtony.github.io/spring/2021-10-15-spring-test-3/