목표!
해당 문서를 읽고 난 후 Github Action 을 읽고, 작성하는데 지장이 없도록 한다
Github Action 이란?
Github 에서 제공하는 자동화 가능한 방법 ( workflow )
Github Repository 에서 Event 를 받아 수행할 수 있도록 하는 것
예시로, Github 에서 Push 이벤트가 발생하거나 Pull Request 이벤트 발생 등등 이벤트에 부수적인 처리하는 방법을 정의할 수 있다
Github Action 동작 과정
Pub Sub 구조의 Github Action 동작
Github Action Runner 를 Github 에 설정을 하게 되면, Github 에서 제공하는 실행 파일을 GitHub Action 을 실행할 컴퓨터에 실행한다.
이때, GitHub Token 등 권한은 Repo 에 설정함과 동시에 가져가게 된다.
실행을 할 때, FG 로 실행이 되므로, 만약 지속적으로 사용이 필요하다면 BG 로 실행파일을 돌릴 필요가 있다.
Runner 는 여러개를 IDLE 하게 유지할 수 있고, 그중 하나를 선택해서 돌리게 된다
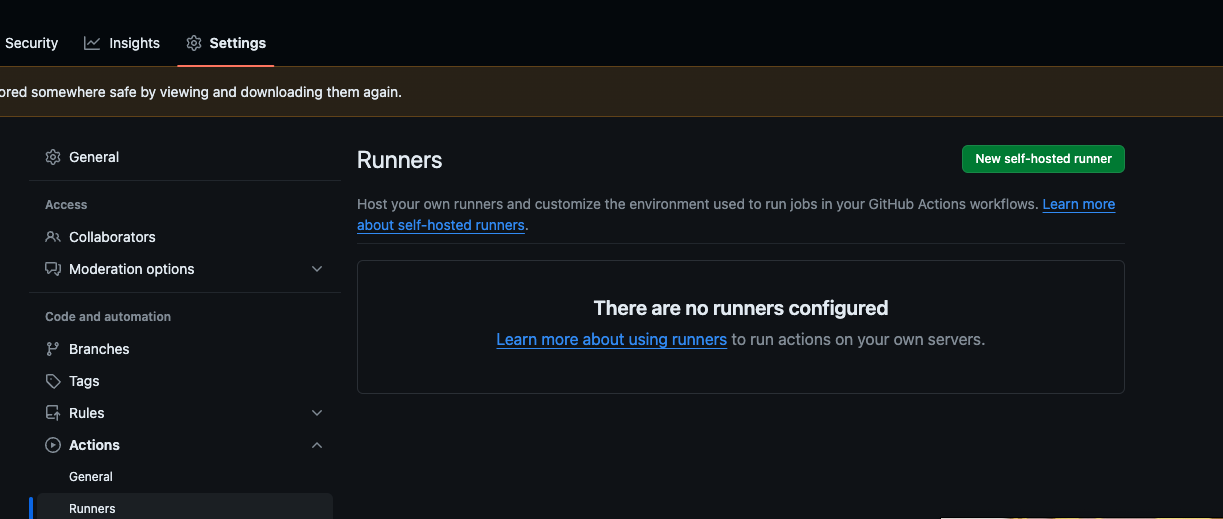
Github Action 의 Runner 세팅
Setting >> Actions >> Runners
설정하고자 하는 컴퓨터의 환경에 맞게 설정을 진행
실제 동작이 어떻게 되는지 코드를 까봐야하나...
Queue, Notify, 실행 구조로 보입니다.
Github Action
flowchart TB
    PUSH --> GITHUB --> NOTIFY(GITHUB ACTION NOTIFY) --> GET(GET ACTION) --> RUN(RUN GIT ACTION RUNNER)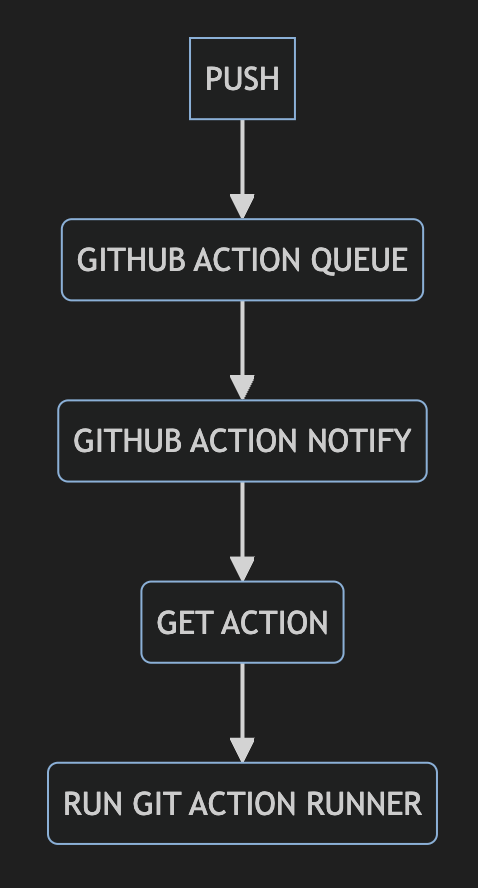
Git Action Subscribe
flowchart TB
    INIT --> RUN(run.sh) --> SUBSCRIBE_REPO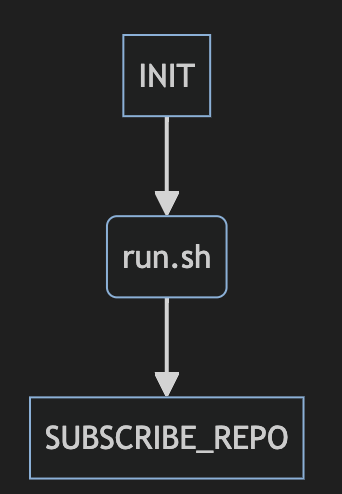
본격적으로 Github Action 을 알아보자
Github Action 을 정의하고, 만들기 위해서는 경로가 고정되어 있음
.github/workflows/{file_name}.[yml | yaml] 형식으로 파일을 만들어 github 에 push 하면 새로운 Workflow 가 생성된다
문서 구조는 다음과 같은 Tree 구조로 작성된다 ( yaml, yml 규격에 맞춘다 )
workflow-file
|- on
|- env
|- name
|- jobs
|--- env
|--- runs-on
|--- id {job-1-id}
|--- if
|--- needs
|--- inputs
|--- outputs
|--- steps
|----- env
|----- id {step-1-id}
|----- if
|----- with
|----- ...
|--- id {job-2-id}
|--- ...
on
어떤 경우에 이 Workflow 를 실행 시킬 것 인가?
on 에서 사용되는 이벤트는 Github Doc 을 첨부한다
- Single Event
on : push- Multiple Event
on : [push, pull_request]- Activity Type
Label 의 생성 등.. 타입이 변경되었을 때 처리
on:
    label:
        types:
- created - Filter
branch 명으로 선택
on:
    <push|pull_request>:
        <branches|tags>:
path 명으로 선택
on:
    <push|pull_request>:
        path:
on Keyword 에서는 여러가지 조합을 통해 처리가 가능하다
jobs
Step 을 묶어주는 단위 및 하나의 작업 단위
needs key 가 없으면 병렬처리가 기본이다.
steps
Job 안에서 실제 구동되는 동작
순차적인 처리를 보장한다
uses
Job, Step 을 다른 Action 을 Import 해서 사용한다
jobs.<job_id>.uses
jobs.<job_id>.steps.<step_id>.uses
context
Github 에서 제공하는 기본 Context
워크플로 실행, 변수, 실행기 환경, 작업 및 단계에 대한 정보에 액세스하는 방법
가장 많이 사용하는 것으로 보이는 Context 는 다음과 같다
각각 Context 에 대한 URL 을 첨한다
| Context 명 | URL | 비고 |
|---|---|---|
env | env-context | Github Action 실행 환경 변수 |
github | github-context | github action 에서 제공하는 기본 context |
secrects | secret-context | github action setting 에서 secret 을 설정 할 수 있다. repo 에 설정된 secret 값을 가져옴 |
vars | var-context | beta 설정이라.. 언제든 바뀔 수 있다는 내역이 document 에 있다 |
jobs | jobs-context | |
steps | steps-context | |
inpus | inputs-context | jobs.[job-id].inputs, steps.[step-id].inputs 에 정의된 내역, ${{inputs.xx}} 로 접근 가능 |
needs | needs-context | 연결된 Job ( dependency Job ) 의 결과 및 메타 정보를 가져올 수 있도록 해주는 context |
대충 알았다. 이제 만들어보자
- 목표
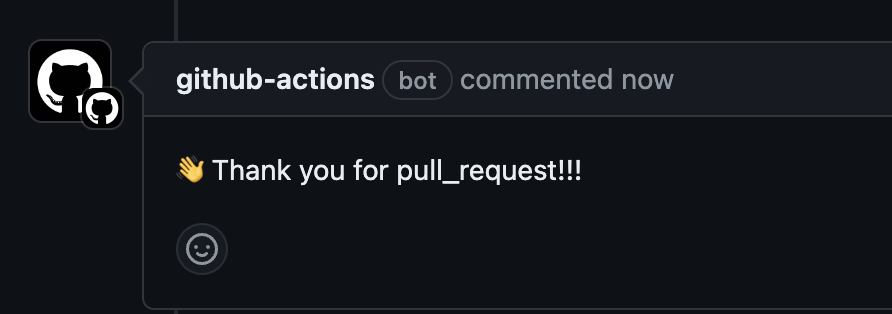
github pull_request 를 하면, comment 로 환영 메세지를 띄워주자
1. on 설정
- pull_request event 를 받았을 때, 동작, main 한정
on:
  pull_request:
    branches:
      - main
2. job 설정
- welcome-pull-request 이라는 id 로 job 생성
jobs:
  runs-on: self-hosted
  welcome-pull-request:
runs-on?
- 어느 runner 로 job 을 구동할 것 인가?
| 값 | 설명 |
|---|---|
| self-hosted | 자체 실행형 호스트 |
| ubuntu-latest | github 에서 제공하는 자체 host |
| windows-latest | github 에서 제공하는 자체 host |
| macos-latest | github 에서 제공하는 자체 host |
3. step 설정
    steps:
    - name: Pull Request Add Comment
      uses: actions/github-script@v7
      with:
        script: |
          github.rest.issues.createComment({
            issue_number: context.issue.number,
            owner: context.repo.owner,
            repo: context.repo.repo,
            body: '👋 Thank you for pull_request!!!'
          })
with!?
- 나중에 해볼 ( Action 만들기 ) 과정에서 inputs 를 받는 github action 의 방법이다.
- 지금 github-script@v7 의 input 중 script 는 string type 으로 지정되어 받는 필수값이다
github-script
- github action 은 다양한 action 을 uses 를 이용하여 사용할 수 있도록 market place 를 운영중이다.
github 중 action repository 에 들어가있는, 마켓플레이스 산하가 아닌 github 직접 관리 레포
다양한 github action 이 많으므로 레포 탐방도 좋을 것 같다

지금 사용한 github-script 의 경우에는 issue 에 comment 를 추가하거나, label 을 추가하는 등의 행위를 rest, graphql 을 통해 할 수 있도록 해주는 Action 이다.완성되었다!
name: Github 에 Pull Request 를 올리면 환영하는 Workflow

on:
  pull_request:
    branches:
    - main

jobs:
  welcome-pull-request:
    runs-on: self-hosted
    steps:
    - name: Pull Request Add Comment
      uses: actions/github-script@v7
      with:
        script: |
          github.rest.issues.createComment({
            issue_number: context.issue.number,
            owner: context.repo.owner,
            repo: context.repo.repo,
            body: '👋 Thank you for pull_request!!!'
          })
한 번 구동 해보자
해당 yaml 파일을 .github/workflows/welcome_pull_request.yaml 으로 만들어 push 를 진행한다
git add .github/workflow/welcome_pull_request.yaml
git commit -m "feat. github pull request 가 오면 환영해주는 workflow 를 작성한다"
git push origin main
이후
git checkout -b test-pull-request
touch pull-request-file.md
git add .
git commit -m "feat. github pull request 를 생성한다"
git push origin test-pull-request
github 에 들어가서 pull_request 를 진행해보자
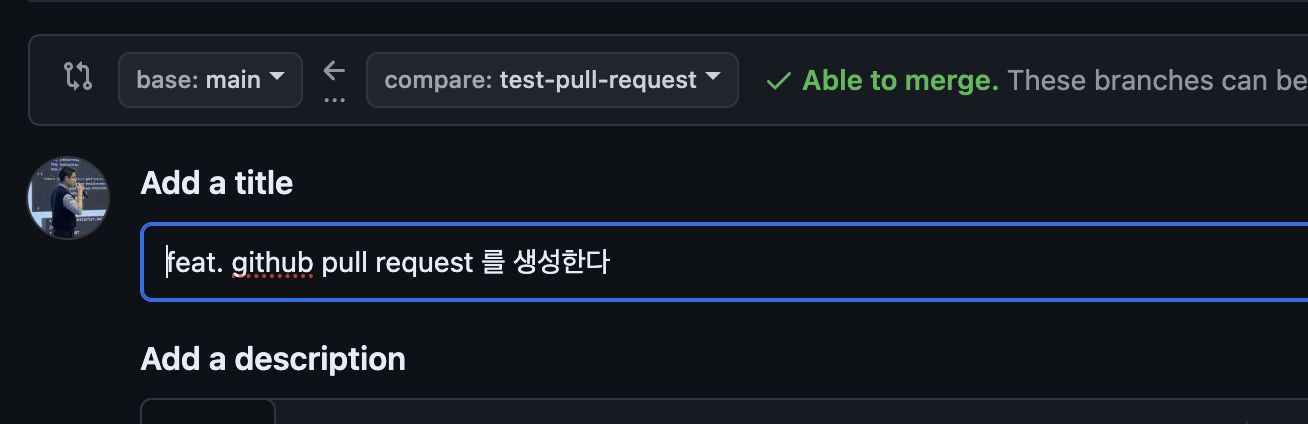


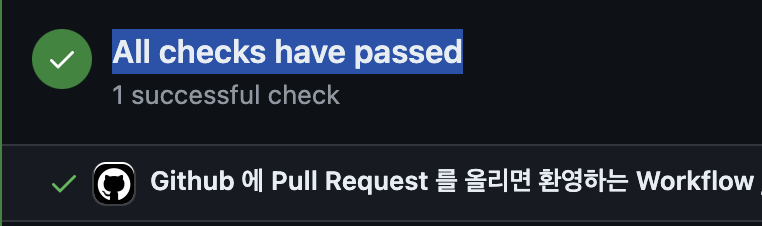
잘 동작하는 것을 확인할 수 있었다.
Troubleshooting
Github Repository Runner 작업까지 다 완료하고 workflow 동작까지 확인했는데,
Pull Request 결과가 403 에러가 발생했다.

Runner 가 Git Token 을 발급받아서 사용하는 것으로 알고있는데, Permission Error...? 그럴리 없다 생각하고 이곳 저곳 찾아보니..
github-repository > setting > action > general > workflow permission
이곳에 permission 이 read only 로 되어있는 것을 확인, read & write 로 수정을 진행해주니 문제가 없이 comment 가 잘 동작했다.
혹시나 다른 분들이 이 작성된 글을 보고 따라가다 동일 문제가 발생 할 수 도 있으므로 작성을 합니다.
git token 을 설정할 수 도 있지만, runner 가 이미 git token 을 갖고 있기 때문에, 별도 설정하지 않고, permission 을 바꿔주는게 맘편합니다.
pull_request 까지 확인했다. 이제 분기 쳐보자!
Job 이나, Step 이 실패하는 경우에 다른 행위를 해야할 수 있다.
만약? Job 이 실패하면 실패한 사유를 적어 넣는다던가, 성공하면 문자를 넣는다던가 하는 행위를 할 수 있어야 매번 확인하는 행위를 하지 않아도 될 것이다.
그럼 다음으로, 임의의 script 를 작성하여, 실패하는 step 을 만들어보자
1. Failure Step 작성
  steps:
    - name: failure step
      id: fail-step
      run: |
          echo "message=HI ${{ github.actor }}" >> $GITHUB_OUTPUT
          return false
      shell: bash
bash shell 의 output 작성
echo "Key=Value" >> $GITHUB_OUTPUT위와 같은 형식으로 작성하면
다음과 같은 방식으로 받아볼 수 있다.
${{ steps.[step-id].outputs.[key] }}2. Failure 했을 때, 동작할 Step 작성
간단하게, 실패한 경우에 output 에서 message 를 꺼내 comment 에 추가하는 step 이다.
 - name: failure Comment
      id: failure-comment
      if: ${{ failure() }}
      uses: actions/github-script@v7
      with:
        script: |
          const message = "${{ steps.fail-step.outputs.message }}"
          const stepResult = "${{ steps.fail-step.conclusion }}"
          github.rest.issues.createComment({
            issue_number: context.issue.number,
            owner: context.repo.owner,
            repo: context.repo.repo,
            body: `👋 Sorry Failure Build ㅠ ${message}, ${stepResult}`
          })
3. Success 는 Default
기존 작업한 스탭에 추가해보자
FullCode
name: Github 에 Pull Request 를 올리면 환영하는 Workflow

on:
  pull_request:
    branches:
    - main

jobs:
  welcome-pull-request:
    runs-on: self-hosted
    steps:
    - name: failure step
      id: fail-step
      run: |
          echo "message=HI ${{ github.actor }}" >> $GITHUB_OUTPUT
          return false
      shell: bash
    - name: failure Comment
      id: failure-comment
      if: ${{ failure() }}
      uses: actions/github-script@v7
      with:
        script: |
          const message = "${{ steps.fail-step.outputs.message }}"
          const stepResult = "${{ steps.fail-step.conclusion }}"
          github.rest.issues.createComment({
            issue_number: context.issue.number,
            owner: context.repo.owner,
            repo: context.repo.repo,
            body: `👋 Sorry Failure Build ㅠ ${message}, ${stepResult}`
          })
    - name: Pull Request Add Comment
      uses: actions/github-script@v7
      if: ${{ success() }}
      with:
        script: |
          github.rest.issues.createComment({
            issue_number: context.issue.number,
            owner: context.repo.owner,
            repo: context.repo.repo,
            body: '👋 Thank you for pull_request!!!'
          })
뭔가 점점 읽기 어려워지고 있지만, 생각보다 별 것 없다는 것은 위에 진행하면서 느꼈을 수 있다.
그러므로 결과를 보자 동일한 과정을 진행한다
단지 branch만 변경하고 처리하자
git add .github/workflow/welcome_pull_request.yaml
git commit -m "feat. 실패하는 workflow 를 작성하고, 실패했을 때, 결과를 확인한다"
git push origin main
이후
git checkout -b test-pull-request-2
touch pull-request-file.md
git add .
git commit -m "feat. github pull request 를 생성한다"
git push origin test-pull-request-2
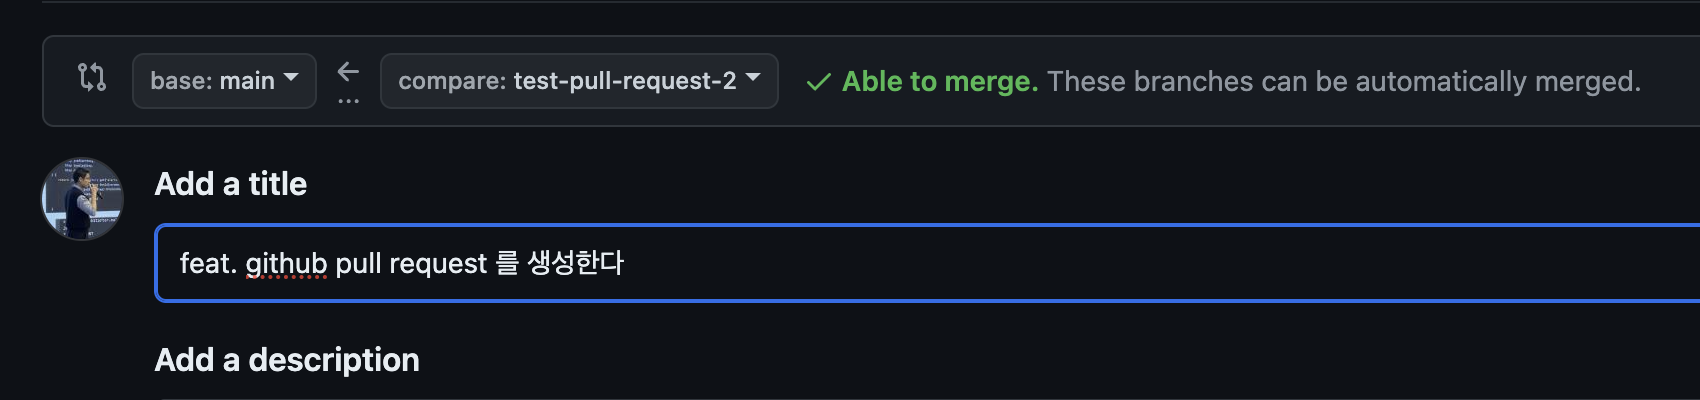
정상적으로 Fail 처리 된 것 확인이 가능하다
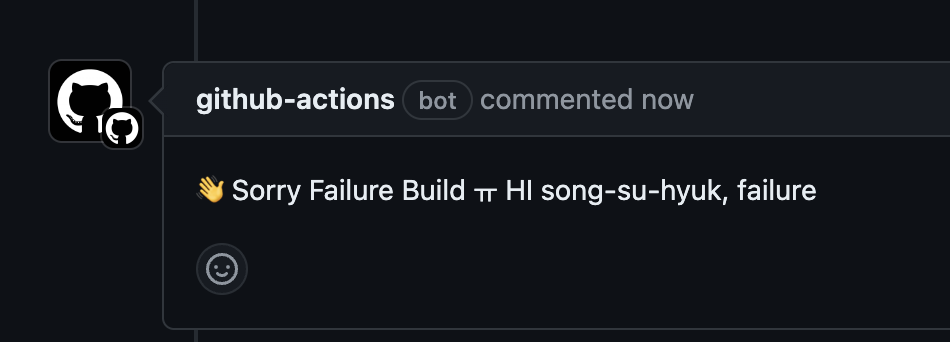
댓글로는 Message 가 실패한 메세지인 Sorry Failure Build 가 확인되고,
Welcome Message 는 확인되지 않는다.
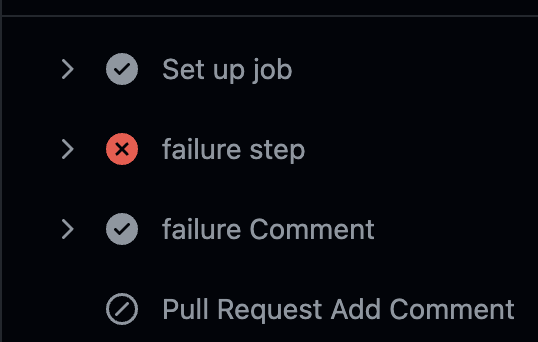
여기서 살펴볼 것은, 2번째 사진의 Skip 표시로, Action 에서 진행을 하지 않는 경우에는 Skip 이 된다.
좀 더 신기한건, 중간에 Fail 이 발생했지만, transaction 과 같이 묶어놓은 상태가 아니다보니, bash 에서 GITHUB_OUTPUT 에 파일에 메세지 추가 방식이 에러가 나기 전에 작동하여서 확인이 가능한점이 신기한 점이다.
steps context 를 접근하는 것은 message 작성시에 조금 씩 보이고 있으니 눈에 익었으면 좋겠다.
이번 시리즈의 마지막! Job 은 순차적으로?
Job 은 기본적으로 병렬 처리라고 했었는데, 예시를 통해 확인해보자
# 기존 코드

  second-job:
    runs-on: self-hosted
    steps:
    - name: Second Step
      run: echo "냐하"
      shell:
Job 을 추가 정의하고 나면 pull_request 에 다음과 같이 2개의 job 이 되는 것을 확인할 수 있다.

여기서 중요한 점은, Queue 인데, 병렬로 작업이 된다고 했지만, 컴퓨팅 리소스에 따라 작업이 순서없이 진행된다는 것이다.
결론적으로 컴퓨터가 1개면 둘 중 빠르게 가져가는것 먼저 수행된다.

각각 성공, 실패를 관리한다는 것! 잊지 말자!
실패하면 다음 Job 을 수행하면 안된다 할 때에는, Step 으로 넣고 싶은 욕망이 생길 수 있다.
이럴 때, 순차적으로 수행하도록 하는 키워드가 needs 키워드 이다.
무조건적으로 Step 으로 처리하기보단, Job 을 분리하는게 좀 더 유지 보수하고 하는데 편할 수 있다.
일단 사용 법은 다음과 같다
# 기존 코드

  second-job:
    runs-on: self-hosted
    needs: [welcome-pull-request]
    steps:
    - name: Second Step
      run: echo "냐하"
      shell:
welcome-pull-request 가 fail 로 무조건 실패를 할 태니, if condition 을 주어 무조건 실행을 하도록 변경한다.
# 기존 코드

  second-job:
    if: ${{ always() }}
    runs-on: self-hosted
    needs: [welcome-pull-request]
    steps:
    - name: Second Step
      run: echo "냐하"
      shell:
always 는 전 처리에 대한 결과가 성공, 실패, 캔슬 상관없이 동작하도록한다.
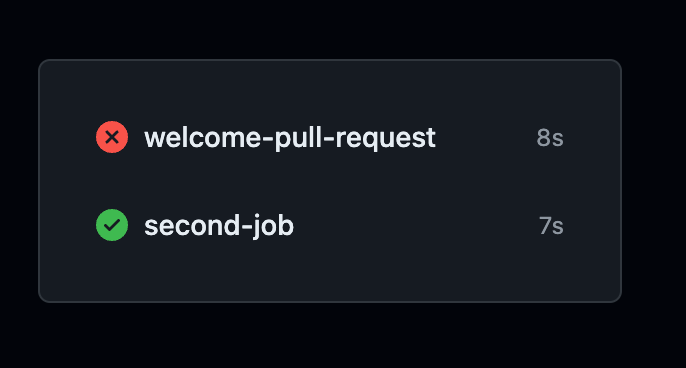
이제 동작시켜보자
첫번째 Action이 Fail 이 되었지만, 2번째 Job 이 Success 된 내용을 확인할 수 있다.
| 병렬 작업 | 순차 작업 |
|---|---|
 |  |
여기까지, 기본적인 Github Action 을 다루는 방법을 작성하다보니, 내용이 길어져 다음 시리즈로 넘어가야 할 것 같습니다.
일단 기본적인 사용, 분기, 컨텍스트 사용 등을 알 수 있었는데, 추가 작성할 내용으로는 Custom Action 만들어 모듈화하기, 재사용 가능한 Job 두 개 남았습니다.
긴 글 읽고 같이해주셔서 감사합니다.