firebase document
firebase github
파이어베이스를 이용해서 앱 알림을 보내보자
환경 세팅
Flutter Package
필요한 패키지
import 'package:firebase_core/firebase_core.dart';
import 'package:firebase_messaging/firebase_messaging.dart';
import 'package:flutter_local_notifications/flutter_local_notifications.dart';
AndroidManifest.xml
fcm 기본 설정
    <meta-data
        android:name="com.google.firebase.messaging.default_notification_channel_id"
        android:value="high_importance_channel" />
<!-- 파이어베이스 자동 초기화 방지 -->
<!-- <meta-data
		android:name="firebase_messaging_auto_init_enabled"
        android:value="false" />
	<meta-data
		android:name="firebase_analytics_collection_enabled"
		android:value="false" /> -->
flutter notification 설정
<application>
	<activity>
      <intent-filter>
          <action android:name="FLUTTER_NOTIFICATION_CLICK" />
          <category android:name="android.intent.category.DEFAULT" />
      </intent-filter>
	</activity>
android SDK 33부터는 알림 권한을 추가해주어야 한다.
<uses-permission android:name="android.permission.POST_NOTIFICATIONS"/>android/build.gradle
dependencies {
    classpath 'com.google.gms:google-services:4.3.10'
}
android/app/build.gradle
apply plugin: 'com.google.gms.google-services'

dependencies {
    implementation platform('com.google.firebase:firebase-bom:29.0.2')
}
환경세팅은 끝났으니 firebase 프로젝트를 생성해보자
Firebase
구글 계정으로 로그인하여 프로젝트 생성하기
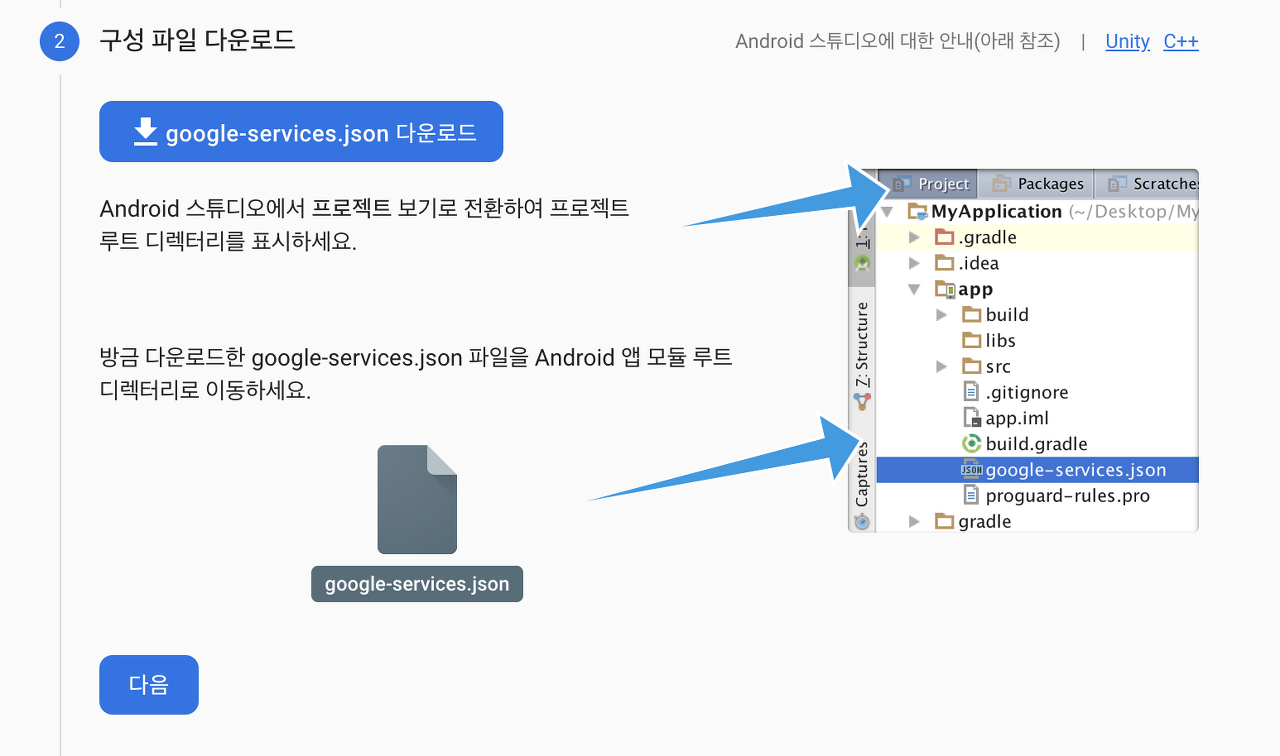
프로젝트 키값과 클라이언트에 대한 키값 정보가 담긴 파일을 업로드해주어야 하는데 앱을 연동하니 자동으로 생성해주는 것 같다.
Project code
환경세팅이 끝났으니 알림을 받을 준비를 할 수 있다.
import ...
/// 백그라운드 메시지
('vm:entry-point')
Future<void> _firebaseMessagingBackgroundHandler(RemoteMessage message) async {
print('Handling a background message ${message.messageId}');
}
/// 변수
late AndroidNotificationChannel channel;
late FlutterLocalNotificationsPlugin flutterLocalNotificationsPlugin;
/// main()
Future main() async {
WidgetsFlutterBinding.ensureInitialized();
await Firebase.initializeApp();
FirebaseMessaging.onBackgroundMessage(_firebaseMessagingBackgroundHandler);
/// 알림을 보낼 기기의 토큰값. firebase console에서 등록
String? token = await FirebaseMessaging.instance.getToken();
channel = const AndroidNotificationChannel(
'high_importance_channel', // id
'High Importance Notifications', // title
description:
'This channel is used for important notifications.', // description
importance: Importance.high,
);
var initialzationSettingsAndroid =
const AndroidInitializationSettings('@mipmap/ic_launcher');
flutterLocalNotificationsPlugin = FlutterLocalNotificationsPlugin();
await flutterLocalNotificationsPlugin
.resolvePlatformSpecificImplementation<
AndroidFlutterLocalNotificationsPlugin>()
?.createNotificationChannel(channel);
var initializationSettings = InitializationSettings(
android: initialzationSettingsAndroid,
);
await flutterLocalNotificationsPlugin.initialize(
initializationSettings,
);
await FirebaseMessaging.instance.setForegroundNotificationPresentationOptions(
alert: true,
badge: true,
sound: true,
);
runApp(const MaterialApp(home: MyApp()));
}
class _MyAppState extends State<MyApp> {
void initState() {
FirebaseMessaging.onMessage.listen((RemoteMessage message) async {
RemoteNotification? notification = message.notification;
AndroidNotification? android = message.notification?.android;
var androidNotiDetails = AndroidNotificationDetails(
channel.id,
channel.name,
channelDescription: channel.description,
);
// var iOSNotiDetails = const IOSNotificationDetails();
var details = NotificationDetails(
android: androidNotiDetails,
);
if (notification != null) {
flutterLocalNotificationsPlugin.show(
notification.hashCode,
notification.title,
notification.body,
details,
);
}
});
FirebaseMessaging.onMessageOpenedApp.listen((message) {
print('FirebaseMessaging ::: $message');
});
super.initState();
}백그라운드 메시지 핸들러와 관련하여 유의해야 할 몇 가지 사항
- 익명 함수가 아니어야 합니다.
- 최상위 수준 함수여야 합니다(예: 초기화가 필요한 클래스 메서드가 아님).
- Flutter 버전 3.3.0 이상을 사용하는 경우 메시지 핸들러는 함수 선언 바로 위에 @pragma('vm:entry-point')로 주석을 달아야 합니다(그렇지 않으면 출시 모드의 경우 트리 쉐이킹 중에 삭제될 수 있음).
Firebase Console
이제 파이어베이스 콘솔에서 알림을 받아볼 수 있다.
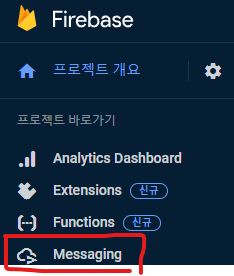
Messaging > 새 캠패인 > 알림
- 제목과 텍스트 입력
- 기기 미리보기 > 테스트 메시지 전송
main 함수에서 getToken으로 확인한 단발의 토큰을 FCM 토큰으로 등록해준다.
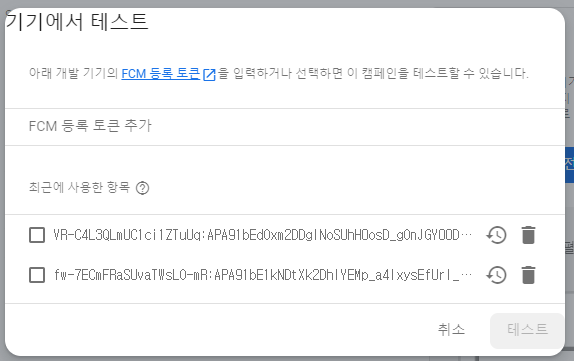
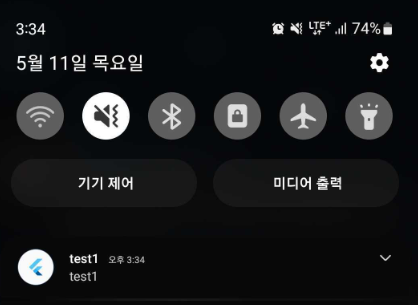
테스트 버튼을 클릭하면 알림이 오는 것을 바로 확인할 수 있다!

즐거운 서비스를 추구합니다.