서론
지난 편에 이어 디스코드 봇 만들기 마무리!
스레드 생성
- 스레드는 웹훅으로 생성이 불가능해서 봇으로 생성해야 함
- 먼저 봇을 생성해 봇 토큰을 가져와 api 통신에 사용
const botToken = process.env.DISCORD_BOT_TOKEN;
const requestURL = `https://discord.com/api/v10/channels/${channelId}/messages/${messageId}/threads`;
const body = {
  name: threadName,
  auto_archive_duration: 60,
};

await fetch(requestURL, {
      method: "POST",
      headers: {
        Authorization: `Bot ${botToken}`,
        "Content-Type": "application/json",
      },
      body: JSON.stringify(body),
    });
디스코드 봇 생성
-
디스코드 개발자 페이지에 접속해 new application 생성
-
생성한 애플리케이션 페이지에서 bot 메뉴 클릭
-
reset token으로 토큰 생성
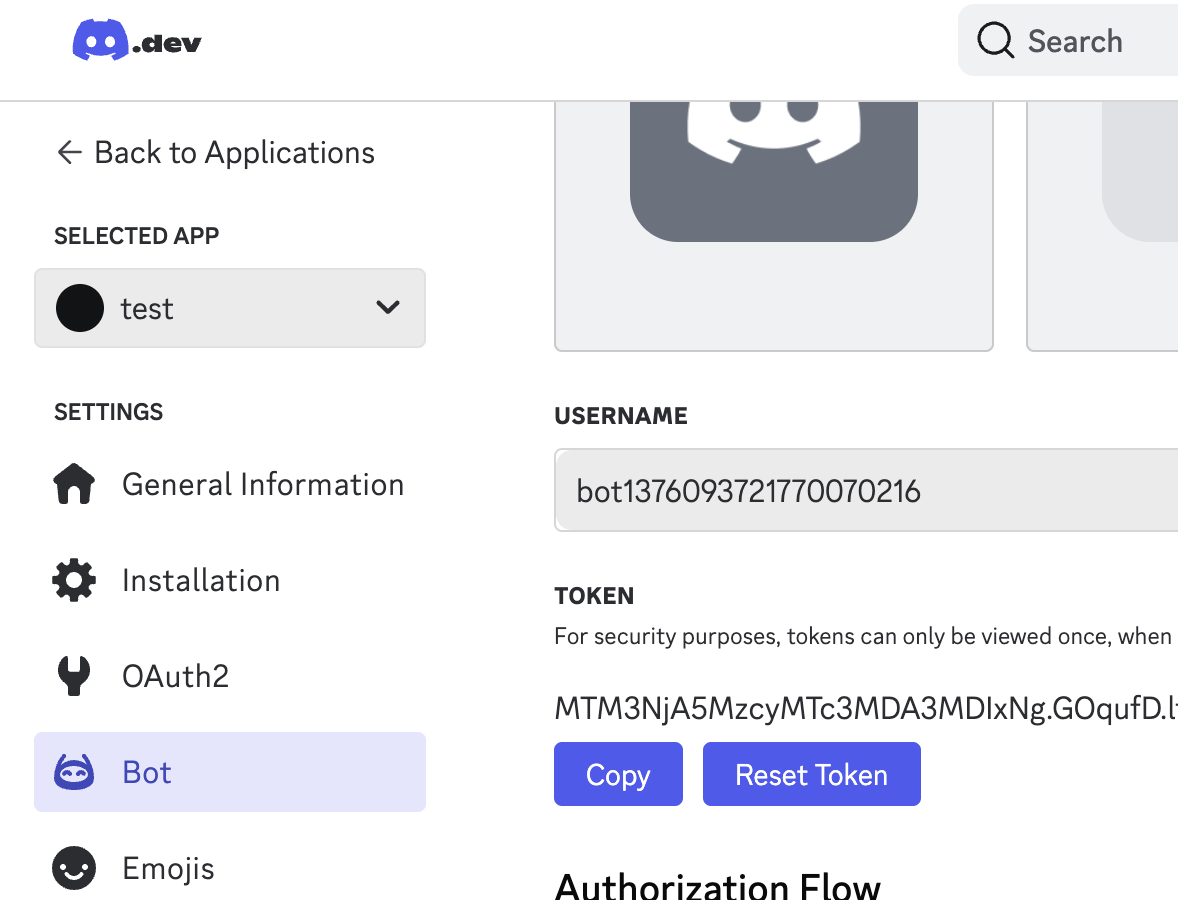
-
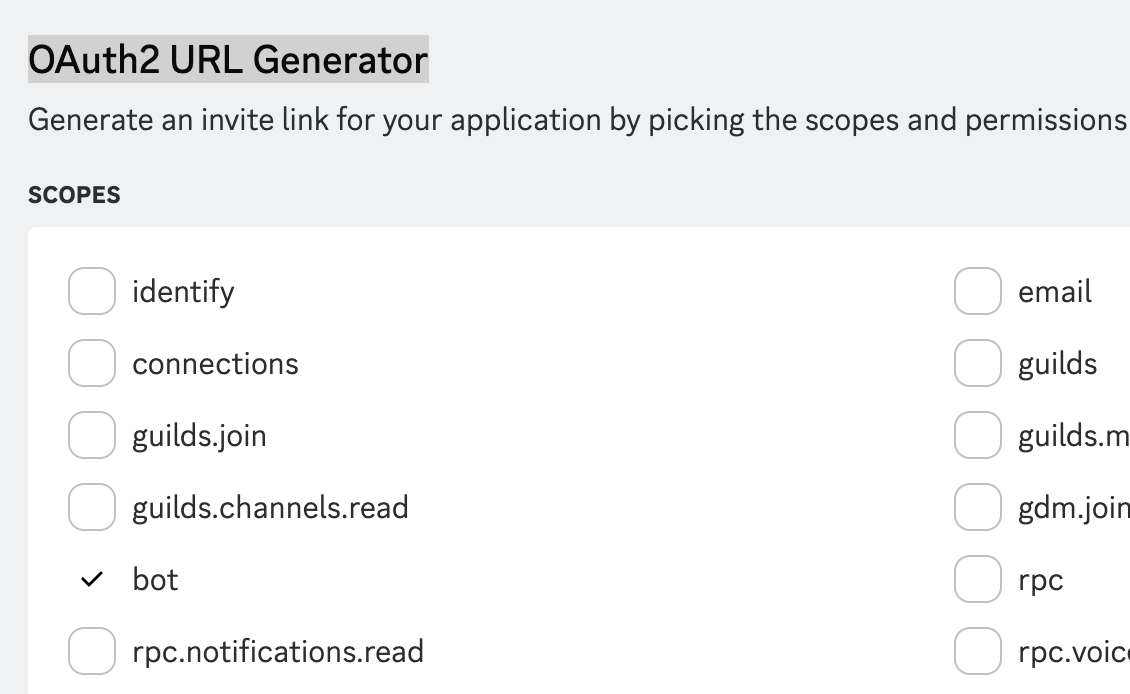
생성한 봇을 사용할 채널에 초대하기 위해 OAuth2 > OAuth2 URL Generator에서 URL 생성
-
scope에서 bot 선택
-
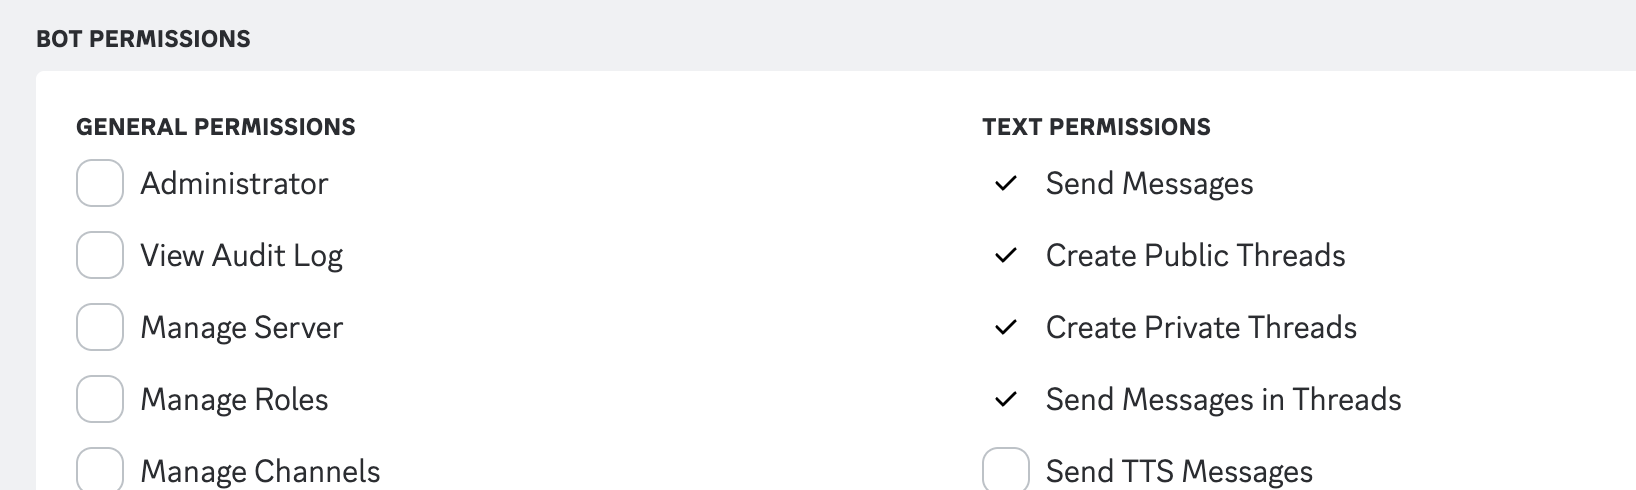
bot permissions에서 send message, create public
threads, create private threads, send message in threads 선택
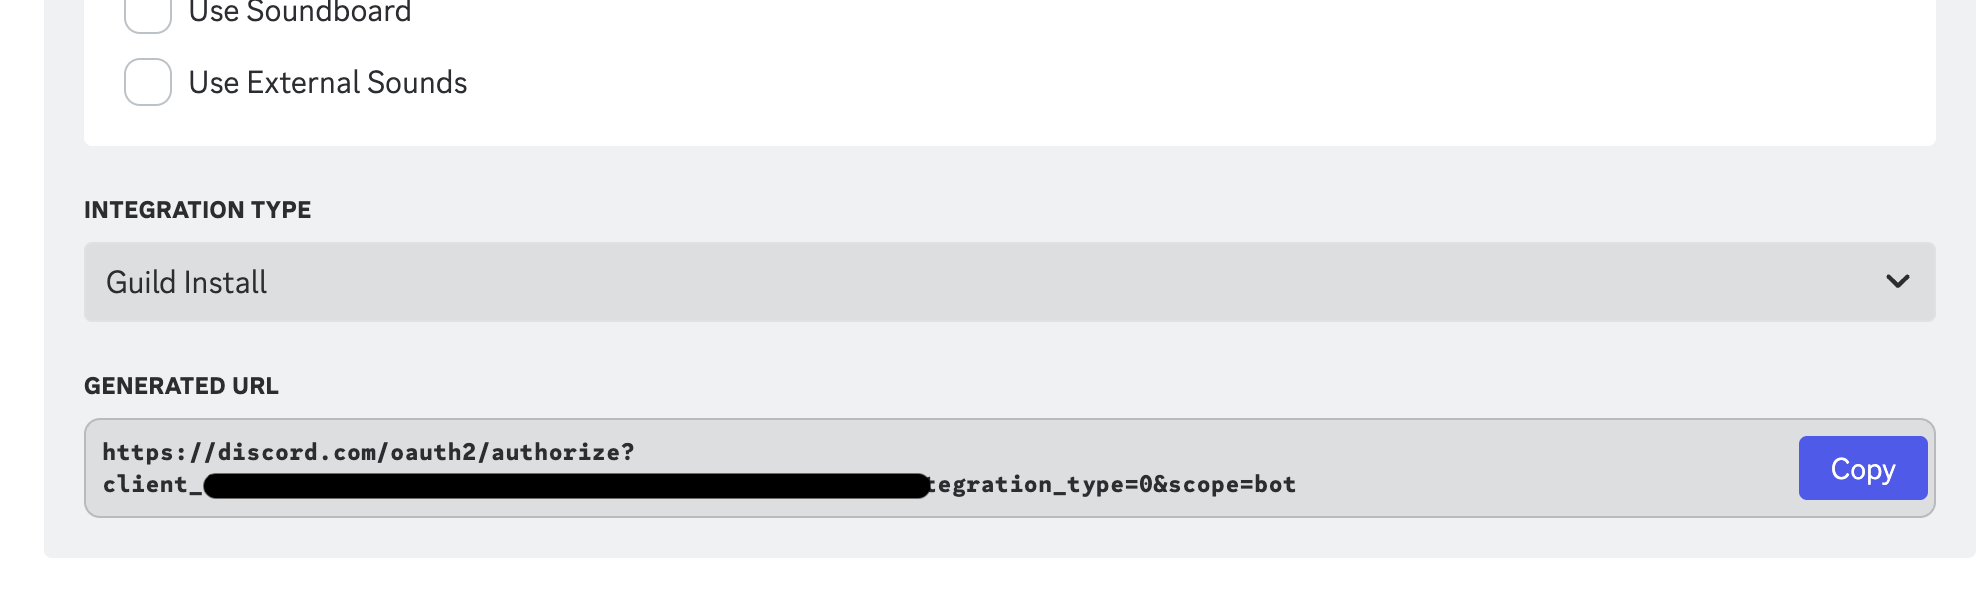
-
하단에 생성된 url로 접속해 서버에 초대
-
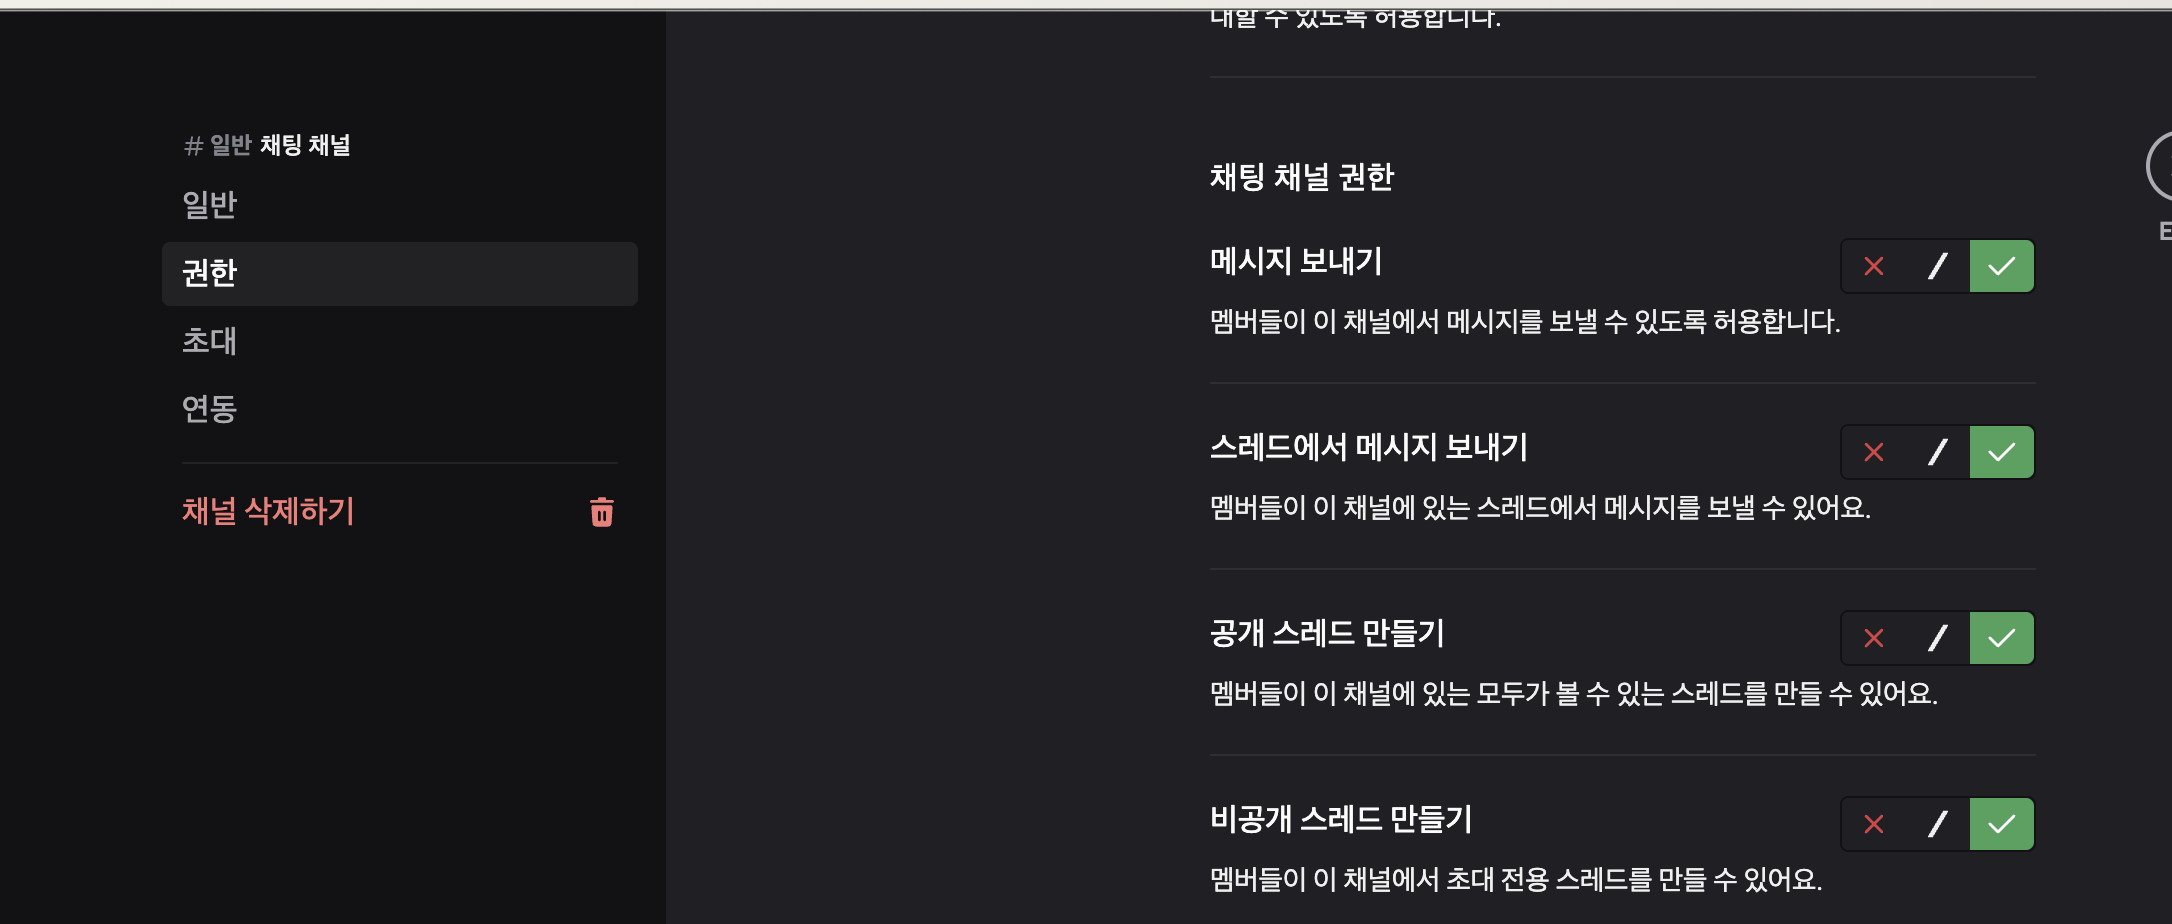
봇을 사용할 채널에서 봇 권한 설정 확인
스레드에 메세지 보내기
- 스레드에 메세지 모내는 것은 지난 1편에서 본 채널에 메세지 보내는 것과 동일
- url에 스레드 id만 넣으면 된다
const requestURL = `${process.env.DISCORD_WEBHOOK_TEST_URL}?thread_id=${threadId}&wait=true`;
const body = {
content,
};
const response = await fetch(requestURL, {
method: "POST",
headers: {
"Content-Type": "application/json",
},
body: JSON.stringify(body),
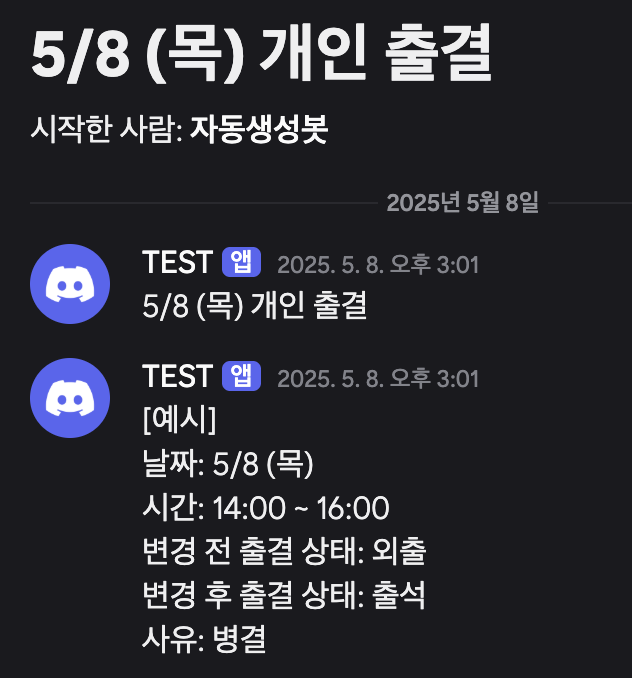
});결과 화면
Timeout 문제
- 테스트를 위해 1분에 한 번씩 전송되도록 설정함
- 1분에 한 번인데 여러 번 보내는 경우가 있음
- 스레드 생성까지는 잘 되나 스레드에 메세지가 안 보내지는 경우가 많음
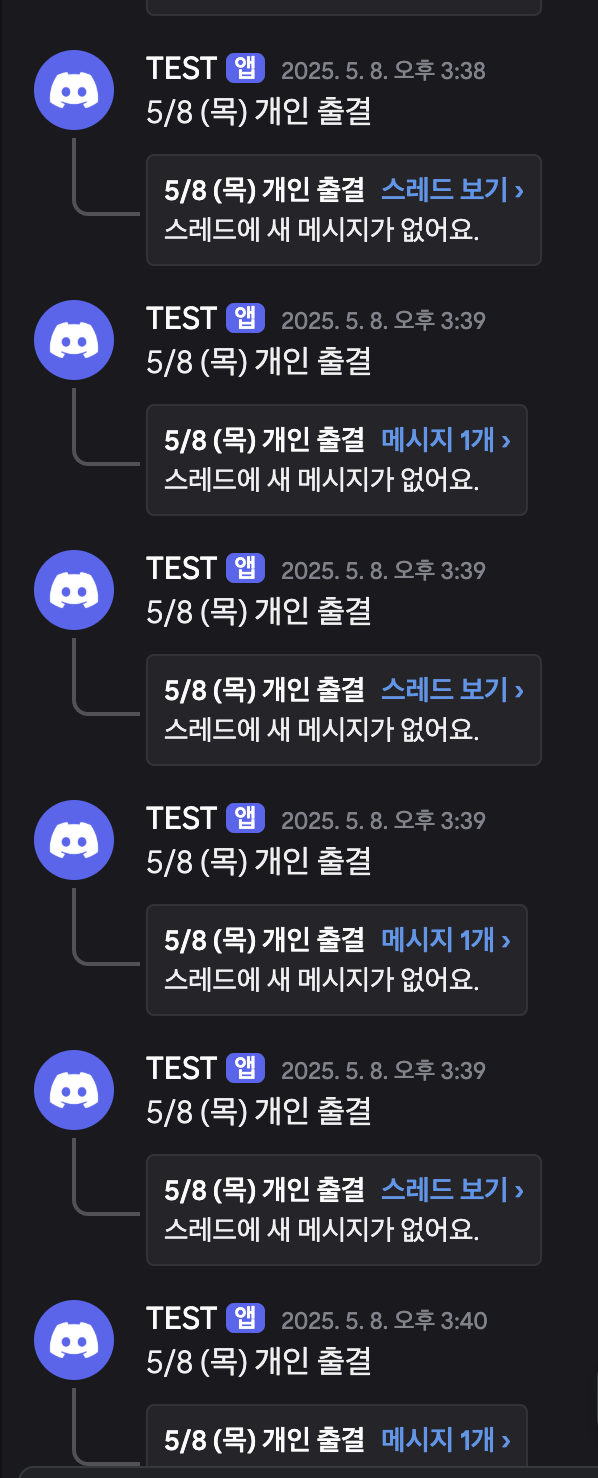
- 확인해보니 타임아웃 문제가 생겼다 api를 연달아 3번 호출하기에 발생하는 것으로 생각
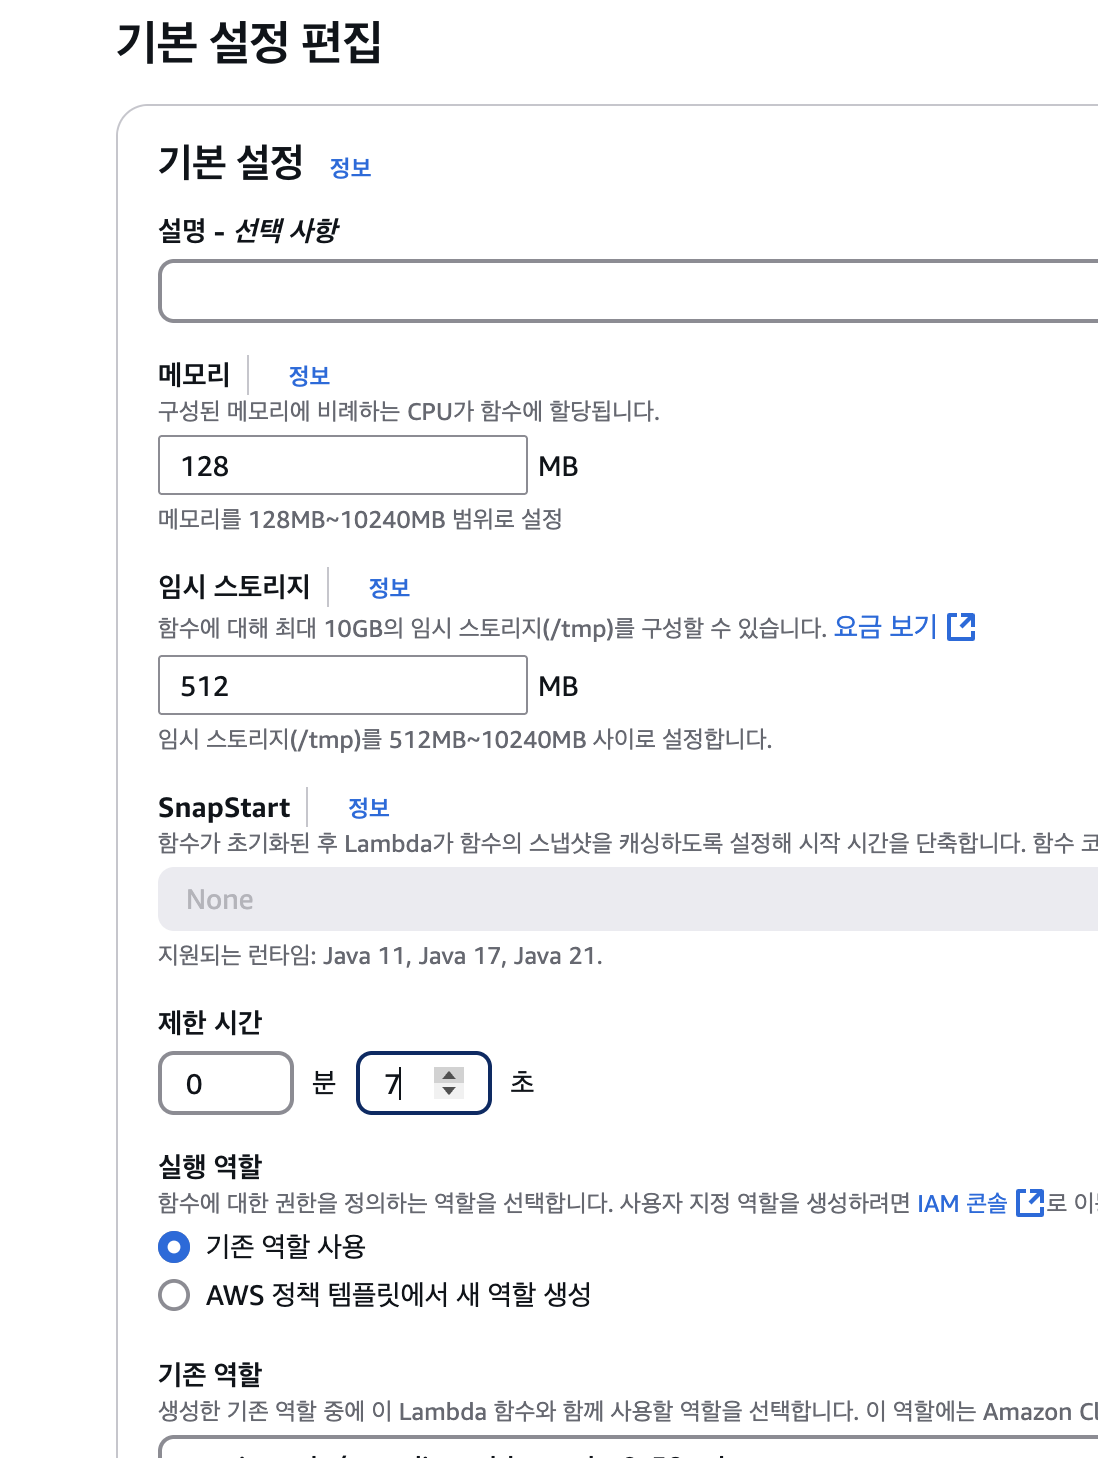
- 구성 > 일반 구성에 가면 제한 시간이라는 항목을 확인할 수 있다
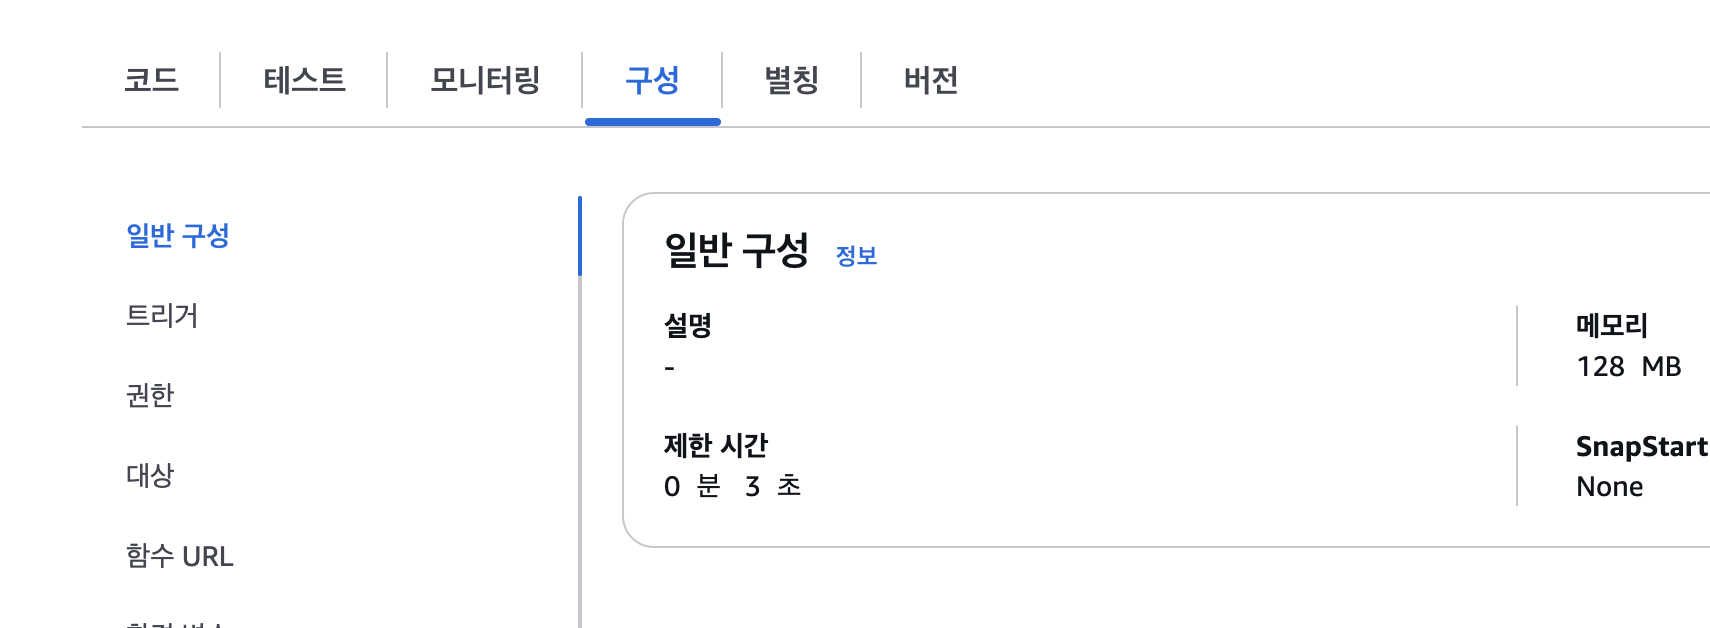
- 기본 설정이 3초여서 7초로 변경했다
실제 적용
event bridge 수정
- 이전에 10분마다 전송하는 방식에서 cron 형식으로 수정해 평일 오전 8시마다 메세지를 전송하는 방식으로 변경
0 8 ? * 1-5 2025입력했더니 아마존 서버시간 기준이라 보내는 시간 예시에 엉뚱한 시간대가 떴다
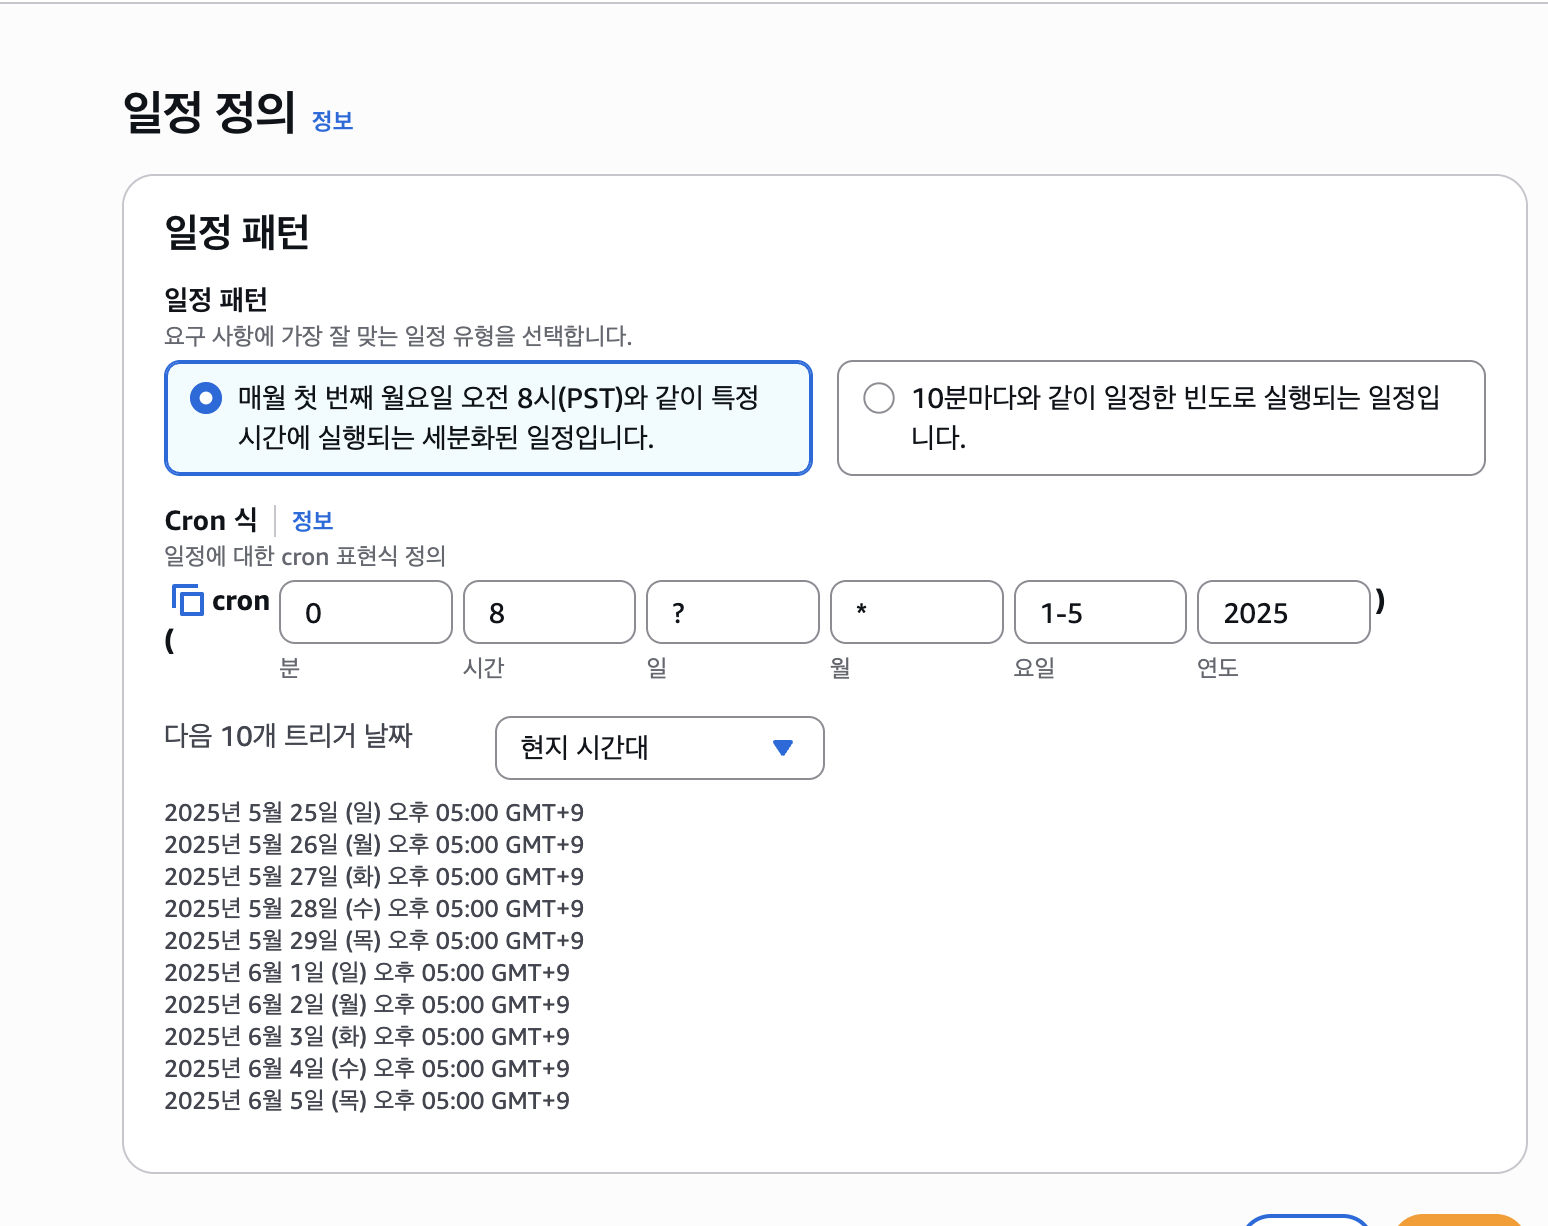
- 현지 시간에 맞게 수정
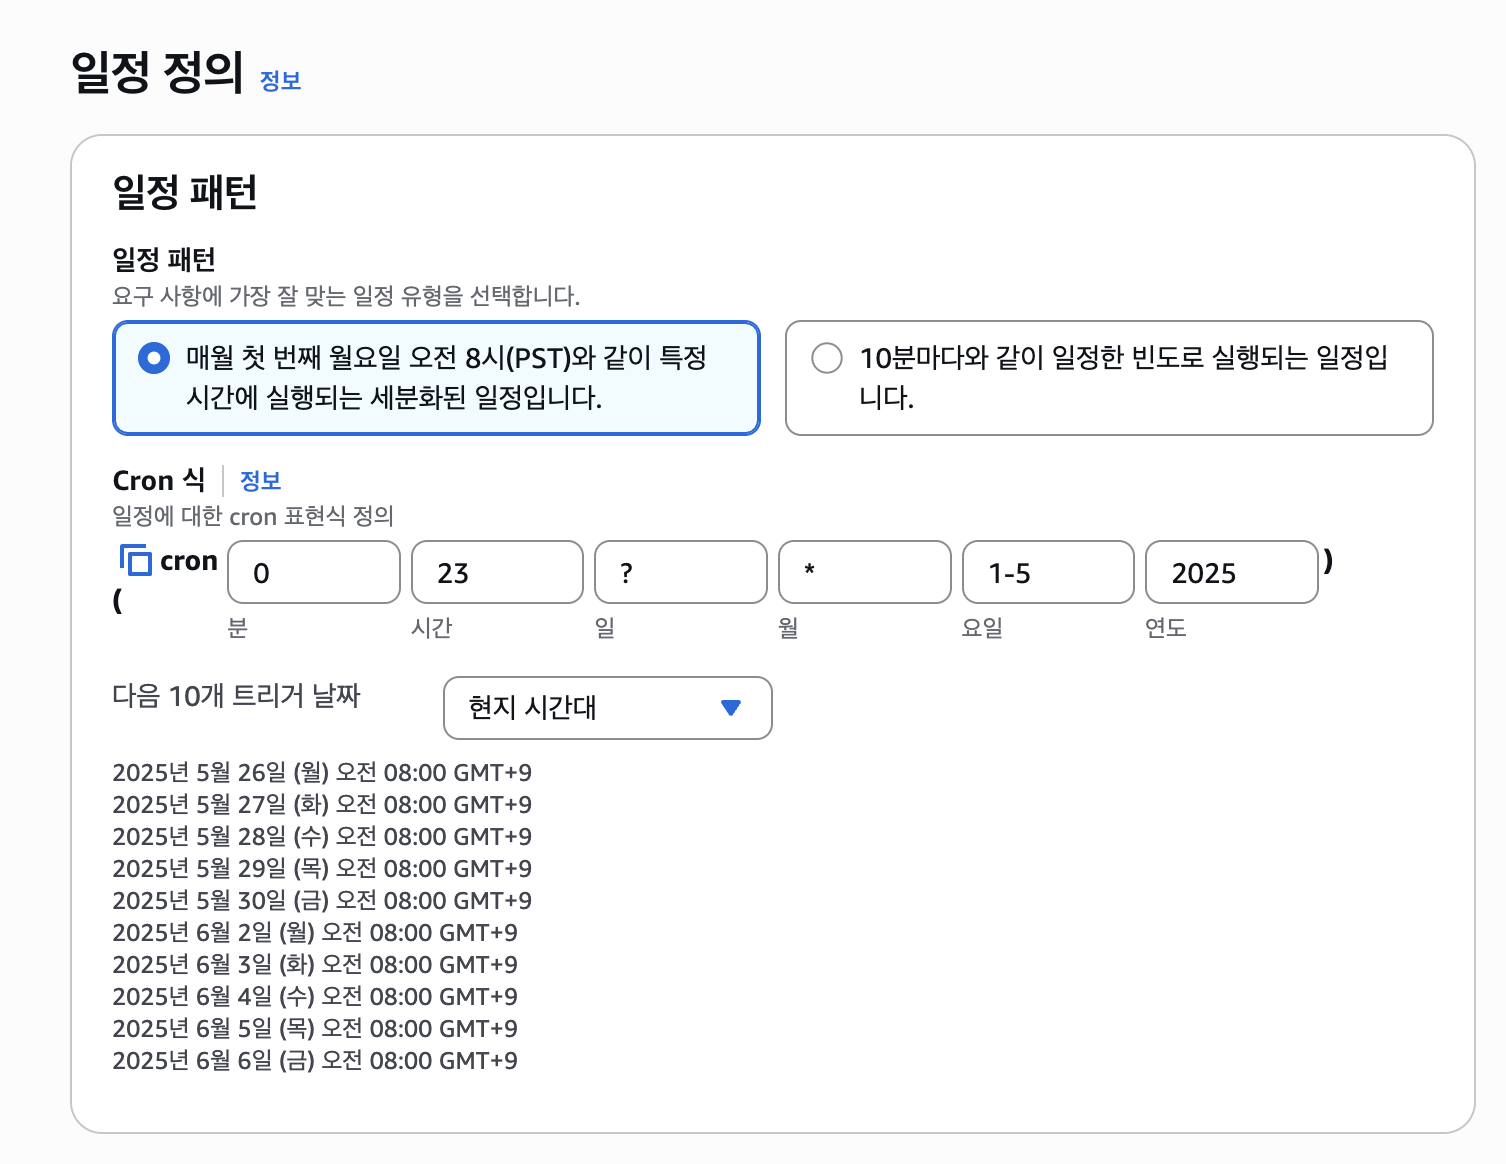
- 전날 23시에 전송하도록 수정하니, 스크립트에 작성되어있는 날짜도 전날로 나와 로직을 수정했다
const getDateText = () => {
const today = new Date();
// 추가한 로직, 한국 시간에 맞게 다음 날 날짜를 가져왔다
today.setDate(today.getDate() + 1);
const month = today.getMonth() + 1;
const date = today.getDate();
const day = today.getDay();
return `${month}/${date} (${dayText[day]})`;
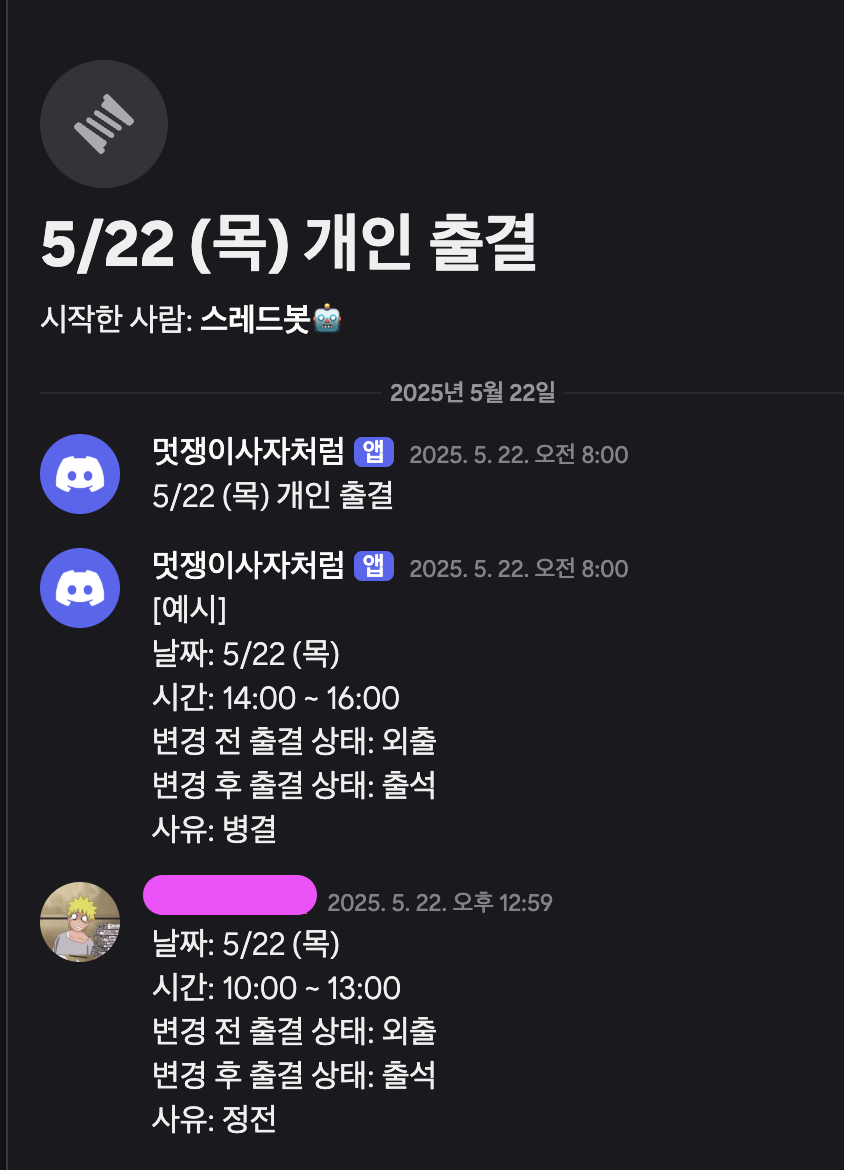
};실제 디스코드에 전송된 모습
- 일하는 곳에서 사용하는 모습이다
- 아침 8시마다 전송 잘 되고 있으면 기분이 좋다
마무리
그냥 개발자라면 이 정도는 가볍게 자동화 해야지라는 생각으로 시작했는데
나름 코드도 깔끔하게 작성하려고 노력하고 이것 저것 찾아보며 경험한 게 재밌었다
지금 진행하고 있는 프로젝트도 더 재밌게 할 수 있을 것 같다

프론트엔드 개발 블로그