![]()

Swagger란?
API 생성을 자동화 해주는 도구이다.
Swagger를 사용하지 않으면 문서를 사람이 직접 작성해 공유해야 했지만, Swagger가 문서화를 자동으로 생성해주어 문서 작성 시간을 줄일 수 있게 되었다.
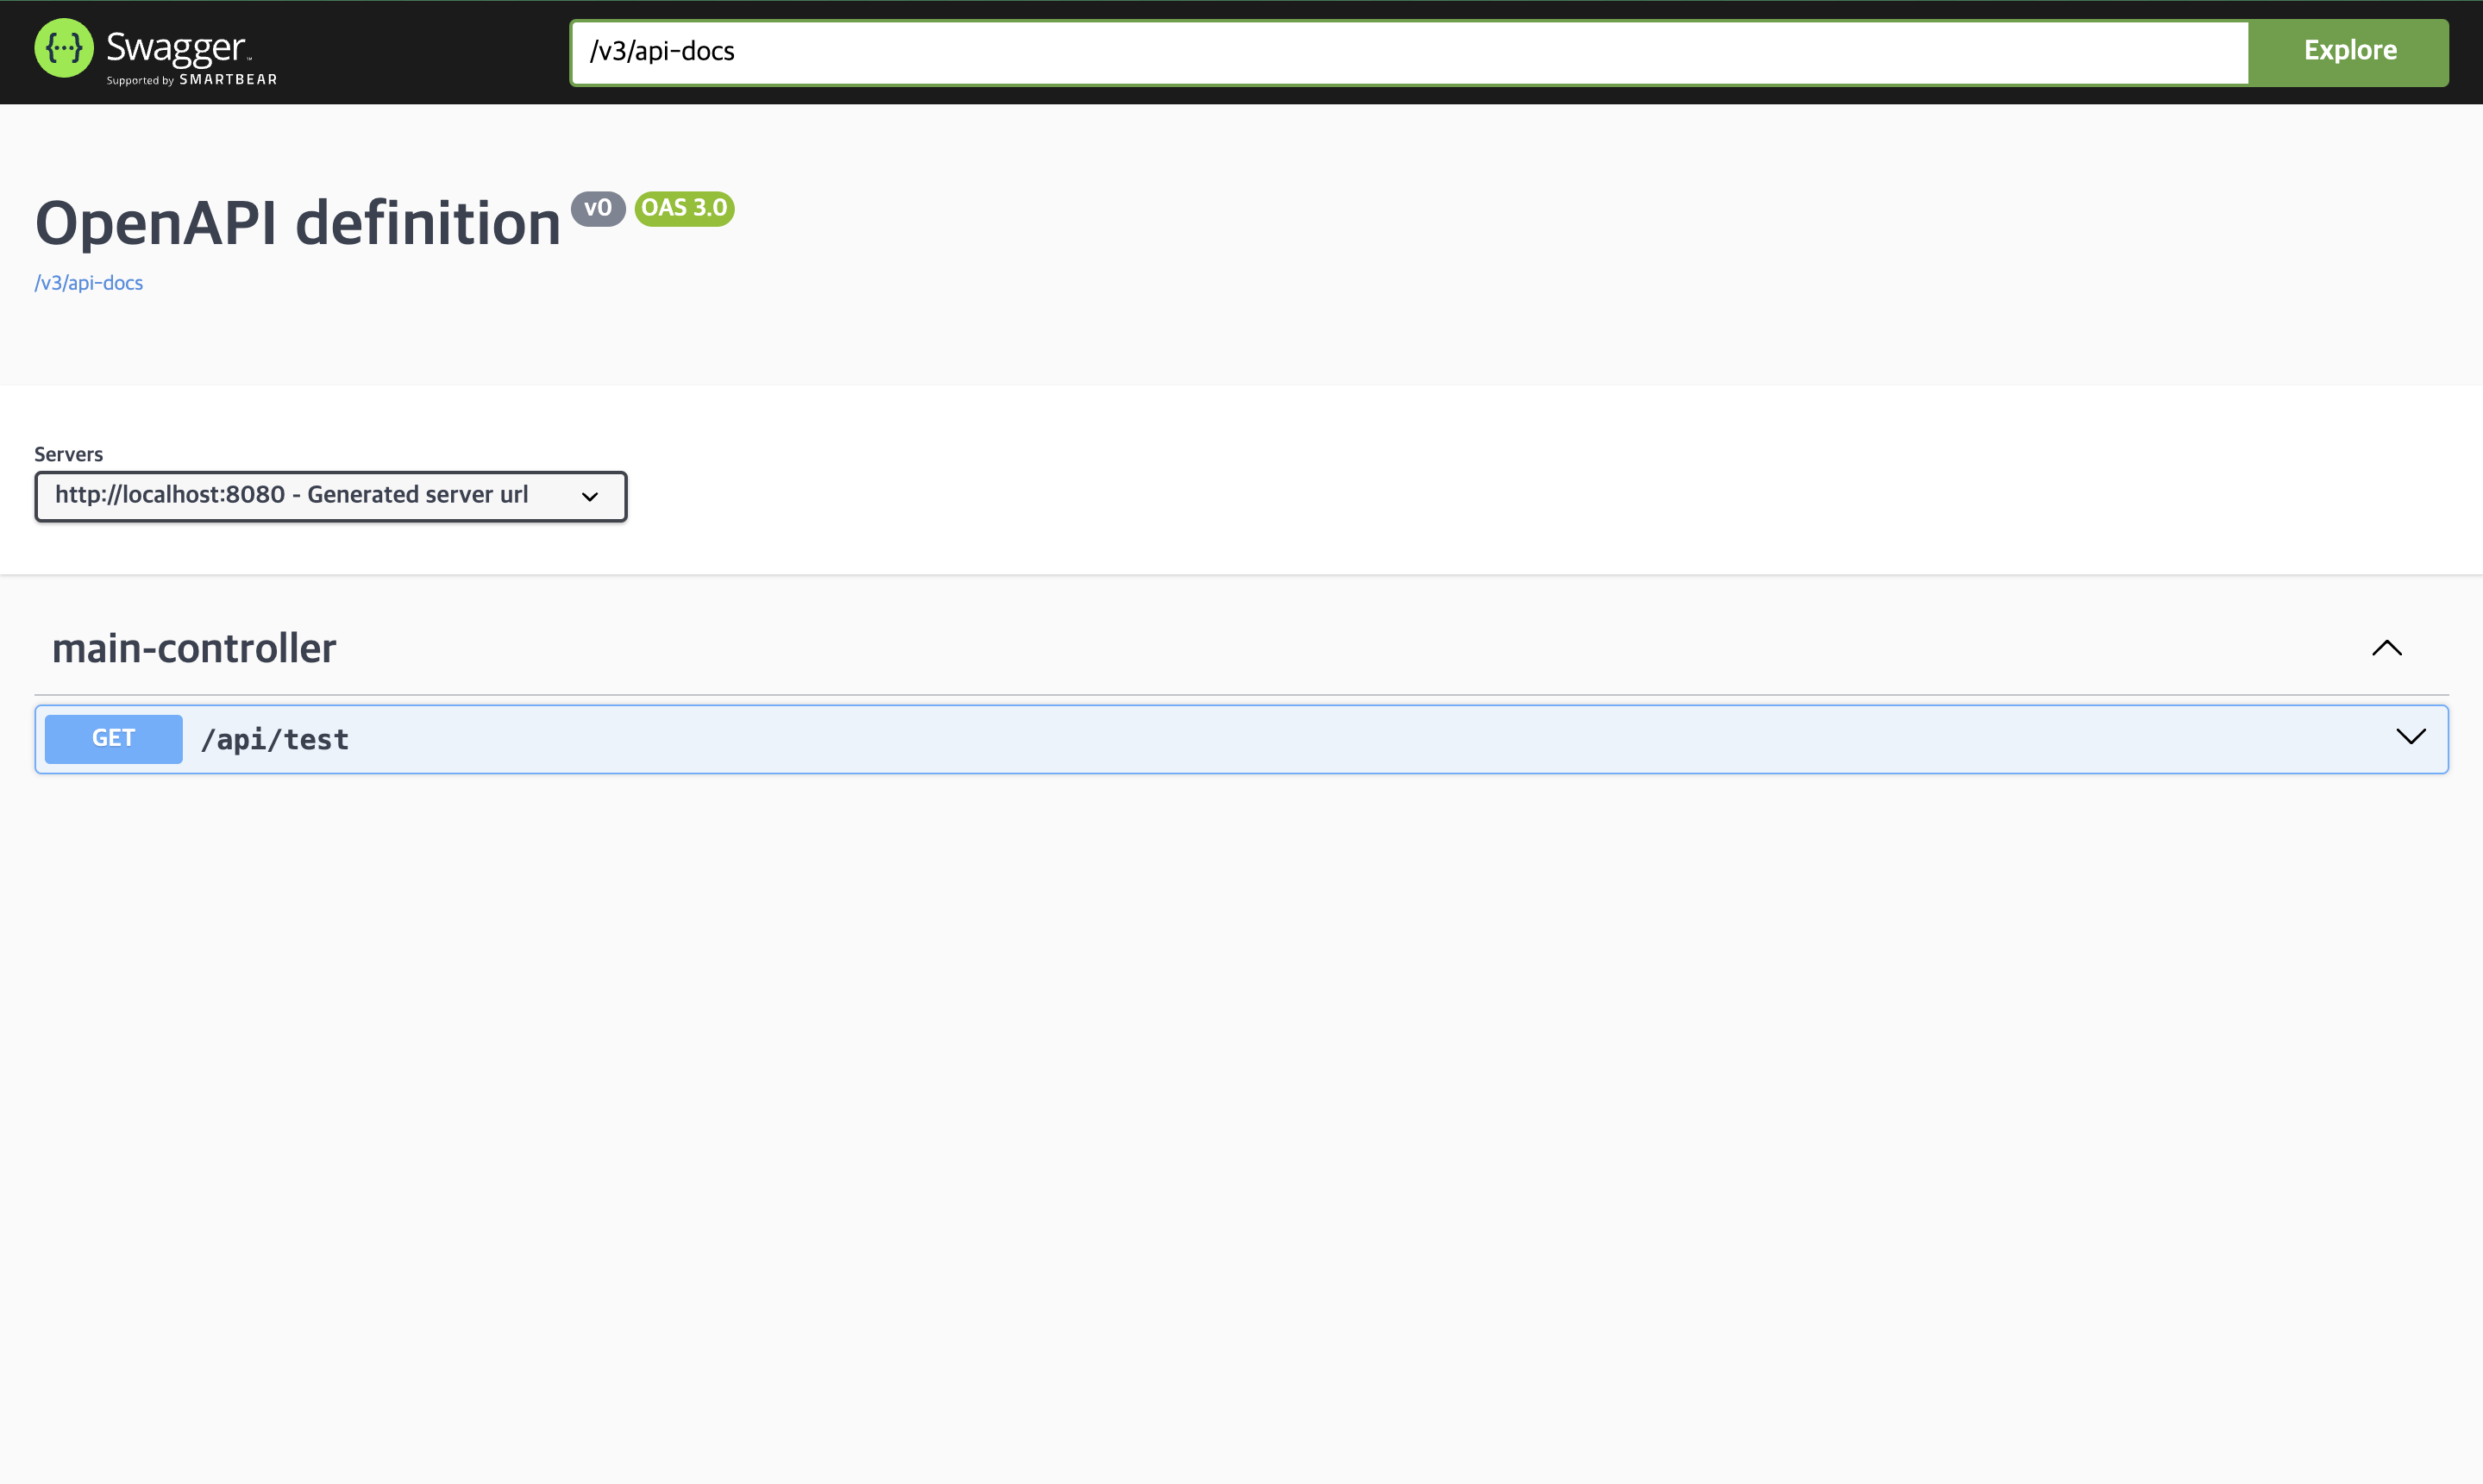
controller에서 정보를 읽어와 웹뷰를 통해 보여주는 모습
사용법
Spring boot 프로젝트에 다음 의존성을 추가해주면 된다.
dependencies {
	implementation("org.springdoc:springdoc-openapi-starter-webmvc-ui:2.3.0")
}
그리고 나서 http://localhost:8080/swagger-ui/index.html 에 접속하면 위와 같은 화면을 볼 수 있다.
주의
spring-fox를 이용한 swagger Dependency를 추가한 경우 최신 버전 Spring boot에서 동작하지 않을 수 있다.
dependencies {
	implementation("io.springfox:springfox-swagger2:3.0.0")
	implementation("io.springfox:springfox-swagger-ui:3.0.0")
}설정
@Tag
@Tag(name = "test")
분류를 설정한다.

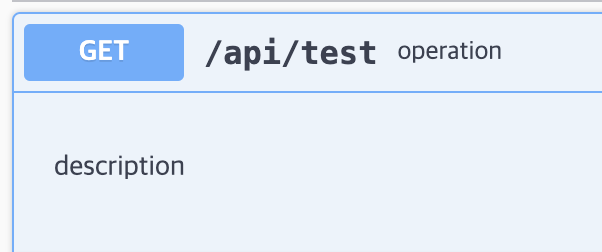
@GetMapping("/api/test")
@ResponseBody
@Tag(name = "test")
public String test(HttpServletRequest req) {
	return "Hello world!";
}
@Operation
@Operation(summary = "operation", description = "description")
API의 동작을 설명한다.

@Parameter
@Parameter(name = "name", description = "name parameter", required = true)
파라미터를 설명한다.

@GetMapping("/api/test")
@ResponseBody
@Parameter(name = "name", description = "name parameter", required = true)
public String test(HttpServletRequest req, @RequestParam(name = "name") String name) {
	return "Hello world!";
}
@RequestBody
https://github.com/swagger-api/swagger-core/wiki/Swagger-2.X---Annotations#requestbody
API 요청시 Body를 포함해야 한다는 것을 나타내기 위해 사용한다.
(ResponseBody와는 다른 Annotation이다)
@ApiResponse
그 외
그 외의 기능은 여기서 확인할 수 있다.
https://github.com/swagger-api/swagger-core/wiki/Swagger-2.X---Annotations
