✍︎
여러 블로그 글을 짬뽕시켜 진행했던 기록입니다.
1. 📃 무료 SSL 인증서 발급받기
📎 [CentOS 7] Let's Encrypt CA의 무료 SSL 인증서 발급 및 자동갱신하기
인증서 발급! 까지는 위의 블로그 글을 따라 진행했으나, 원본 글쓴이는 apache여서 인증서 설정 단계에서 튕겨나옴
1. Let's Encrypt 사용할 것임
이메일만 있어도 무료로 발급 가능함
2. Certbot 설치
2-1. epel-release 설치
yum repolist 명령으로 현재 서버에서 이용하고 있는 yum 저장소 목록 조회
나는 저장소 목록에 'epel'이 있어서 'epel-release' 설치 단계는 건너 뛰었음
2-2. certbot 설치
sudo yum install certbot python2-certbot-nginx
3. 인증서 발급
📌
발급 옵션 중 standalone 옵션(Run a standalone webserver for authentication)을 사용할건데, 이 옵션은 발급 시 잠시 웹 서버를 멈추고 발급 받아야함.
그래서 발급 받기 전에systemctl stop nginx하기!
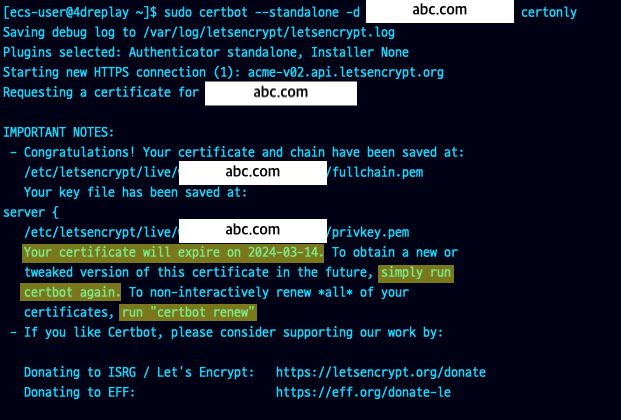
sudo certbot --standalone -d <도메인주소> certonly
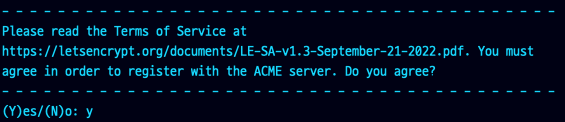
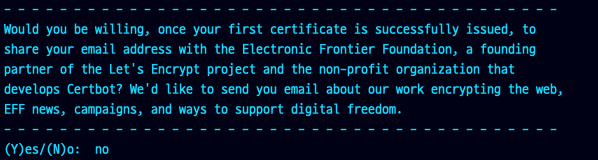
명령 시 아래 이미지와 같은 안내문 두개 뜸. 하나는 필수 동의해야 register 가능한 항목이고, 하나는 이메일 수신 동의하는 내용.
📌
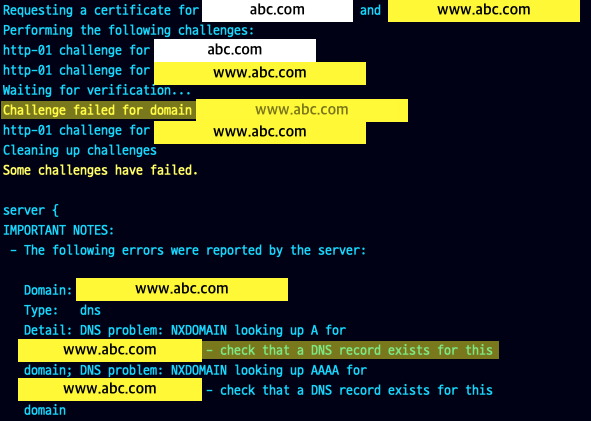
만약에 도메인 주소가 abc.com 이라면
-d www.abc.com,-d api.abc.com등 서브 도메인들도 한번에 옵션설정 가능함
근데 DNS 설정 되어있어야 가능한 듯. 아니면 아래와 같은 메시지 뜸
발급 성공 시 Congratulations! 하면서 key file 위치를 안내해줌
인증서 만료 날짜를 고지해주고, 재발급 받을 때 certbot을 다시 실행해서 인증서 옵션을 수정하거나, 그냥 모든 인증서를 그대로 갱신하려면 certbot renew 명령하면 된다고 안내해줌
2. 🔐 발급받은 SSL 적용 시키기
📎 CentOS7 + nginx 에 Lets Encrypt 무료인증서 설치 & 설정
🌐 SSL Configuration Generator설정부터는 위 블로그 글과 SSL Config generator를 참고해서 conf 파일 작성함
443 포트 방화벽 오픈 ... 안했음
위의 블로그에서는 하라는데 ... 원래 열려있나 ...? 모르겠음.
프로젝트.conf 파일 수정
server {
  listen 80;
  server_name abc.com;

  #http로 접속할 경우 https로 리다이렉트
  return 301 https://$host$request_uri;
}


server {
  listen 443 ssl;
  listen [::]:443 ssl;
  http2 on;
  server_name abc.com;

  ssl_certificate /etc/letsencrypt/live/abc.com/fullchain.pem;
  ssl_certificate_key /etc/letsencrypt/live/abc.com/privkey.pem;

  location / {
    root   /home/build;
    index  index.html index.htm;
    try_files $uri $uri/ /index.html;
  }

}
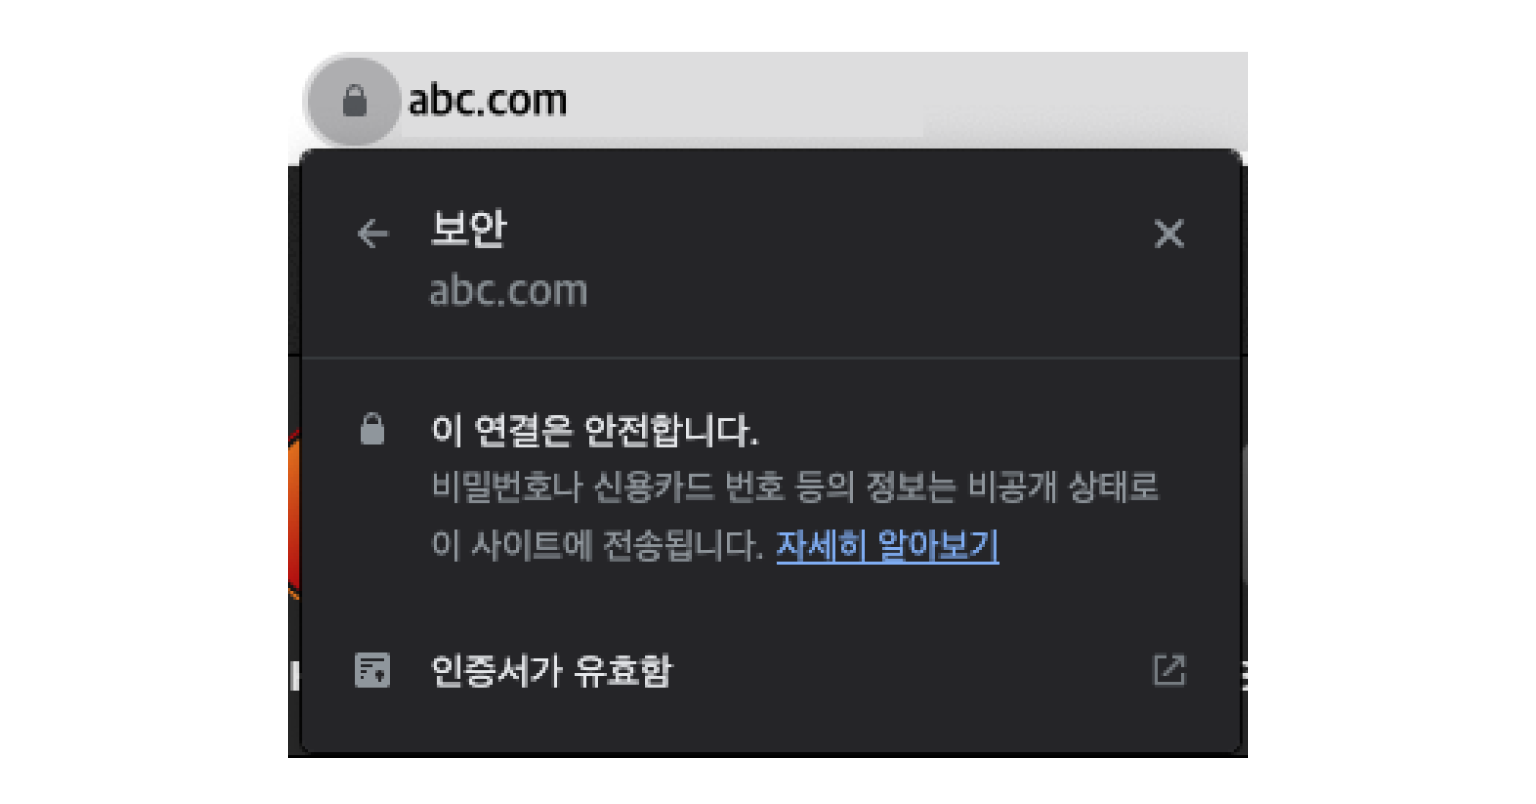
conf 파일 수정 후 systemctl start nginx 하면 적용 되어있음 !!
📌
config generator에listen 443 ssl http2;라고 적혀있어서 그대로 따라 썼는데
the "listen ... http2" directive is deprecated, use the "http2" directive instead경고 나와서http2 on;으로 따로 뺌
끝 ~