Argo CD
Argo CD란 GitOps스타일의 지속적인 배포(CD, Continuous Delivery / Continuous Deployment를 지원하는 도구입니다.
Git Repository의 내용이 업데이트 되면 변경된 내용을 Kubernets 클러스터에 동기화시켜주는 방식으로 동작합니다.
Argo CD는 Kubernetes와 같이 선언적으로 동작합니다.
Git Repository의 특정 경로를 지정하고, 해당 경로에 원하는 Kubernetes의 상태가 기술된 manifest파일들을 위치시키면 Argo CD가 해당 파일에 선언한 상태들과 동일하게 Object들을 배포해줍니다.
Argo CD 설치
Argo CD를 설치하는 방법은 크게 두 가지가 있습니다.
yaml를 이용해 설치helm을 이용해 설치
yaml을 통한 방법을 이용해 Argo CD를 설치해 보겠습니다.
Argo CD를 배포하기 위한 Kubernetes환경은 미리 구성되어있어야 합니다.
구성이 되어있지 않다면 Kubenetes 실습을 위한 Minikube 환경 구성을 참고하여 Minkube를 구성하면 간단하게 테스트를 진행할 수 있습니다.
실습환경
- AWS EC2 (2core Cpu, 2GB Memory, 20GB Disk)
- Minikube Kubernetes Cluster
1. yaml를 통한 설치
그럼 공식 Github Repository에 나와있는 가이드대로 yaml을 통한 설치를 진행하겠습니다.
참고 : 공식 Github Repository
# namespace 생성
$ kubectl create namespace argocd

# 공식 Github Repository yaml파일을 이용해 ArgoCD 설치
$ kubectl apply -n argocd -f https://raw.githubusercontent.com/argoproj/argo-cd/v2.3.3/manifests/install.yaml
먼저 공식 Github Repository의 yaml파일을 이용해 argocd namespace를 생성하고, Pod을 배포하겠습니다.
# Pod 조회
$ kubectl get pod -n argocd

NAME                                                READY   STATUS              RESTARTS   AGE
argocd-application-controller-0                     0/1     ContainerCreating   0          40s
argocd-applicationset-controller-79f97597cb-62m99   0/1     ContainerCreating   0          41s
argocd-dex-server-6fd8b59f5b-cj2sn                  0/1     PodInitializing     0          41s
argocd-notifications-controller-5549f47758-5vkgm    0/1     ContainerCreating   0          41s
argocd-redis-79bdbdf78f-dd9f5                       0/1     ContainerCreating   0          41s
argocd-repo-server-5569c7b657-r7g58                 0/1     PodInitializing     0          41s
argocd-server-664b7c6878-5hl97                      0/1     ContainerCreating   0          41s
Argo CD의 Pod들이 올라간걸 확인할 수 있습니다.
배포한 Argo CD는 Kubernetes 클러스터에 위치하고 있습니다.
CI/CD 담당자가 외부에서 Argo CD 콘솔에 접속하여 관리를 하기 위해서는 외부에 Argo CD Pod을 노출시켜야 합니다.
먼저 초기 배포 시 Argo CD의 Service 목록을 확인해 보겠습니다.
# Service 목록 조회
$ kubectl get service -n argocd

NAME                                      TYPE        CLUSTER-IP      EXTERNAL-IP   PORT(S)                      AGE
argocd-applicationset-controller          ClusterIP   10.108.102.54   <none>        7000/TCP                     4m52s
argocd-dex-server                         ClusterIP   10.96.15.205    <none>        5556/TCP,5557/TCP,5558/TCP   4m52s
argocd-metrics                            ClusterIP   10.107.68.70    <none>        8082/TCP                     4m52s
argocd-notifications-controller-metrics   ClusterIP   10.97.17.8      <none>        9001/TCP                     4m52s
argocd-redis                              ClusterIP   10.107.29.83    <none>        6379/TCP                     4m52s
argocd-repo-server                        ClusterIP   10.98.77.243    <none>        8081/TCP,8084/TCP            4m52s
argocd-server                             ClusterIP   10.109.243.98   <none>        80/TCP,443/TCP               4m52s
argocd-server-metrics                     ClusterIP   10.96.174.241   <none>        8083/TCP                     4m52s
조회된 서비스 목록을 보면 argocd-server라는 이름의 Service가 눈에 띕니다.
80/TCP, 443/TCP를 사용하고 있는 것을 보니 Argo CD의 웹 콘솔에 접근하기 위한 Service인 것 같습니다.
해당 Service를 자세히 살펴봅시다.
# argocd namespace의 argocd-server service 조회
$ kubectl edit svc argocd-server -n argocd

apiVersion: v1
kind: Service
metadata:
  annotations:
    kubectl.kubernetes.io/last-applied-configuration: |
      {"apiVersion":"v1","kind":"Service","metadata":{"annotations":{},"labels":{"app.kubernetes.io/component":"server","app.kubernetes.io/name":"argocd-server","app.kubernetes.io/part-of":"argocd"},"name":"argocd-server","namespace":"argocd"},"spec":{"ports":[{"name":"http","port":80,"protocol":"TCP","targetPort":8080},{"name":"https","port":443,"protocol":"TCP","targetPort":8080}],"selector":{"app.kubernetes.io/name":"argocd-server"}}}
  creationTimestamp: "2022-04-13T01:44:25Z"
  labels:
    app.kubernetes.io/component: server
    app.kubernetes.io/name: argocd-server
    app.kubernetes.io/part-of: argocd
  name: argocd-server
  namespace: argocd
  resourceVersion: "2217"
  uid: 9d87832f-4b69-437a-9d09-41b9c58eb142
spec:
  clusterIP: 10.109.243.98
  clusterIPs:
  - 10.109.243.98
  internalTrafficPolicy: Cluster
  ipFamilies:
  - IPv4
  ipFamilyPolicy: SingleStack
  ports:
  - name: http
    port: 80
    protocol: TCP
    targetPort: 8080
  - name: https
    port: 443
    protocol: TCP
    targetPort: 8080
  selector:
    app.kubernetes.io/name: argocd-server
  sessionAffinity: None
  type: ClusterIP
status:
  loadBalancer: {}
10.109.243.98 Cluster IP의 TCP 80과 443포트로 들어오는 요청이 selector에 의해 선택된 Key가 app.kubernetes.io/name이고 Value가 argocd-server인 Label을 가진 Pod의 8080 포트로 전달되는 것을 확인할 수 있습니다.
그럼 어떤 Pod이 해당 Label을 가지고 있는지 찾아보겠습니다.
# Pod의 Label 정보 조회
$ kubectl get pod --show-labels -n argocd | grep app.kubernetes.io/name=argocd-server

argocd-server-664b7c6878-5hl97 1/1 Running 0 28m app.kubernetes.io/name=argocd-server,pod-template-hash=664b7c6878argocd-server가 접두사로 달린 Pod에 해당 Label이 붙어 있는 것을 찾았습니다.
그럼 이제 웹 콘솔 접속을 위해 해당 Pod에 외부에서 접근할 수 있도록 Service를 NodePort로 변경하겠습니다.
# argocd-server service의 type NodePort로 변경
$ kubectl patch svc argocd-server -n argocd -p '{"spec": {"type": "NodePort"}}'
argocd-server Service의 type을 NodePort로 변경하고 다시 해당 Service의 정보를 확인해보겠습니다.
# argocd namespace의 argocd-server service 조회
$ kubectl edit svc argocd-server -n argocd

# Nodeport 변경 전
spec:
# 중략
	ports:
  - name: http
    port: 80
    protocol: TCP
    targetPort: 8080
  - name: https
    port: 443
    protocol: TCP
    targetPort: 8080
  selector:
    app.kubernetes.io/name: argocd-server
  sessionAffinity: None
  type: ClusterIP

# NodePort 변경 후
spec:
# 중략
  ports:
  - name: http
    nodePort: 31010
    port: 80
    protocol: TCP
    targetPort: 8080
  - name: https
    nodePort: 32638
    port: 443
    protocol: TCP
    targetPort: 8080
  selector:
    app.kubernetes.io/name: argocd-server
  sessionAffinity: None
  type: NodePort
status:
  loadBalancer: {}
이제 Serivce의 type을 NodePort로 변경한 뒤 어떤 변화가 있는지 비교해 보겠습니다.
type이 ClusterIP에서 NodePort로 변경되었고, spec.ports[]에 nodePort라는 key가 추가되었습니다.
포트는 31010과 32638로 설정되었고, 각각 Cluster IP의 80과 443 Port로 전달되며, 전달된 트래픽은 Pod의 8080번 포트로 다시 전달됩니다.
이제 웹 콘솔에 접속해 보겠습니다.
https://서버IP:31010
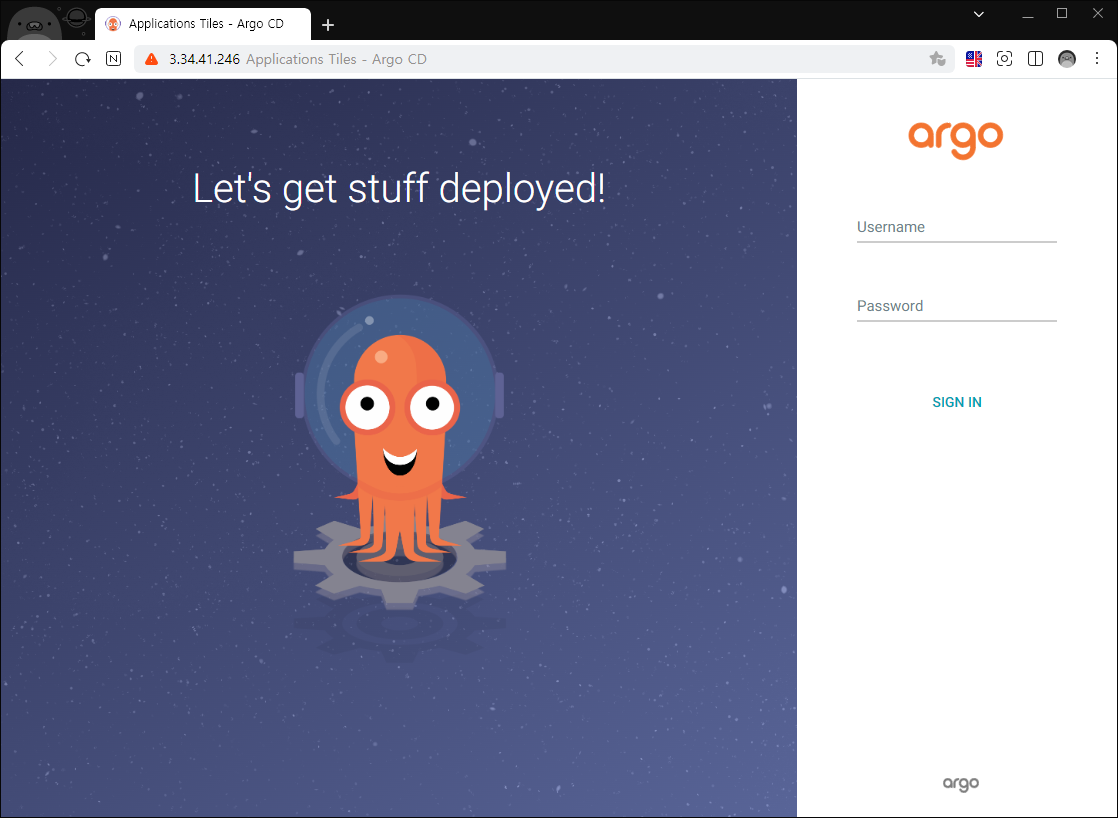
Argo CD 웹 콘솔에 정상적으로 접근에 성공하였습니다.
이제 로그인을 해보겠습니다.
Argo CD는 argocd-initial-admin-secret이라는 Secret에 초기 비밀번호를 저장해 놓습니다.
# secret에서 data.password 값 조회
kubectl get secret argocd-initial-admin-secret -n argocd -o jsonpath="{.data.password}" ;echo
이렇게 얻은 password값을 이용해 로그인을 시도하면 로그인에 실패하게 됩니다.
이는 password값이 암호화 되어있기 때문입니다.
비밀번호의 평문 값을 얻기 위해서는 위의 명령어에 디코딩을 하는 부분이 추가되어야 합니다.
여담이지만 암호문의 끝이 ==로 끝나는 것은 base64 암호화의 특징이므로 base64 디코딩을 수행하겠습니다.
# decoding
$ kubectl -n argocd get secret argocd-initial-admin-secret -o jsonpath="{.data.password}" | base64 -d; echo
이제 해당 값으로 로그인을 시도하겠습니다.
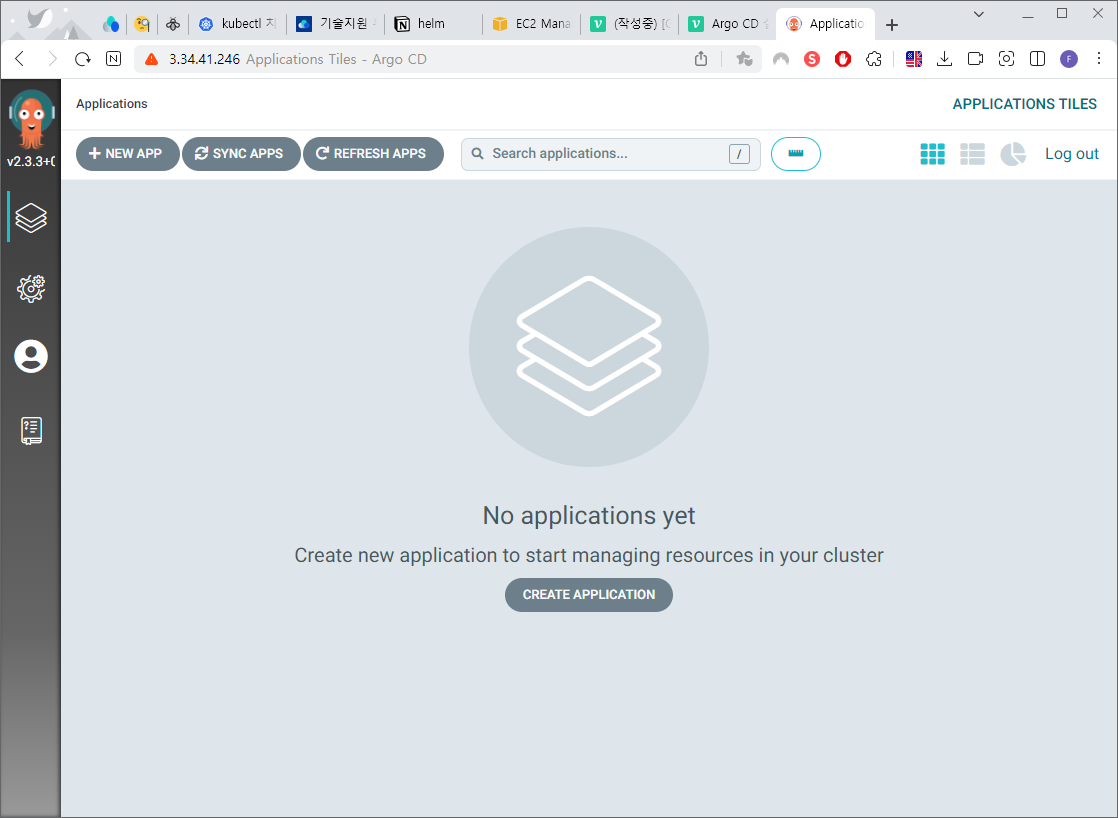
로그인에 성공했습니다!