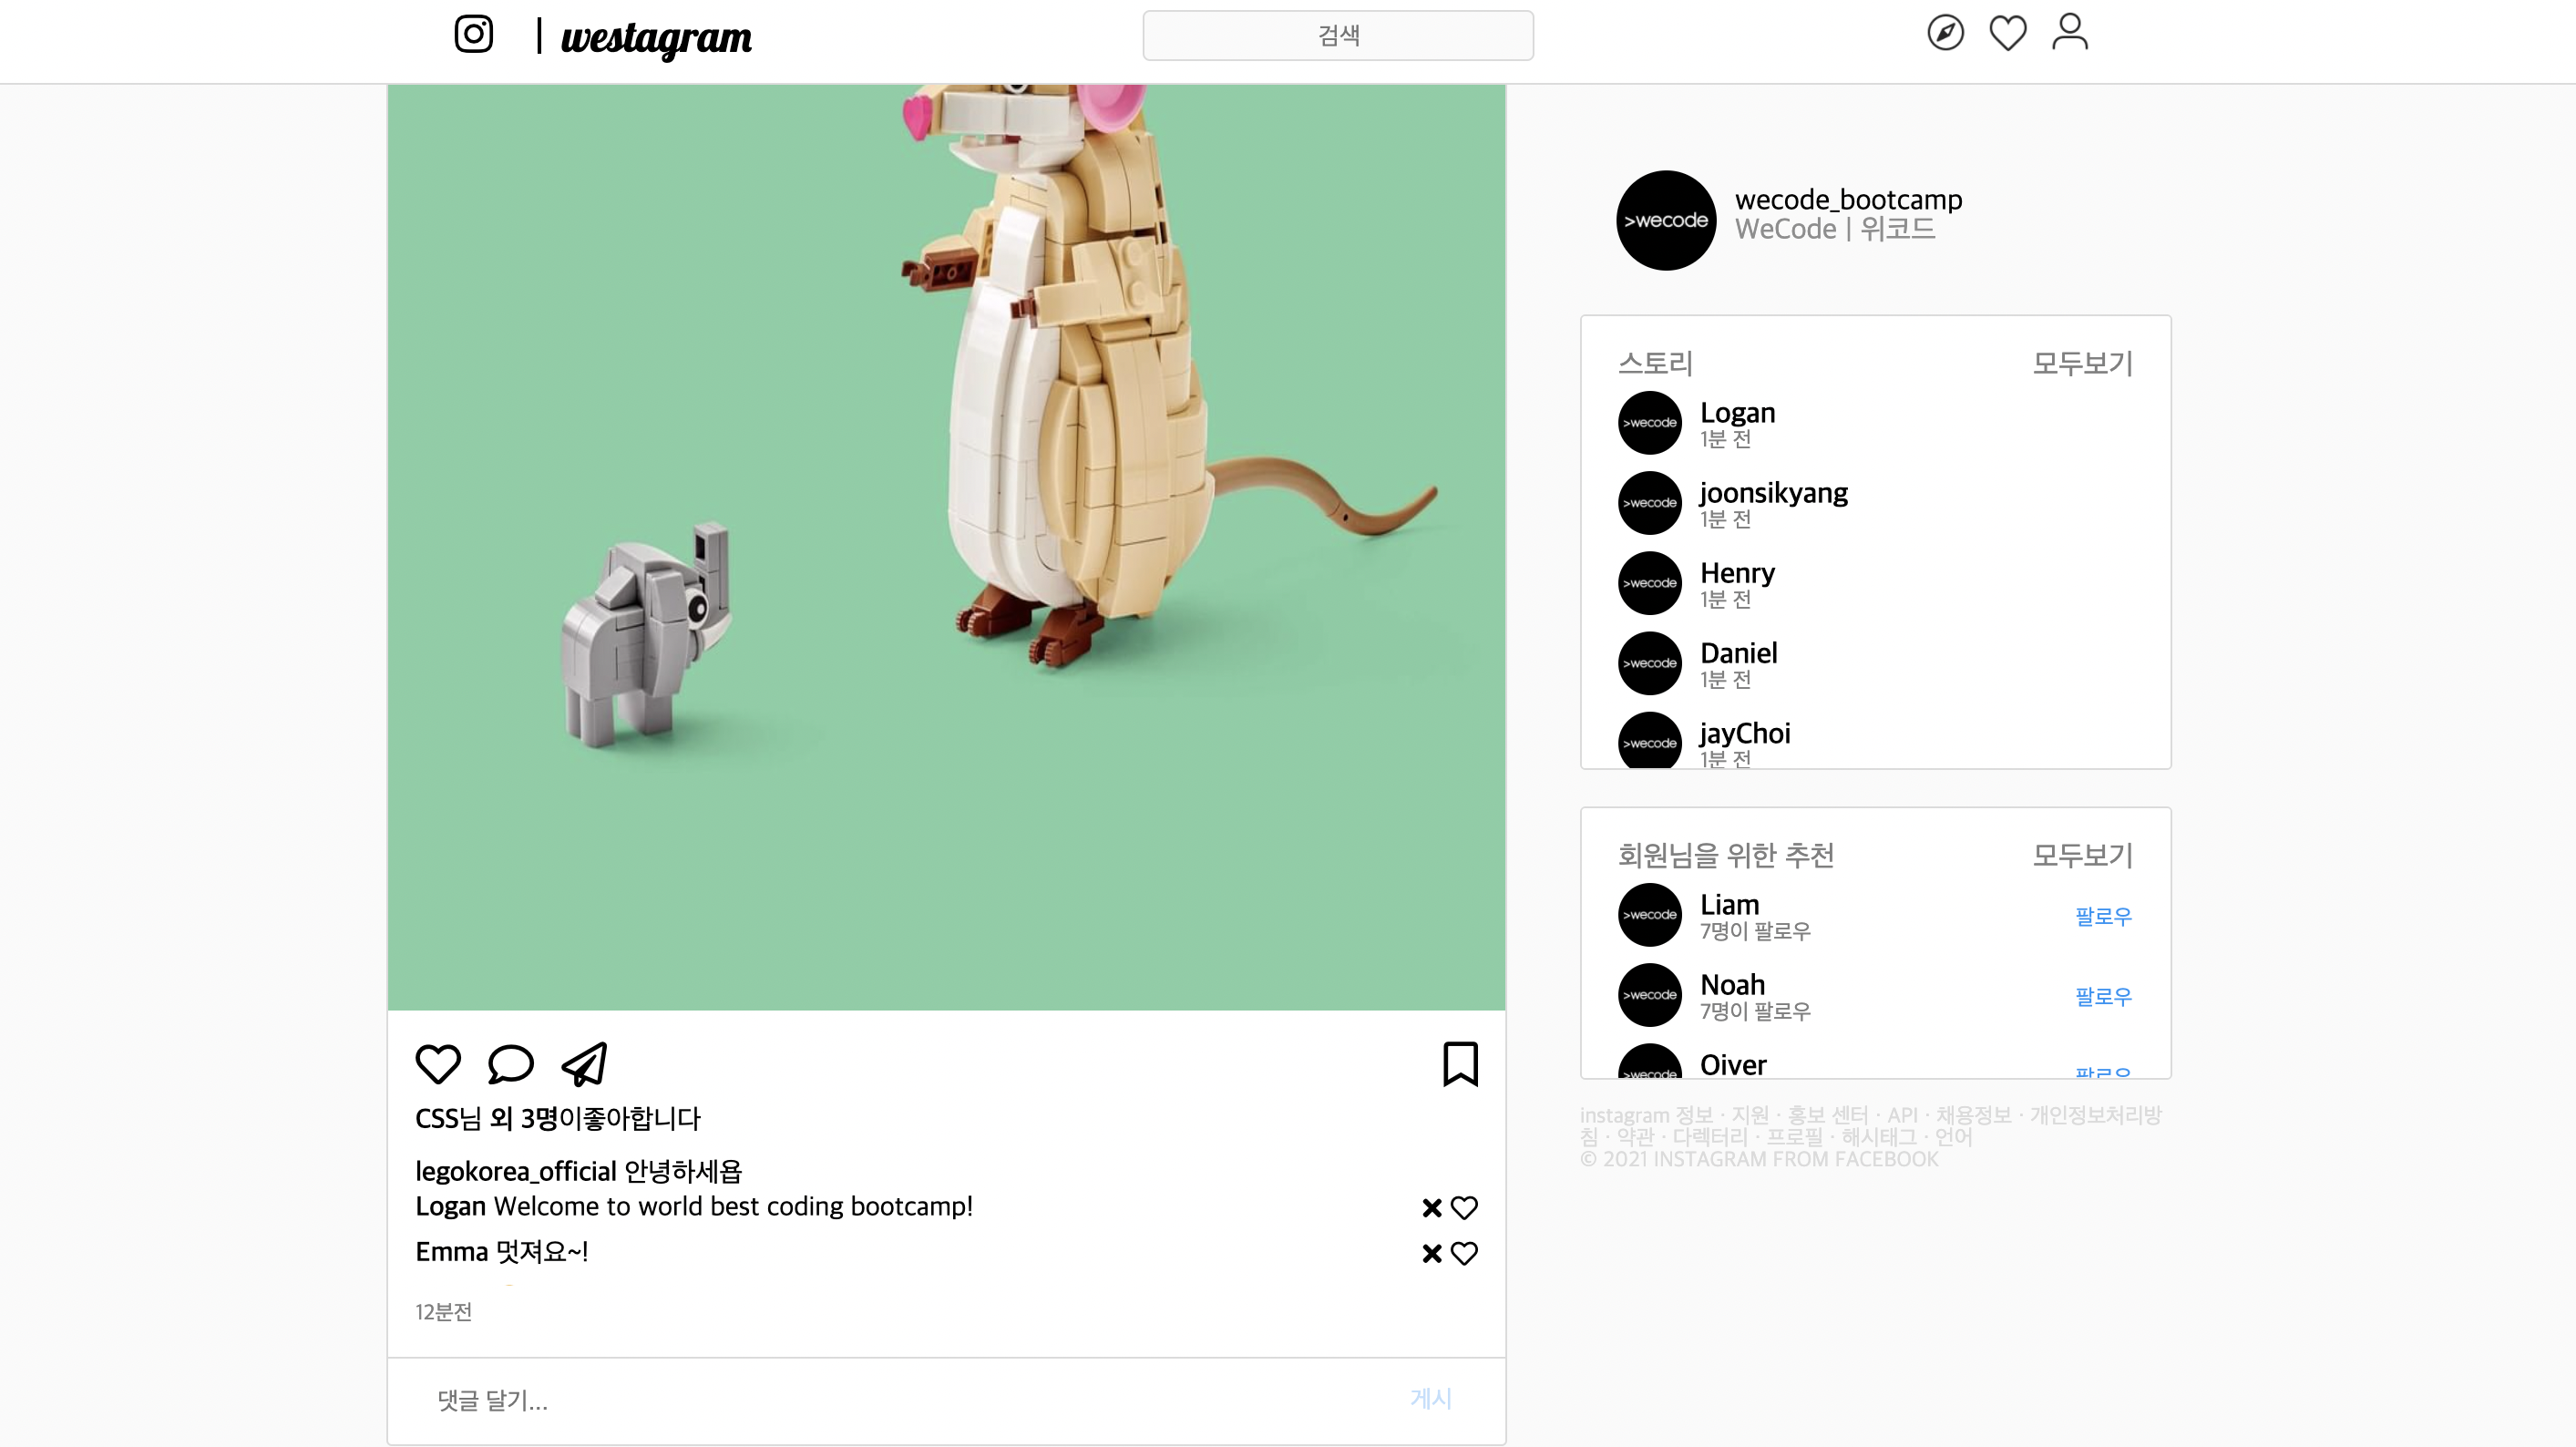
저번에 바닐라 자바스크립트로 만든 인스타그램을 리액트로 구현해봤다.
리액트를 공식 문서로 만 공부했을 때보다 확실히 키보드로 쳐보면서 하니 많이 익숙해진 거 같다.
1. Login Page
constructor(props) {
super(props);
this.state = {
id: '',
pw: '',
};
}
handleInput = e => {
const { value, id } = e.target;
this.setState(
{
[id]: value,
},
this.activeLogin
);
};
render() {
const { id, pw } = this.state;
const isButtonDisabled = id.includes('@') && pw.length >= 5;
return (
<div className="loginPalanbyul">
<main>
<div className="logo">Westagram</div>
<article>
<form>
<div className="loginId">
<input
id="id"
type="text"
placeholder="전화번호, 사용자 이름
또는 이메일"
className="idValue"
onChange={this.handleInput}
/>
</div>
<div className="loginPassword">
<input
id="pw"
type="password"
placeholder="비밀번호"
className="passwordValue"
onChange={this.handleInput}
/>
</div>
<div>
<button
type="button"
className="loginBtn"
onClick={this.goToMain}
disabled={!isButtonDisabled}
>
로그인
</button>
</div>
</form>
</article>
<footer>비밀번호를 잊으셨나요?</footer>
</main>
</div>
);
}1. ID & PW 유효성 검사 ⚠️
아이디 입력 값에 @, 비밀번호 5글자 이상 시 로그인 버튼이 활성화되게 로직을 만들어 봤다. 아래 내용은 처음에 만든 로직이다.
handleInput = e => {
  this.setState({ id: e.target.value });
  this.state.id.indexOf('@') > 0 && this.state.pw.length >= 4
    ? this.setState({ backgroundColor: '#0095F6' })
    : this.setState({ backgroundColor: '#C4E1FB' });
};
이 로직을 사용했을 때 문제가 생겼다. 5글자 이상에서 로그인 버튼이 활성화가 돼야 되는데 이상하게 작동한다. 그래서 철진님께 질문해보니 setState의 작동 방식이 비동기적이기 때문이라고 하셨다. this.setState를 실행하고 바로 console.log를 실행해도 DOM에 보이는 것보다 한 박자 늦게 숫자가 입력된다. console.log 실행되는 시점은 setState에 의해 state가 변경되기 전이라는 것이다. 해결법은 콜백 함수를 쓰는 것이다. setState(state 변경, callback)
2. Fetch를 이용 API 통신으로 회원가입 & 로그인
Postlogin = () => {
    fetch('주소, {
      method: 'POST',
      body: JSON.stringify({
        id: this.state.id,
        pw: this.state.pw,
        name: '사용자이름',
        phone_number: '010-1234-5678',
        date_of_birth: '1999-01-01',
      }),
    })
      .then(response => response.json())
      .then(response => {
        if (response.message === 'SUCCESS') {
          alert('성공');
        } else if (response.message === 'INVALID_USER') {
          alert('이메일과 비밀번호를 다시 확인해주세요');
        }
      });
  };
Fetch 함수를 이용하여 사용자의 이메일과 아이디를 입력하고 백엔드에서 준 주소로 보내면 회원가입과 로그인이 된다. 그 이후에 토큰을 받아서 게시물 올리는 부분까지 구현을 해봤다.
addPost = () => {
    fetch('주소', {
      method: 'POST',
      body: JSON.stringify({
        feed_text: this.state.id,
        image_url: this.state.pw,
      }),
      headers: {
        Authorization:
          '토큰 값',
      },
    });
  };
2. Main Page
1. Mock Data
[
  {
    "userName": "유저이름",
    "userImg": "https://cpht525388630_152172.jpg",
    "id": 1,
    "src": "이미지 주소",
    "feedText": "안녕하세요~",
    "isLiked": false,
    "commentList": [
      {
        "id": 1,
        "userName": "Logan",
        "comment": "Welcome to world best coding bootcamp!"
      },
      {
        "id": 2,
        "userName": "Emma",
        "comment": "멋져요~!"
      },
      {
        "id": 3,
        "userName": "Daniel",
        "comment": "😊"
      }
    ]
  },
  {
    "userName": "유저이름",
    "userImg": "https://goleu1erconWQ8okOXCJ-HyQ2J8a2fNUe2cm_n1TYOPd2MQ1RKGo",
    "id": 2,
    "src": "이미지 주소",
    "feedText": "안녕하세요!!",
    "isLiked": false,
    "commentList": [
      {
        "id": 1,
        "userName": "Sophia",
        "comment": "안녕하세요 !"
      },
      {
        "id": 2,
        "userName": "Charlotte",
        "comment": "😫"
      },
      {
        "id": 3,
        "userName": "Emerald",
        "comment": "감사합니다"
      }
    ]
  }
이렇게 Mock Data를 작성 후 Map() 함수를 이용해서 각각의 피드의 데이터들과 댓글 목록 데이터를 관리하게 만들었다.
2. 댓글 입력
constructor(props) {
    super(props);
    this.state = {
      commentInput: '',
      commentList: this.props.commentListData,
      id: 4,
      userName: '',
    };
  }
  addMyInfo = () => { // 댓글 입력시 사용자 정보
    this.setState({
      commentList: this.state.commentList.concat({
        id: this.state.id,
        userName: 'wecode_bootcamp',
        comment: this.state.commentInput,
      }),
      commentInput: '',
      id: this.state.id + 1,
    });
  };
  addComment = () => { // 전송버튼으로 댓글추가기능
    if (this.state.commentInput) {
      this.addMyInfo();
    }
  };

  handleEnter = e => { // 엔터로 댓글추가기능
    if (e.key === 'Enter' && this.state.commentInput) {
      this.addMyInfo();
    }
  };
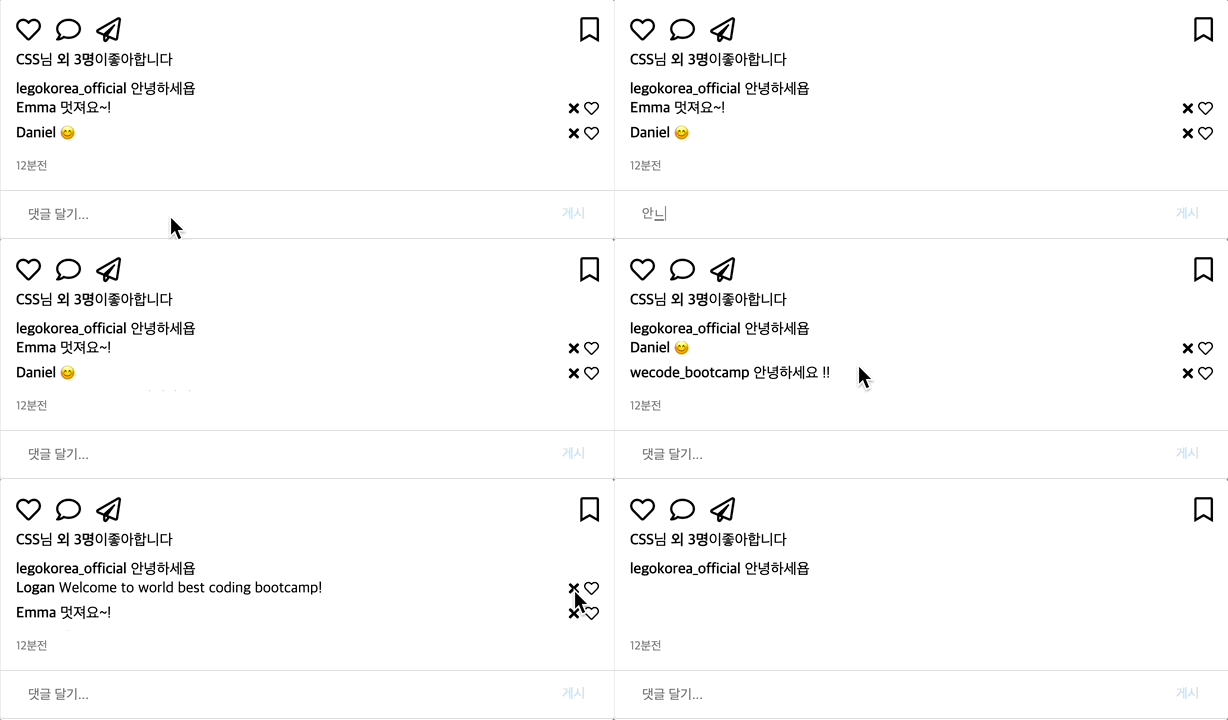
댓글을 작성을 작성하고 전송 버튼을 누르게 되면 기존에 있던 commentList의 데이터 값에 concat으로 인해 댓글이 추가되는 원리이다. 양식은 처음에 json 파일의 데이터들의 양식으로 맞춰줬다.

3. 댓글 삭제 ❌
  onDelete = commentListId => {
    const newComment = this.state.commentList.filter(
      comment => comment.id !== commentListId
    );
    this.setState({ commentList: newComment });
  };
삭제 버튼을 누르게 되면 모든 commentList 중에서 삭제 버튼을 누른 commentList와 일치하는 ID만 제외하고 새로운 commentList를 다시 만들어주고 그 데이터로 기존에 있던 commentList를 변경해 주었다.
4. 스토리 및 팔로잉 추천 🌈
스토리와 팔로잉 부분이 반복적으로 구성되어 있어서 상수 데이터로 정리했다.
const STORY_DATA = [ //스토리 데이터
  {
    id: 1,
    userName: 'Logan',
    src: '이미지주소',
  },
  {
    id: 2,
    userName: 'Daniel',
    src: '이미지주소',
  },
  {
    id: 3,
    userName: 'Henry',
    src: '이미지주소',
  },
const RECOMMEND_DATA = [ // 팔로잉 추천 데이터
{
id: 1,
userName: 'Liam',
src: '이미지주소',
},
{
id: 2,
userName: 'Noah',
src: '이미지주소',
},5. 피드 좋아요 👍
  changeFeedLove = loveId => {
    const likeFeedList = this.state.feedList.map(feed => {
      if (feed.id === loveId) {
        feed.isLiked = !feed.isLiked;
      }
      return feed;
    });
    this.setState({ feedList: likeFeedList });
  };
이것도 댓글 삭제 원리랑 비슷하게 만들었다.
피드에 있는 좋아요 버튼을 누르게 되면 feedList 와 누른 feed의 id와 비교하여 누른 좋아요의 데이터를 불린 값으로 false를 주고 기존의 feedList를 업데이트하는 로직이다.
3. 후기 🔥
검색 기능, 팔로잉 버튼 등 추가 구현들도 하고 싶었는데 리팩토링하면서 시간이 많이 부족했다. (가독성 있게 네이밍 하자 !)
하지만 리액트에 대해서 넓진 않지만 조금 더 깊게 알게 되었고 기본을 대충 하고 넘어가면 당장은 문제가 생기지 않지만 나중에 분명 무너진다는 걸 알게 되는 값진 시간이었다.
인스타그램 클론 코딩하면서 어려움이 많았지만 항상 친절하게 알려주셨던 태수님, 철진님, 도영님 수고하셨고 감사했습니다 🙇🏻♂️


그동안 오오오오래애앳동안 위스타그램 하느라 고생했어유~ 프로젝트 때 볼 수 있을까유?