실시간으로 채팅하는 기능을 구현하려고 한다. 간단한 채팅 기능을 구현하기 위해 Gifted Chat 라이브러리를 활용하여 채팅 앱을 구현하였다. Gifted Chat 라이브러리는 채팅 화면에서 필요한 많은 기능들을 제공하고 있어 빠르게 채팅앱을 구현할 수 있는 장점이 있기에 선택하였다.
Gifted Chat 라이브러리
https://github.com/FaridSafi/react-native-gifted-chat
react-native-gifted-chat 라이브러리를 활용하여 복잡한 채팅화면을 빠르게 구성
설치
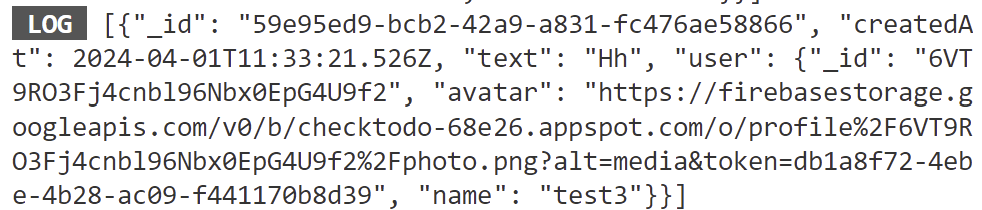
$ npm install react-native-gifted-chat --save메세지 객체에 있는 데이터 중에 id, text, createdAt, user을 사용하였다. GiftedChat을 사용하면 데이터가 배열로 들어온다.
Gifted Chat 라이브러리를 활용하여 입력 메시지를 Cloud Firestore에 메세지 컬렉션 추가
channel.js
import { GiftedChat } from 'react-native-gifted-chat';

(...)
 //메시지 전달함수
    const _handleMessageSend = async (messageList) => {
        const message = messageList[0]; //배열로 들어오기 때문에
        try {
            await createMessage({ channelId: route.params.id, message });
        } catch (e) {
            Alert.alert('Message Error', e.message);
        }
    };
(...)

    return (
        <Container>
            <GiftedChat
                placeholder='Enter a message ...'
                messages={messages}
                showUserAvatar={true}
                user={{ _id: uid, name, avatar: photo }}
                onSend={_handleMessageSend}
                scrollToBottom={true} //**가장 아래로 이동하는 버튼 */
                renderUsername={() => true} //**유저 이름 표시 */
                alwaysShowSend={true} //**send 버튼이 항상 보이도록 */
                multiline={false} //**textaline에서 여러줄 허용 설정 */
            />
        </Container>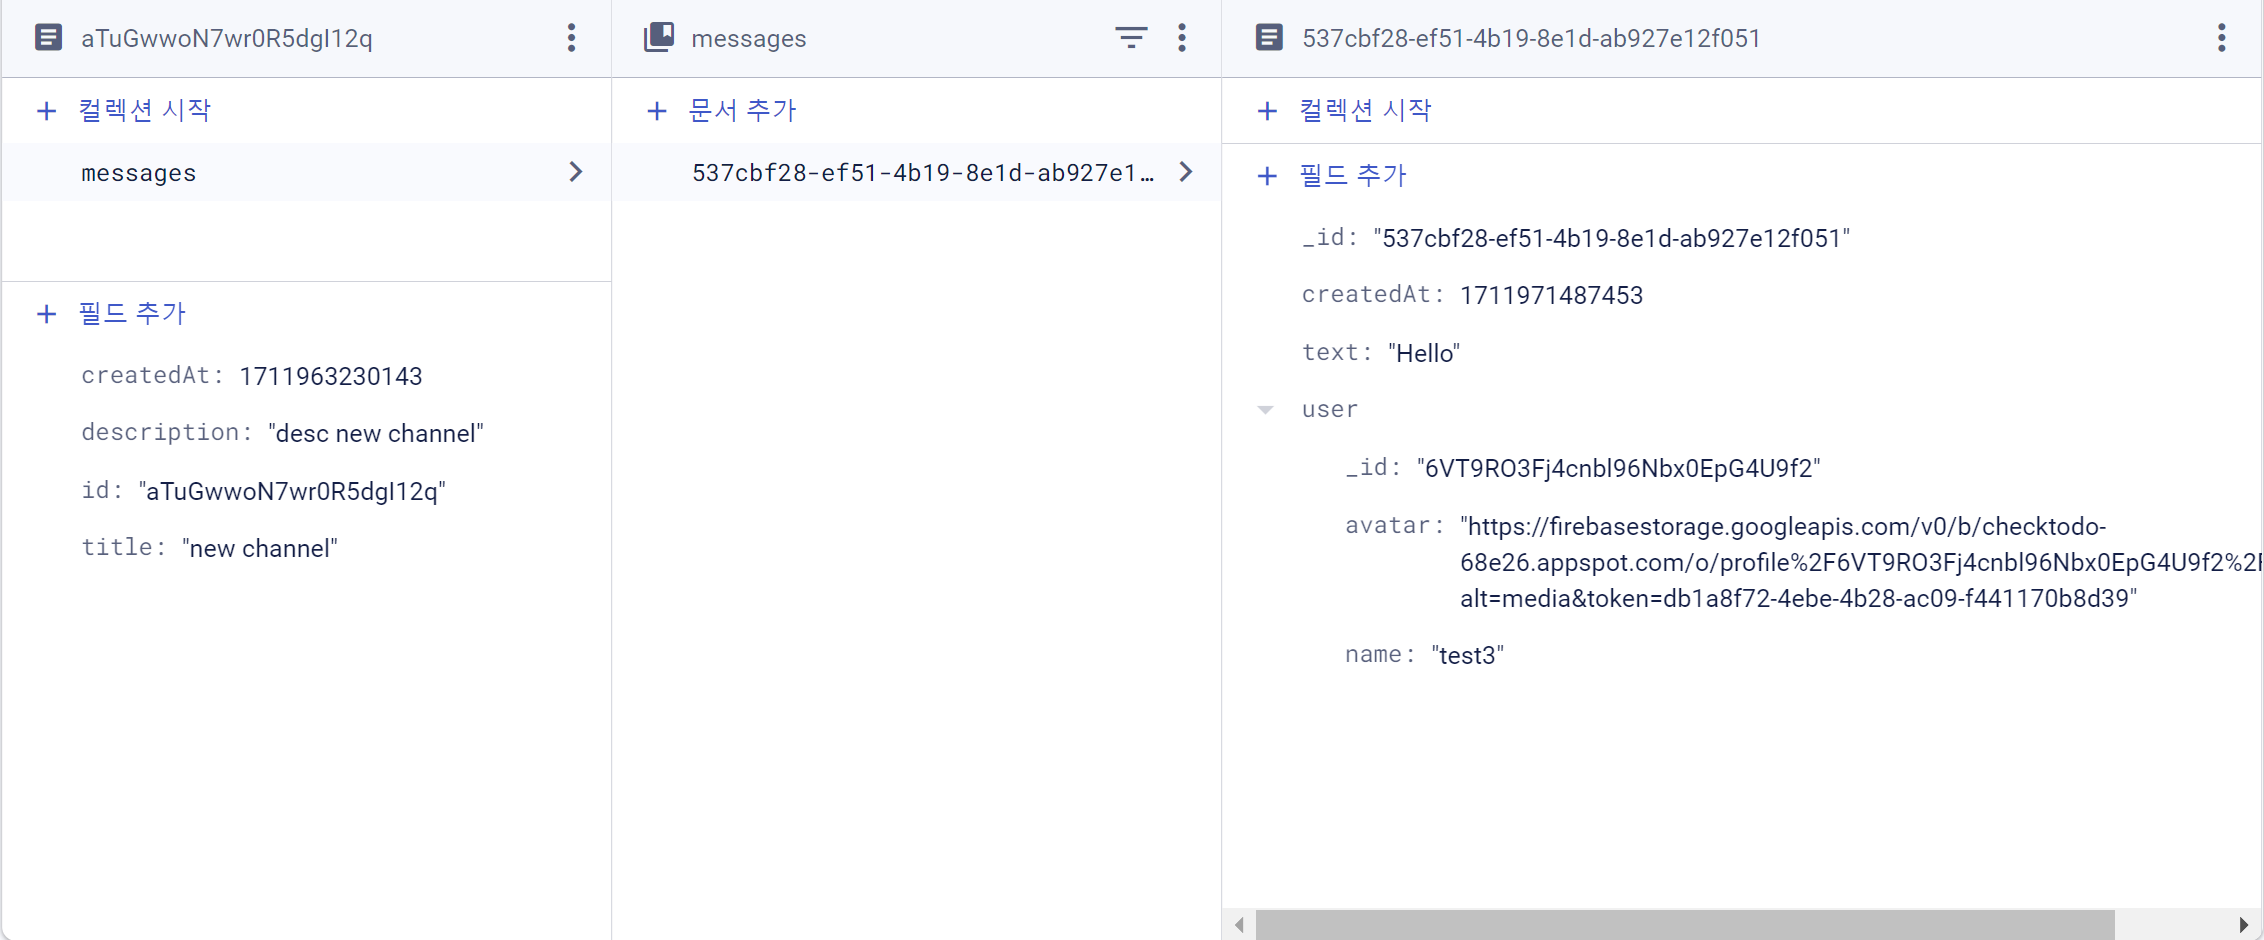
);- firebase의 Cloud Firestore에 메세지 컬렉션 추가해주는 함수 구현
- 파라미터로 채널 id(사용자의 정보가 담겨져 있음)와 메세지 텍스트 전달
- Channels 컬렉션에서 전달될 채널 id 다큐먼트를 가져오고 그것에서 messages라는 컬렉션에 텍스트와 createdAt을 추가
firebase.js
(...)
//메세지 생성하는 함수
export const createMessage = async ({ channelId, message }) => {
    const docRef = doc(db, `channels/${channelId}/messages`, message._id);
    await setDoc(docRef, { ...message, createdAt: Date.now() });
};
그럼 이렇게 메세지를 입력시 아래와 같이 잘 생성되는 것을 볼 수 있다.
생성된 메시지 화면에 렌더링
1.channels 컬렉션에서 params의 id로 전달된 channel id를 갖고 있는 도큐먼트에서 messages 컬렉션에서 데이터를 가지고 온다.
2. 정렬 순서는 생성된 시간의 역순으로 가져왔다.
3. 전달된 데이터에서 도규먼트 데이터(doc.data)를 messages 상태변수에 업데이트 한다.
import React, { useState, useEffect } from 'react';
import styled from 'styled-components/native';
import { createMessage, getCurrentUser, app } from '../firebase';
import { getFirestore, collection, onSnapshot, query, doc, orderBy } from 'firebase/firestore';
import { GiftedChat, Send } from 'react-native-gifted-chat';
import { Alert } from 'react-native';

(...)

const Channel = ({ route }) => {
    const [messages, setMessages] = useState([]);
    //현재 로그인한 유저의 정보
    const { uid, name, photo } = getCurrentUser();
    const db = getFirestore(app);

    //메세지 화면에 렌더링
    useEffect(() => {
        const docRef = doc(db, 'channels', route.params.id);
        const collectionQuery = query(collection(db, `${docRef.path}/messages`), orderBy('createdAt', 'desc'));
        const unsubscribe = onSnapshot(collectionQuery, (snapshot) => {
            const list = [];
            snapshot.forEach((doc) => {
                list.push(doc.data());
            });
            setMessages(list);
        });
        return () => unsubscribe();
    }, []);

	(...)
};
채팅 창 디자인 설정
메시지 상태창, 메세지 창, send 버튼의 다지인을 바꾸려고 한다. eact-native-gifted-chat에서 Send, Bubble, InputToolbar을 import해와서 원하는 디자인 형태에 맞게 커스터마이징해주었다.
- send 버튼은 채팅 창에 아무 것도 안적었을 떄 disabled이 되도록 설정해주었다.
- 메세지 창은 상대방 채팅창과 해당 유저의 채팅창의 디자인을 서로 다르게 설정해주었다.
- 메시지 바는 ios의 경우 너무 작게 나와 ux적으로 채팅치기가 불편하여 padding값을 주어 창을 키워주었다.
import { GiftedChat, Send, Bubble, InputToolbar } from 'react-native-gifted-chat';

(...)

const SendIcon = styled(MaterialIcons).attrs(({ theme, text }) => ({
    name: 'send',
    size: 24,
    color: text ? theme.sendBtnActive : theme.sendBtnInactive,
}))``;

//전송 버튼 디자인
const SendButton = (props) => {
    return (
        <Send
            {...props}
            containerStyle={{
                width: 44,
                height: 44,
                alignItems: 'center',
                justifyContent: 'center',
                marginHorizontal: 10,
            }}
            disabled={!props.text} //**text 빈배열일때 disabled */
        >
            <SendIcon text={props.text} />
        </Send>
    );
};

//메세지 디지인
const MessageBox = (theme, props) => {
    return (
        <Bubble
            {...props}
            wrapperStyle={{
                right: {
                    backgroundColor: theme.main,
                    borderBottomRightRadius: 0,
                    borderBottomLeftRadius: 15,
                    borderTopRightRadius: 15,
                    borderTopLeftRadius: 15,
                    marginBottom: 8,
                    padding: 5,
                },
                left: {
                    borderBottomRightRadius: 15,
                    borderBottomLeftRadius: 0,
                    borderTopRightRadius: 15,
                    borderTopLeftRadius: 15,
                    marginBottom: 8,
                    padding: 5,
                },
            }}
        />
    );
};

(...)

             <GiftedChat
				(...)
                renderBubble={(props) => MessageBox(theme, props)}
                renderInputToolbar={(props) => InputBar(props)}
                renderSend={(props) => <SendButton {...props} />}
				(...)
            />
최종적으로 Channels에서 선택된 방으로 연결이 잘되고 채팅도 잘 이루어지는 것을 볼 수 있다.