회원과 관련된 화면 및 기능으로 회원가입, 로그인, 프로필을 만들고 채팅과 관련된 화면 및 기능으로 채널 목록, 채널 생성, 그리고 채널을 만들어서 간단하게 메시지를 주고받는 프로젝트를 만들려고 한다. 서버를 직접 만들지 않고 백엔드의 다양한 기능을 사용할 수 있는 개발 플랫폼인 firebase와 연동하여 구현하였다.
- 회원가입, 로그인은 Authentication을 이용하였고, image를 저장하기 위해서 storage를 사용하였다.
- 채널 목록, 채널 생성, 채널(채팅)은 Cloud Firestore을 이용하였는데 그에 대한 설명은 아래 링크에 설명해두었다.
https://velog.io/@st4889/React-Native-TIL-Cloud-Firestore%EC%9D%84-%EC%9D%B4%EC%9A%A9%ED%95%B4%EC%97%AC-%EC%B1%84%EB%84%90-%EC%A0%80%EC%9E%A5
매번 협업을 통해 프로젝트를 진행했었기에 이번에 개인 프로젝트로 Firebase를 활용하여 로그인과 회원가입을 구현해봐서 의미있었다.
firebase란?
firebase는 서버에 대한 지식이 없어도 다양한 백엔드 기능을 사용할 수 있게 해주는 개발 플랫폼이다.
firebase를 이용하는 이유
- 회원가입과 로그인을 위해 Authentication을 이용
- 채널 정보와 주고받은 메시지 정보를 저장하기 위해 Cloud Firestore를 이용
- 이미지 저장을 위해 Storage도 이용
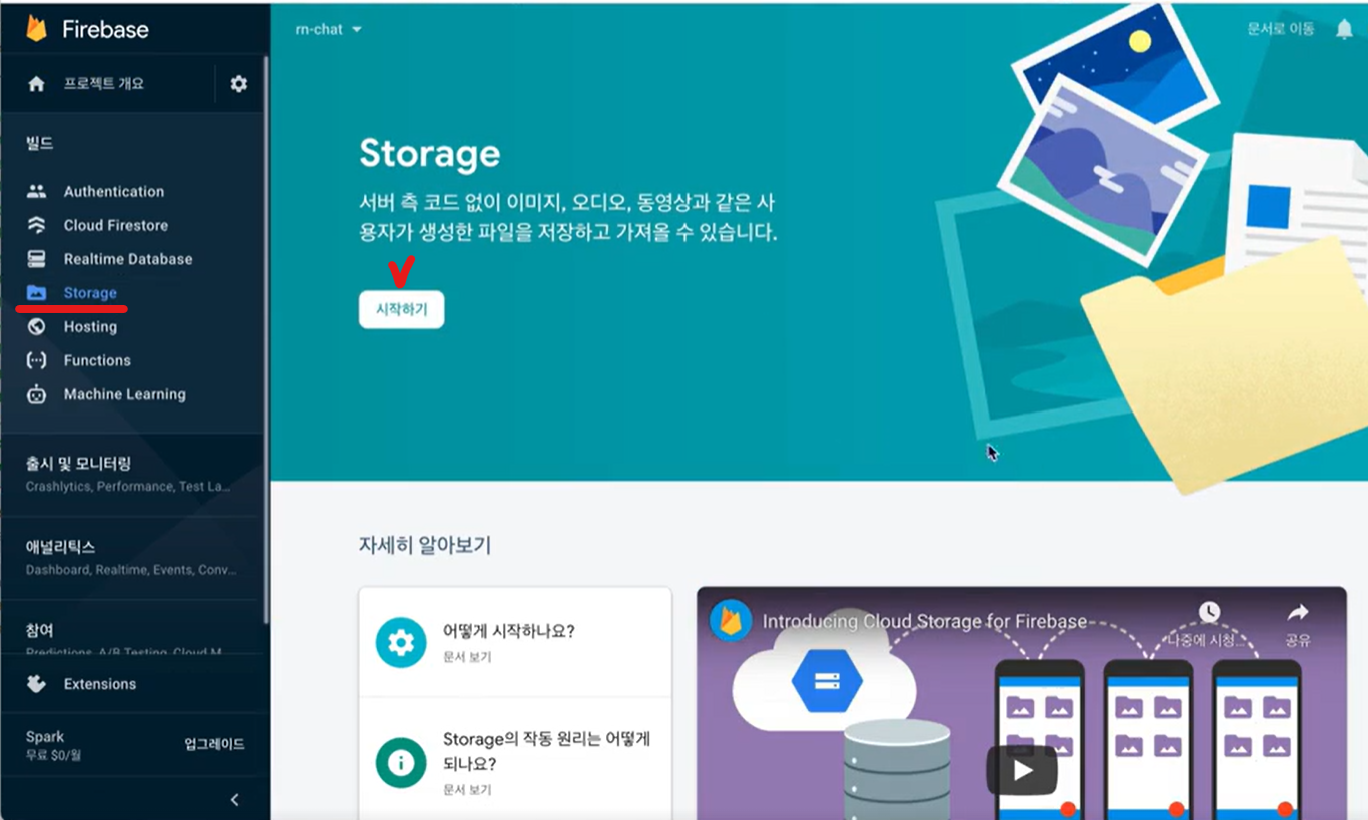
firebase의 Storage에 img 파일 업로드하여 사용하기
1. Strage메뉴로 이동해서 시작하기 누르고 시작하기 누르기
2. 지역 선택
💥주의! 지역 한번 설정시 변경 불가능!
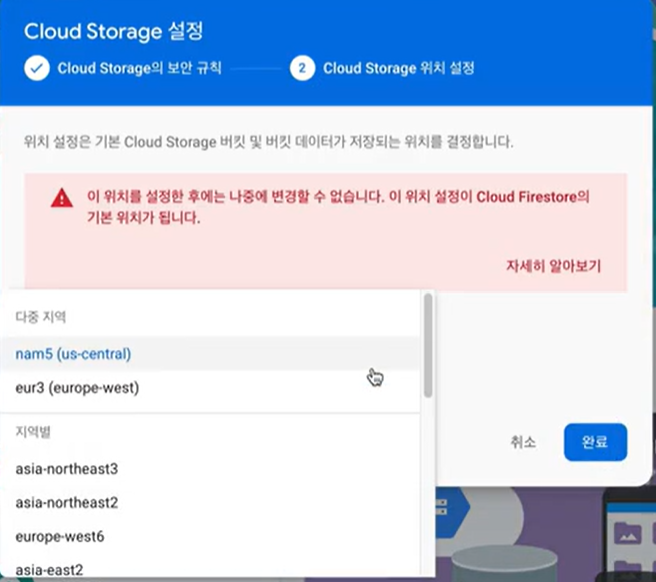
나는 eur3(europe-west)를 선택해주었다.
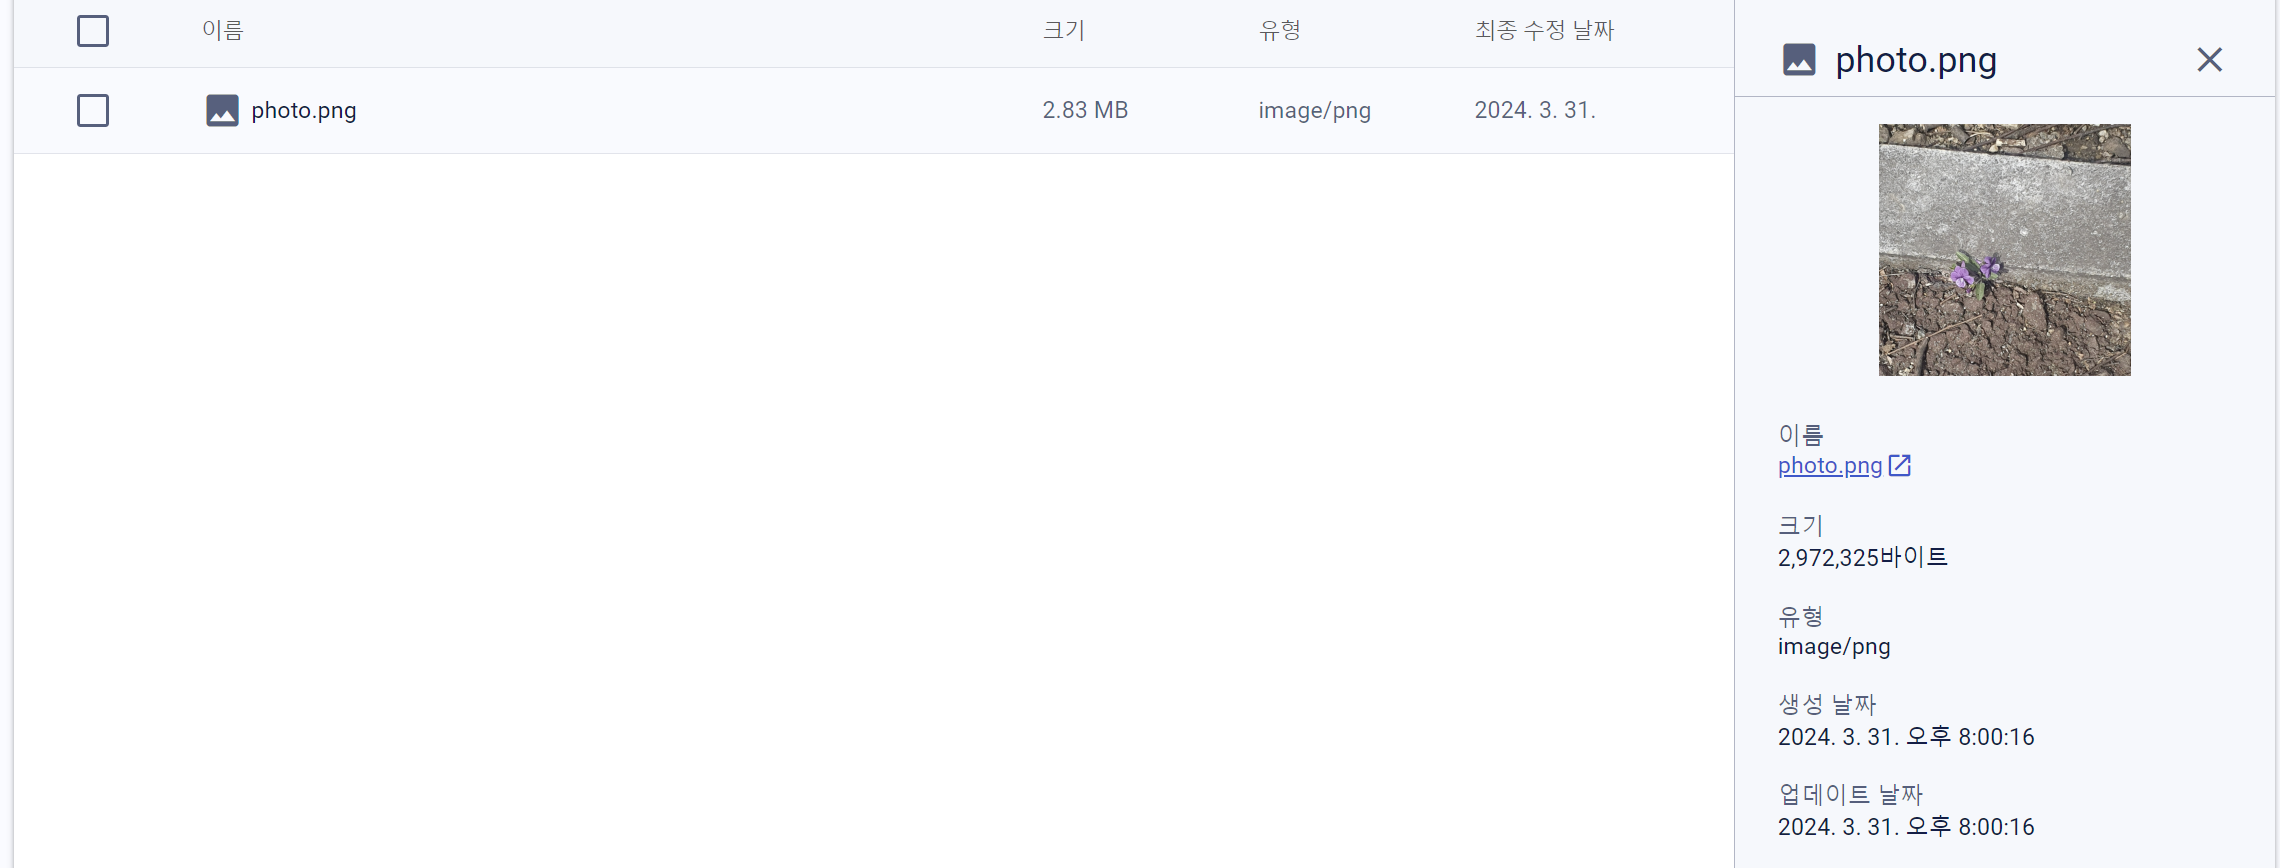
3. 파일 업로드

이렇게 업로드하면 아래처럼 업도르된 파일에 접근할 수 있는 url을 확인할 수 있다.
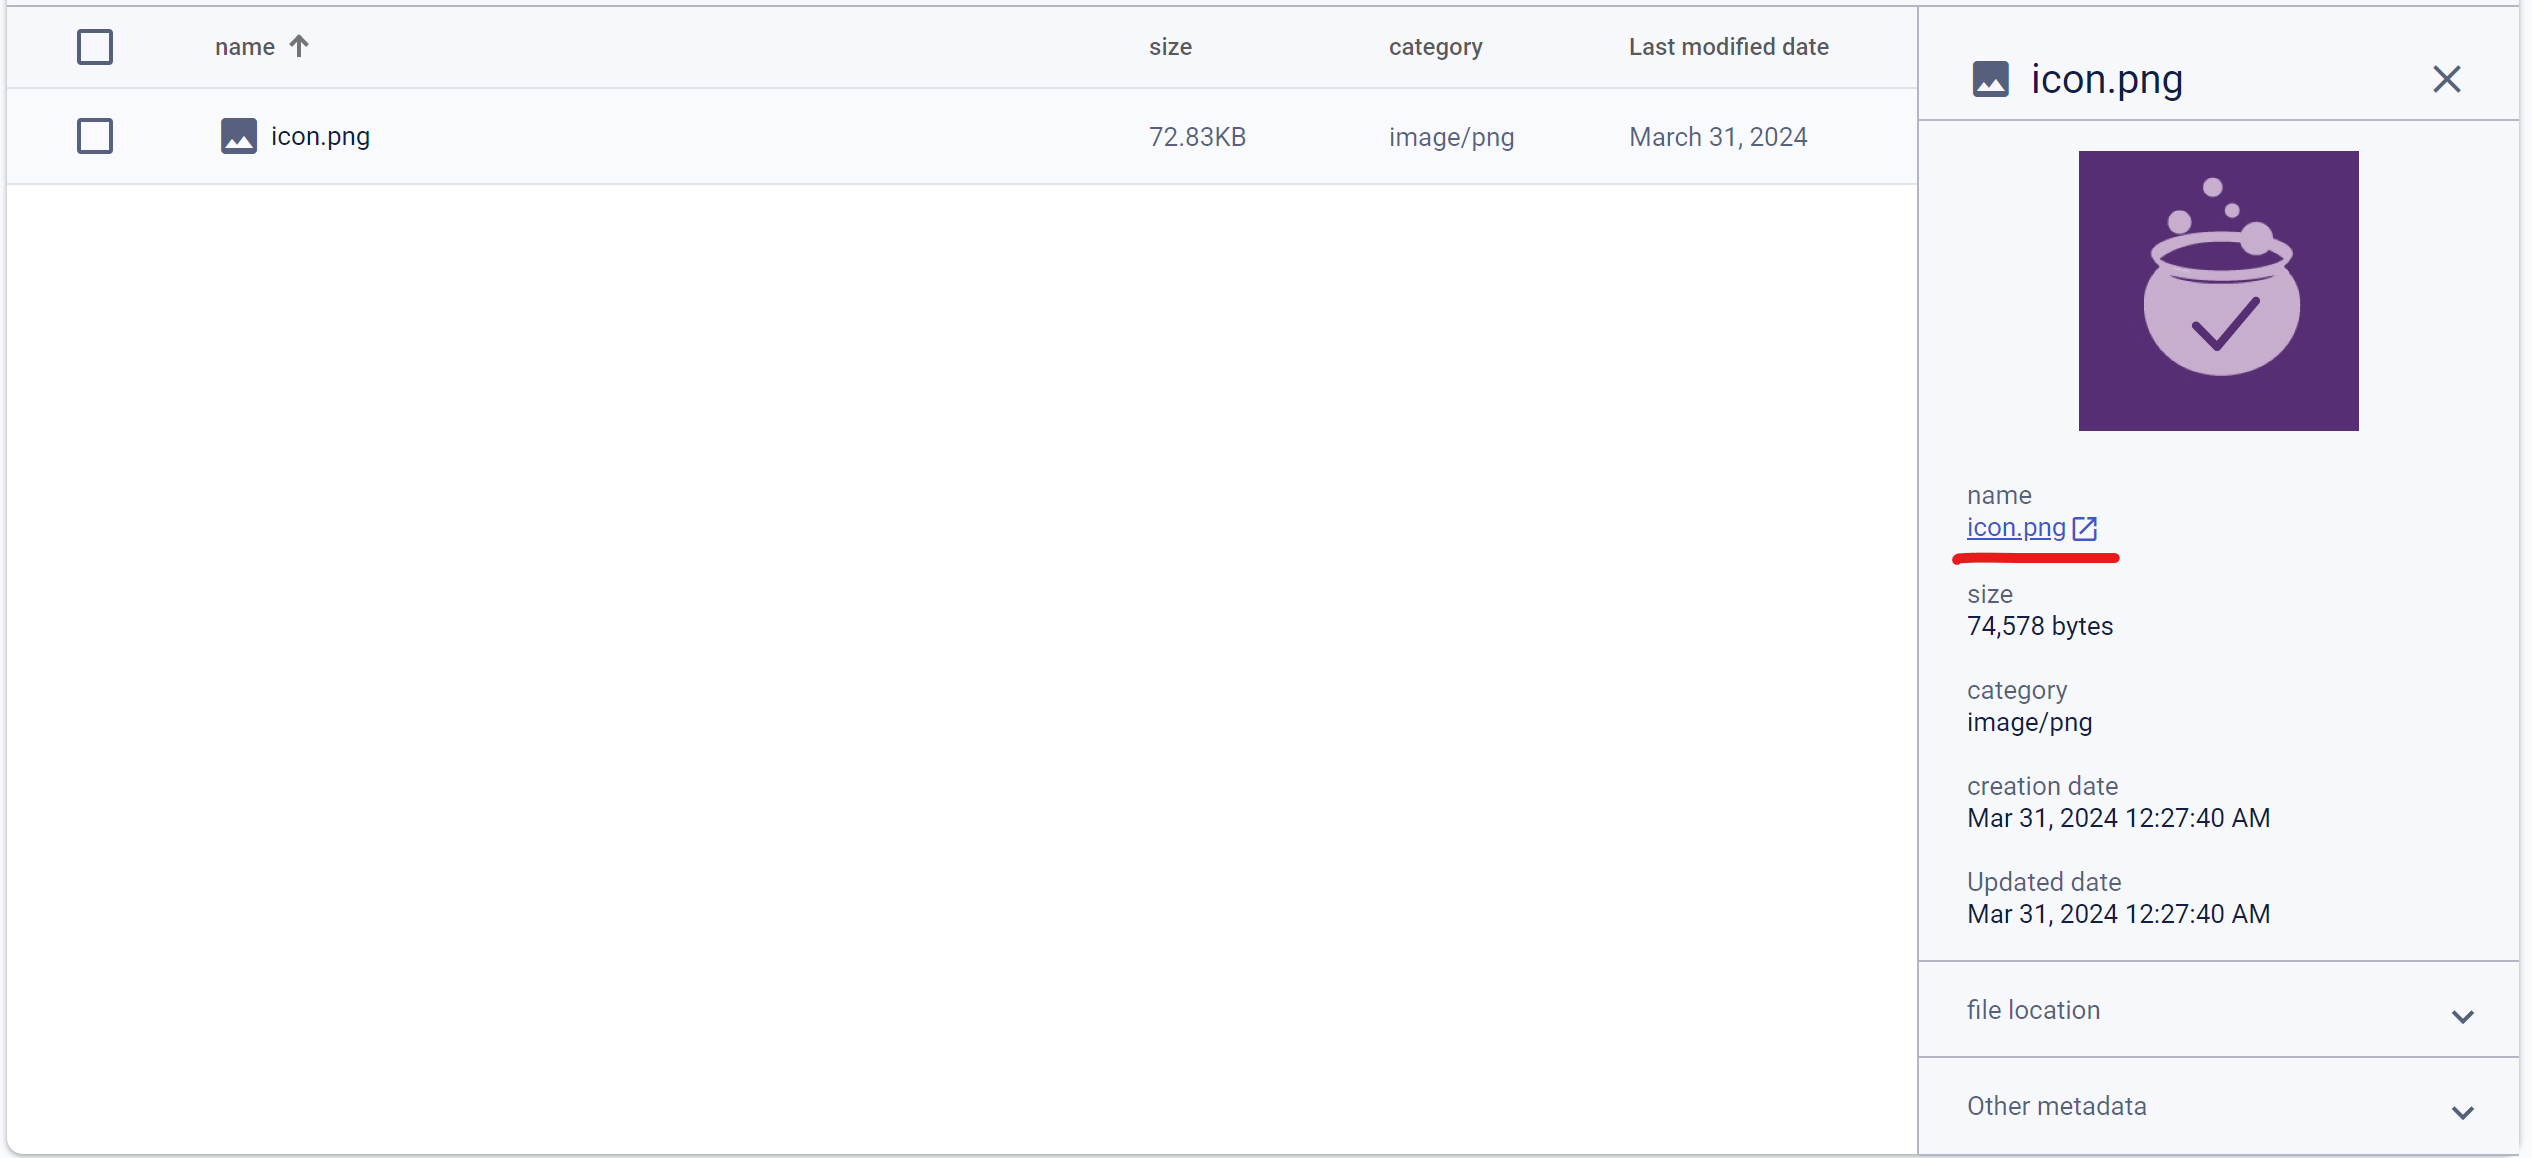
💥주의! 뒤에 토큰을 빼고 가져와야 한다.
4. 코드 넣어주기
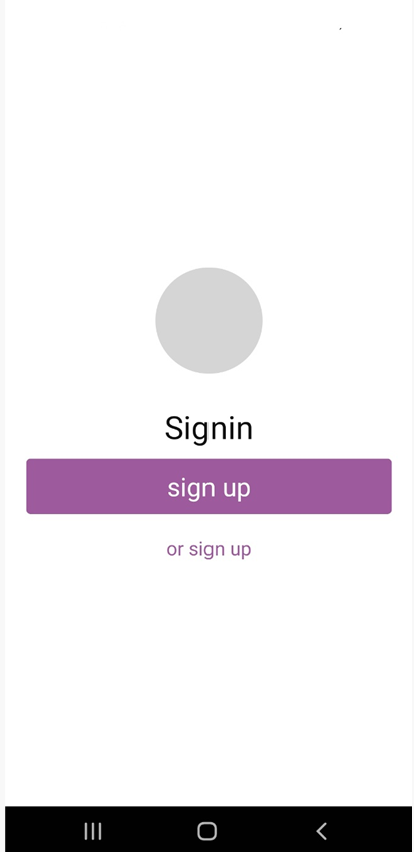
로그인 화면에 넣어주고 싶어서 imgae 컴포넌트를 따로 빼주고 로그인 페이지에 이렇게 넣어주었다.
Image 컴포넌트
import React from 'react';
import styled from 'styled-components/native';
import PropTypes from 'prop-types';

const Container = styled.View`
    margin-bottom: 30px;
`;

const ProfileImage = styled.Image`
    background-color: ${({ theme }) => theme.imgBackground};
    width: 100px;
    height: 100px;
    border-radius: 50px;
`;

const Image = ({ url }) => {
    return (
        <Container>
            <ProfileImage source={{ uri: url }} />
        </Container>
    );
};

Image.propTypesropTypes = {
    url: PropTypes.string,
};

export default Image;
signin.js
import { Image } from '../components';

(...)

 const LOGO = `https://firebasestorage.googleapis.com/v0/b/checktodo-68e26.appspot.com/o/icon.png?alt=media`;

(...)

 <Image url={LOGO} />
5. 권한 주기
그런데 화면에 사진이 나오진 않는다. 이것은 권한 문제인데 아래와 같이 403이 나오는 것을 볼 수 있다.
{
  "error": {
    "code": 403,
    "message": "Permission denied."
  }
}
5-1. storage 메뉴에는 rule이라는 탭이 있고 이곳에서 storage에 있는 파일에 접근할 수 있는 규칙을 설정할 수 있다.
5-2. 규칙을 수정할 때는 규칙 플레이 그라운드라는 것을 이요해서 위치 그리고 인증 여부에 대해서 확인을 하면서 테스트를 하고 규칙을 적용할 수 있다.
5-3. 업로드한 logo.png파일은 인증이 되어 있지 않아도 읽기가 가능해야 한다.
5-4. 규칙을 수정하면 posting을 눌러서 게시해준다.
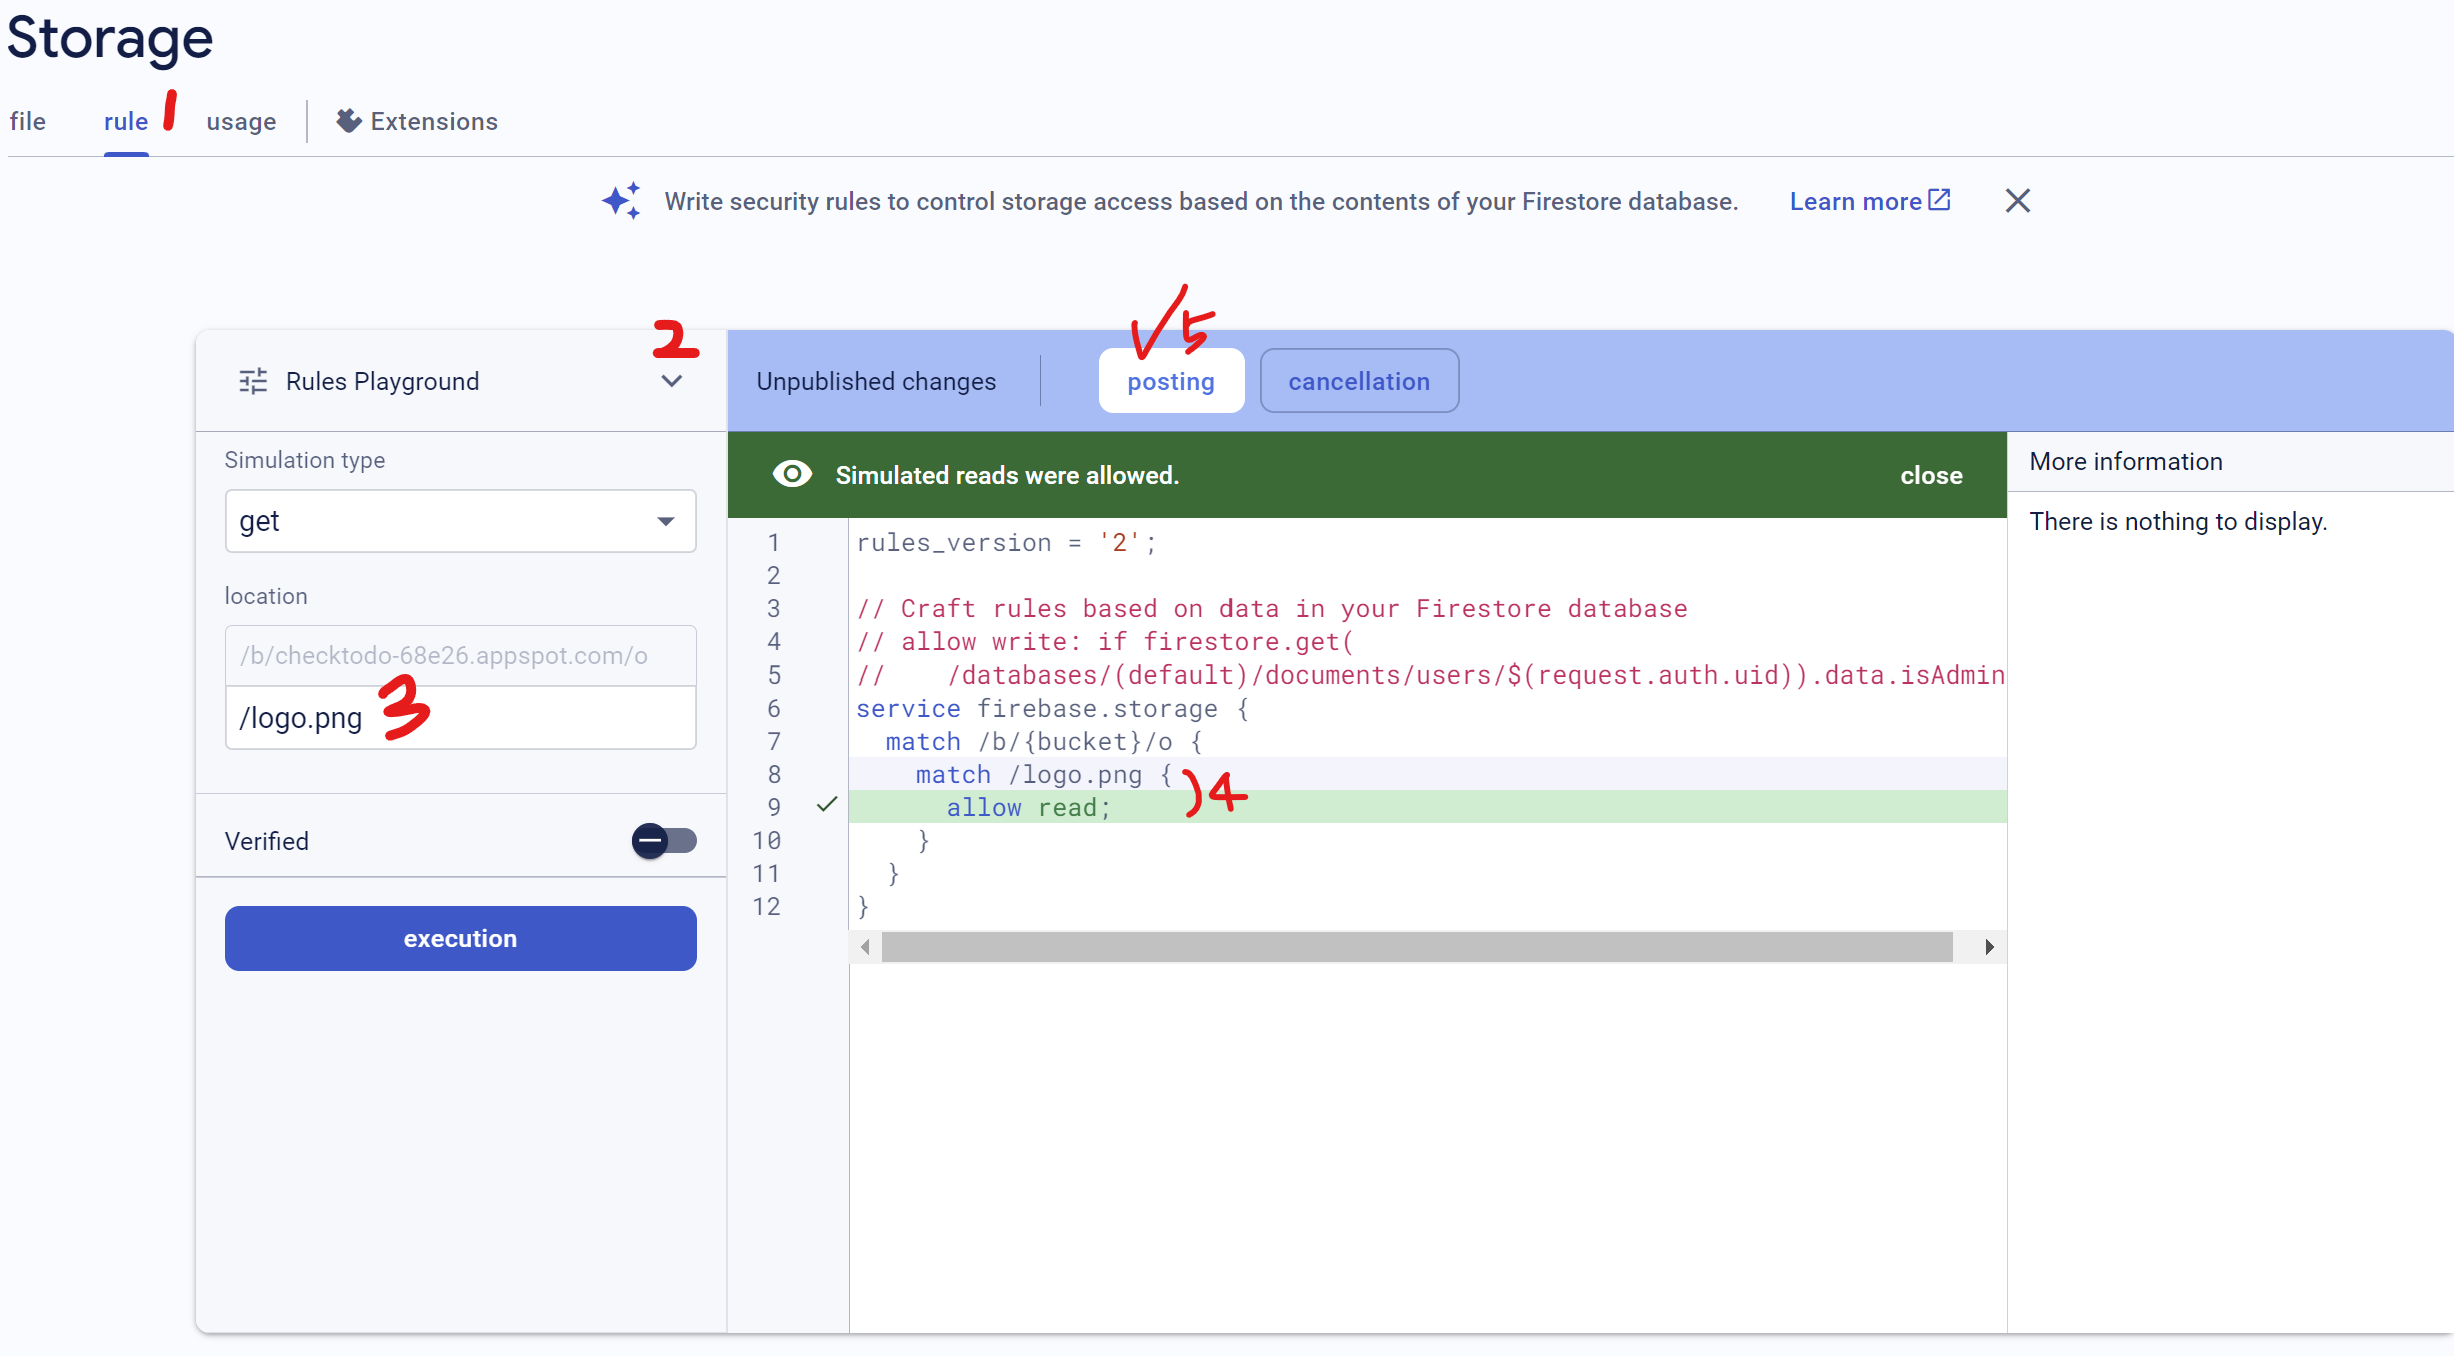
사진에서는 logo.png라고 적었지만 업로드한 파일 이름은 icon.png이니 그 이름에 맞춰서 설정해주어야 한다.

설정해주었더니 잘 나온다!
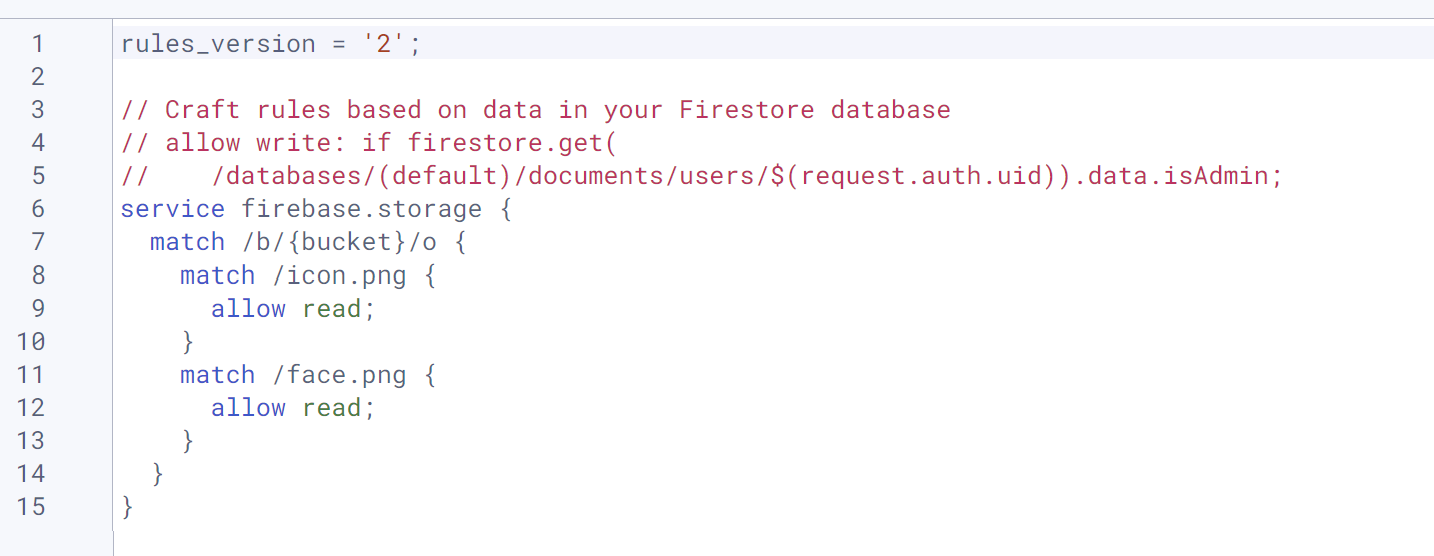
6. 여러개의 파일을 업로드 하고 싶다면?
아래와 같이 파일을 업로드하고

아래와 같이 추가해주면 된다.
firebase Authentication에서 계정 사용하여 회원가입 구현
회원가입 구현 중 회원가입 기능을 아직 안 만들어서 firebase에서 직접 계정을 생성하여 사용하려고 한다.
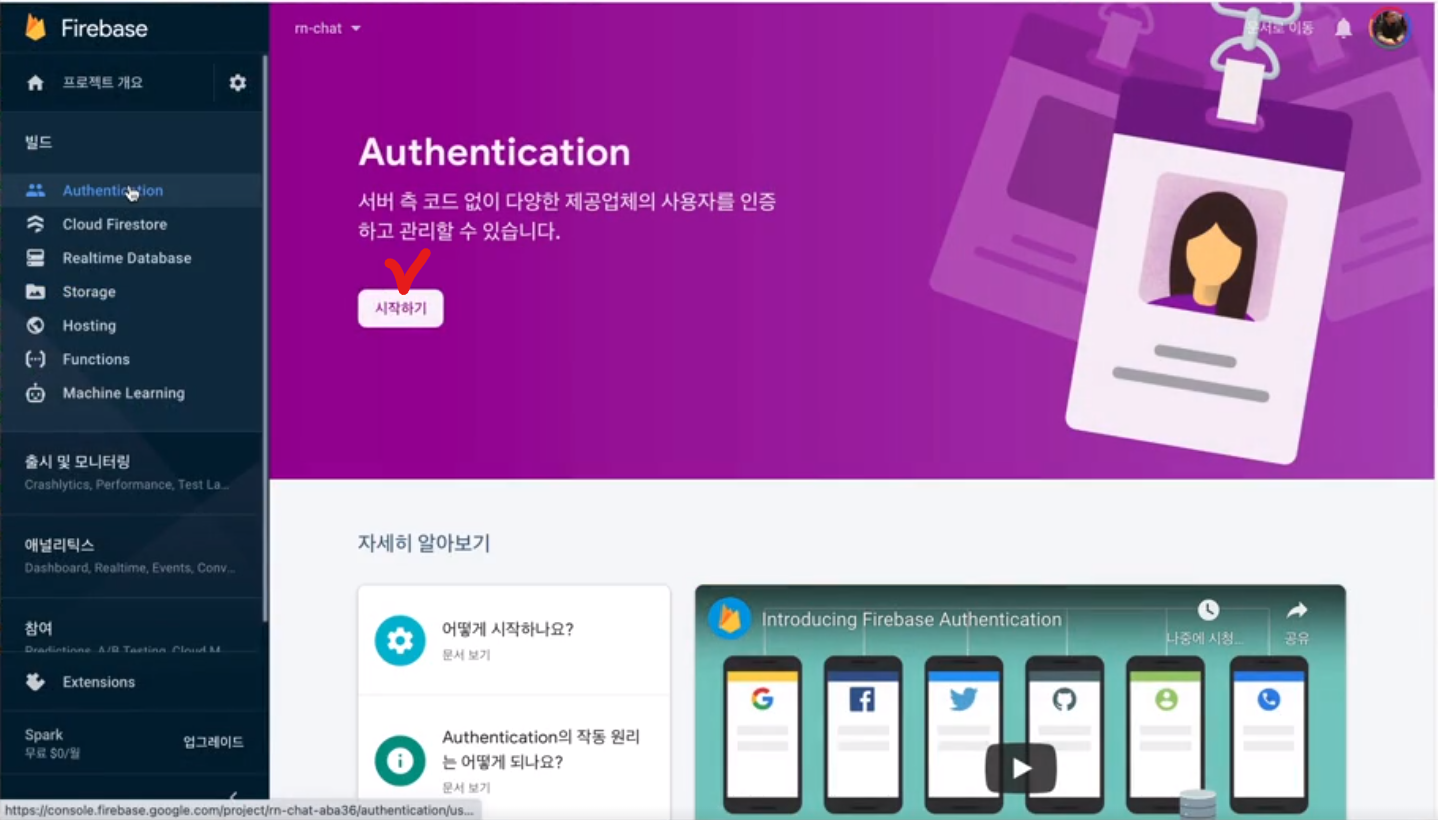
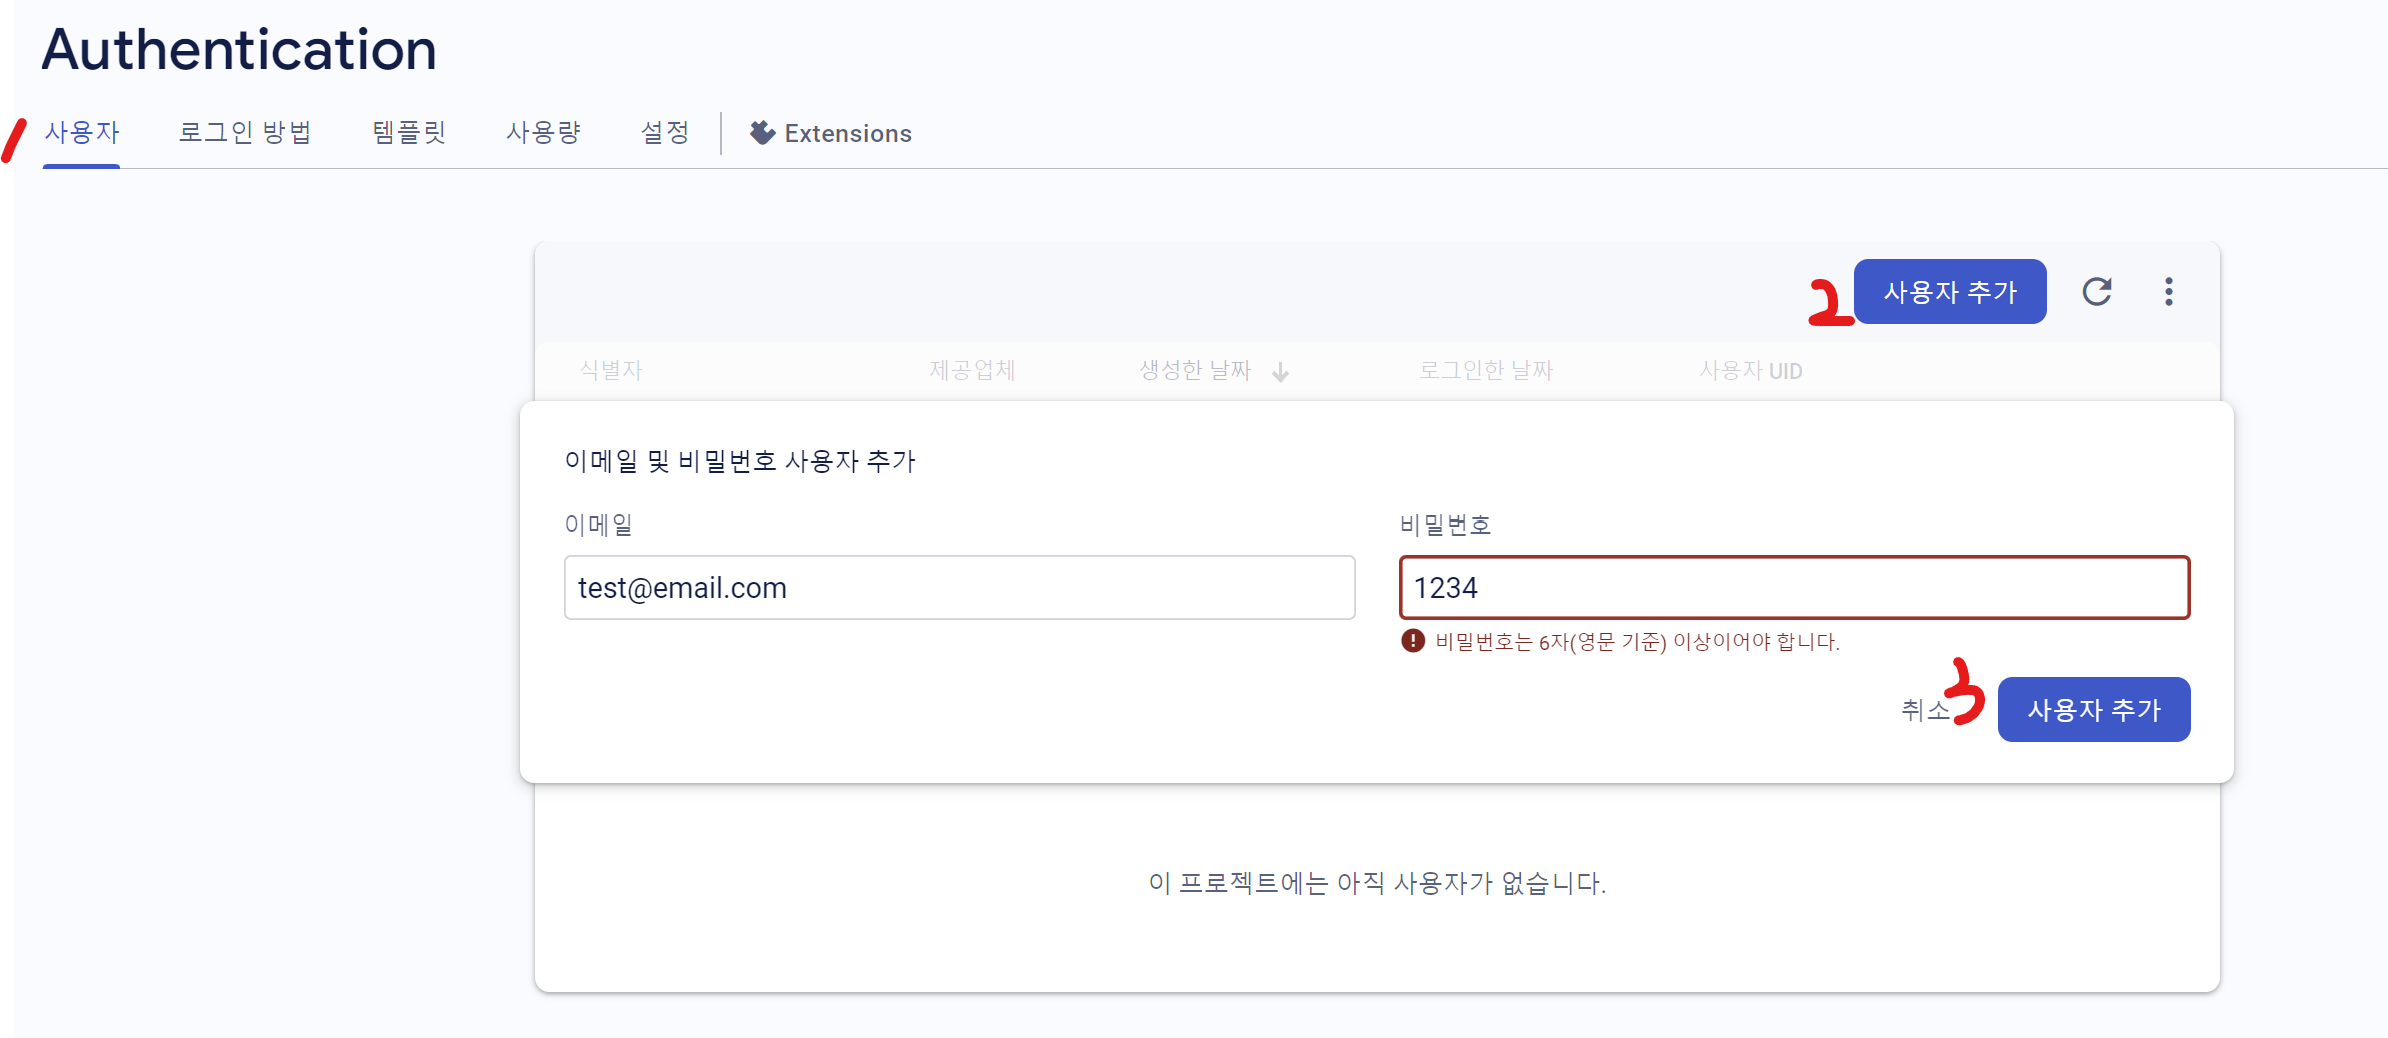
다양한 로그인 방법 중 이메일과 비밀번호를 사용하기로 했다.
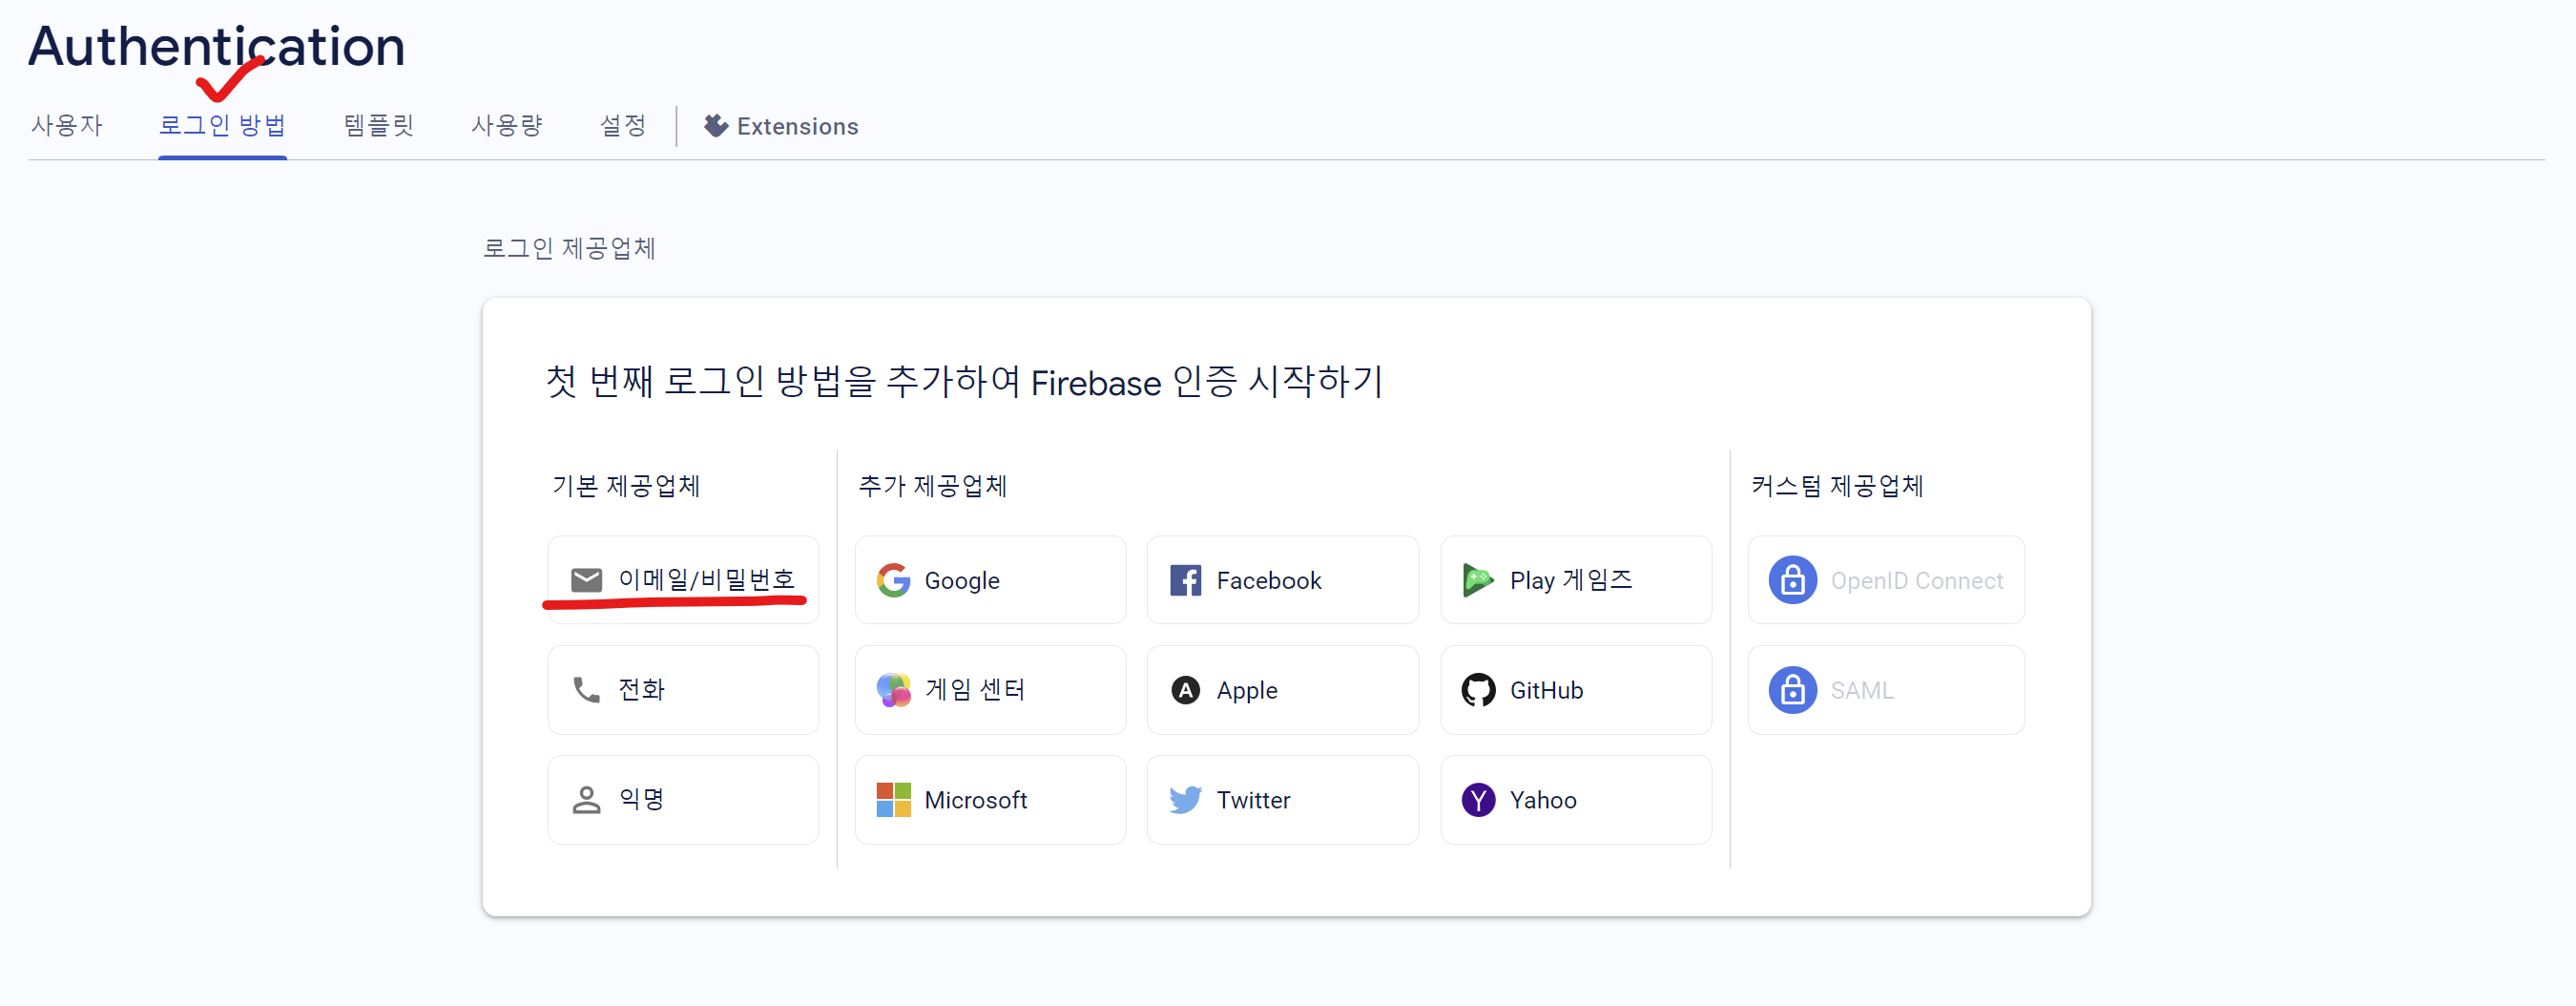
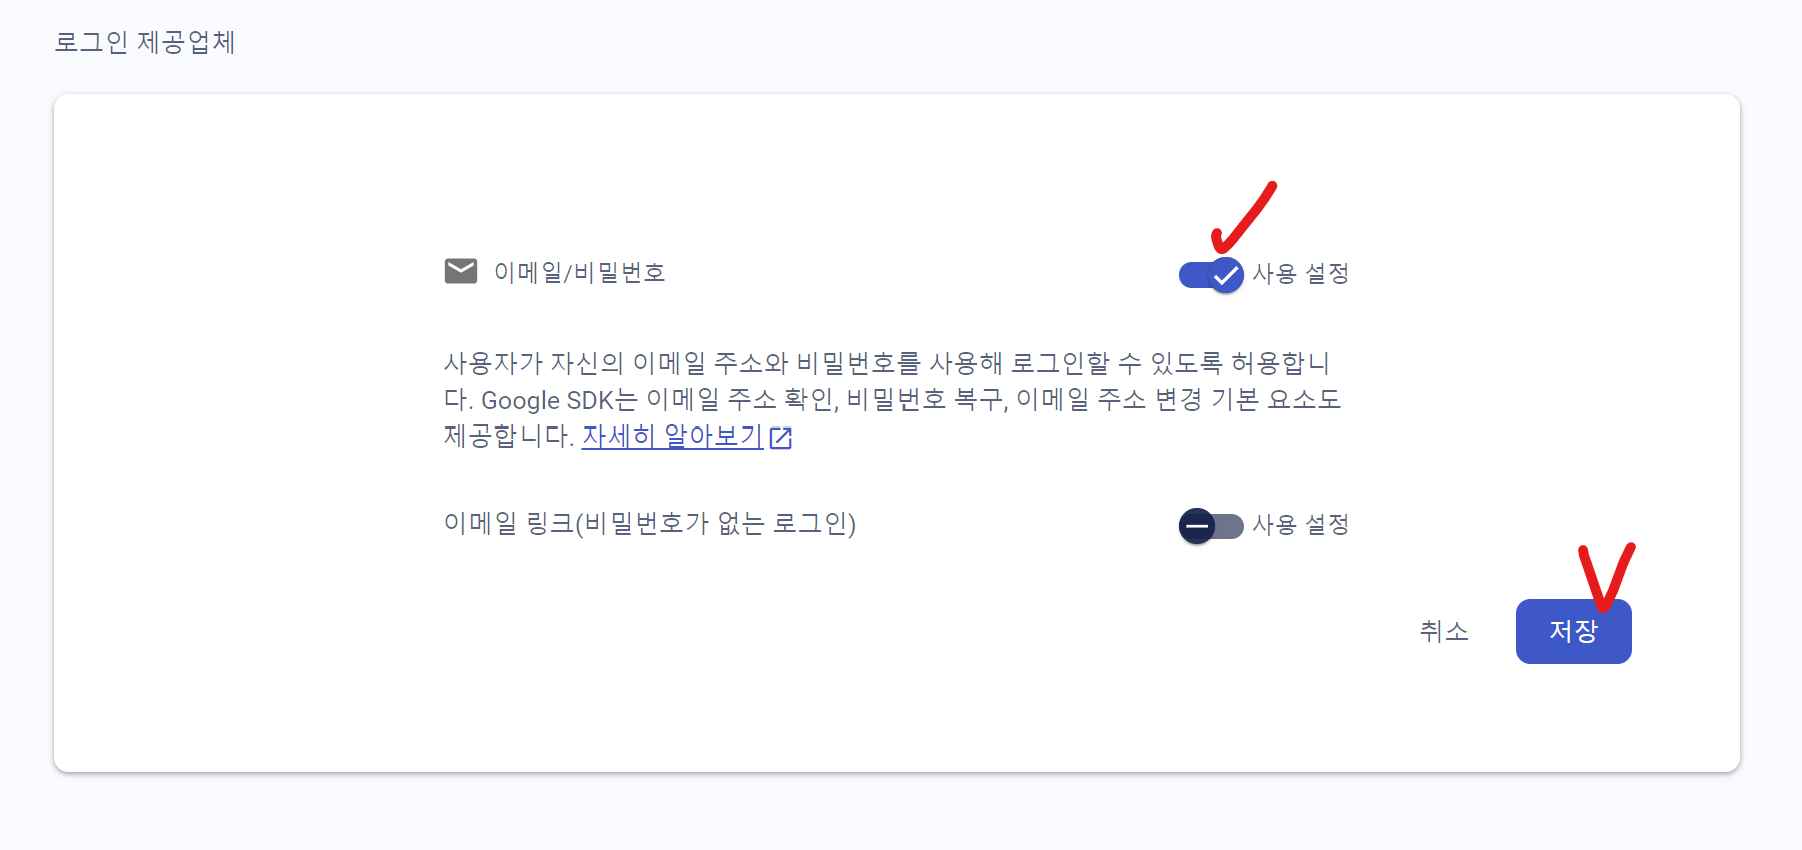
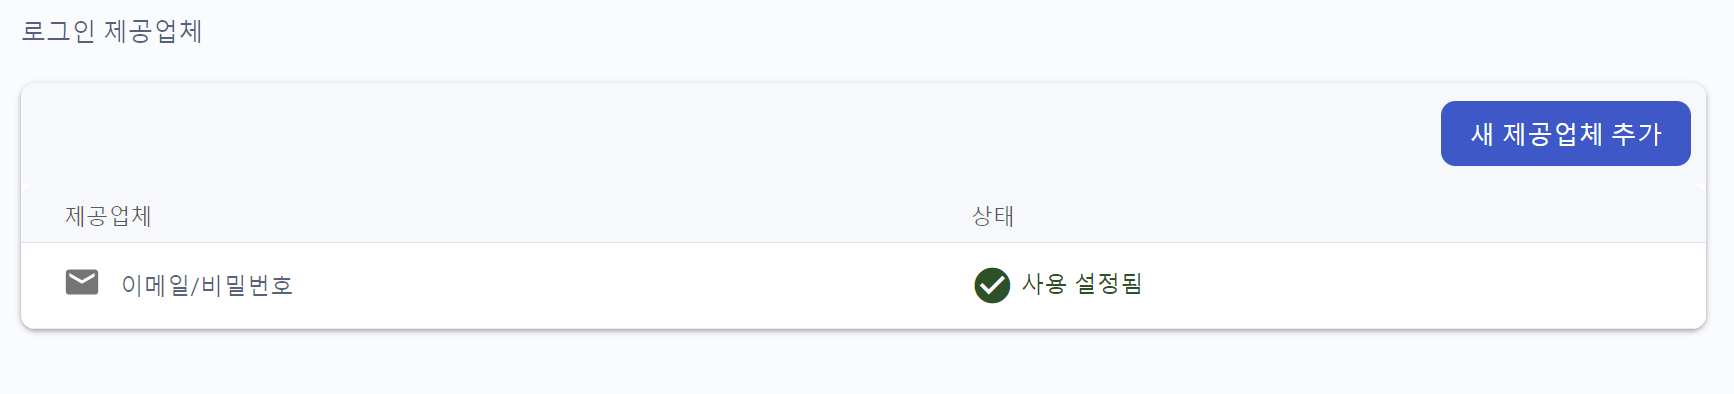
이메일과 비밀번호를 설정하고 사용자 탭에서 사용자를 추가해준다.
코드 추가
firebase.js
import { getAuth, signInWithEmailAndPassword } from 'firebase/auth';
import config from '../firebase.json';
import { initializeApp } from 'firebase/app';

const app = initializeApp(config);

const auth = getAuth(app);

export const signin = async ({ email, password }) => {
    const { user } = await signInWithEmailAndPassword(auth, email, password);
    return user;
};
signin.js
const _handleSigninBtnPress = async () => {
try {
const user = await signin({ email, password });
navigation.navigate('Profile', { user });
} catch (e) {
Alert.alert('Signin Error', e.message);
}
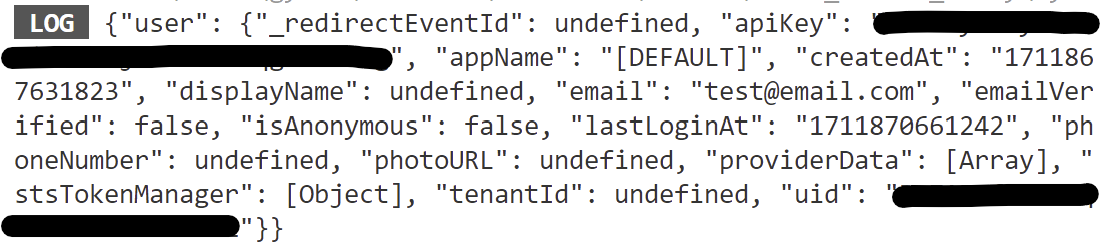
};profile.js
const Profile = ({ navigation, route }) => {
    console.log(route.params);
	(...)
};
그러면 이런 식으로 들어오는 것을 알 수 있다.
사용자의 이메일과 패드워드만 입력하면 사용자의 이름과 프로필도 저장하기
- 유저 객체에는 포트 URL을 입력해야하기에 기기에서 선택하는 사진을 Storage에 업로드하고 Storage에 업로드된 이미지의 주소를 포토 URL에 저장해야 한다.
- 파일 경로를 아래의 사진과 같이 만들어 주었다.
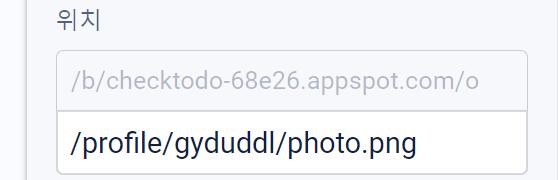
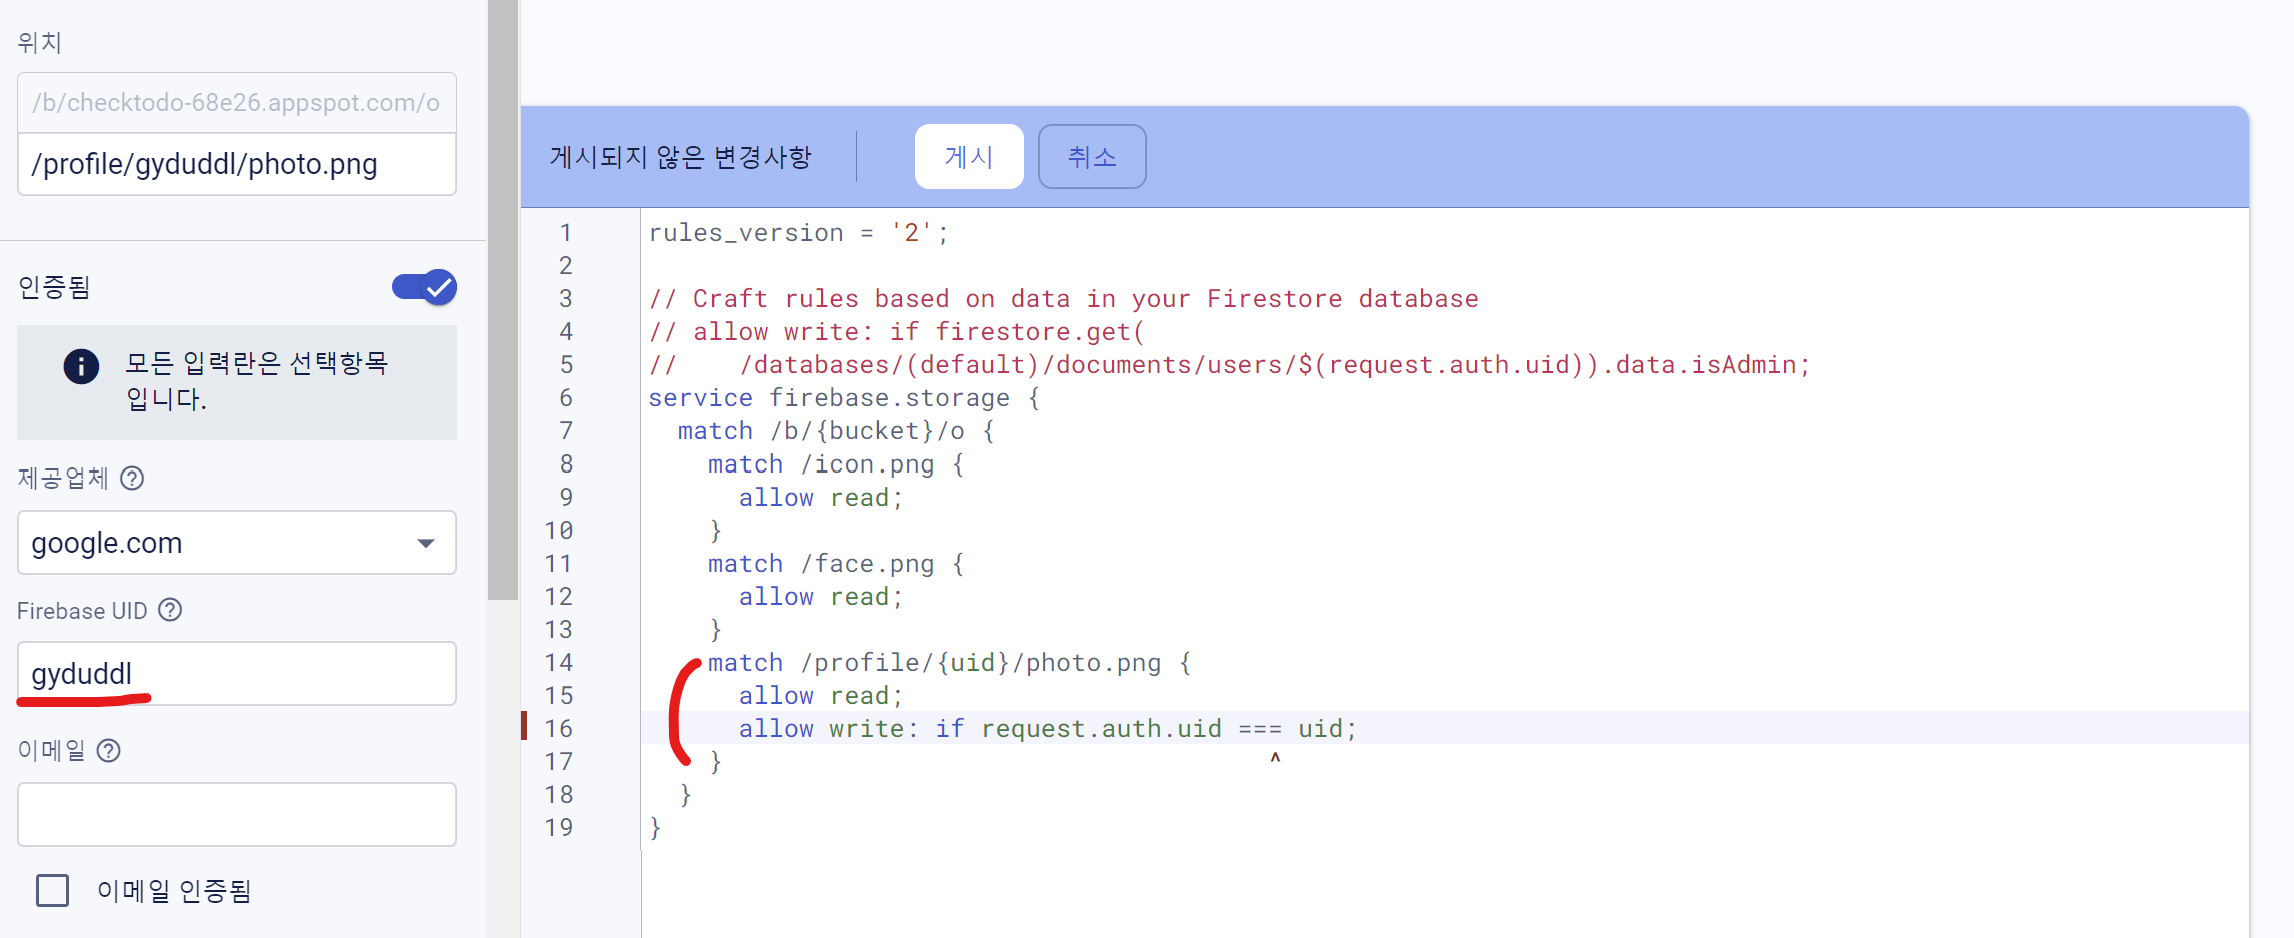
- 사용자의 프로필 이미지는 모두 볼 수 있어야 하지만 프로필 이미지를 쓰는 권한은 프로필 이미지의 주인 본인이어야 한다.
회원가입 구현
코드 추가
firebase.js
import {
    getAuth,
    signInWithEmailAndPassword,
    createUserWithEmailAndPassword,
    signOut,
    updateProfile,
} from 'firebase/auth';
import config from '../firebase.json';
import { getDownloadURL, getStorage, ref, uploadBytes } from 'firebase/storage';
import { initializeApp } from 'firebase/app';
(...)

// 기기에서 선택된 사진을 Storage로 업로드하는 함수
const uploadImage = async (uri) => {
    //전달된 URI가 HTTPS로 시작하면 업로드 할 필요가 없다.
    if (uri.startsWith('https')) {
        return uri;
    }

    const response = await fetch(uri);
    const blob = await response.blob();

    //auth에 있는 currentUser라는 프로퍼티는 현재 로그인만 사용자의 유저정보를 갖고 있다.
    const { uid } = auth.currentUser;
    const storage = getStorage(app);
    const storageRef = ref(storage, `/profile/${uid}/photo.png`); //저장경로
    await uploadBytes(storageRef, blob, { contentType: 'image/png' });

    //작업이 완료되었을 시 저장된 이미지의 url 반환
    return await getDownloadURL(storageRef);
};

//signup 함수를 만들면서 업로드 이미지를 이용해서 유저의 정보를 수정
export const signup = async ({ name, email, password, photo }) => {
    // 먼저 유저를 생성하고 업로드 이미지 함수를 이용해서 사용자의 프로필 이미지 URL을 받아온다.
    const { user } = await createUserWithEmailAndPassword(auth, email, password);
    //생성된 유저의 업데이트 프로파일 함수를 이용해서 디스플레이 네임과 포토 URL을 수정
    const photoURL = await uploadImage(photo);
    await updateProfile(auth.currentUser, { displayName: name, photoURL });
    // 생성된 유저 반환
    return user;
};
signup.js
// 회원가입 기능
const _handleSignupBtnPress = async () => {
try {
const user = await signup({ name, email, password, photo });
navigation.navigate('Profile', { user });
} catch (e) {
Alert.alert('Signup Error', e.message);
}
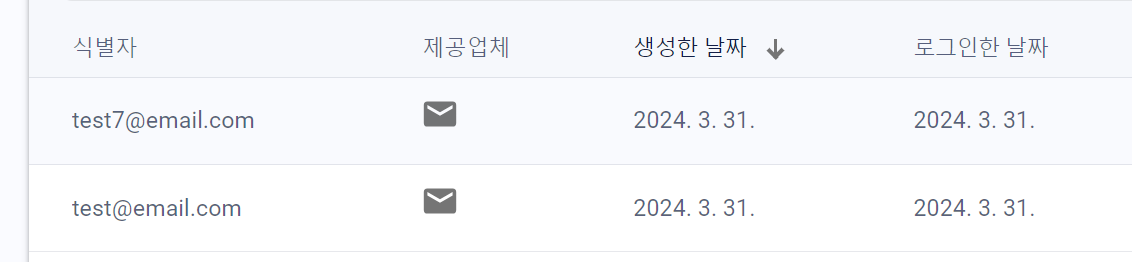
};결과적으로, 회원가입이 잘 돌아간다.

회원가입을 하면 firebase Authenticaion에서도 잘 저장되는 것을 볼 수 있다. 저장한 이미지도 잘 들어간다.