🤔 Swagger 란?
Swagger란 개발한 Rest API를 편리하게 문서화 해주고, 이를 통해서 관리 및 제 3의 사용자가 편리하게 API를 호출해보고 테스트 할 수 있는 프로젝트 이다.
Spring Boot에서는 간단하게 springfox-boot-starter 를 gradle dependencies에 추가 함으로 사용할 수 있다.
다만, 주의할 점은 운영환경과 같은 외부에 노출되면 안되는 곳에서 사용할 땐 주의 해야 한다.
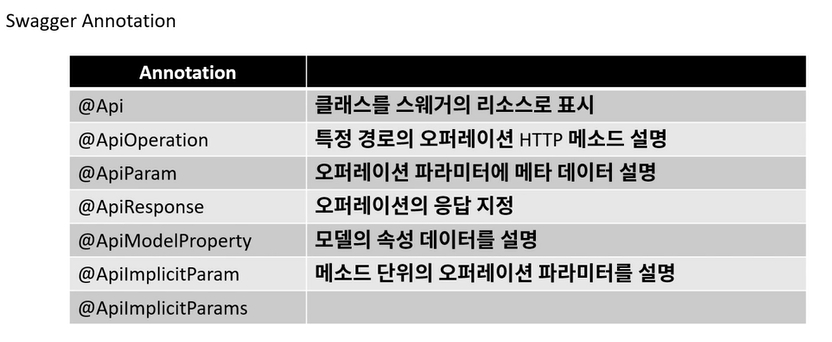
사용해보자.
✅ 디펜던시 설정
// https://mvnrepository.com/artifact/io.springfox/springfox-boot-starter
implementation group: 'io.springfox', name: 'springfox-boot-starter', version: '3.0.0'
✅ 컨트롤러 하나 만들고
@RestController
@RequestMapping("/api")
public class ApiController {

    @GetMapping("/hello")
    public String hello(){
        return "hello swagger";
    }
}
✅ 이제 TalendAPI를 사용하여 Test하지 않고 localhost:8080/swagger-ui/로 들어가면됨
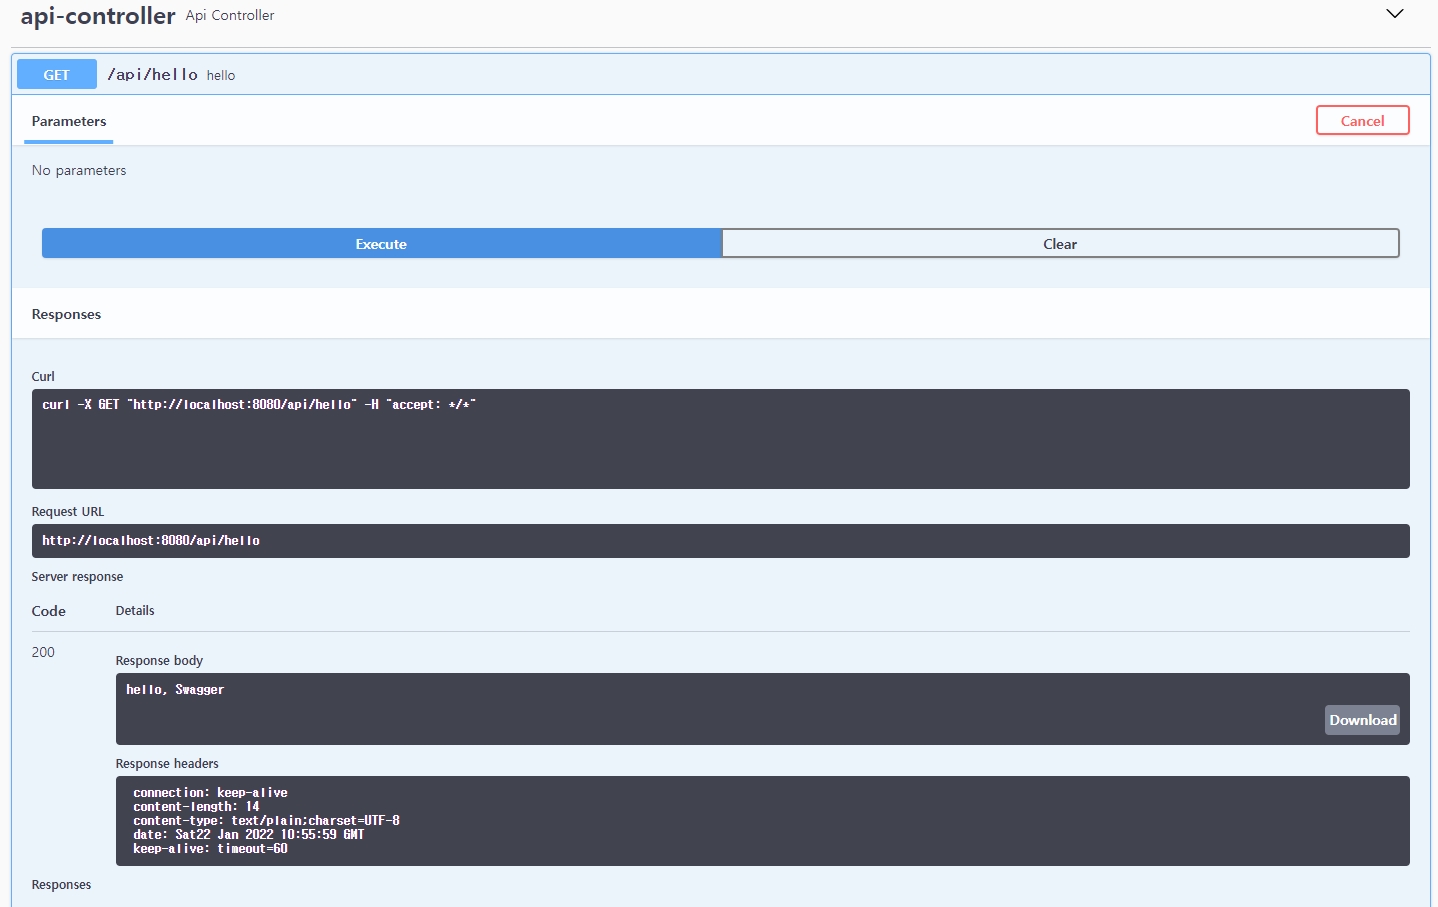
- 이렇게 하면 현재 내가 만든 API를 볼수 있고 Test도 쉽게 해볼수 있다.
✅ @Api Controller 설명 넣기
@Api(tags = "API정보를 제공하는 Controller")
@RestController
@RequestMapping("/api")
public class ApiController {

    @GetMapping("/hello")
    public String hello(){
        return "hello, Swagger";
    }
}
👇👇👇👇👇👇👇👇

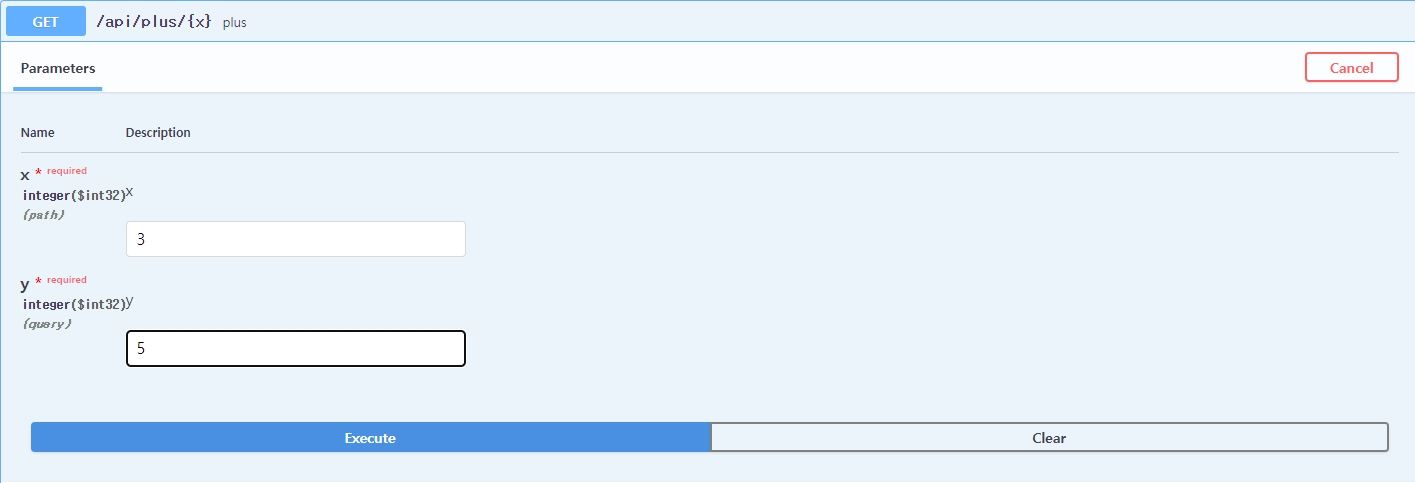
✅ @Get 방식의 PathParam 사용과 RequestRaram 사용
    @GetMapping("/plus/{x}")
    public int plus(@PathVariable int x, @RequestParam int y){
        return x+y;
    }
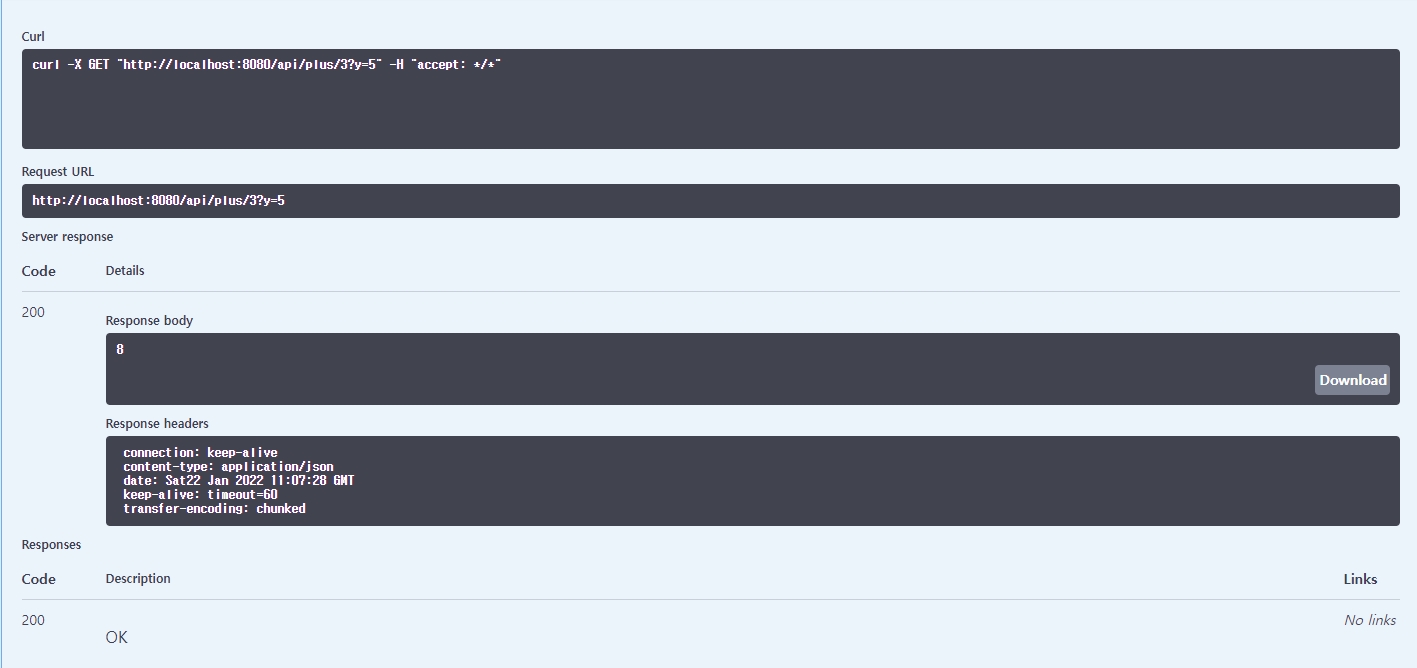
정말 간편하다.
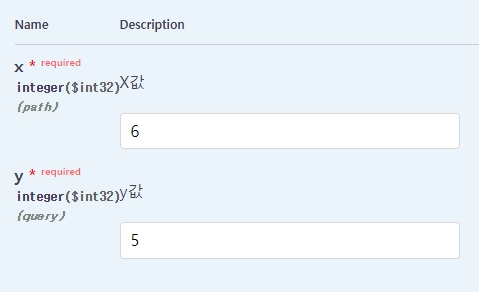
✅ 추가로 @ApiParam을 사용하면
            @ApiParam(value = "X값")
            @PathVariable int x,

            @ApiParam(value = "y값")
            @RequestParam int y){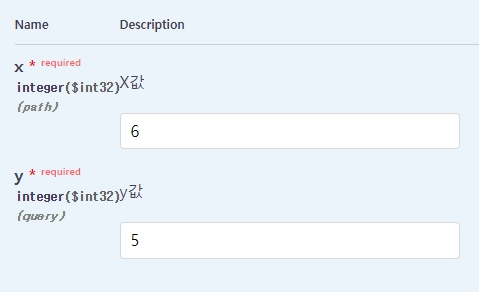
✅ 몰론 ApiImplicitParms를 이용야여 Param들의 정의를 한번에 할수도 있다.
    @ApiImplicitParams({
            @ApiImplicitParam(name = "name", value = "사용자 이름", required = true, dataType = "string", paramType = "path"),
            @ApiImplicitParam(name = "age", value = "사용자 나이", required = true, dataType = "int", paramType = "query")
    })
✅ DTO에도 명시적으로 표현할수 있다.
@AllArgsConstructor
@NoArgsConstructor
@Data
public class UserResponse {

    @ApiModelProperty(value = "사용자 이름", example = "steve")
    private String name;


    @ApiModelProperty(value = "사용자 나이", example = "10")
    private int age;
}
✅ 마지막으로 error 부분도 따로 정할수 있다.
    @PostMapping("/user")
    @ApiResponse(code = 404, message = "not found")
    public UserResponse post(@RequestBody UserRequest userRequest){
        return new UserResponse(userRequest.getName(), userRequest.getAge());
    }