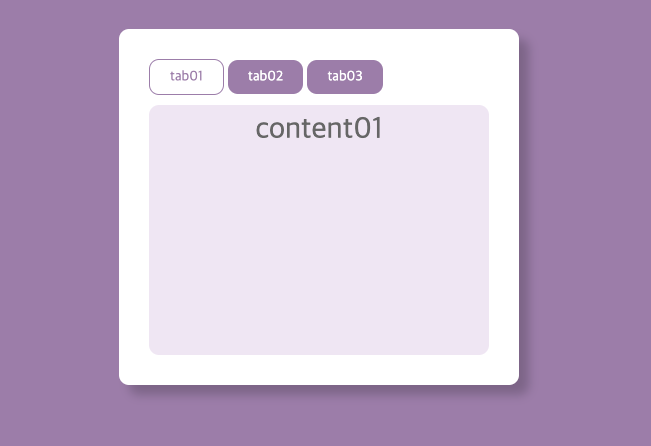
input="radio" 와 css만 활용하여 탭메뉴를 만들어보았다.
🖥 html
<div class="tabcontent">
    <input type="radio" name="tab" checked id="tabmenu01">
    <label for="tabmenu01">tab01</label>
    <input type="radio" name="tab" id="tabmenu02">
    <label for="tabmenu02">tab02</label>
    <input type="radio" name="tab" id="tabmenu03">
    <label for="tabmenu03">tab03</label>

    <div class="content-box content01">content01</div>
    <div class="content-box content02">content02</div>
    <div class="content-box content03">content03</div>
</div>
🖥 css
/* css */

body{
  background: #9a7dab
}
.tabcontent{margin-left:calc(50% - 200px); margin-top:30px;
  padding:30px;
  box-sizing:border-box;
  width:400px;
  border-radius: 10px;
  background:#fff;
  box-shadow: 10px 10px 10px rgba(0,0,0,0.2);
}

input[type="radio"] {display:none;}
input[type="radio"] + label {display:inline-block;
  padding:10px 20px;
  background:#9a7dab;
  color:#fff;
  border-radius: 10px;
  font-size: 14px; cursor:pointer;
 }

input[type = "radio"]:checked + label {
  background:#fff;color:#9a7dab;
  border: 1px solid #9a7dab;

}
.content-box {
  display:none;
  margin-top:10px;
  padding:10px;
  width:340px;
  height:250px;
  font-size:30px;
  box-sizing:border-box;
  border-radius:10px;
  text-align:center;
  background: #efe6f4;
  color:#666;

}

input[id = "tabmenu01"]:checked ~ .content01 {display:block;}
input[id = "tabmenu02"]:checked ~ .content02 {display:block;}
input[id = "tabmenu03"]:checked ~ .content03 {display:block;}
필수로 넣어야하는 것
여기서, 스타일을 이것저것 추가 하였지만 기능을 위해 필수로 넣어야 하는 것은 input[id = "tabmenu01"]:checked ~ .content01 {display:block;}
일반형제선택자 알아두기!
※ tab메뉴 밑에 내용 바꾸기 위하여 ' ~ ' 일반형제선택자를 활용할 것 이다.
' ~ ' 일반형제선택자란?
같은 형제인 문단 중 다른 태그에 해당되는 태그가 해당되는 것
예를 들면, html상에서 <ul>태그를 닫은 후 <p>태그 가 있으면
css상에서는 <ul> ~ <p> 선택되었을때 p태그만 해당되는 되는 것 이다

