유튜브 "개발자 유미"님 강의를 듣고 정리한 내용입니다.
로그인 설정
Configuration 파일에서 커스텀 로그인 페이지를 설정할 수 있다. 이전에 특정 역할에 대해서만 권한이 부여되도록 설정한 url에 접근했을 때는 403 에러가 발생하며 접근이 제한되었다. 이를 커스텀 로그인 페이지를 보여주도록 설정할 수 있다.
html 작성 & 컨트롤러 설정
먼저 resources-templates 에 로그인 페이지를 위한 html을 작성한다. 로그인 폼을 만들고, action에 폼 제출 후 연결되는 경로를 설정한다.
<!doctype html>
<html lang="en">
<head>
    <meta charset="UTF-8">
    <meta name="viewport"
          content="width=device-width, user-scalable=no, initial-scale=1.0, maximum-scale=1.0, minimum-scale=1.0">
    <meta http-equiv="X-UA-Compatible" content="ie=edge">
    <title>Login</title>
</head>
<body>
login page
<hr>
<form action="/loginProc" method="post" name="loginForm">
    <input id="username" type="text" name="username" placeholder="id">
    <input id="password" type="password" name="password" placeholder="password">
    <input type="submit" value="login">
</form>
</body>
</html>
컨트롤러에서 로그인 폼과 관련해 GetMapping을 해준다.
이때 컨트롤러에서는 PostMapping을 따로 해주지 않았다.
@Controller
public class LoginController {
    @GetMapping("/login")
    public String loginP(){
        return "/login";
    }
}
Configuration 수정
다시 Configuration 파일로 돌아와서 다음을 추가한다.
@Configuration
@EnableWebSecurity
public class SecurityConfig {
    @Bean
    public SecurityFilterChain filterChain(HttpSecurity http) throws Exception {

       http
                .authorizeHttpRequests((auth) -> auth
                        .requestMatchers("/", "/login").permitAll()
                        .requestMatchers("/admin").hasRole("ADMIN")
                        .requestMatchers("/my/**").hasAnyRole("ADMIN", "USER")
                        .anyRequest().authenticated());


        // --- 추가 시작 ---

        http
                .formLogin((auth) -> auth
                        .loginPage("/login")
                        .loginProcessingUrl("/loginProc")
                        .permitAll());

        // 개발 환경에서만 꺼두기
        http
                .csrf((auth) -> auth.disable());

        // --- 추가 끝 ---

        return http.build();
    }
}
HttpSecurity의 formLogin() 메서드를 통해 로그인 페이지를 설정할 수 있다. authorizeHttpRequests() 에서와 마찬가지로 파라미터로 커스터마이저를 받는다. 람다 함수로 작성해주었다.
loginPage()의 파라미터로는 로그인 페이지의 url을, loginProcessingUrl()의 파라미터로는 form의 action에 설정해둔 url을 주면 된다.
마지막으로 permitAll() 을 호출하여 로그인 페이지에 모든 접근을 허용하도록 한다.
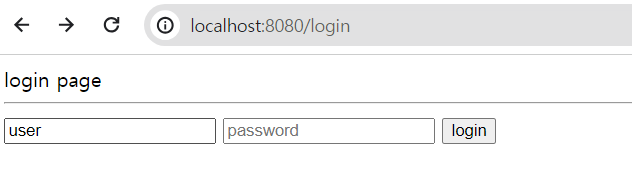
설정 이후에는 /admin에 접근하더라도 403 에러를 띄우는 대신 위와 같이 로그인 페이지를 반환하게 된다. 로그인 정보는 다음을 참고하여 하면 된다.

티스토리로 블로그 이전합니다. 최신 글들은 suhsein.tistory.com 에서 확인 가능합니다.