
misson 1,2
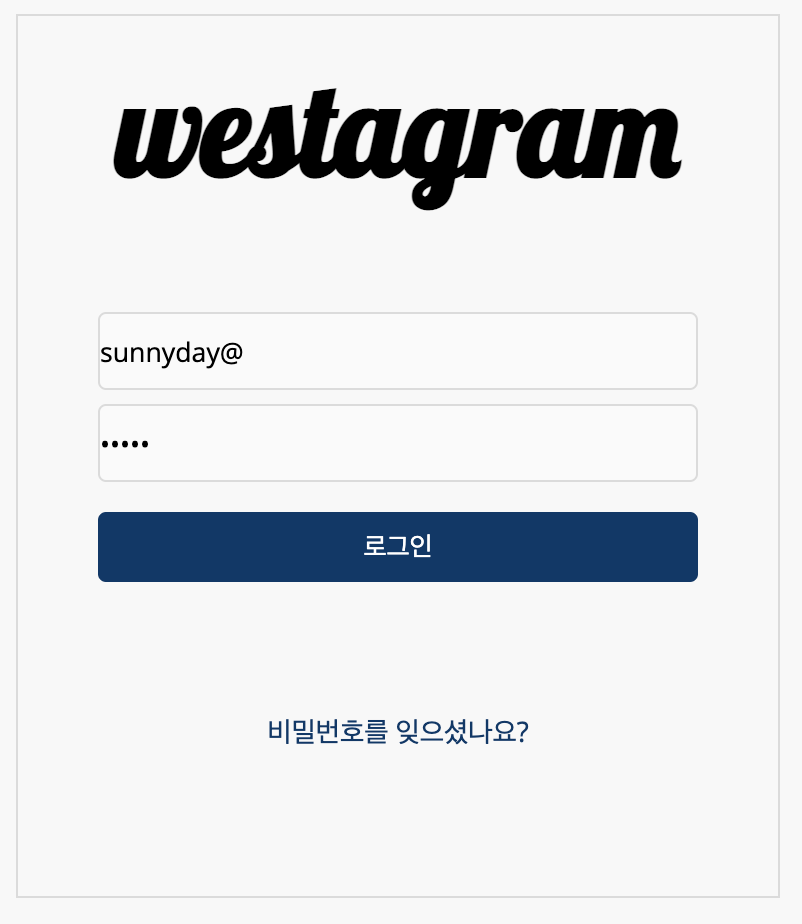
Mission 1) Login | 사용자 입력 데이터 저장
Mission 2) Login | 로그인 버튼 활성화 (validation)

코드부터 봅시당!
👉Login 컴포넌트
class Login extends React.Component {
constructor(props) {
super(props);
this.state = {
id: '',
password: '',
};
}
inputHandler = e => {
const name = e.target.name;
const inputValue = e.target.value;
this.setState({ [name]: inputValue });
};
activeBtn = () => {
const { id, password } = this.state;
return id.indexOf('@') !== -1 && password.length >= 5 ? true : false;
};
goToMain = () => {
this.props.history.push('/JiseonMain');
};
render() {
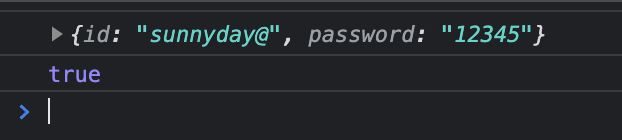
console.log(this.state);
console.log(this.activeBtn());
return (
<div id="borderBox">
<h1>westagram</h1>
<LoginBox inputHandler={this.inputHandler} />
<button
onClick={this.goToMain}
className={this.activeBtn() ? 'afterActive' : 'beforeActive'}
>
로그인
</button>
<a href="#">비밀번호를 잊으셨나요?</a>
</div>
);
}
}🚨짚고 넘어갈 부분!
inputHandler = e => { const name = e.target.name; const inputValue = e.target.value; this.setState({ [name]: inputValue }); };
LoginBox 컴포넌트에서 두 개의 input 중 하나는 name="id",name="password"로 지정해 줌으로서 name변수를 this.setState 안의 [name]으로 받아 올 수 있다.
👉LoginBox 컴포넌트(Login의 자식 컴포넌트)
class LoginBox extends React.Component {
  render() {
    return (
      <div className="loginBox">
        <input
          name="id"
          onChange={this.props.inputHandler}
          className="userName"
          type="text"
          placeholder=" 전화번호, 사용자 이름 또는 이메일"
        />
        <input
          name="password"
          onChange={this.props.inputHandler}
          className="passWord"
          type="password"
          placeholder=" 비밀번호"
        />
      </div>
    );
  }
}
🚨짚고 넘어갈 부분!
activeBtn = () => { const { id, password } = this.state; return id.indexOf('@') !== -1 && password.length >= 5 ? true : false; };
const id = this.state.id;
const password = this.state.password; 를
구조분해할당을 이용하여 const{id, password} = this.state;로
줄일 수 있다!(구조분해할당은 변수를 찢어..!)
misson 1,2 리뷰 끝! 어렵지만 재밌는 react!

👩🏻💻
곧 만나게 될 위스타그램... 설레네요! 잘보고 갑니다!!👍