# Collections and RangeReplaceableCollection
-
Collection:immutable -
RangeReplaceableColelction:mutablesubscripting가능!
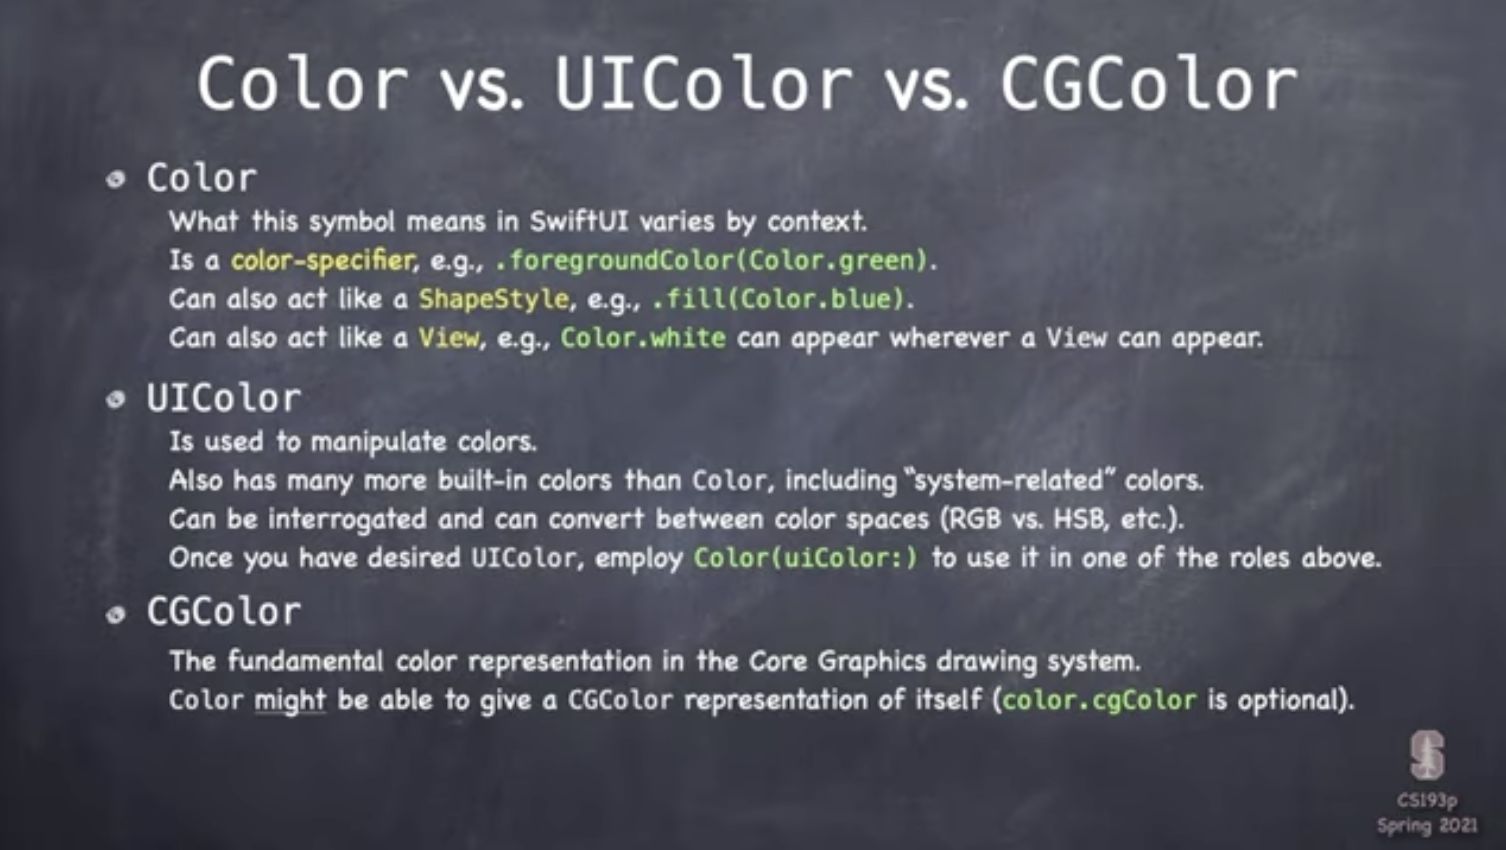
# Color UIColor CGColor
Color:color-specifier,ShapeStyle,ViewUIColor: 색깔을 다양하게 변경 가능CGColor:Core Graphics에서 사용...color.cgColor는 옵셔널`Color를UIColor로 바꾸려면 :Color->CGColor->UIColor- 3개가 다르다고 한다...공식문서 봐보라고 했는데 언젠간 보겠지 하는 마음...
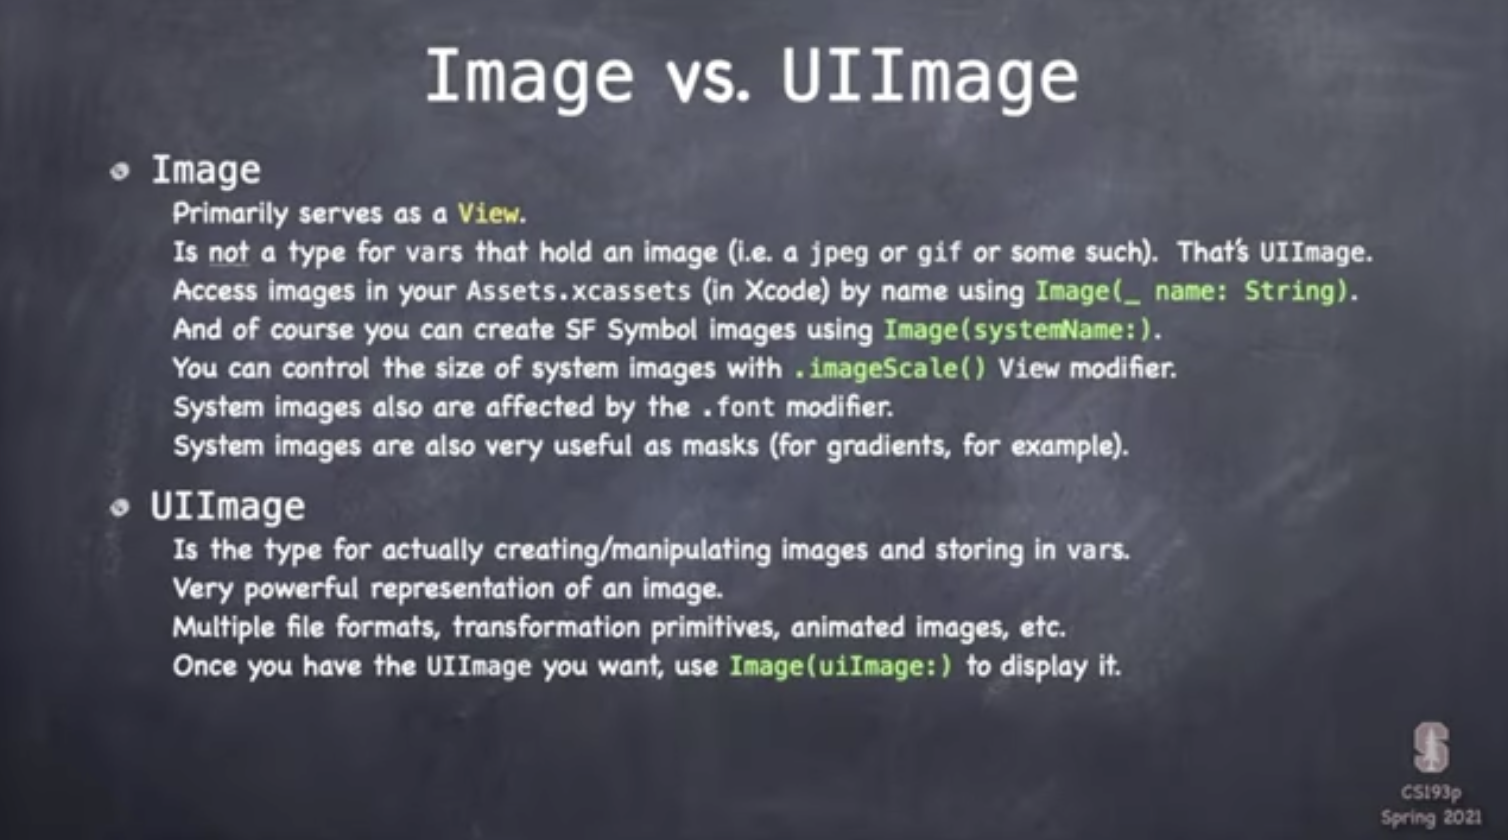
# Image vs UIImage
Image: 이미지를 UI 상에 그려내는ViewUIImage: 이미지를 담고있는변수의 타입e.g. JPEG, PNG, etc.- 원하는
UIImage를 UI 상에 나타낼 때Image를 사용하면 됨!
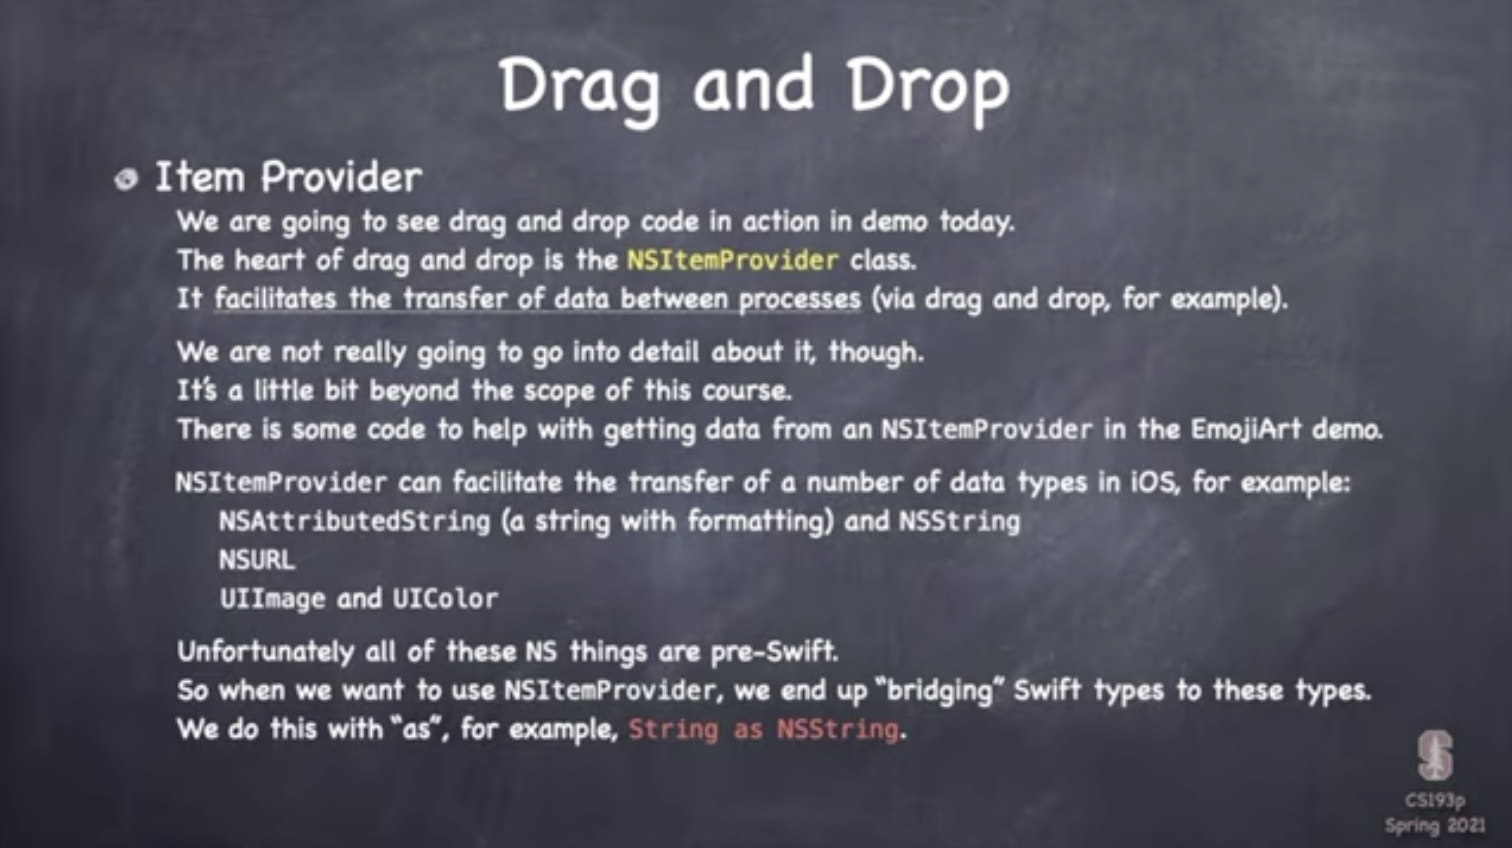
# NSItemProvider
-
드래그 앤 드랍과 같은 과정을 통해 서로 다른 프로세스 간 비동기적 데이터 전송을 용이케 해주는 친구!!
-
원소의 내용과 타입에 관한 정보를 담고 있음
# 모델은 외부에서 건드릴 수 없다구...
Emoji 구조체
- 모델의
Emoji 구조체의 경우 사용자가 크기/위치를 변경할 수 있어야 하기 때문에private으로 선언할 수 없다. 하지만 모델 밖에서free init을 통해 임의로 이모지를 생성하는 것을 막고 싶으므로init만fileprivate으로 선언해서 모델 밖에서 임의로 이모지를 새로 생성하는 것을 막을 수 있다!
    struct Emoji: Identifiable, Hashable {
        let text: String
        var x: Int
        var y: Int
        var size: Int
        var id: Int

        fileprivate init(text: String, x: Int, y: Int, size: Int, id: Int) {
            self.text = text
            self.x = x
            self.y = y
            self.size = size
            self.id = id
        }
    }
EmojiArtModel 구조체
- 마찬가지로 우리의 모델인
EmojiArtModel의free init을 외부에서 임의로 사용하는 것을 방지하기 위해 다음과 같이 빈init을 설정해준다! (이모지와 배경 추가는 모델 내부의 함수를 통해서만 이루어짐)
struct EmojiArtModel {
    init() {}
}
# Background 구조체의 syntactic sugar
imagedata와url변수를 통해Background구조체의 인스턴스가 이미지 데이터 혹은 url을 갖고 있는지 바로 확인할 수 있다!
extension EmojiArtModel {
    enum Background {
        case blank
        case url(URL)
        case imageData(Data)

        var url: URL? {
            switch self {
            case .url(let url): return url
            default: return nil
            }
        }

        var imageData: Data? {
            switch self {
            case .imageData(let data): return data
            default: return nil
            }
        }
    }
}
let blankBackground = EmojiArtModel.Background.blank blankBackground.imagedata // nil blankBackground.url // nil
# drag...!
- 하단의
ScrollingEmojisView에서 임의의 이모지를drag해서background에 보내고 싶은 것이므로 드래그 시,NSItemProvider가 사용할 수 있도록 각emoji를NSString으로 변환해서 보내주면 해결된다!
struct ScrollingEmojisView: View {
    let emojis: String
    var body: some View {
        ScrollView(.horizontal) {
            HStack{
                ForEach(emojis.map { String($0) }, id: \.self) { emoji in
                    Text(emoji)
                        .onDrag { NSItemProvider(object: emoji as NSString) }
                }
            }
        }
    }
}
# 드랍 더 드랍 더 드랍 더 이모지
-
도 설명하고 싶었지만...뉴비에게는 너무 어려운 내용이라 미래의 나를 믿어보기로...
-
아래의 두 가지
extension이 핵심이다, 교수님이 올려주신 데모 코드의 주석까지 고대로 복붙...
extension Character {
    var isEmoji: Bool {
        // Swift does not have a way to ask if a Character isEmoji
        // but it does let us check to see if our component scalars isEmoji
        // unfortunately unicode allows certain scalars (like 1)
        // to be modified by another scalar to become emoji (e.g. 1️⃣)
        // so the scalar "1" will report isEmoji = true
        // so we can't just check to see if the first scalar isEmoji
        // the quick and dirty here is to see if the scalar is at least the first true emoji we know of
        // (the start of the "miscellaneous items" section)
        // or check to see if this is a multiple scalar unicode sequence
        // (e.g. a 1 with a unicode modifier to force it to be presented as emoji 1️⃣)
        if let firstScalar = unicodeScalars.first, firstScalar.properties.isEmoji {
            return (firstScalar.value >= 0x238d || unicodeScalars.count > 1)
        } else {
            return false
        }
    }
}- 암튼
NSItemProvider의object를@escaping클로저를 이용해서 처리하고(우리의 경우Model의emojis 배열에 추가할 것임) 드랍할 수 있게 해 줄 거라는 뜻...로딩 성공 여부를 반환한다...!
// convenience functions for [NSItemProvider] (i.e. array of NSItemProvider)
// makes the code for  loading objects from the providers a bit simpler
// NSItemProvider is a holdover from the Objective-C (i.e. pre-Swift) world
// you can tell by its very name (starts with NS)
// so unfortunately, dealing with this API is a little bit crufty
// thus I recommend you just accept that these loadObjects functions will work and move on
// it's a rare case where trying to dive in and understand what's going on here
// would probably not be a very efficient use of your time
// (though I'm certainly not going to say you shouldn't!)
// (just trying to help you optimize your valuable time this quarter)

extension Array where Element == NSItemProvider {
    func loadObjects<T>(ofType theType: T.Type, firstOnly: Bool = false, using load: @escaping (T) -> Void) -> Bool where T: NSItemProviderReading {
        if let provider = first(where: { $0.canLoadObject(ofClass: theType) }) {
            provider.loadObject(ofClass: theType) { object, error in
                if let value = object as? T {
                    DispatchQueue.main.async {
                        load(value)
                    }
                }
            }
            return true
        }
        return false
    }
    func loadObjects<T>(ofType theType: T.Type, firstOnly: Bool = false, using load: @escaping (T) -> Void) -> Bool where T: _ObjectiveCBridgeable, T._ObjectiveCType: NSItemProviderReading {
        if let provider = first(where: { $0.canLoadObject(ofClass: theType) }) {
            let _ = provider.loadObject(ofClass: theType) { object, error in
                if let value = object {
                    DispatchQueue.main.async {
                        load(value)
                    }
                }
            }
            return true
        }
        return false
    }
    func loadFirstObject<T>(ofType theType: T.Type, using load: @escaping (T) -> Void) -> Bool where T: NSItemProviderReading {
        loadObjects(ofType: theType, firstOnly: true, using: load)
    }
    func loadFirstObject<T>(ofType theType: T.Type, using load: @escaping (T) -> Void) -> Bool where T: _ObjectiveCBridgeable, T._ObjectiveCType: NSItemProviderReading {
        loadObjects(ofType: theType, firstOnly: true, using: load)
    }
}.onDrop에서drop 함수를 호출하면String이 존재하고, 이모지 타입이 맞는지 확인한 다음 클로저를 이용해 처리(우리의 경우 위에서 말했듯이 모델의 이모지 목록에 추가하는 것)하고 성공 여부를 반환한다...
...
var documentBody: some View {
GeometryReader { geometry in
ZStack {
// some code displaying background and all added emojis
}
.onDrop(of: [.plainText], isTargeted: nil) { provider, location in
drop(provider: provider, at: location, in: geometry)
}
}
}
// MARK: - Drag and Drop
// returns whether loading(drop) was successful
private func drop(provider: [NSItemProvider], at location: CGPoint, in geometry: GeometryProxy) -> Bool {
// give a closure to handle the loaded data
return provider.loadObjects(ofType: String.self) { string in
if let emoji = string.first, emoji.isEmoji {
document.addEmoji(String(emoji), at: convertToEmojiCoordinates(location, in: geometry) , size: defaultEmojiFontSize)
}
}
}
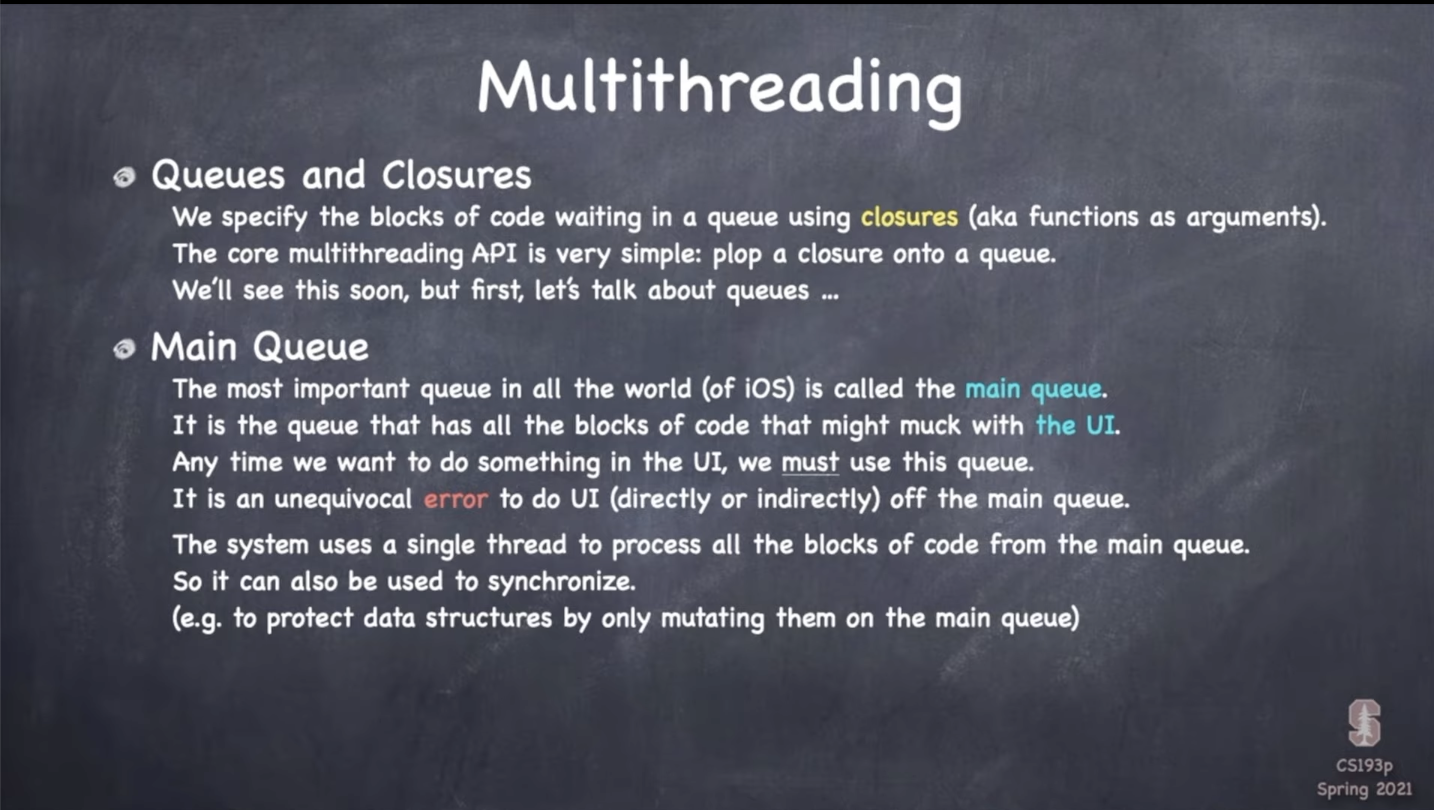
...# 멀티스레딩!
- UI는 항상 사용자의 모션에 반응할 준비가 되어 있어야 하기 때문에 시간이 오래걸리는 작업이 필요한 경우 UI가 실행되고 있는 (메인) 스레드가 아닌 (백그라운드) 스레드에서 비동기로 처리하도록 하는 것!
- 스위프트는 큐를 이용해서 멀티스레딩을 하는데, 작업 내용이 될 코드 블록을 큐에 넣으면 시스템이 이러한 코드들을 큐에 들어있는 순서대로 하나씩 꺼내서 적절한 스레드에 분배한다!
- 따라서 우리는 그냥 큐에 클로저(코드 블록)를 넣어주면 멀티스레딩 -완-
-
Main Queue: UI에 영항을 미칠 수도 있는 모든 코드 블록을 담고 있음- 시스템은 메인 큐의 코드 블록을 실행하기 위해서 단일 스레드를 사용
- 자료구조에
쓰기작업은 메인 큐에서읽기작업은 백그라운드 큐에서 수행함으로써 동기화 가능
-
일단 오늘은 이론만 슥 들었기 때문에 다음 시간에 실제로 구현해보면서 swift에서 멀티스레딩을 하는지 이해할 수 있을 것 같다...제발
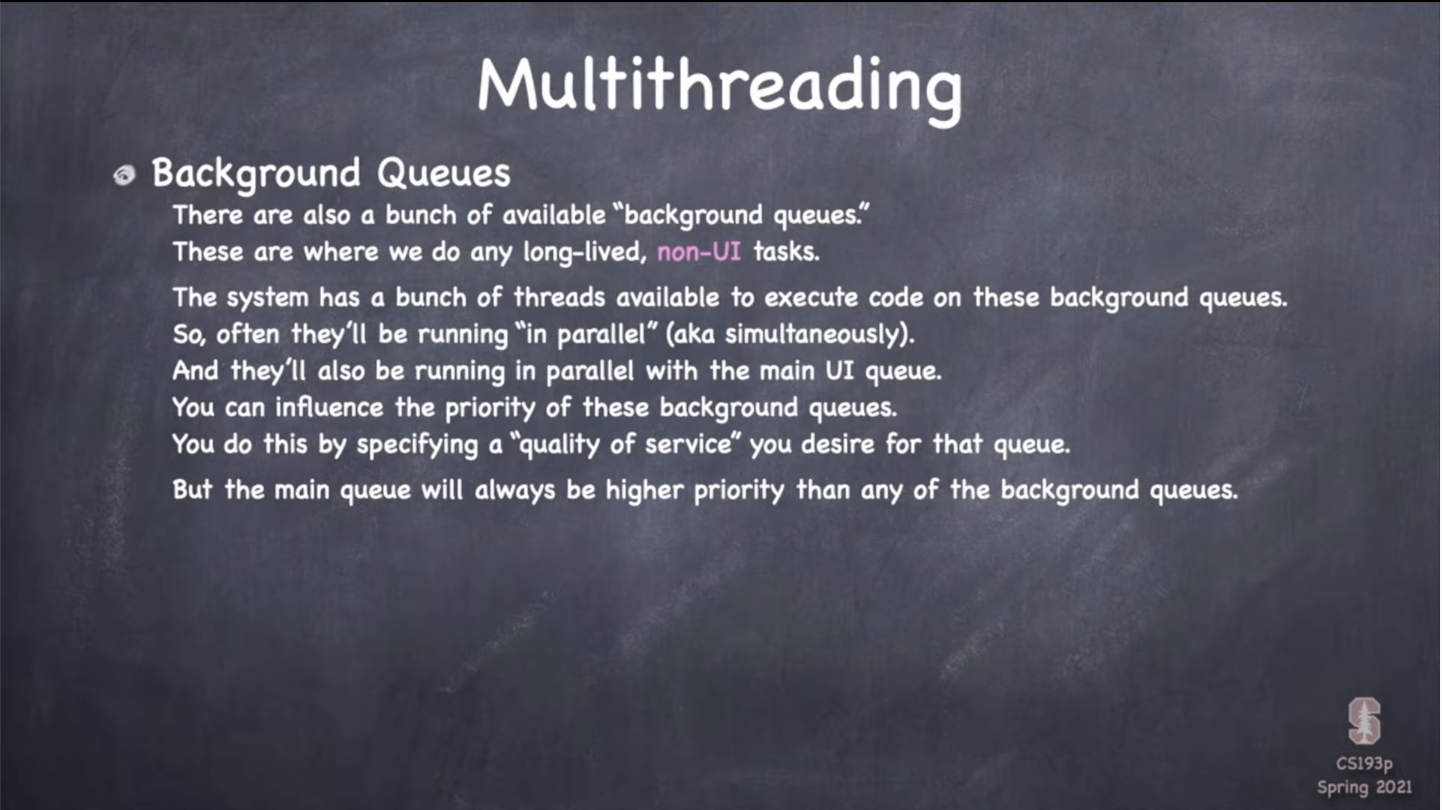
- 백그라운드 큐는 메인 큐가 쓰고 남은 실행 시간만 가용 가능
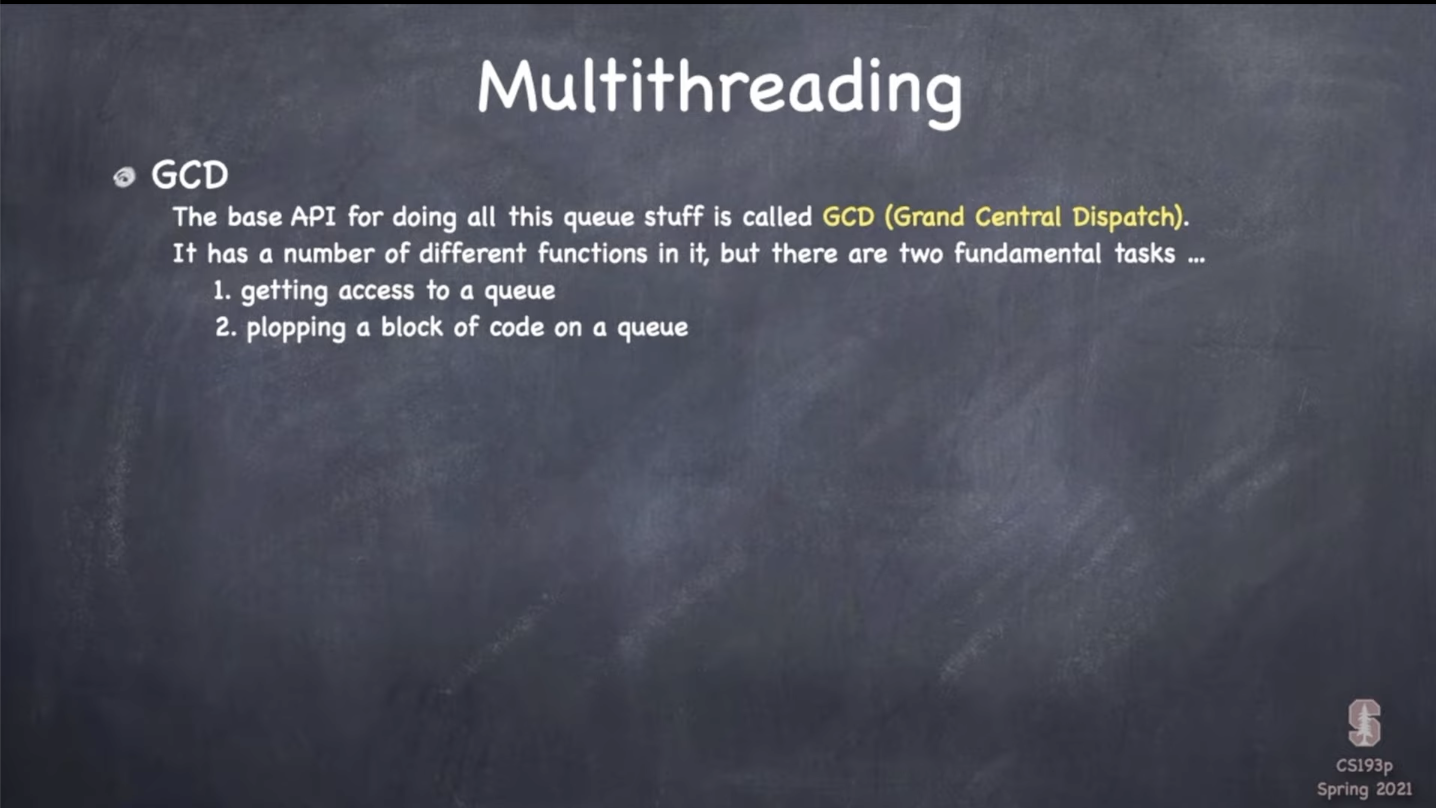
# GCD(Grand Central Dispatch)
GCD의 많은 부분이 올해 더욱 swift한 방식으로 교체되었다고 한다...
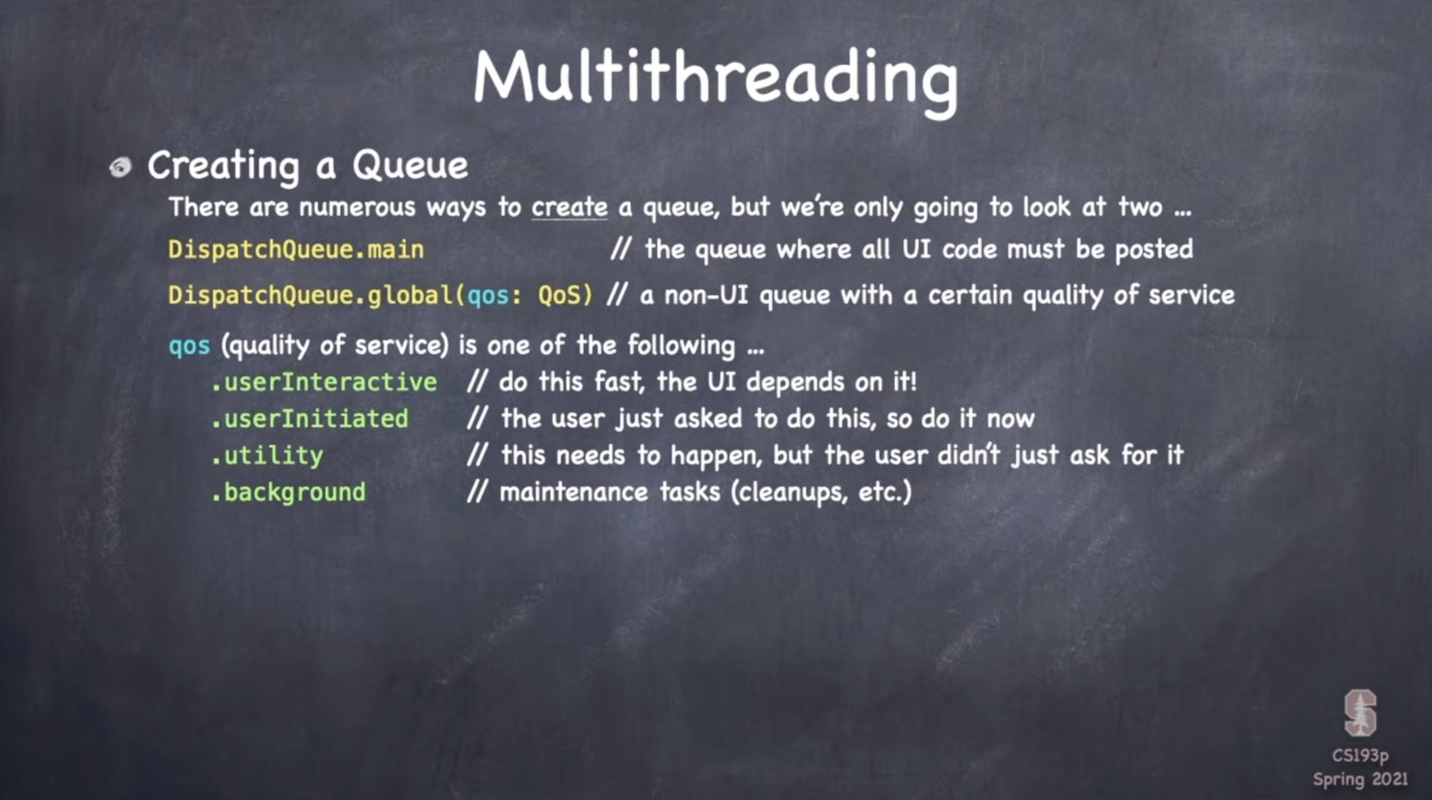
큐 만들기
-
메인 큐 :
DispatchQueue.Main -
백그라운드 큐 :
DispatchQueue.global(qos: QoS)qos(quality of service): 해당 큐의 우선순위를 나타냄
(강의 1:24:00 참고)
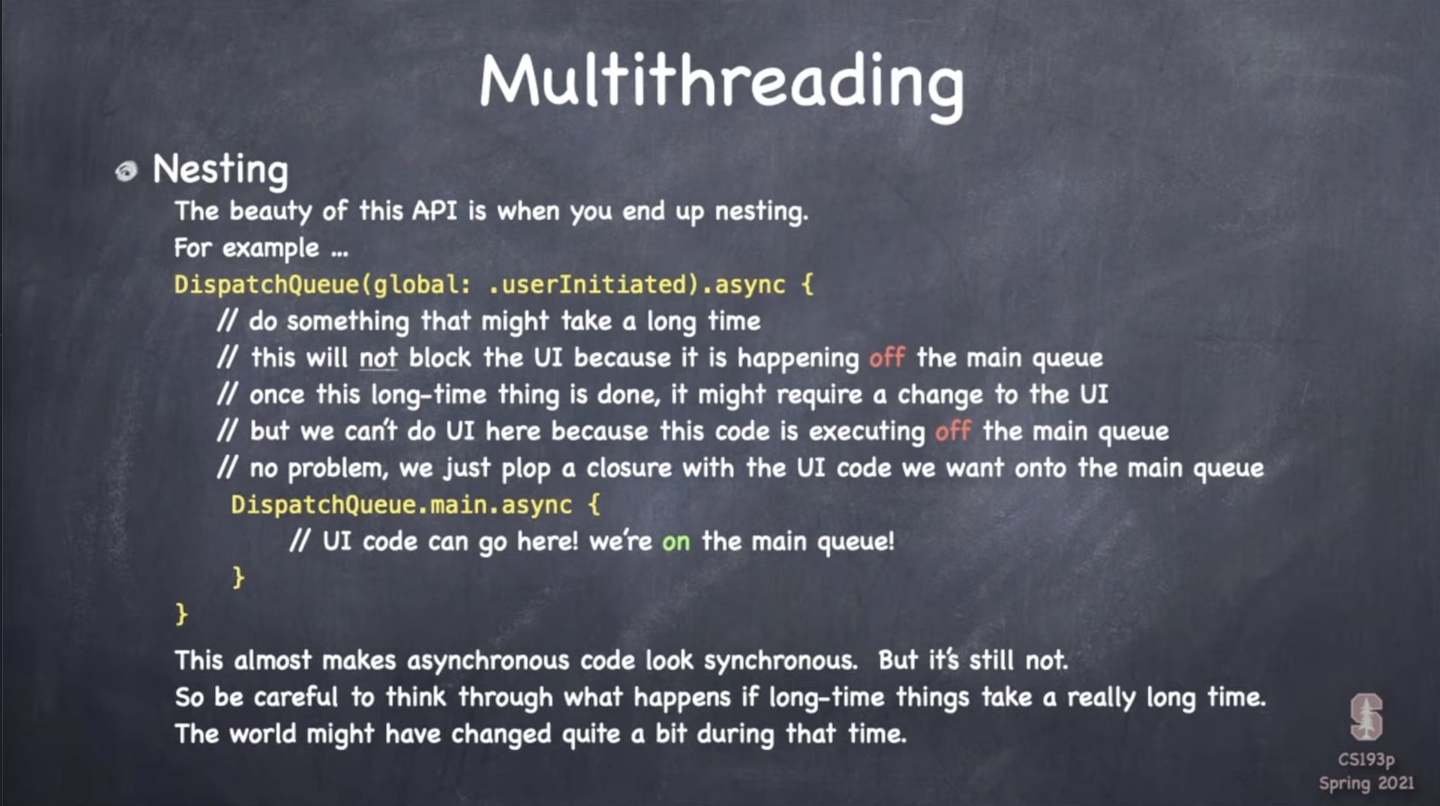
큐에 클로저 추가하기
queue.async: 여러 작업을 비동기적으로 처리(큐에 넣는 것일뿐 즉각적으로 작업이 실제 실행되는 것은 아님!)하므로 여러 작업을 동시에 수행 가능- 백그라운드 큐에서 작업을 처리하므로 UI가 블락되지 않음
queue.sync: 해당 작업이 끝날 때까지 다른 작업 블락
dispatch Queue찾아보기!

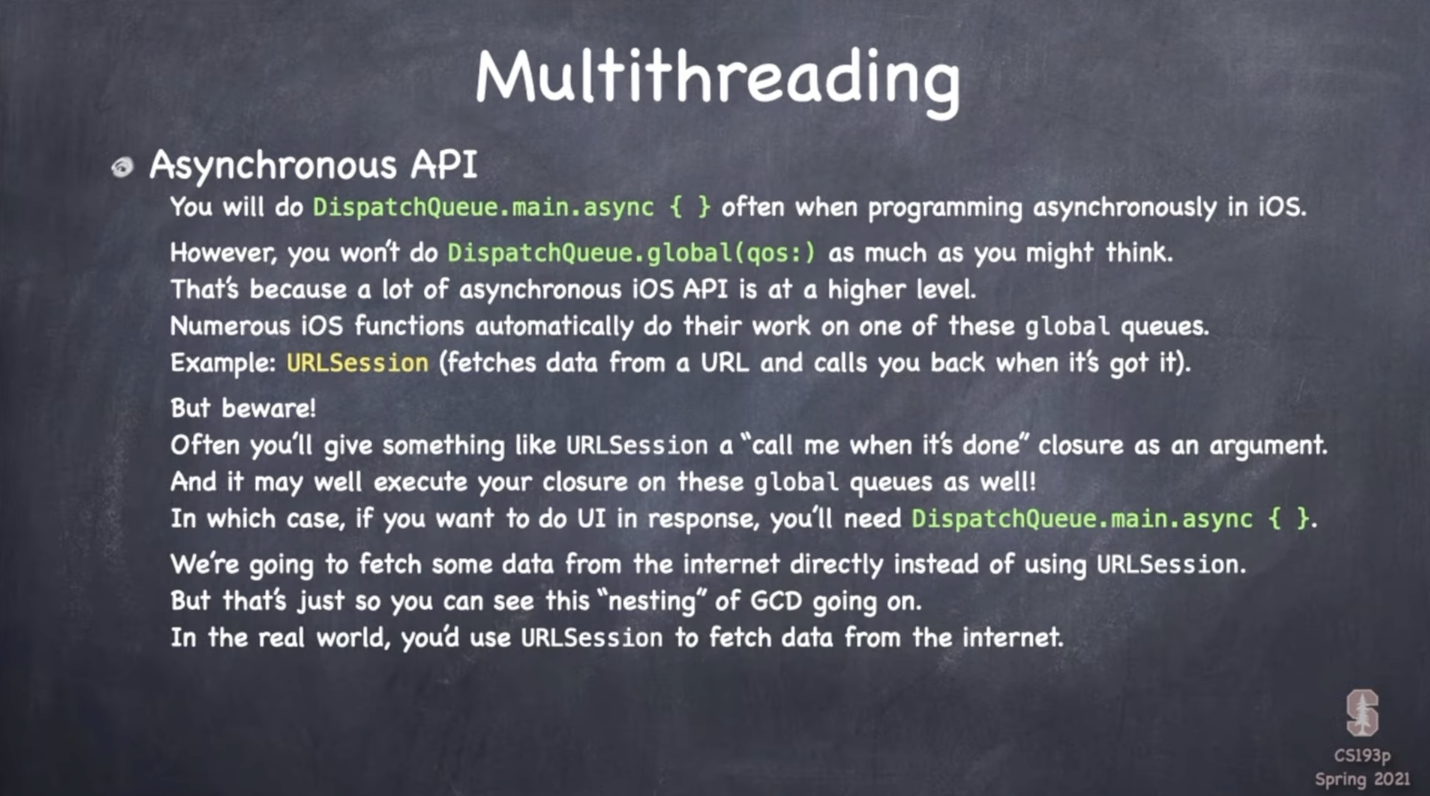
- in reality URLSession will be used..!
☀️ 느낀점
-
NS 친구들...어렵다...멀티스레딩...더 어려울 것 같다....ㅎㅎ
-
재수강하면서 느낀건데 동기, 비동기에 대한 개념이 완전히 잘못 잡혀있었다...이제 정말 CS공부의 필요성을 느낀다...
Image VS UIImage
- Image : View that draws an image
- UIImage : var to hold some image
fileprivate
- for struct emoji
- for struct emojiArtModel
syntatic sugar in background
- var imagedata
- var url
Geometry Proxy
- to get coordinates of CGPoint(x, y) in our View
- we use GeometryReader for this!
- we're goin to position from the centerrrr
NSItemProvider
- simple little items that provides data to someone else(to the other end)
- provides info asynchroniously? 동시에!
Drop...method..
- how do we drop?
- the load function...customed by the lecturer..
- try to explains isEmoji?
- this section could be deleted
멀티스레딩!
- when we have some tasks that take up time(long-lived tasks), we execute them on a different "thread of execution" than the UI is executing on so that the UI is always responsive
- swift manages multithreading using queues
- so what u have to worry about is putting ur block of code in the right queue and then the system takes car of providing/allocating threads to execute code off these queues
- and we specify the blocks of code waiting in a queue using closures!
- to sum up, plop a closure onto a queue!
- 백그라운드 큐는 메인 큐가 쓰고 남은 실행시간만을 갖는다
API : programming interface, the vars, functions that are involved in making this all work..!
큐 만드는 법
큐에 클로저 추가하는 법
queue.async:queue.sync: 해당 클로저가- look up dispatch Queue
- nesting may seem synchoronous, like in sequence but no...! sth asynchronous isn't gonna be run instantly...there's only dependency
- in reality URLSession will be used..!

☀️