
🌼 학습내용
1️⃣ async-await(비동기)
-
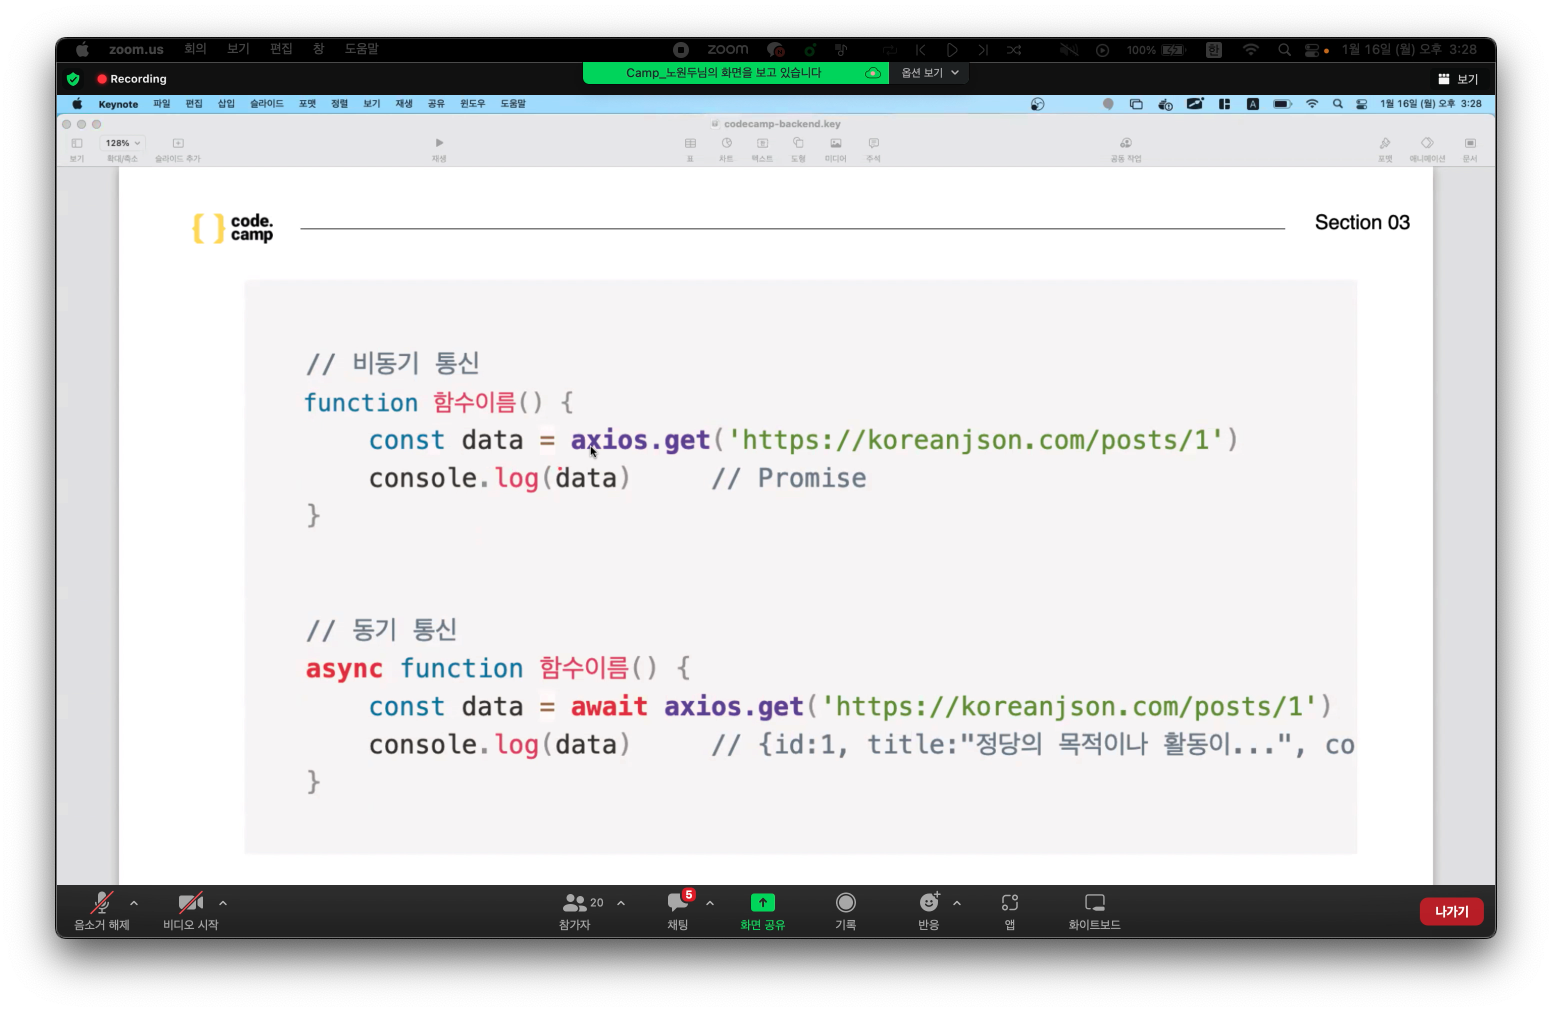
api 요청을 보내고 응답을 받을때까지 기다린다. -
여러개의 데이터를 다른 api로 요청을 보낼 때 -
프로필 -> 게시물조회 api, 게시글 -> 게시글조회 api -
동기 적으로 작동할시 게시물 조회 API가 끝나야 게시글 조회 apI 를 호출)
-
데이터를 아직 받아오지 못한상태 Promise {<pending>}상태라고 한다. -
데이터를 잘받아올려면 async-await을 쓰도록 하자.
const fetchAsync = () => {
const result = axios.get('https://koreanjson.com/posts/1');
console.log('비동기 방식 :', result); //Promise {<pending>}
};
fetchAsync();
const fetchsync = async () => {
const result = await axios.get('https://koreanjson.com/posts/1');
console.log('동기 방식 :', result.data); // result : {tilte: ...~~}
};
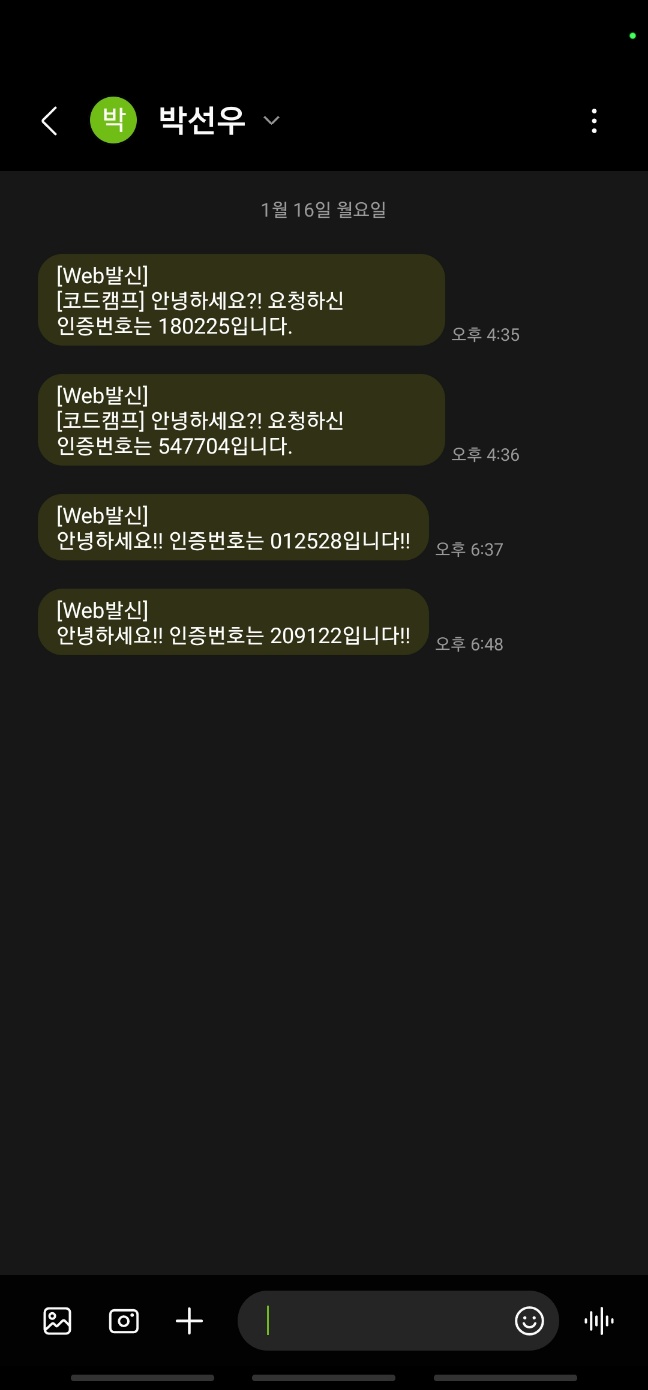
fetchsync();2️⃣ coolsms으로 휴대폰 인증하기
coolsms 사이트에 접속후 APIkey 와 APISECRET키를 발급 받는다
import coolsms from 'coolsms-node-sdk';

const mysms = coolsms.default;
// import를 해와서 mysms라는 변수에 default값을 할당해준다.


const messagwService = new mysms(process.env.APIKEY, process.env.APISECRET);
    const res = await messagwService.sendOne({
        to: myphone,
        from: '01098062505',
        text: `안녕하세요!! 인증번호는 ${result}입니다!!`,
    });
// messagwService에 new mysms(발급받은 key, secret 를 넣고)
// sendOne({보내줄 데이터를 작성})
// 1건에 20원씩 차감... 처음 회원가입하면 300원 공짜
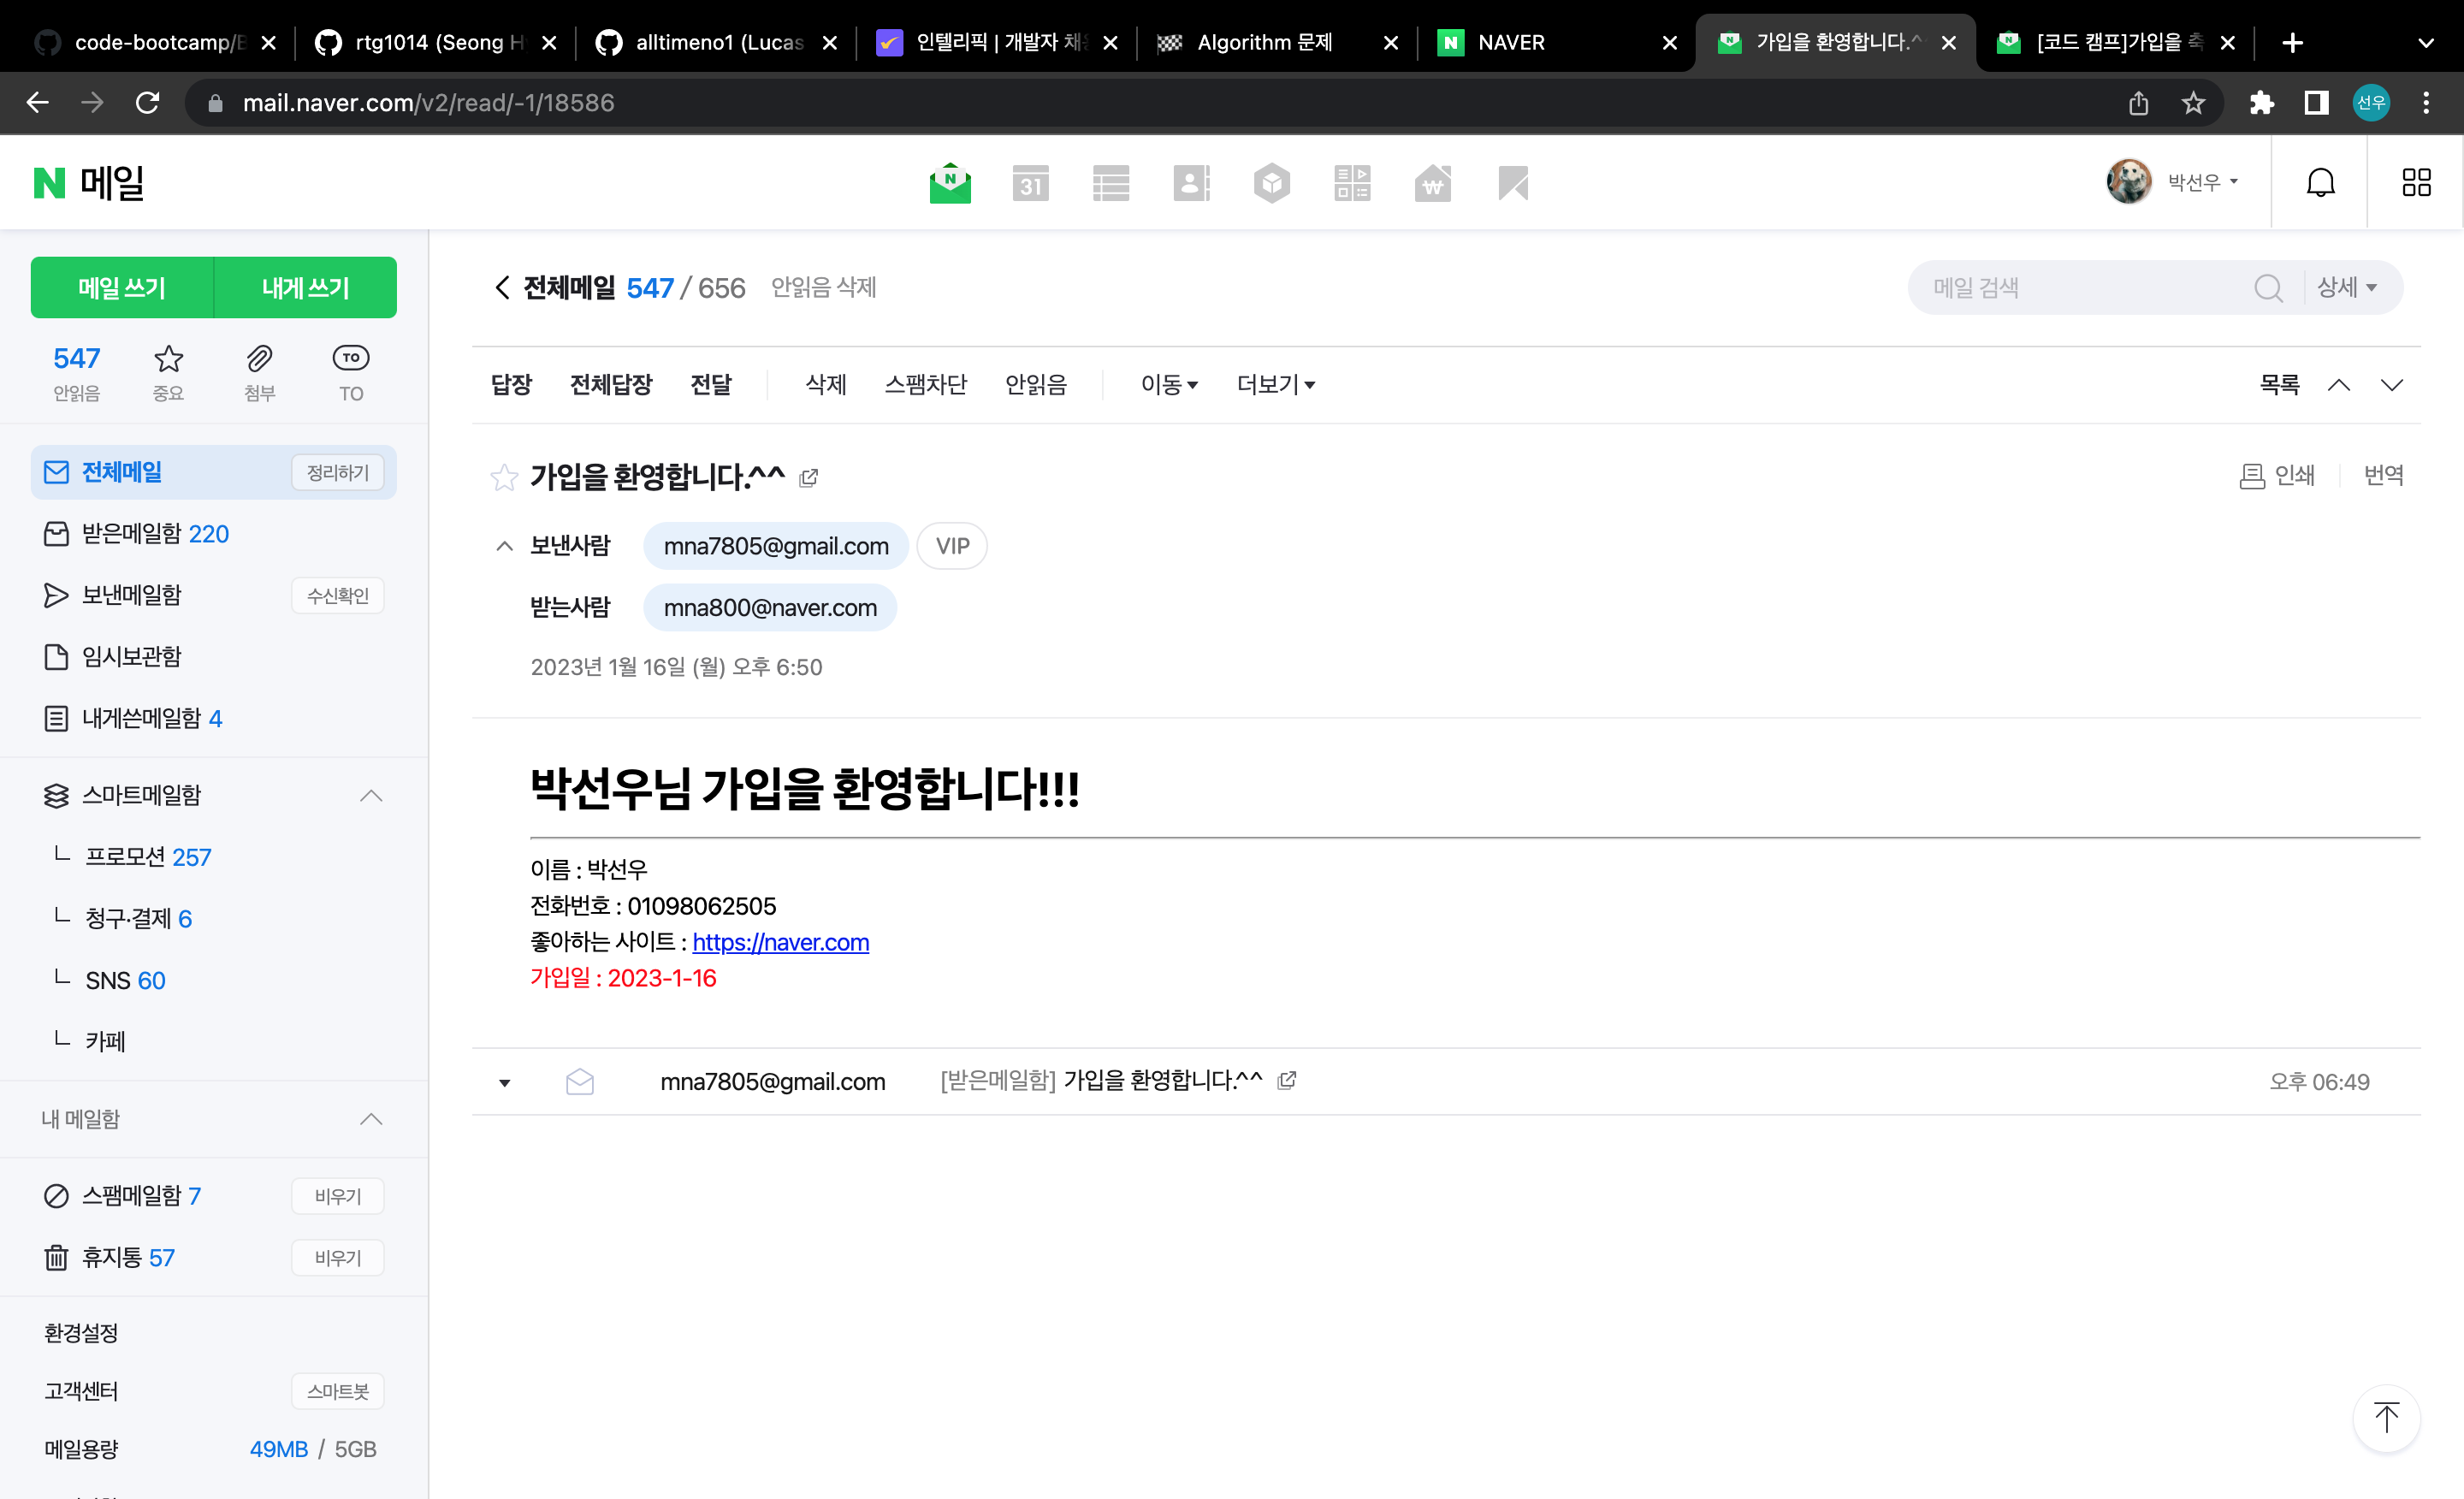
3️⃣ nodemailer로 이메일 인증하기
1. 터미널 : yarn add nodemailer (다운로드)
2. import nodemailer from 'nodemailer'; 불러오기
3.
// 보내는 양식
export async function sendTemplateToEmail({ myTemplate, email }) {
  // 보내는양식
    const transporter = nodemailer.createTransport({
        service: 'gmail', // gmail을 이용
        auth: {
            user: process.env.EMAIL_USER, // google2차인증 까지 완료된 계정
            pass: process.env.EMAIL_PASS,
          // google2차인증 비밀번호
        },
    });
	// 받는양식
    const res = await transporter.sendMail({
        from: process.env.EMAIL_SENDER, // 보내는 이메일 주소
        to: email, // 받는 이메일 주소
        subject: '가입을 환영합니다.^^',
        html: myTemplate, // 원하는 템플릿 보내주기
    });
    console.log(res);
}
4️⃣ 환경변수 설정
민감한 부분의 코드들 즉, 개인정보와 관련된 key들을 환경 변수로 지정해서 사용할 수 있다.
1. 터미널 : yarn add dotenv (다운)
2. main.js와 같은 경로에 .env파일을 생성
3. .env파일 안에 내가 사용할 변수명과 값을 넣는다
APIKEY = "123123414124"
4. main.js
import * from 'dotenv' // 불러온다 -> 전역에서 사용하겠다(*)
dotenv.config(); // 기본 설정을 해준다

5. 사용되는 구간에 process.env.APIKEY 이렇게 넣어주어 사용하게 된다.
6. 최상단 경로에
.gitignore생성 -> .env 추가
=> github에 내가 지정한 key값들이 올라가지 않는다.
보안강화!!

코린이 열심히 배우자!