어제 이어서 오늘도 Nginx를 이용해 https 구현
Nginx를 이용해 https(certbot) 구현하기
- ubuntu v18버전 express를 사용하고 있다.
1. git clone {프로젝트}.git2. cd {프로젝트}
npm install3. sudo npm i pm2 -g // npm 설치4. sudo apt install nginx
sudo vi /etc/nginx/sites-available/default5. server{
```
server_name 도메인.com www.도메인.com;
location / {
proxy_pass http://localhost:포트; #whatever port your app runs on
proxy_http_version 1.1;
proxy_set_header Upgrade $http_upgrade;
proxy_set_header Connection 'upgrade';
proxy_set_header Host $host;
proxy_cache_bypass $http_upgrade;
}
}6. sudo nginx -t // nginx 설정변경 확인7. sudo service nginx restart // nginx 실행
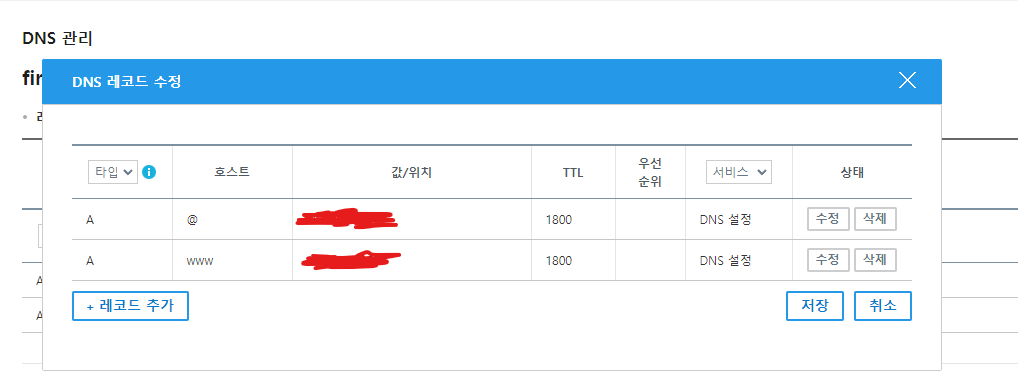
- 도메인 설정하기 (나는 가비아를 이용했다)
- www,@ 자기 IP 주소 넣기 (나는 EC2 IP 설정)
LetsEncrypt로 SSL발급 받기
9.sudo add-apt-repository ppa:certbot/certbot
sudo apt-get update
sudo apt-get install python-certbot-nginx
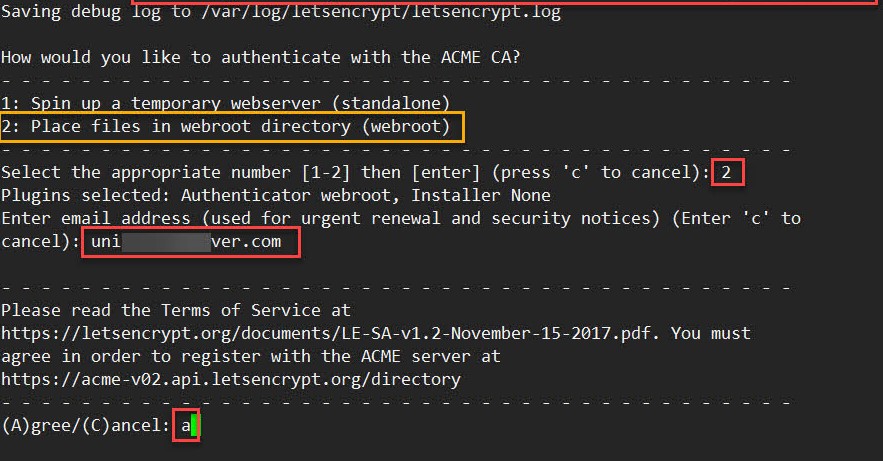
sudo certbot --nginx -d 도메인.com -d www.도메인.com
- 1 번과 2번중(수동,자동) 2번으로 선택했다 그러고 email은 EC2 이메일 입력
10. certbot renew --dry-run // 자동으로 SSL을 갱신시켜주기11. sudo service nginx restart // nginx 다시 시작12. pm2 start 서버 // pm2로 서버열기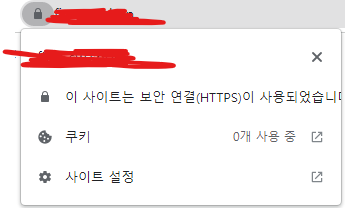
- 그러면 다음과 같이 https로 연결된걸 볼 수 있다.!!
13. sudo vi /etc/nginx/sites-available/default // 다시 들어가보면 자동으로 설정됨

코린이 열심히 배우자!