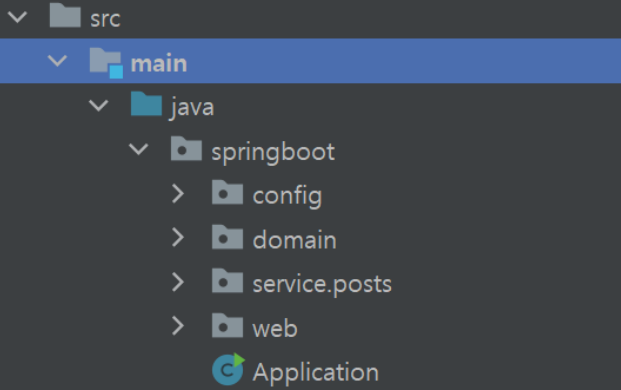
Application 클래스
@SpringBootApplication
public class Application {
    public static void main(String[] args) {
        SpringApplication.run(Application.class, args);
    }
}
SpringApplication.run(Application.class, args) 코드를 통해 내장 WAS를 실행. 이를 통해 상황에 상관없이 같은 환경에서 스프링 부트를 배포할 수 있게 됐다.
@SpringBootApplication
스프링 부트는 메인 메서드가 선언된 클래스 기준으로 실행된다, 여기에 이 애노테이션을 붙인다.
이 애노테이션으로 인해 스프링부트의 자동설정, 스프링 Bean 읽기와 생성이 모두 자동으로 설정된다.
@SpringBootApplication의 위치부터 설정을 읽어가기에, 이 클래스는 항상 프로젝트의 최상단에 위치해야 한다.
하나 이상의 @Bean 메소드를 선언하며, auto-configuration과 컴포넌트 스캔을 수행하는 Configuration Class를 선언한다
@Target(value=TYPE)
 @Retention(value=RUNTIME)
 @Documented
 @Inherited
 @SpringBootConfiguration
 @EnableAutoConfiguration
 @ComponentScan(excludeFilters={@ComponentScan.Filter(type=CUSTOM,classes=TypeExcludeFilter.class),})
public @interface SpringBootApplication
@SpringBootConfiguration
@EnableAutoConfiguration
@ComponentScan
애노테이션을 보면 이렇게 크게 세가지의 역할을 한다.
-
@ComponentScan:
- @Configuration @Repository @Service @Controller @RestController 애노테이션 및, 이것이 선언된 하위 패키지에서 이들 Annotation을 찾아서 Bean으로 등록한다
-
@EnableAutoConfiguratio
-
SpringApplicationContext의 Auto-configuration을 활성화하여 필요할 수 있는 bean들을 추측하여 구성한다. 이 자동 구성 클래스들은 classpath와 정의한 빈에 따라 적용된다.
- exclude를 활용하여 원하지 않는 구성을 제외할 수 있다.
이곳에 필요한 빈들이 정의돼 있다
-
-
@SpringBootConfiguration
@Configuration의 대용으로 사용한다. 이를 통해 configuration이 자동화된다
HelloController
@RestController
public class HelloController {
    @GetMapping("/hello")
    public String hello() {
        return "hello";
    }

    @GetMapping("/hello/dto")
    public HelloResponseDto helloDto(@RequestParam("name") String name, @RequestParam("amount") int amount) {
        return new HelloResponseDto(name, amount);
    }
}- @RestController : JSON을 반환하는 컨트롤러로 만들어준다.
이를 통하여 @ResponseBody를 각 메소드마다 선언할 필요 없이, 컨트롤러에만 선언해주면 된다.@Target(ElementType.TYPE) @Retention(RetentionPolicy.RUNTIME) @Documented @Controller @ResponseBody public @interface RestController {
dto(Data Transfer Object)
Web계층(컨트롤러 , 뷰 템플릿 등) 과 Service 계층 간에 데이터 교환을 위한 객체.
@Getter
@RequiredArgsConstructor
public class HelloResponseDto {

    private final String name;
    private final int amount;
}-
@RequiredArgsConstructor 로 선언된 final 필드가 모두 포함된 생성자를 생성한다
-
RequestParam : 외부에서 API로 넘긴 파라미터를 가져오는 애노테이션

- 파라미터로 넘긴 값이 dto에 담겨서 JSON으로 변환되어 리턴된다.
HelloControllerTest
@RunWith(SpringRunner.class) // JUnit에 내장된 실행자 외에 다른 실행자 실행시킴, 여기서는 SpringRunner라는 실행자 사용하여 스프링 부트 테스트와 JUnit 사이 연결자 역할
@WebMvcTest(controllers = HelloController.class,
excludeFilters = {
        @ComponentScan.Filter(type= FilterType.ASSIGNABLE_TYPE, classes = SecurityConfig.class)
})
public class HelloControllerTest {

    @Autowired
    private MockMvc mvc; // 스프링 MVC테스트의 시작점, API테스트를 위해 사용

    @Test
    @WithMockUser(roles="USER")
    public void hello_return() throws Exception {
        String hello = "hello";

        mvc.perform(get("/hello")).andExpect(status().isOk()).andExpect(content().string(hello));
        /* /hello로 GET요청을 보내어, 응답이 200인지, 응답 내용이 hello인지 검증 */
    }

    @Test
    @WithMockUser(roles="USER")
    public void helloDto_return() throws Exception {
        String name = "hello";
        int amount = 1000;

        mvc.perform(
                        get("/hello/dto")
                                .param("name", name)
                                .param("amount", String.valueOf(amount))) // param 값은 String만 허용되어서 문자열로 변경해야함
                .andExpect(status().isOk())
                .andExpect(jsonPath("$.name", is(name)))
                .andExpect(jsonPath("$.amount", is(amount)));
    }
}-
WebMVCTest : 사용시 @Controller와 @ControllerAdvice 를 사용할 수 있다.
- 이 애노테이션은 full auto-configuration 기능을 끄고, MVC 테스트와 관련된 테스트만 수행한다
- 단 @Service , @Component, @Repository는 사용불가
- (i.e. @Controller, @ControllerAdvice, @JsonComponent, Converter/GenericConverter, Filter, WebMvcConfigurer and HandlerMethodArgumentResolver beans but not @Component, @Service or @Repository beans).
-
private MockMvc mvc : 스프링 MVC테스트의 시작점, 웹 API테스트시 사용한다.
-
param : API테스트 할때 사용될 requestParam을 설정한다.
- 값은 String만 허용된다, 따라서 숫자/날짜 데이터도 문자열로 변경해야만 한다
-
jsonPath : JSON 응답값을 필드별로 검증할 수 있게 해준다.
- $를 기준으로 필드명을 명시한다.
