
🌱 포스트 순서 🌱
- 아이템 수정하기
https://wikidocs.net/book/7601 의 내용을 응용하였습니다.
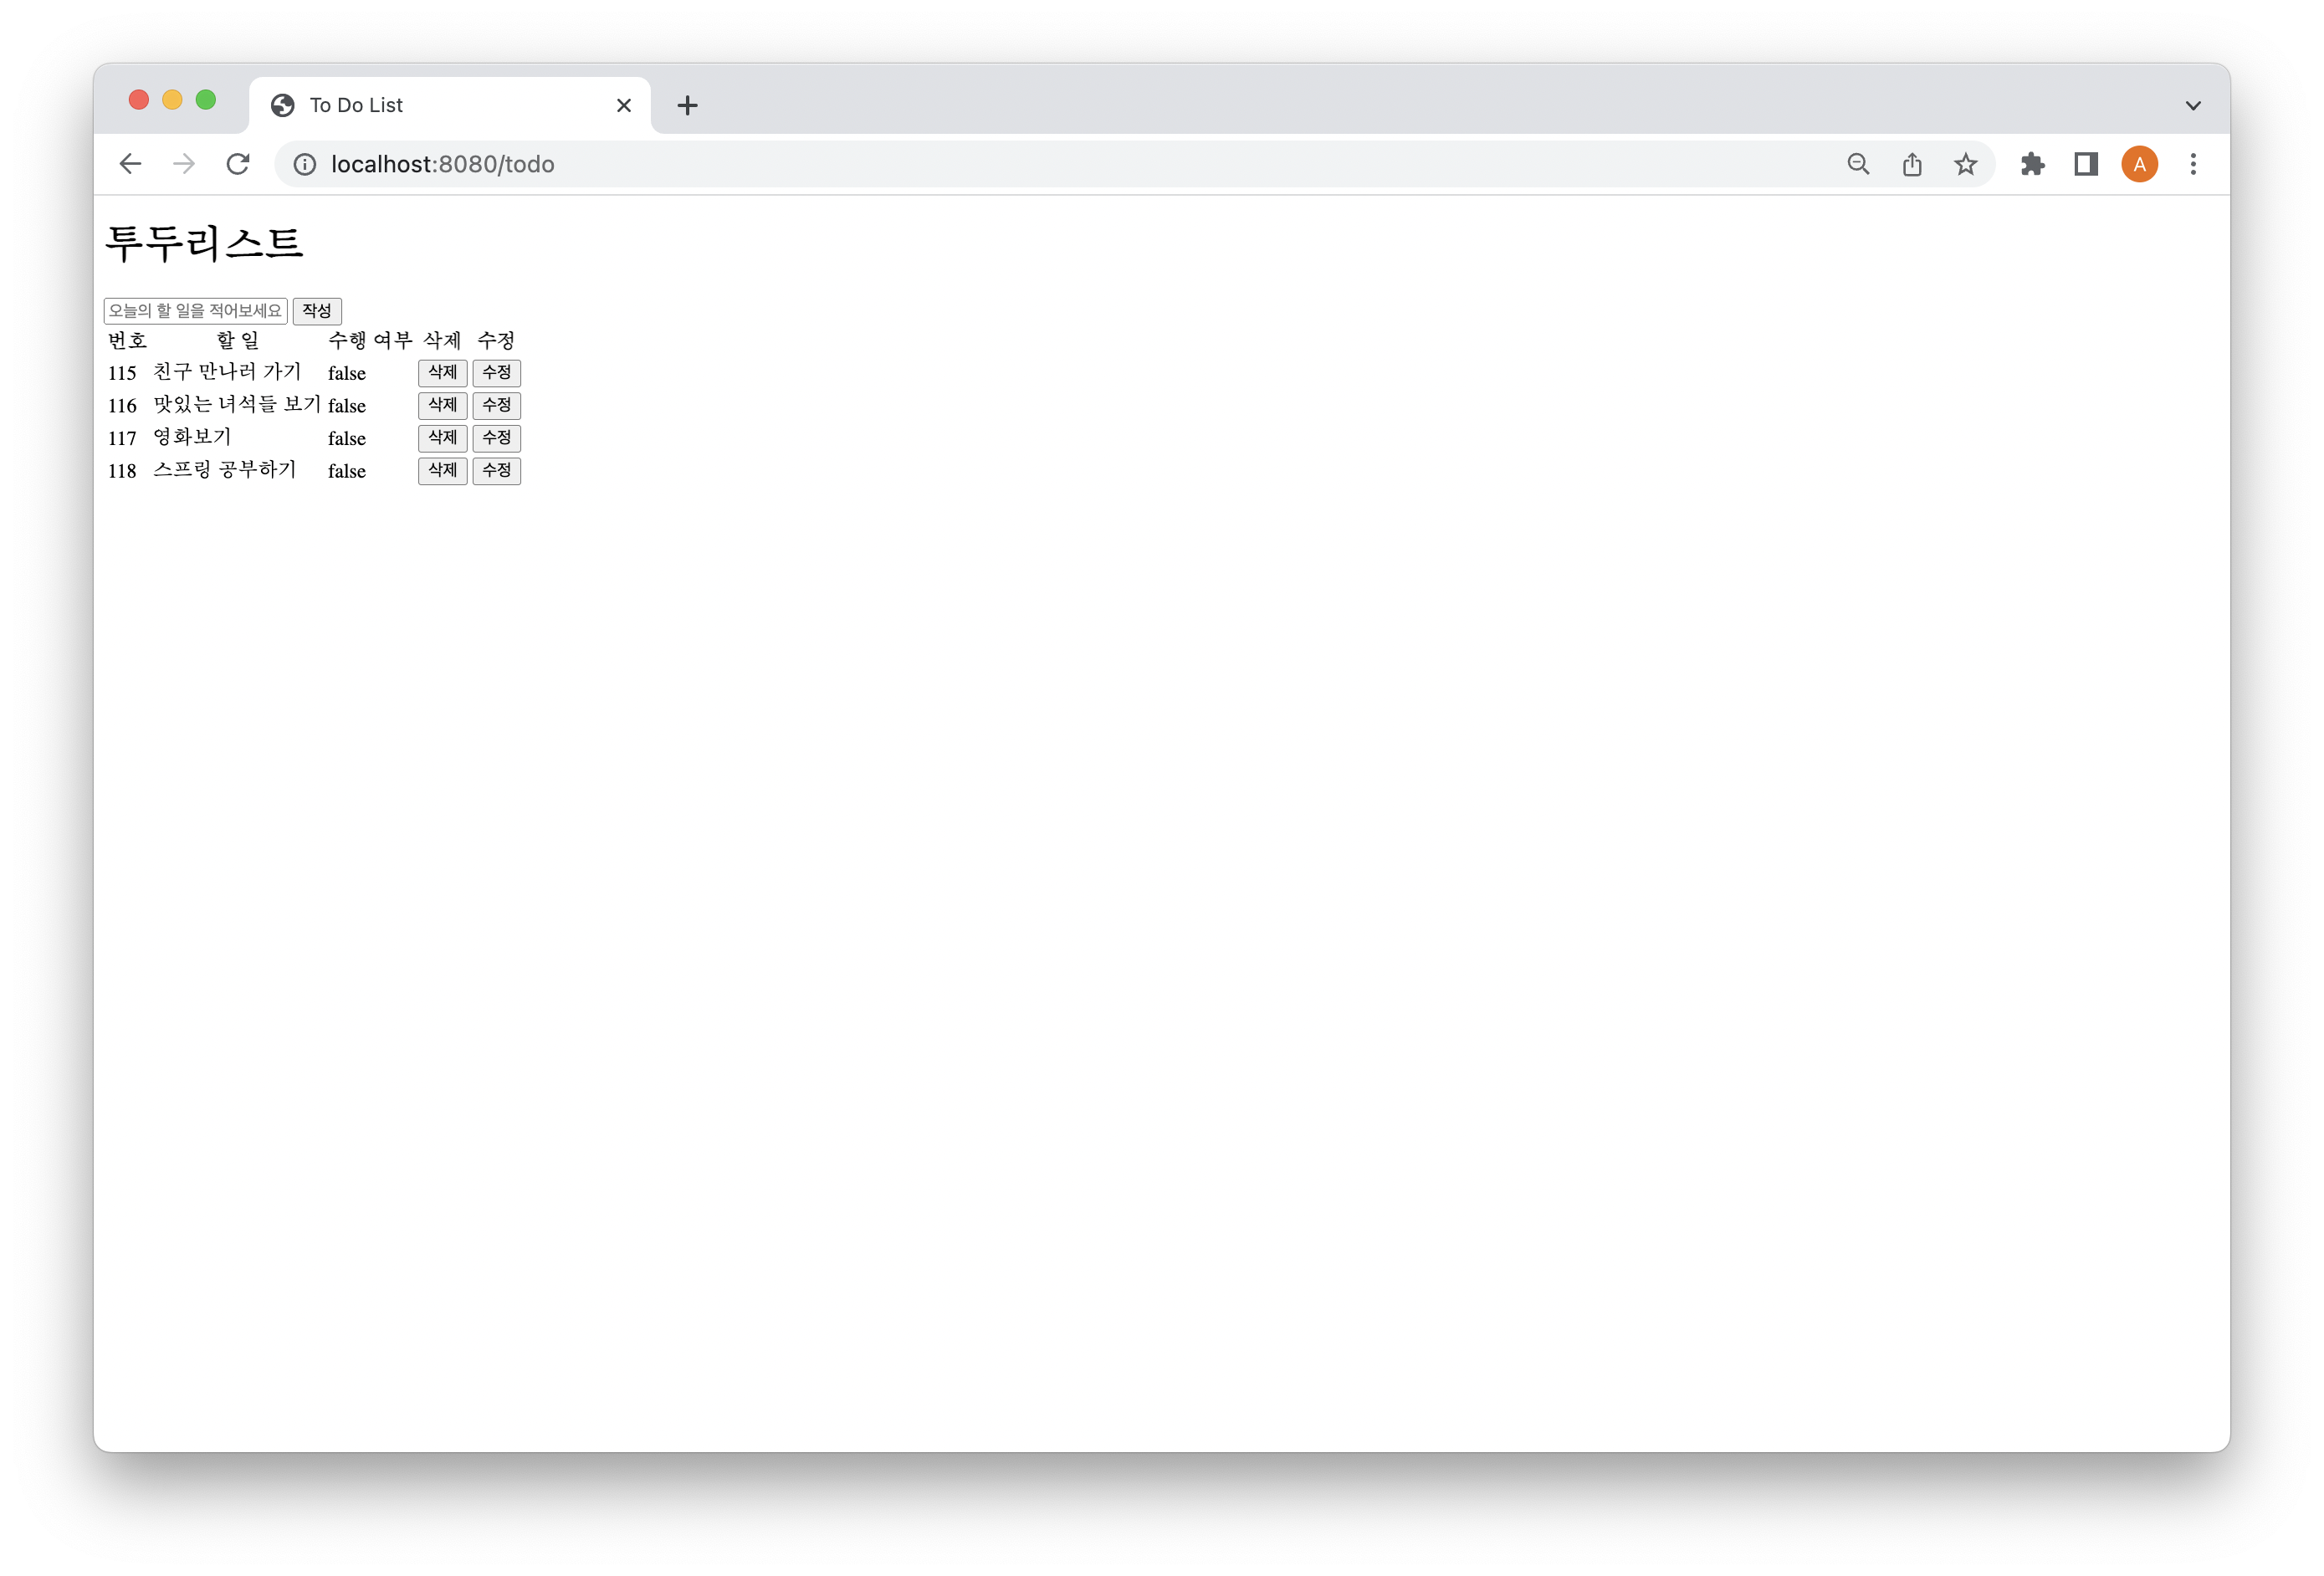
[1] 아이템 수정하기
각 아이템마다 수정 버튼이 달려있고, 그 수정 버튼을 누르면 해당 아이템의 내용을 변경할 수 있도록 한다. 수정 버튼을 누르면 모달창이 뜨고, 그 모달창 안에는 input 박스와 submit 버튼이 존재한다.
(1) Controller 수정하기
수정 기능을 만들어서 추가하면 된다.
package com.mysite.todo;

import java.util.List;
import java.util.Map;

import lombok.RequiredArgsConstructor;
import org.springframework.stereotype.Controller;
import org.springframework.ui.Model;
import org.springframework.web.bind.annotation.*;

@RequiredArgsConstructor
@Controller
public class ToDoController {

    private final ToDoService toDoService;

    @RequestMapping("/todo")
    public String list(Model model){
        List<ToDoEntity> toDoEntityList = this.toDoService.getList();
        model.addAttribute("toDoEntityList",toDoEntityList);
        return "todolist";
    }

    @RequestMapping("/")
    public String root(){
        return "redirect:/todo";
    }

    @PostMapping("/todo/create")
    public String todoCreate(@RequestParam String content){
        this.toDoService.create(content);
        return "redirect:/todo";
    }

    @DeleteMapping("/todo/delete/{id}")
    public String todoDelete(@PathVariable Integer id){
        this.toDoService.delete(id);
        return "redirect:/todo";
    }

    @PutMapping("/todo/update/{id}")
    public String todoUpdate(@RequestBody String content, @PathVariable Integer id){
        this.toDoService.update(id, content);
        return "redirect:/todo";
    }
}
여기서 삽질을 좀 했다. 나는 ajax를 이용해서 데이터를 전송하려고 했고, 그래서 postMapping 처럼 @RequestParam을 사용하면 될 줄 알았다. 근데 계속 쓰레기값이 전송되거나, 아예 되지 않거나를 반복하길래 좀 찾아보았다. ajax에서 put을 사용하려면 @RequestBody 어노테이션을 사용해야한다고 한다.
(2) Service 수정하기
package com.mysite.todo;

import java.util.List;
import lombok.RequiredArgsConstructor;
import org.springframework.stereotype.Service;

import javax.persistence.criteria.CriteriaBuilder;
import javax.transaction.Transactional;

@RequiredArgsConstructor
@Service
public class ToDoService {
    private final ToDoRepository toDoRepository;

    public List<ToDoEntity> getList(){
        return this.toDoRepository.findAll();
    }

    public void create(String content){
        ToDoEntity toDoEntity = new ToDoEntity();
        toDoEntity.setContent(content);
        toDoEntity.setCompleted(false);
        this.toDoRepository.save(toDoEntity);
    }

    @Transactional
    public void delete(Integer id){
        ToDoEntity toDoEntity = toDoRepository.findById(id)
                .orElseThrow(()->new IllegalArgumentException("해당 아이템이 없습니다. id=" + id));

        this.toDoRepository.delete(toDoEntity);
    }

    @Transactional
    public void update(Integer id, String content){
        ToDoEntity toDoEntity = toDoRepository.findById(id)
                .orElseThrow(()->new IllegalArgumentException("해당 아이템이 없습니다. id=" + id));

        toDoEntity.setContent(content);
        this.toDoRepository.save(toDoEntity);
    }
}
delete를 복사해서 만들어주었다. Id 값을 받아 수정하고자 하는 아이템을 찾고, 그 이후 내용만 업데이트를 한다.
(3) html 수정하기
<!DOCTYPE html>
<html xmlns:th="http://www.thymeleaf.org">
<head>
<meta charset="UTF-8">
<title>To Do List</title>
</head>
<style>
.modal{
position:absolute;
width:100%;
height:100%;
background:black;
top:0;
left:0;
display:none;
}
</style>
<body>
<h1>투두리스트</h1>
<form th:action="@{/todo/create}" method="post">
<input name="content" placeholder="오늘의 할 일을 적어보세요!"/>
<button>작성</button>
</form>
<table>
<thead>
<tr>
<th>번호</th>
<th>할 일</th>
<th>수행 여부</th>
<th>삭제</th>
<th>수정</th>
</tr>
</thead>
<tbody>
<tr th:block th:each="todoentity : ${toDoEntityList}" >
<td th:text="${todoentity.id}"></td>
<td th:text="${todoentity.content}"></td>
<td th:text="${todoentity.completed}"></td>
<td><button id="delete-btn" th:onclick="deleteItem([[${todoentity.id}]])">삭제</button></td>
<td><button id="reviseBtn" th:onclick="openModal([[${todoentity.id}]])">수정</button></td>
</tr>
</tbody>
</table>
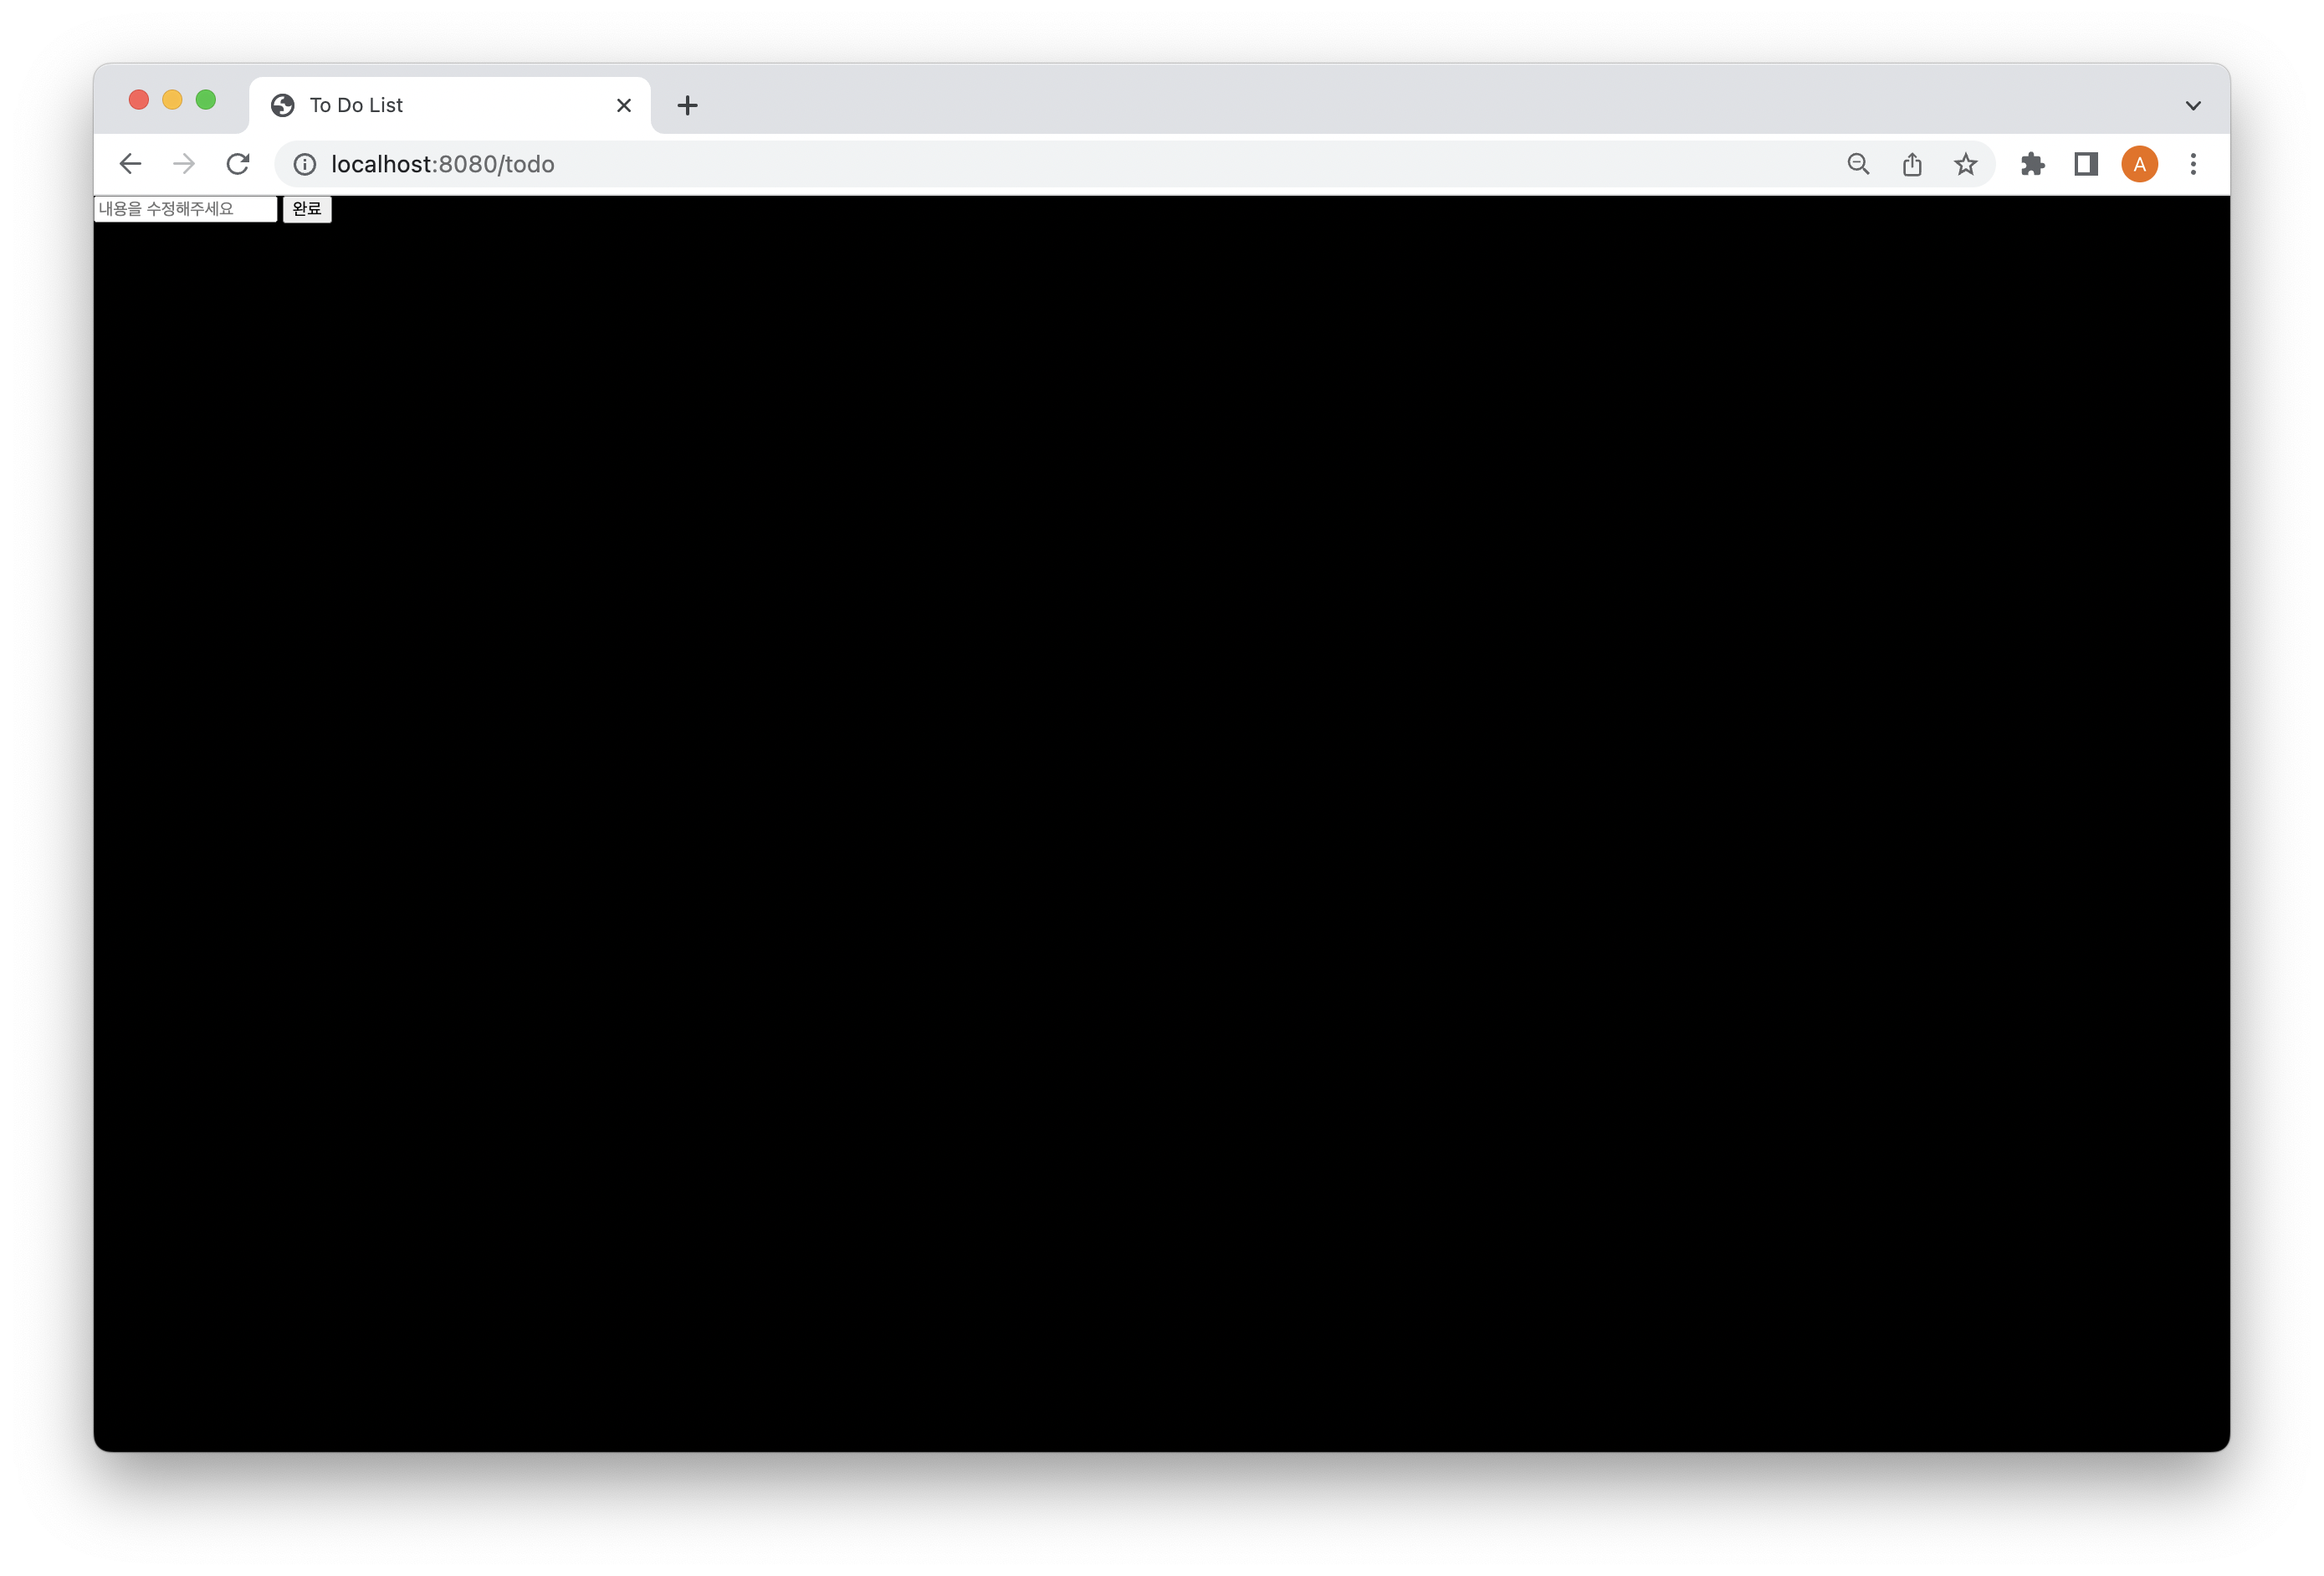
<div class="modal">
<div class="modal_content">
<input id="revise" placeholder="내용을 수정해주세요"/>
<button type="submit" id="completeBtn" onclick="reviseItem()">완료</button>
</div>
</div>
</body>
<script src="https://code.jquery.com/jquery-3.3.1.min.js"></script>
<script>
let value = "";
function deleteItem(id){
console.log(id)
const url = "/todo/delete/"+id
$.ajax({
type:'delete',
url:url,
contentType:'application/json; charset=utf-8'
}).done(function() {
alert('할 일이 삭제되었습니다.');
window.location.href = '/';
}).fail(function (error){
alert(JSON.stringify(error));
});
}
function openModal(id){
value = id
$(".modal").fadeIn();
}
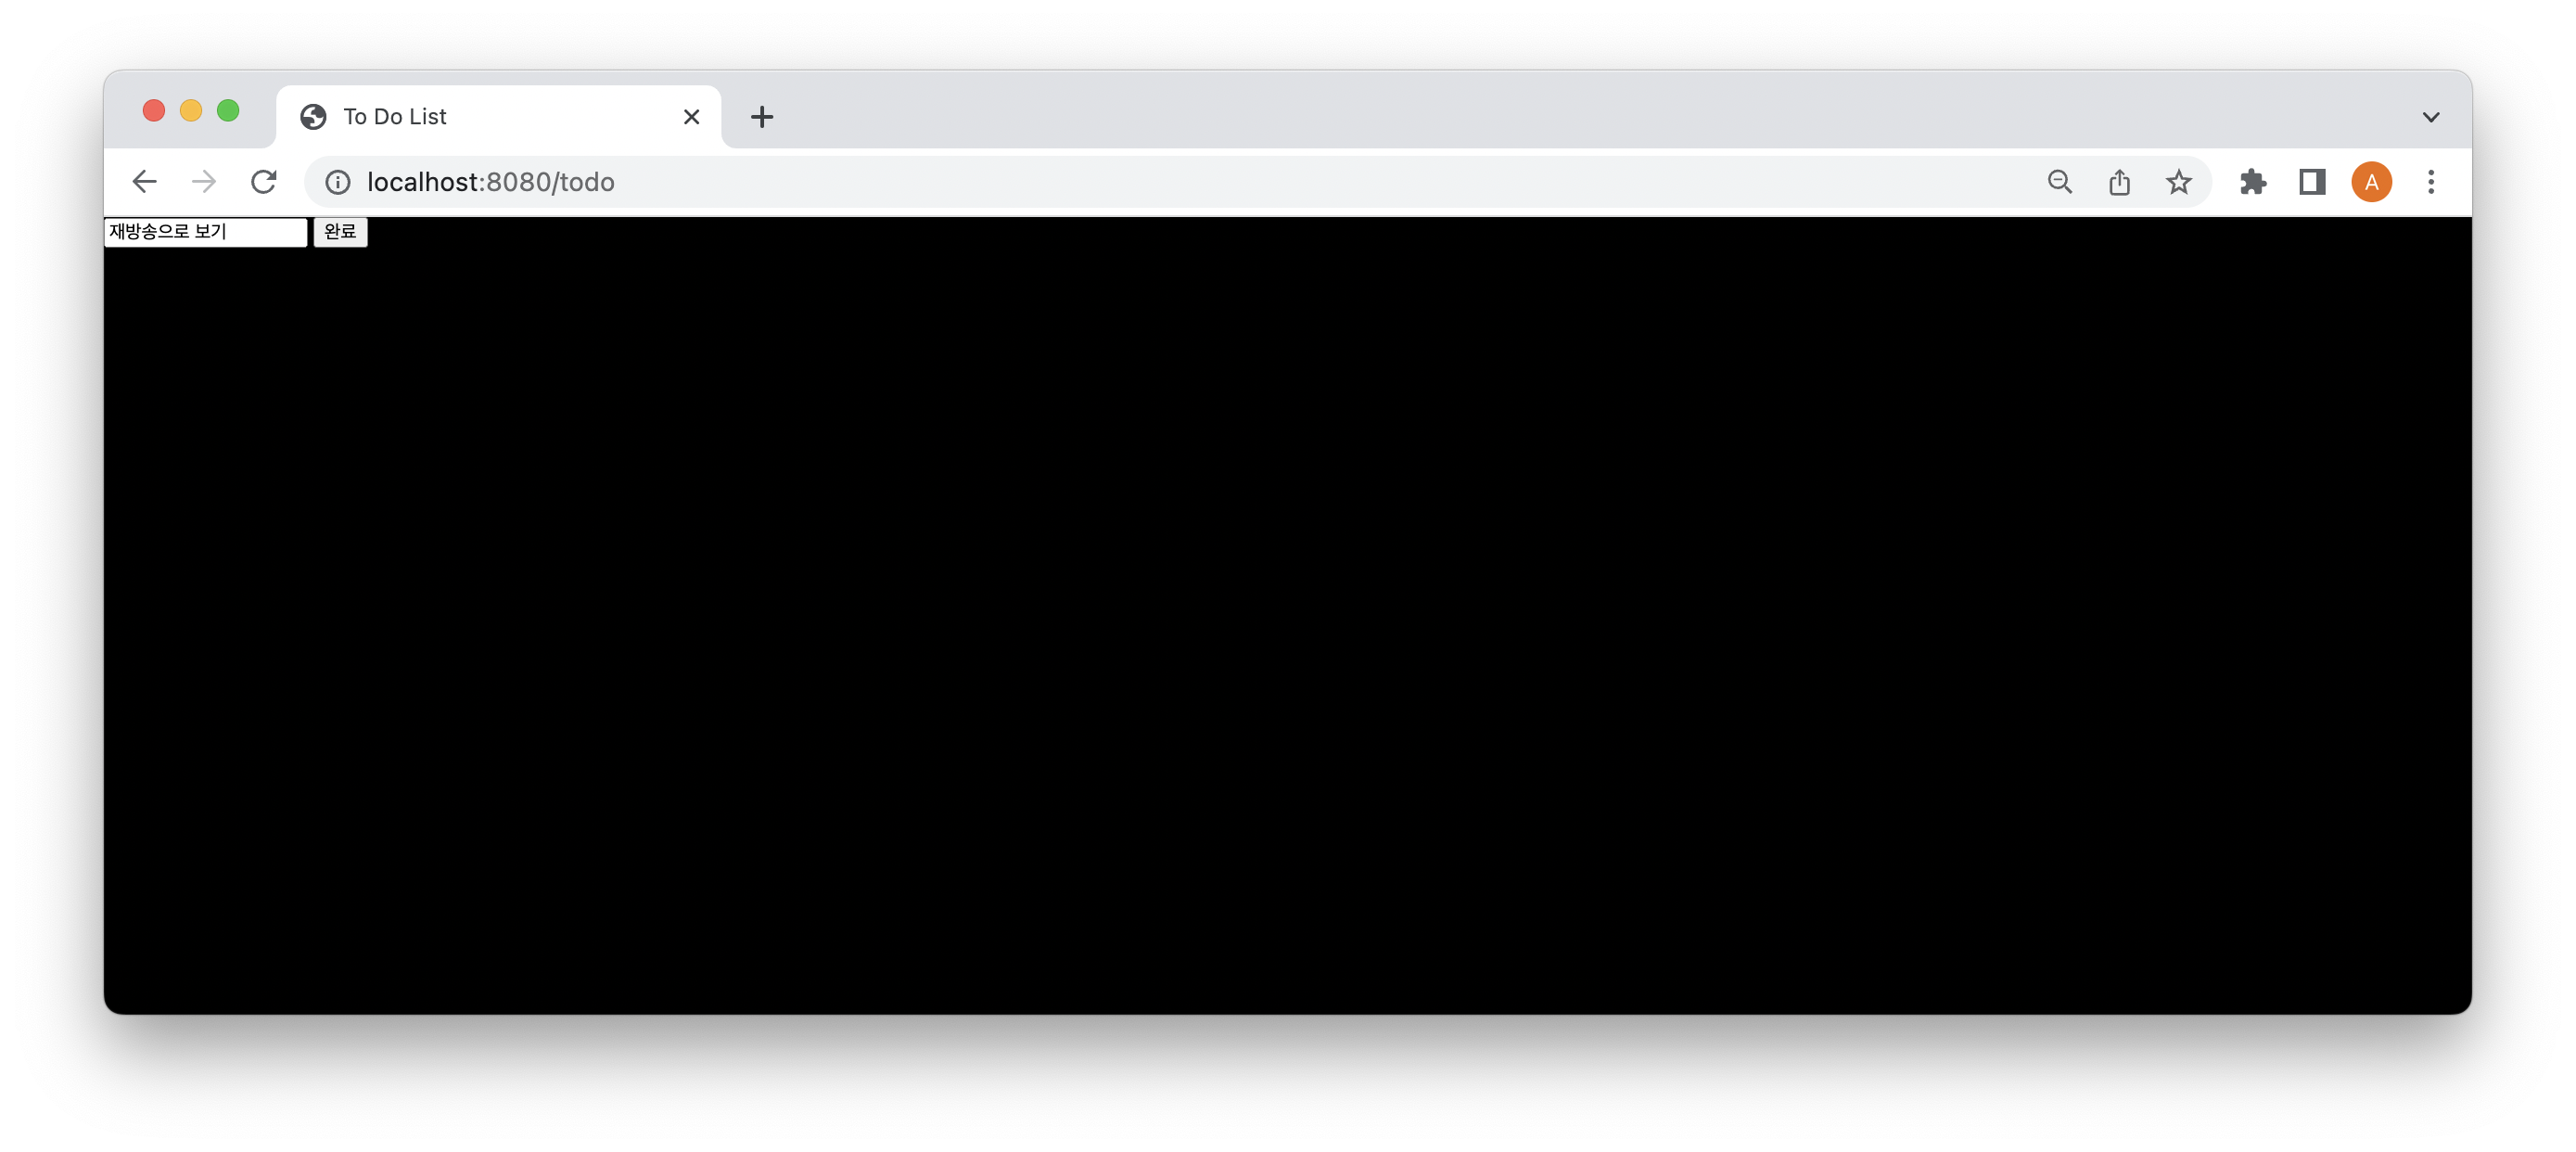
function reviseItem(){
var id = value;
console.log(id)
var contentWritten = document.getElementById("revise").value;
var updateContent = contentWritten;
console.log(updateContent)
const url = "/todo/update/"+id;
$.ajax({
type:'put',
url:url,
contentType:'application/json; charset=utf-8',
data: updateContent,
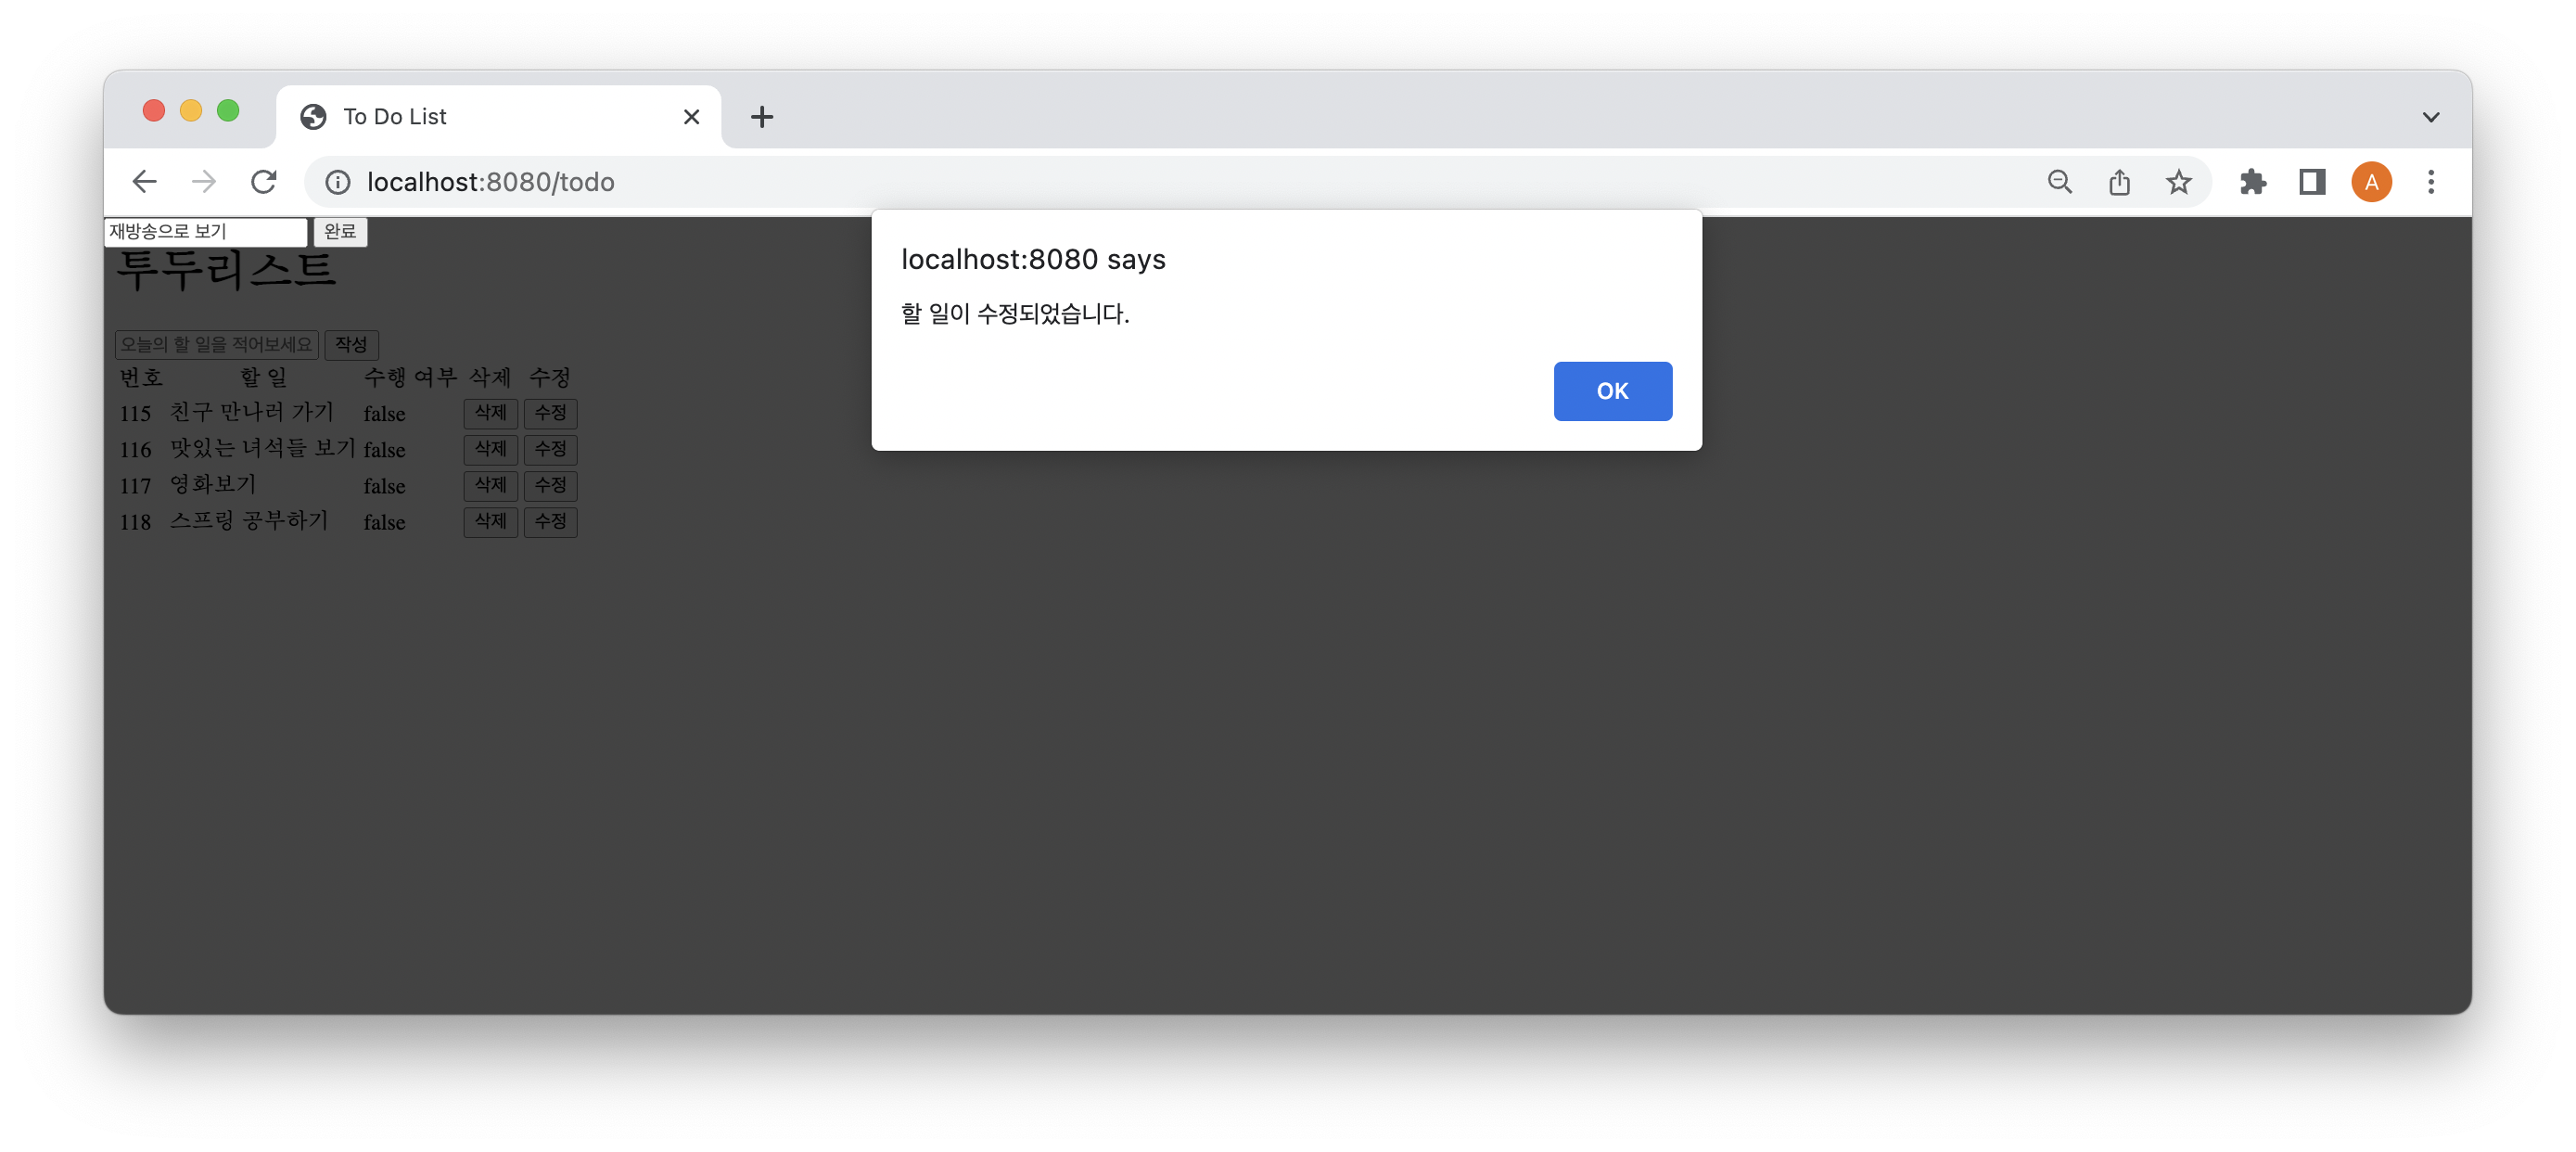
}).done(function() {
alert('할 일이 수정되었습니다.');
window.location.href = '/';
}).fail(function (error){
alert(JSON.stringify(error));
});
$(".modal").fadeOut();
}
</script>
</html>이전의 html 파일에서 (i) 모달을 추가하였고 (ii) put 메서드를 위한 함수를 만들었다. put 메서드를 위해 id를 받아와야 한다. 그래서 모달을 오픈 할 때, 빈 변수에 id값을 담았고, 그걸 put 메서드에서 사용할 수 있도록 하였다.
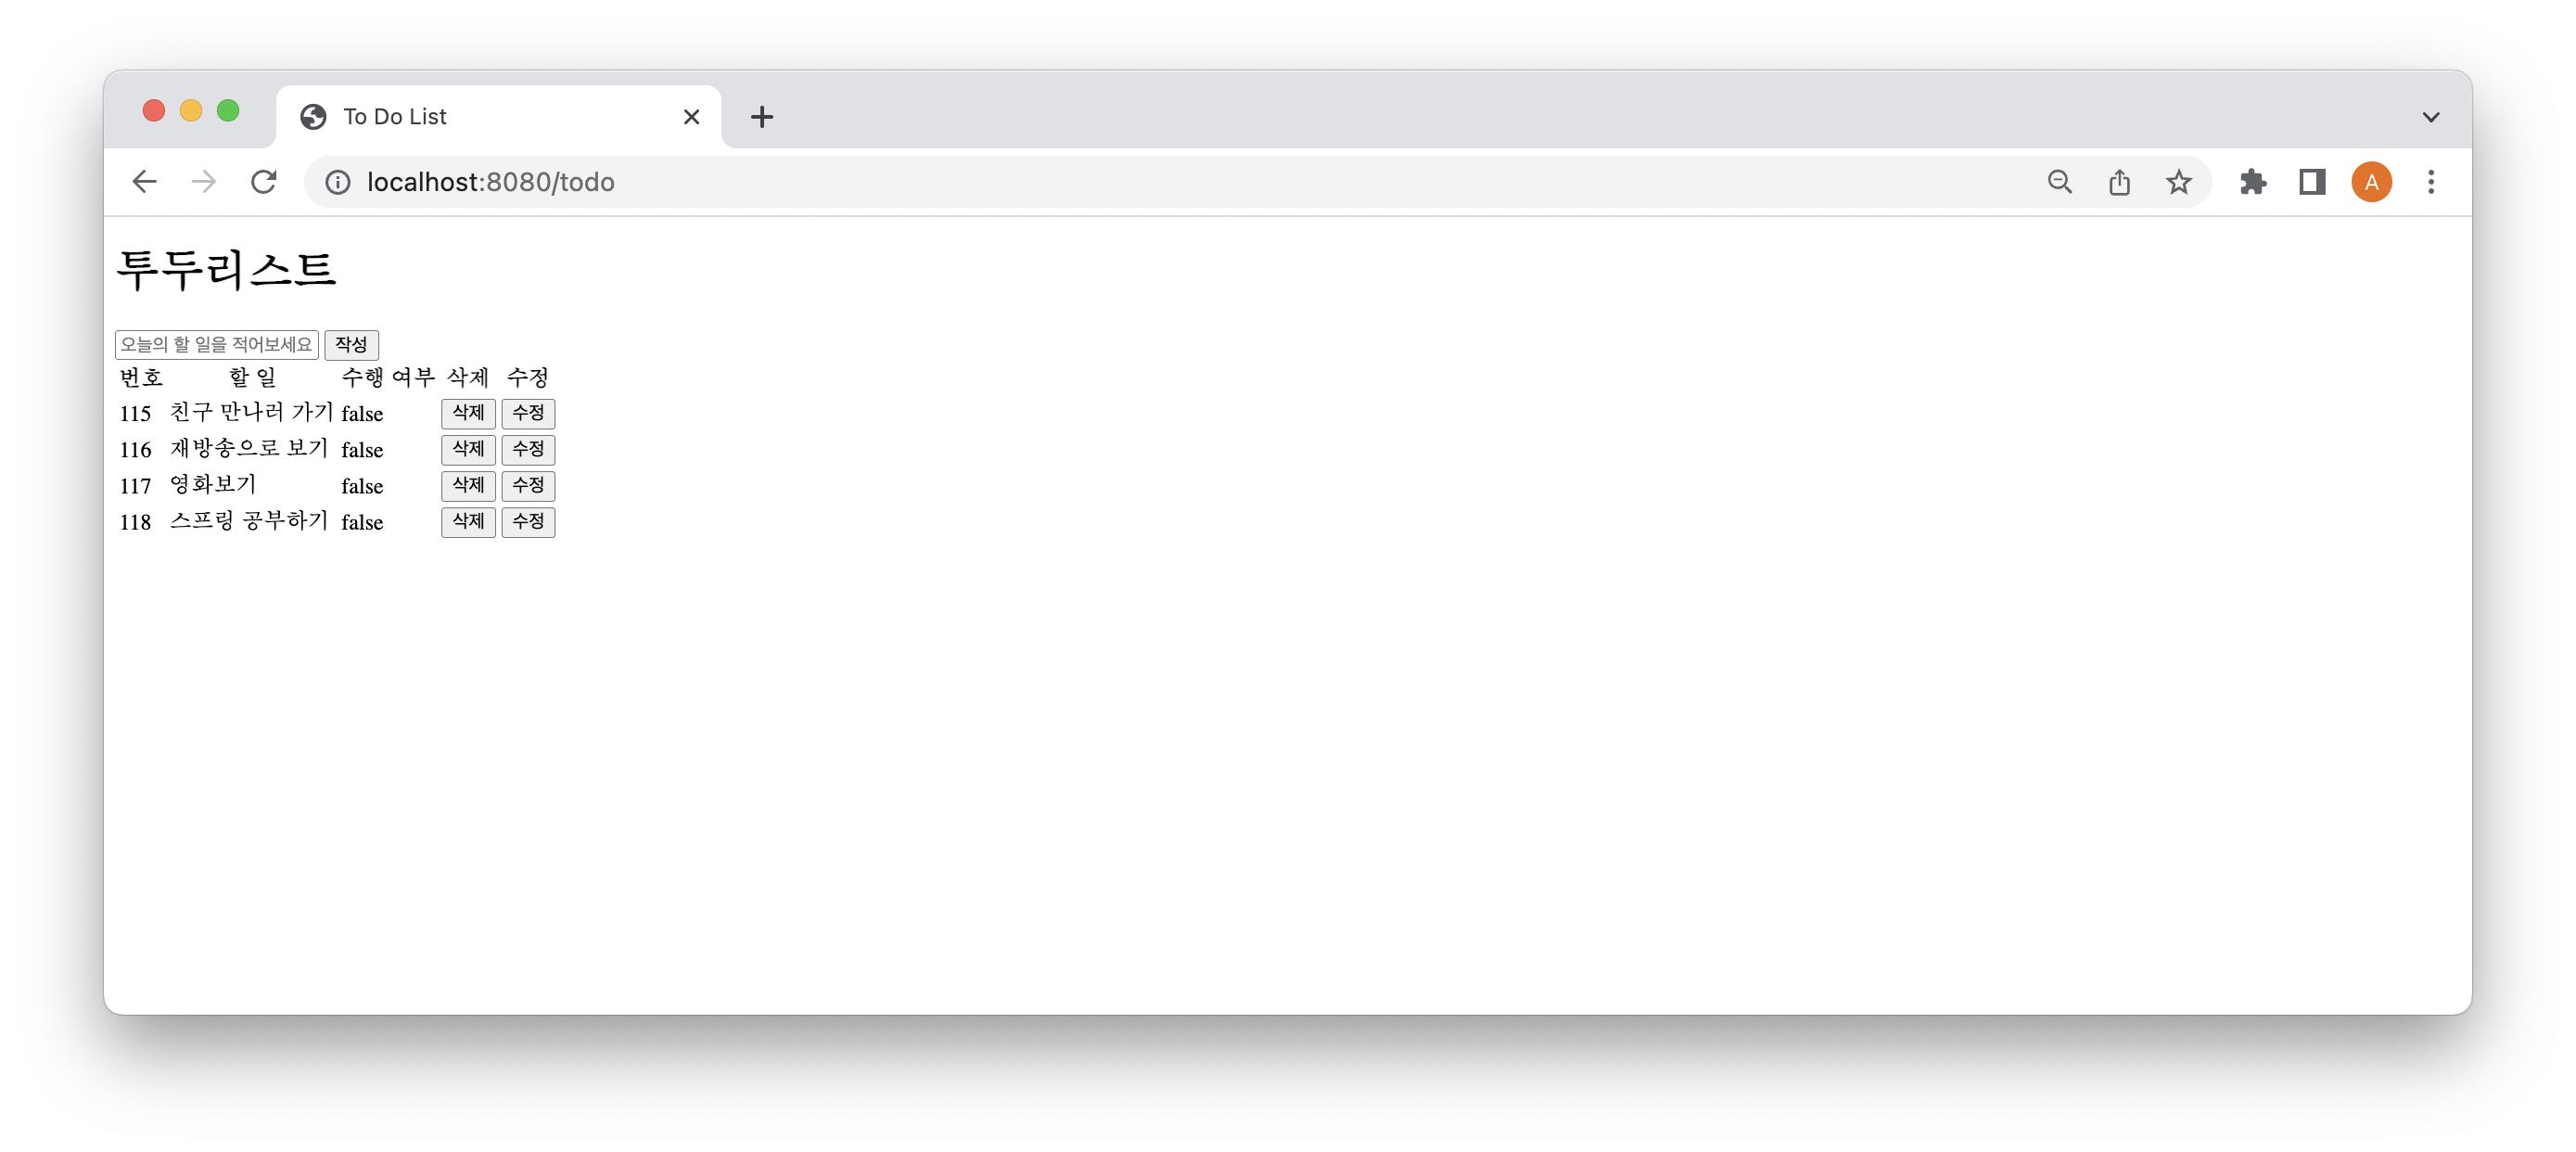
결과물

DevOps를 꿈꾸고 있습니다.