
Gradle Spring Boot 프로젝트 생성
1. 프로젝트 생성
기본적인 프로젝트 개발 환경은 다음과 같습니다.
IntelliJ IDEA
- Spring Boot
- Java 11
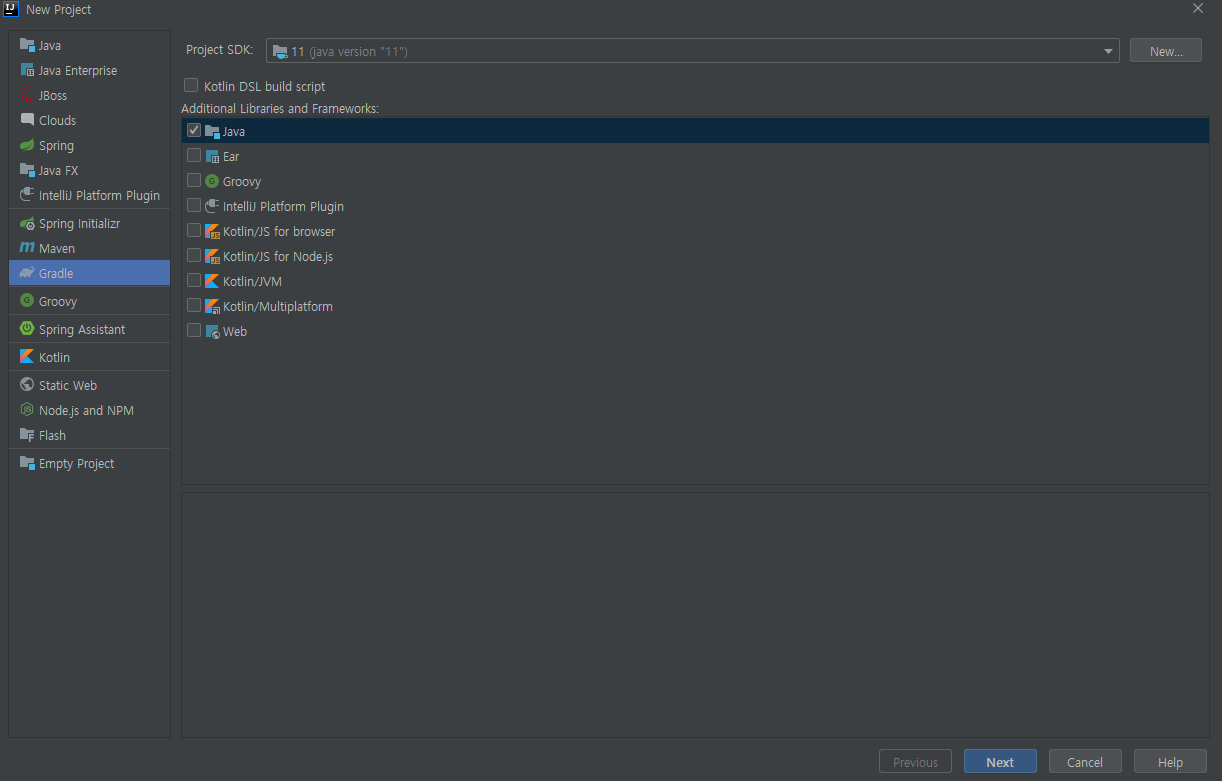
- GradleGradle 프로젝트 선택 화면
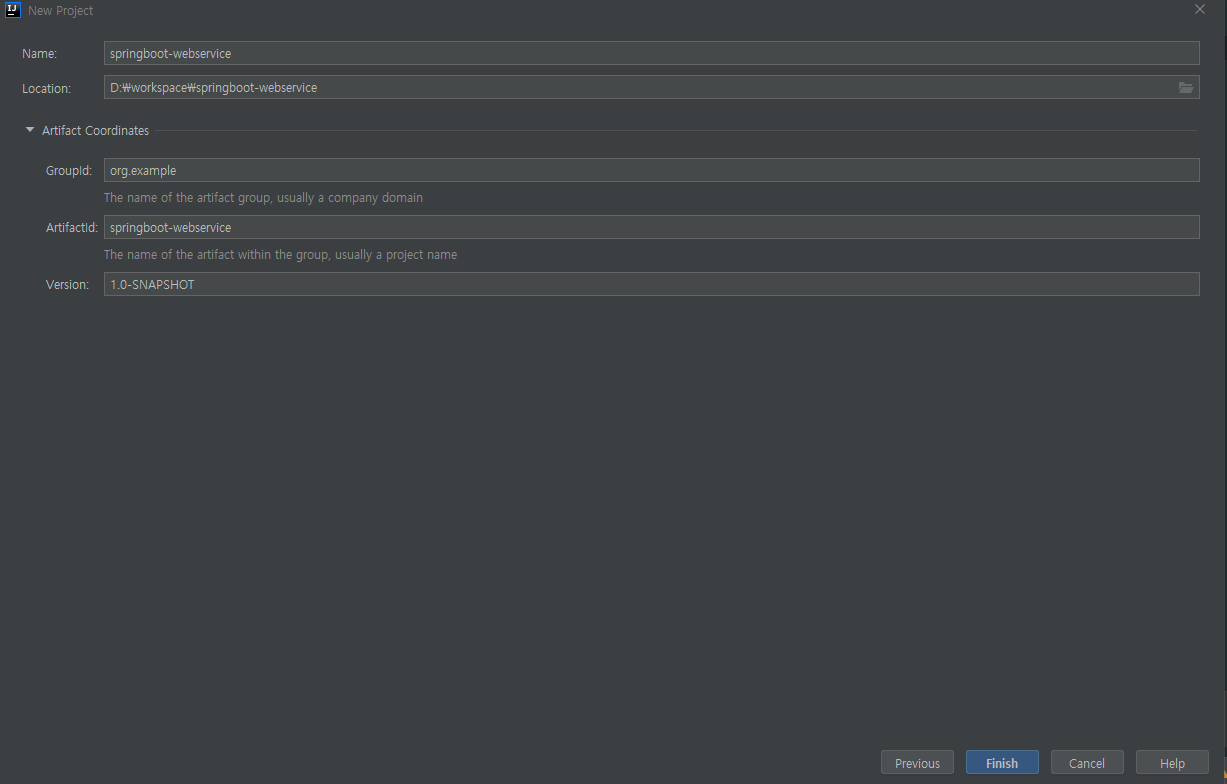
Project Name, GroupId 작성 화면
2. Gradle 프로젝트를 Spring Boot 프로젝트로 변경
build.gradle 파일을 열어 봅니다.
초기 build.gradle 파일
plugins {
    id 'java'
}

group 'org.example'
version '1.0-SNAPSHOT'

sourceCompatibility = 1.8

repositories {
    mavenCentral()
}

dependencies {
    testCompile group: 'junit', name: 'junit', version: '4.12'
}
- 변경 build.gradle 파일
buildscript {
    ext {
        springBootVersion = '2.1.7.RELEASE'
    }
    repositories {
        mavenCentral()
        jcenter()
    }

    dependencies {
        classpath("org.springframework.boot:spring-boot-gradle-plugin:${springBootVersion}")
    }
}

apply plugin : 'java'
apply plugin : 'eclipse'
apply plugin : 'org.springframework.boot'
apply plugin : 'io.spring.dependency-management'


group 'com.swchoi.webservice'
version '1.0-SNAPSHOT'
sourceCompatibility = 1.8

repositories {
    mavenCentral()
}

dependencies {
    compile('org.springframework.boot:spring-boot-starter-web')
    testCompile('org.springframework.boot:spring-boot-starter-test')
}- ext라는 키워드는 build.gradle에서 사용하는 전역변수를 설정하겠다는 의미
- io.spring.dependency-management 플러그인은 스프링 부트의 읜존성들을 관리해 주는 플러그인이라 꼭 추가해야만 합니다. 앞 4개의 플로거은인 자바와 스프링 부트를 사용하기 위해서는 필수 플러그인들이니 항상 추가하면 됩니다.
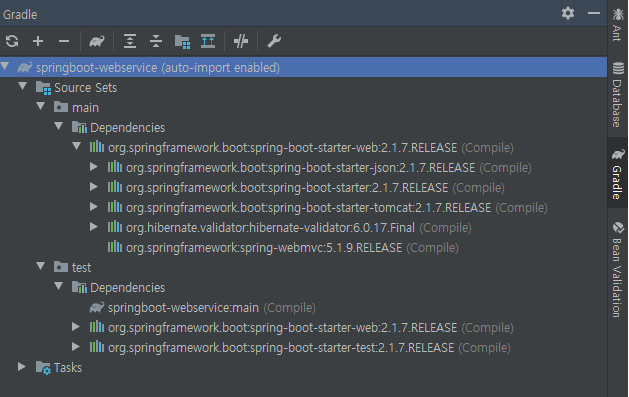
프로젝트 의존성 확인 화면
3. IntelliJ Git과 Github 사용하기
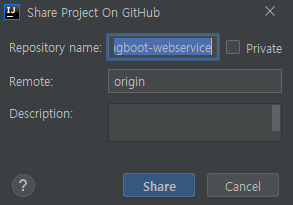
[Ctrl + Shift + A] Action 검색창을 열어 share project on github 검색
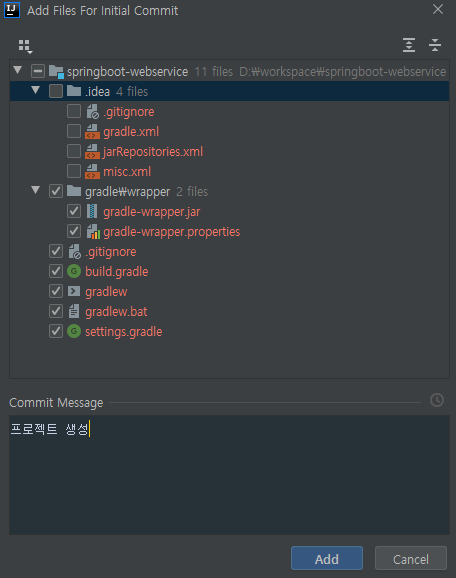
인텔리제이 깃허브 프로젝트 생성
git commit and push(.idea 디렉토리는 커밋하지 않습니다.)
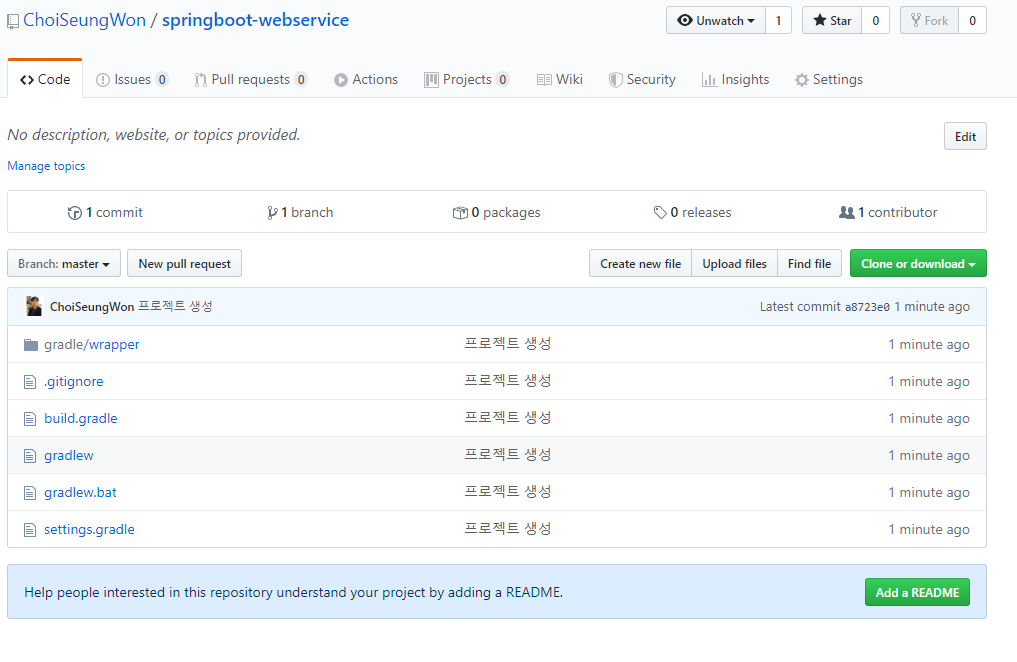
github 프로젝트 생성
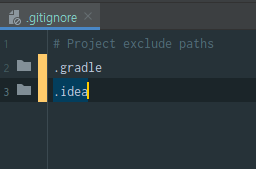
ignore 플로그인 설정
- 이 파일 안에 기입된 내용들은 모두 깃에서 관리하지 않겠다는 것을 의미합니다.
[Ctrl + Shift + A] Action 검색창을 열어 plugins 검색 후 ignore 설치
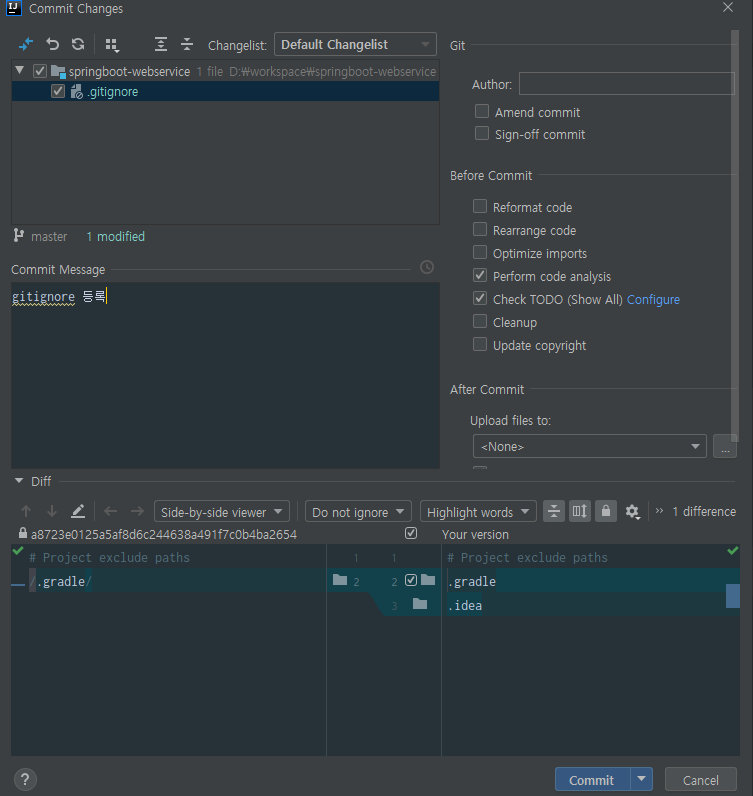
gitignore 파일 생성
깃허브 반영
[Ctrl + K] 깃 커밋
[Ctrl + Shift + K] 킷 푸시
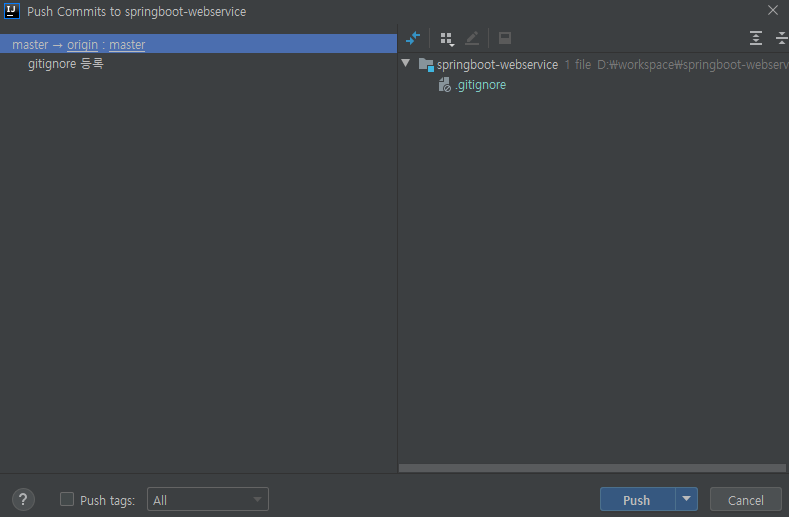
깃허브 푸시 확인
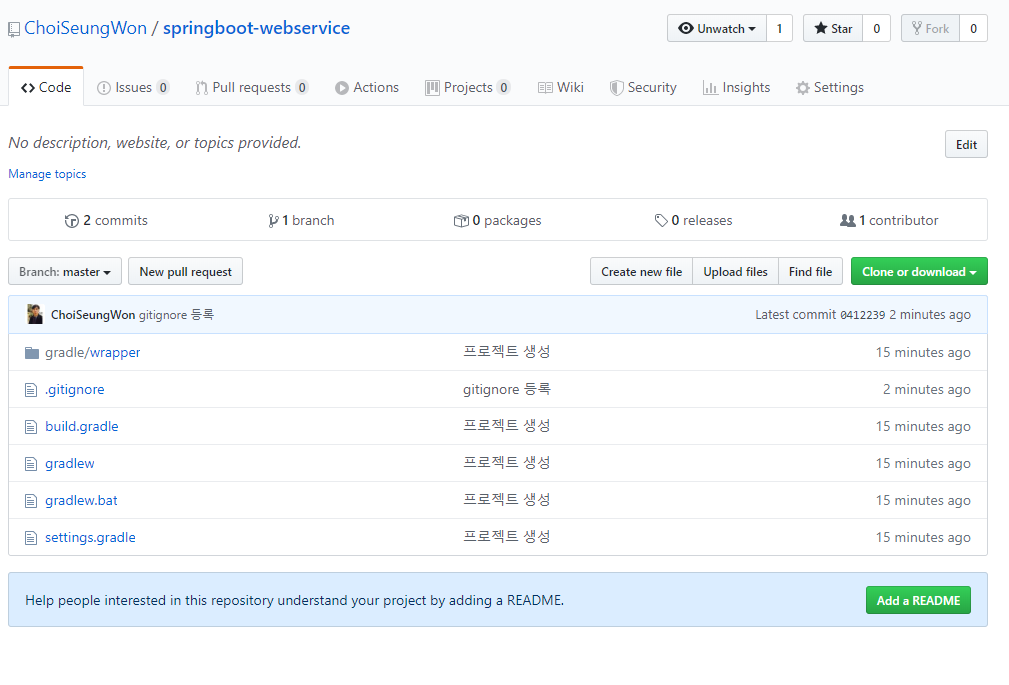
- 이제 인텔리제이로 스프링 부트 프로젝트를 개발하고, 깃허브로 푸시도 바로 할 수 있는 환경이 구축되었습니다.

Java & Backend Developer