- 학습 목표
- EFS 생성하기
- EFS 마운트 하기
- EFS 에 파일 올리기
3. EFS
EFS 생성하기
- EFS 검색 > EFS 파일 시스템 생성 - 사용자 지정 > 1단계 파일시스템 설정
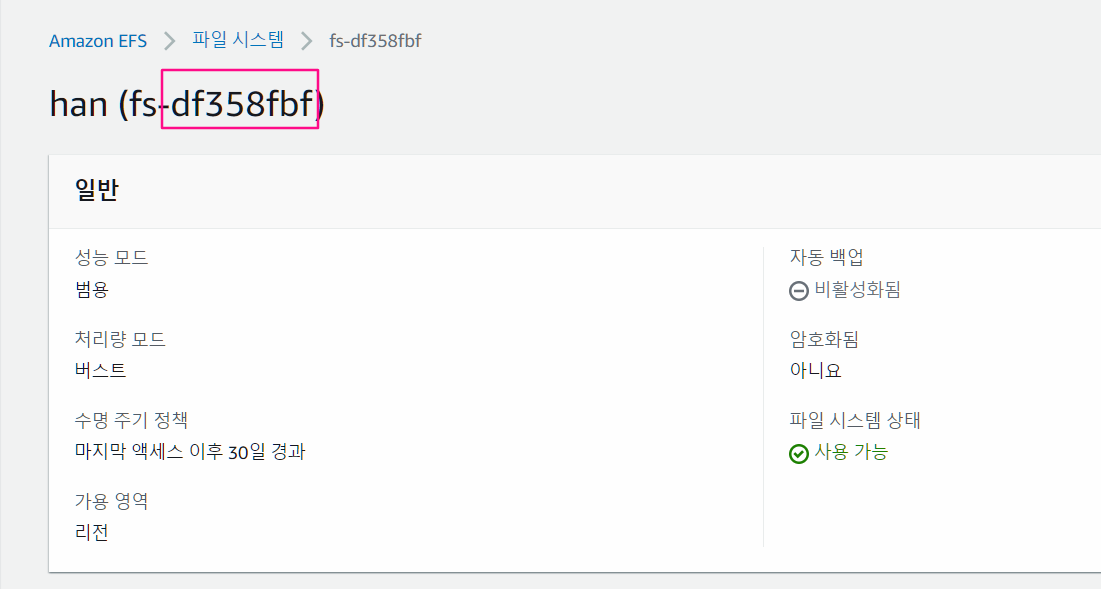
- 이름 : han
- VPC : cloudFormation으로 배포함 ELB-VPC 선택
- 자동백업 - 체크 해제
- 암호화 활성화 - 체크 해제
- 네트워크 액세스
- 보안그룹은 default로 설정되어있을텐데 CloudFormation으로 배포한 보안그룹으로 가용영역 2개 다 설정하기
- 인바운드 규칙에 NFS 규칙을 추가해놓은 상태 - default로 할 경우 이것이 없어서 접근이 제한되게 됨

- 파일 시스템정책 - 기본값
- 생성
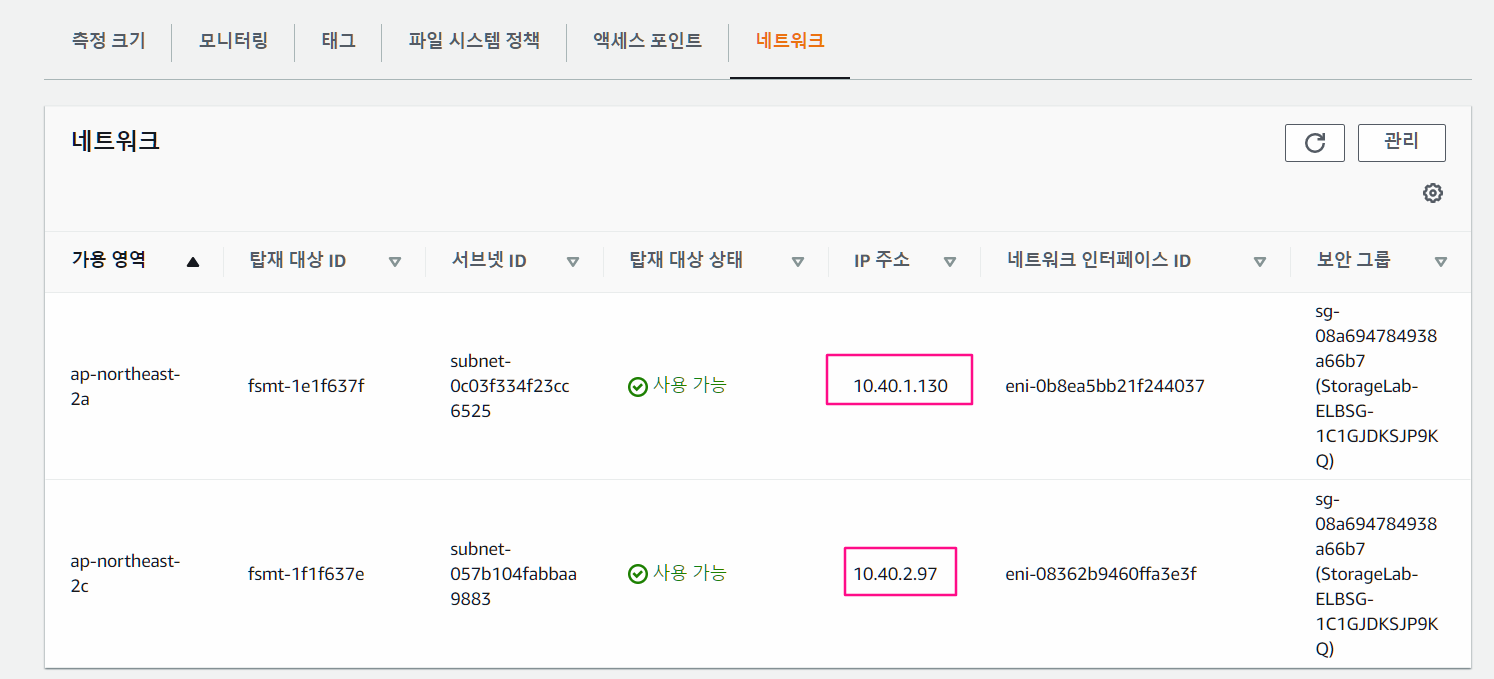
- IP 주소가 다름을 확인할 수 있음
- EFS시스템을 공통으로 이용할 떄 하나의 주소를 사용하는 것이 아닌
- 각각 mount 되어진 동일 subnet 대역을 할당받아 사용하게 됨

STG1에 EFS 마운트하기
- 웹서버 동작 확인하기 - EC2-STG1 하고 EC2-STG2 둘다
[root@ST1 ~]
<html><h1>AFOS Study - Web Server 1</h1></html>
- EFS 디렉토리 생성하고 mount
[root@ST1 ~]
mount -t efs -o tls 자신의-EFS-ID:/ /var/www/html/efs
[root@ST1 ~]

- EFS 마운트 한 곳에 파일 생성하기
[root@ST1 ~]
[root@ST1 ~]
<html><h1>Hello from Amazon EFS</h1></html>
[root@EC2-STG1 ~]
127.0.0.1:/ 9007199254739968 0 9007199254739968 0% /var/www/html/efs
STG2에 EFS 마운트하기
[ec2-user@EC2-STG2 ~]$ sudo su -
[root@EC2-STG2 ~]
[root@EC2-STG2 ~]
[root@EC2-STG2 ~]
<html><h1>Hello from Amazon EFS</h1></html>
재부팅에서 EFS 자동 탑재
[root@ST1 ~]
echo "자신의-EFS-ID:/ /var/www/html/efs efs _netdev,noresvport,tls,iam 0 0" >> /etc/fstab
[root@ST1 ~]
[root@ST1 ~]
/ : ignored
/var/www/html/efs : successfully mounted
[root@ST1 ~]
...
[root@ip-172-31-12-49 ~]
fs-1ebe907f.efs.ap-northeast-2.amazonaws.com:/ nfs4 8.0E 0 8.0E 0% /var/www/html/efs


