리액트 네이티브를 사용해보자
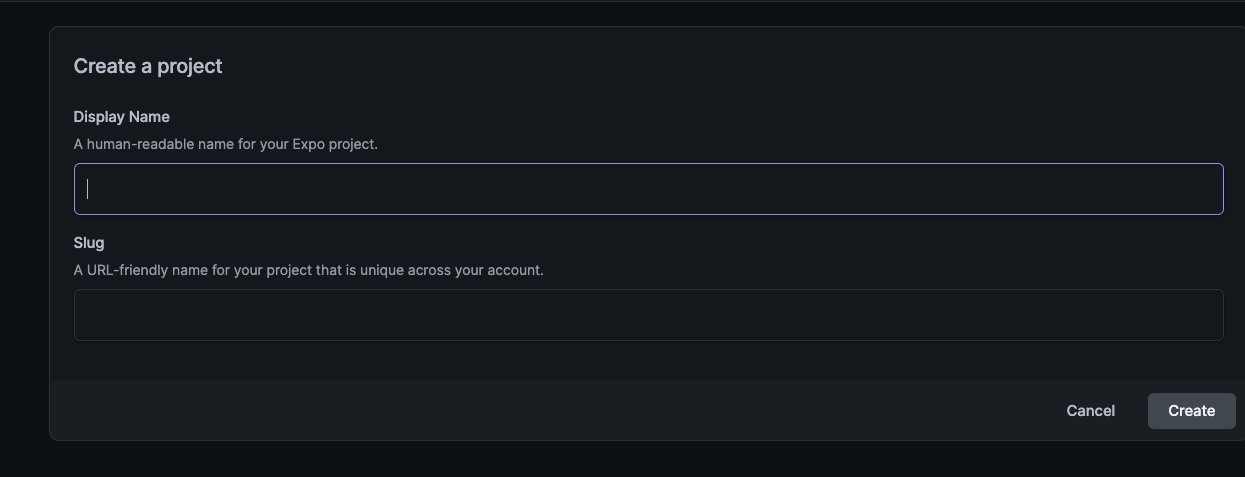
1. 우선 프로젝트 명을 적어보자
2. 다음 명령어대로 입력을해보자
https://expo.dev/accounts/frankkim/projects/todolist?created_on_web=true
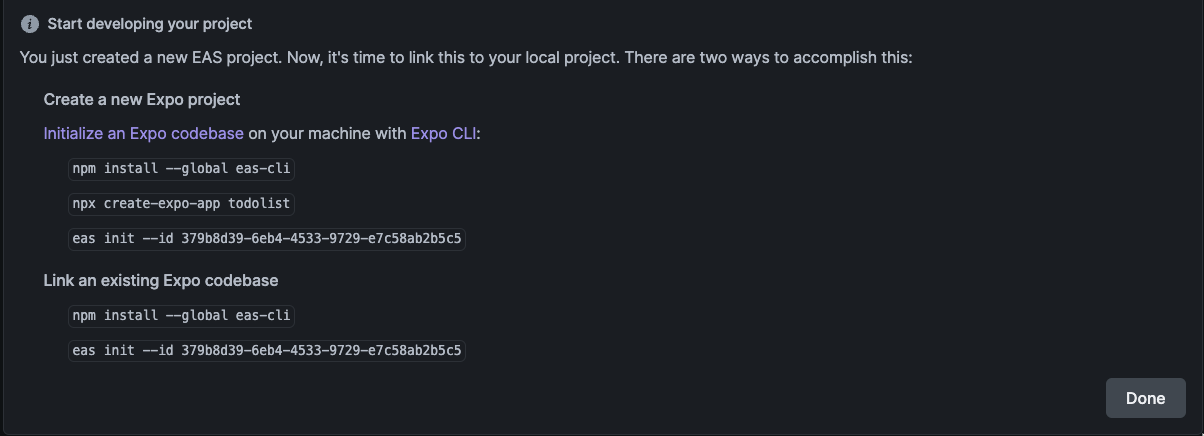
npm install --global eas-cli
npx create-expo-app todolist2
eas init --id 2742b694-690e-4182-80de-cbc5d4eb5d7b
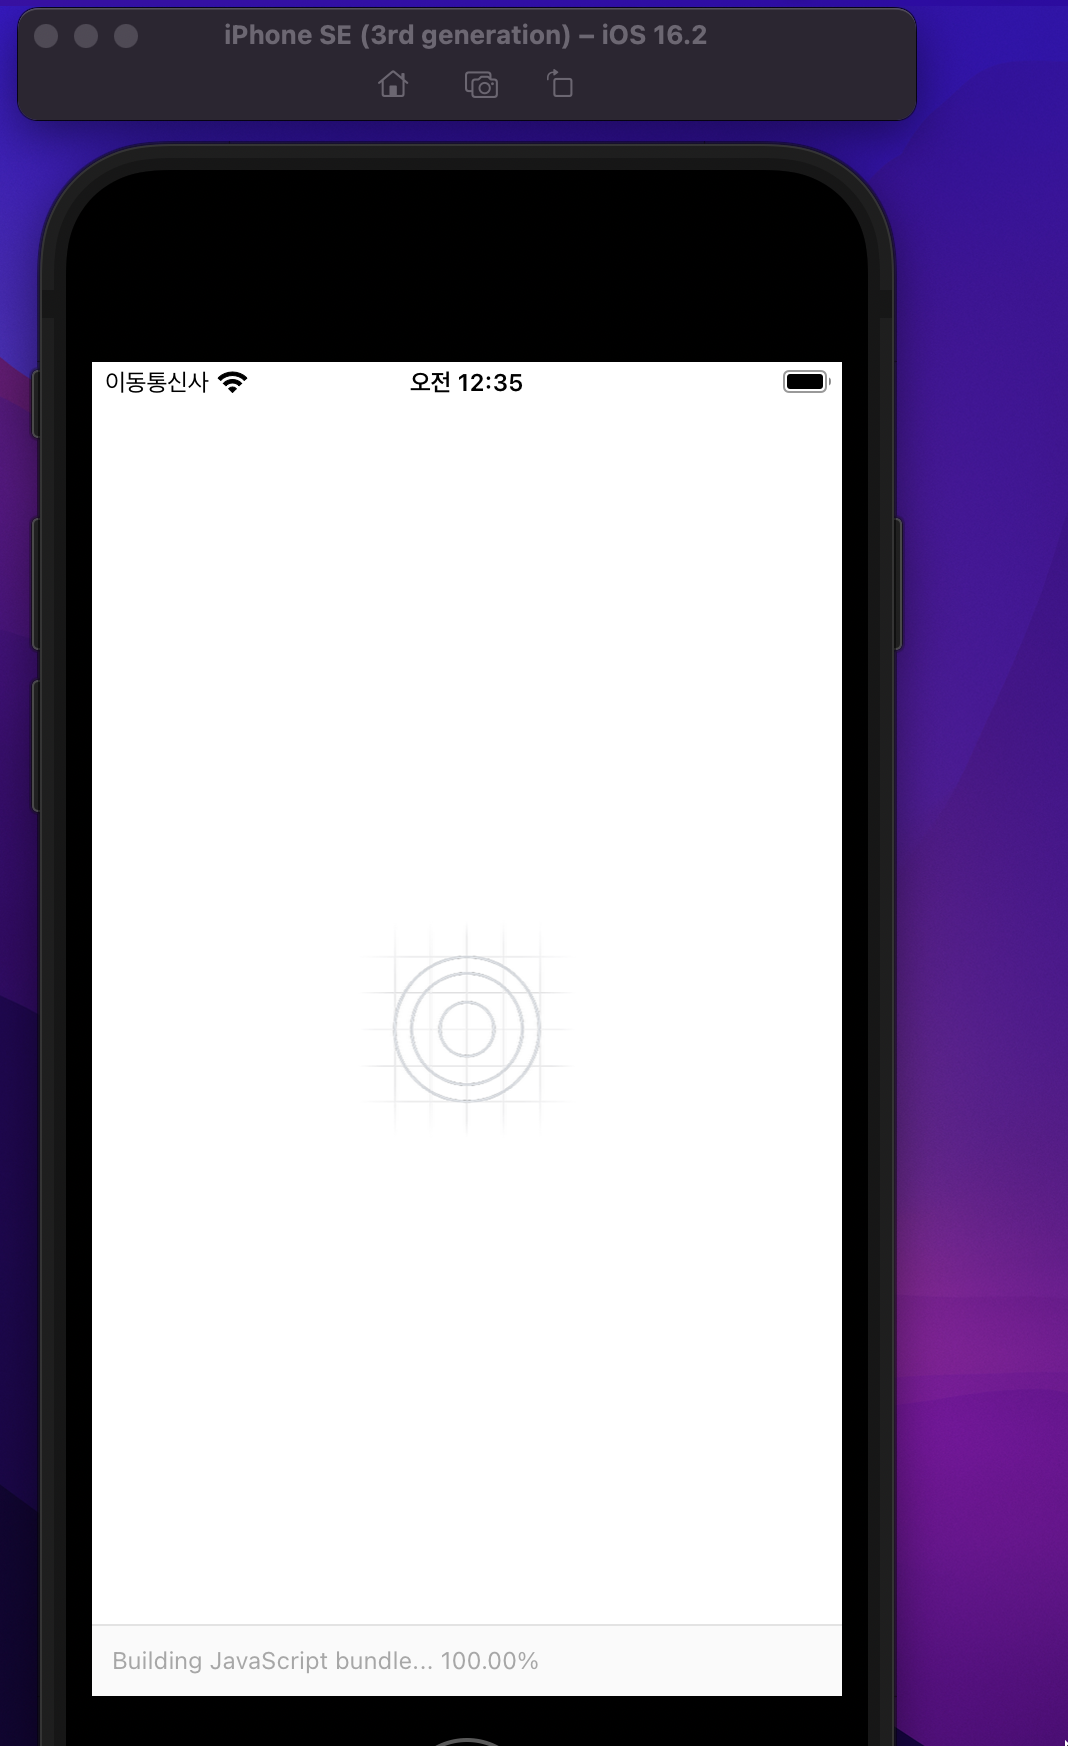
위 명령어대로 입력을 한 뒤 npm start를 해준뒤 I를 누르면 아래와 같이 에뮬레이터가 실행이 된다.
리액트 네이티브의 기본 핵심을 알아보자

우선 기존에 리액트에서 사용하던 것과 리액트 네이티브에서 사용시 바뀌는 것들을 알아보자
div -> View
p -> Text
img -> Image
div -> ScrollView
input type="text" -> TextInput
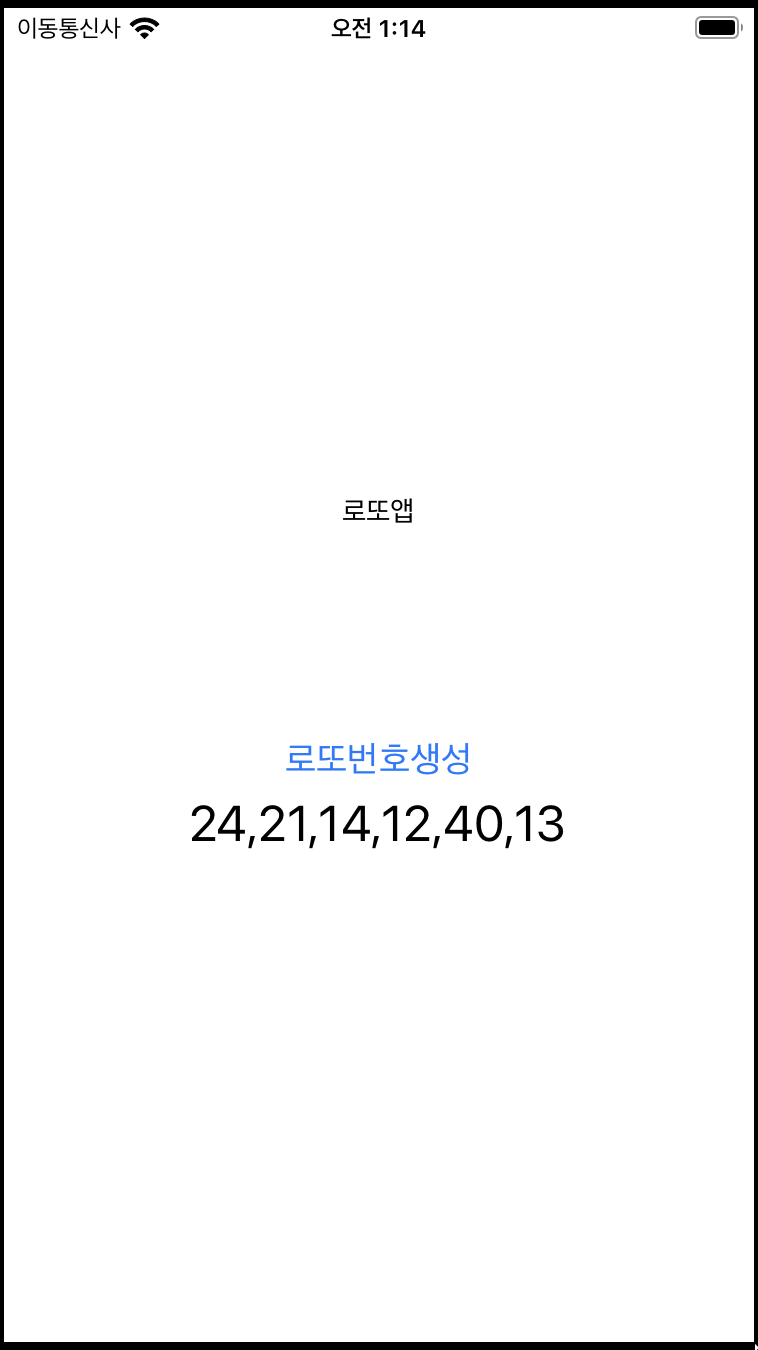
간단한 앱 만들기 로또번호 생성기
import { StatusBar } from "expo-status-bar";
import { useEffect, useState } from "react";
import { SafeAreaView, StyleSheet, Text, View, Button } from "react-native";

export default function App() {
  const [lotto, setLotto] = useState([]);

  function makeLotto() {
    let i = 0;
    let lnumber = [];
    let rnumber = 0;

    for (i = 0; i < 6; i++) {
      rnumber = Math.round(Math.random() * 45 + 1);
      lnumber.push(rnumber);
    }
    setLotto(lnumber);
  }

  useEffect(() => {
    makeLotto();
  }, []);

  return (
    <View style={styles.container}>
      <Text style={{ marginBottom: 100 }}>로또앱</Text>
      <Button
        title="로또번호생성"
        onPress={() => {
          makeLotto();
        }}
      ></Button>
      <Text style={{ fontSize: 25 }}>{lotto.toLocaleString()}</Text>
    </View>
  );
}

const styles = StyleSheet.create({
  container: {
    flex: 3,
    alignItems: "center",
    justifyContent: "center",
  },
});

리액트에서는
<Button
        title="로또번호생성"
        onPress={() => {
          makeLotto();
        }}
      ></Button>
Button을 만들 때는, title에 버튼이름을 꼭 써줘야한다.
또한 onClick대신 onPress로 사용을 해야한다.