
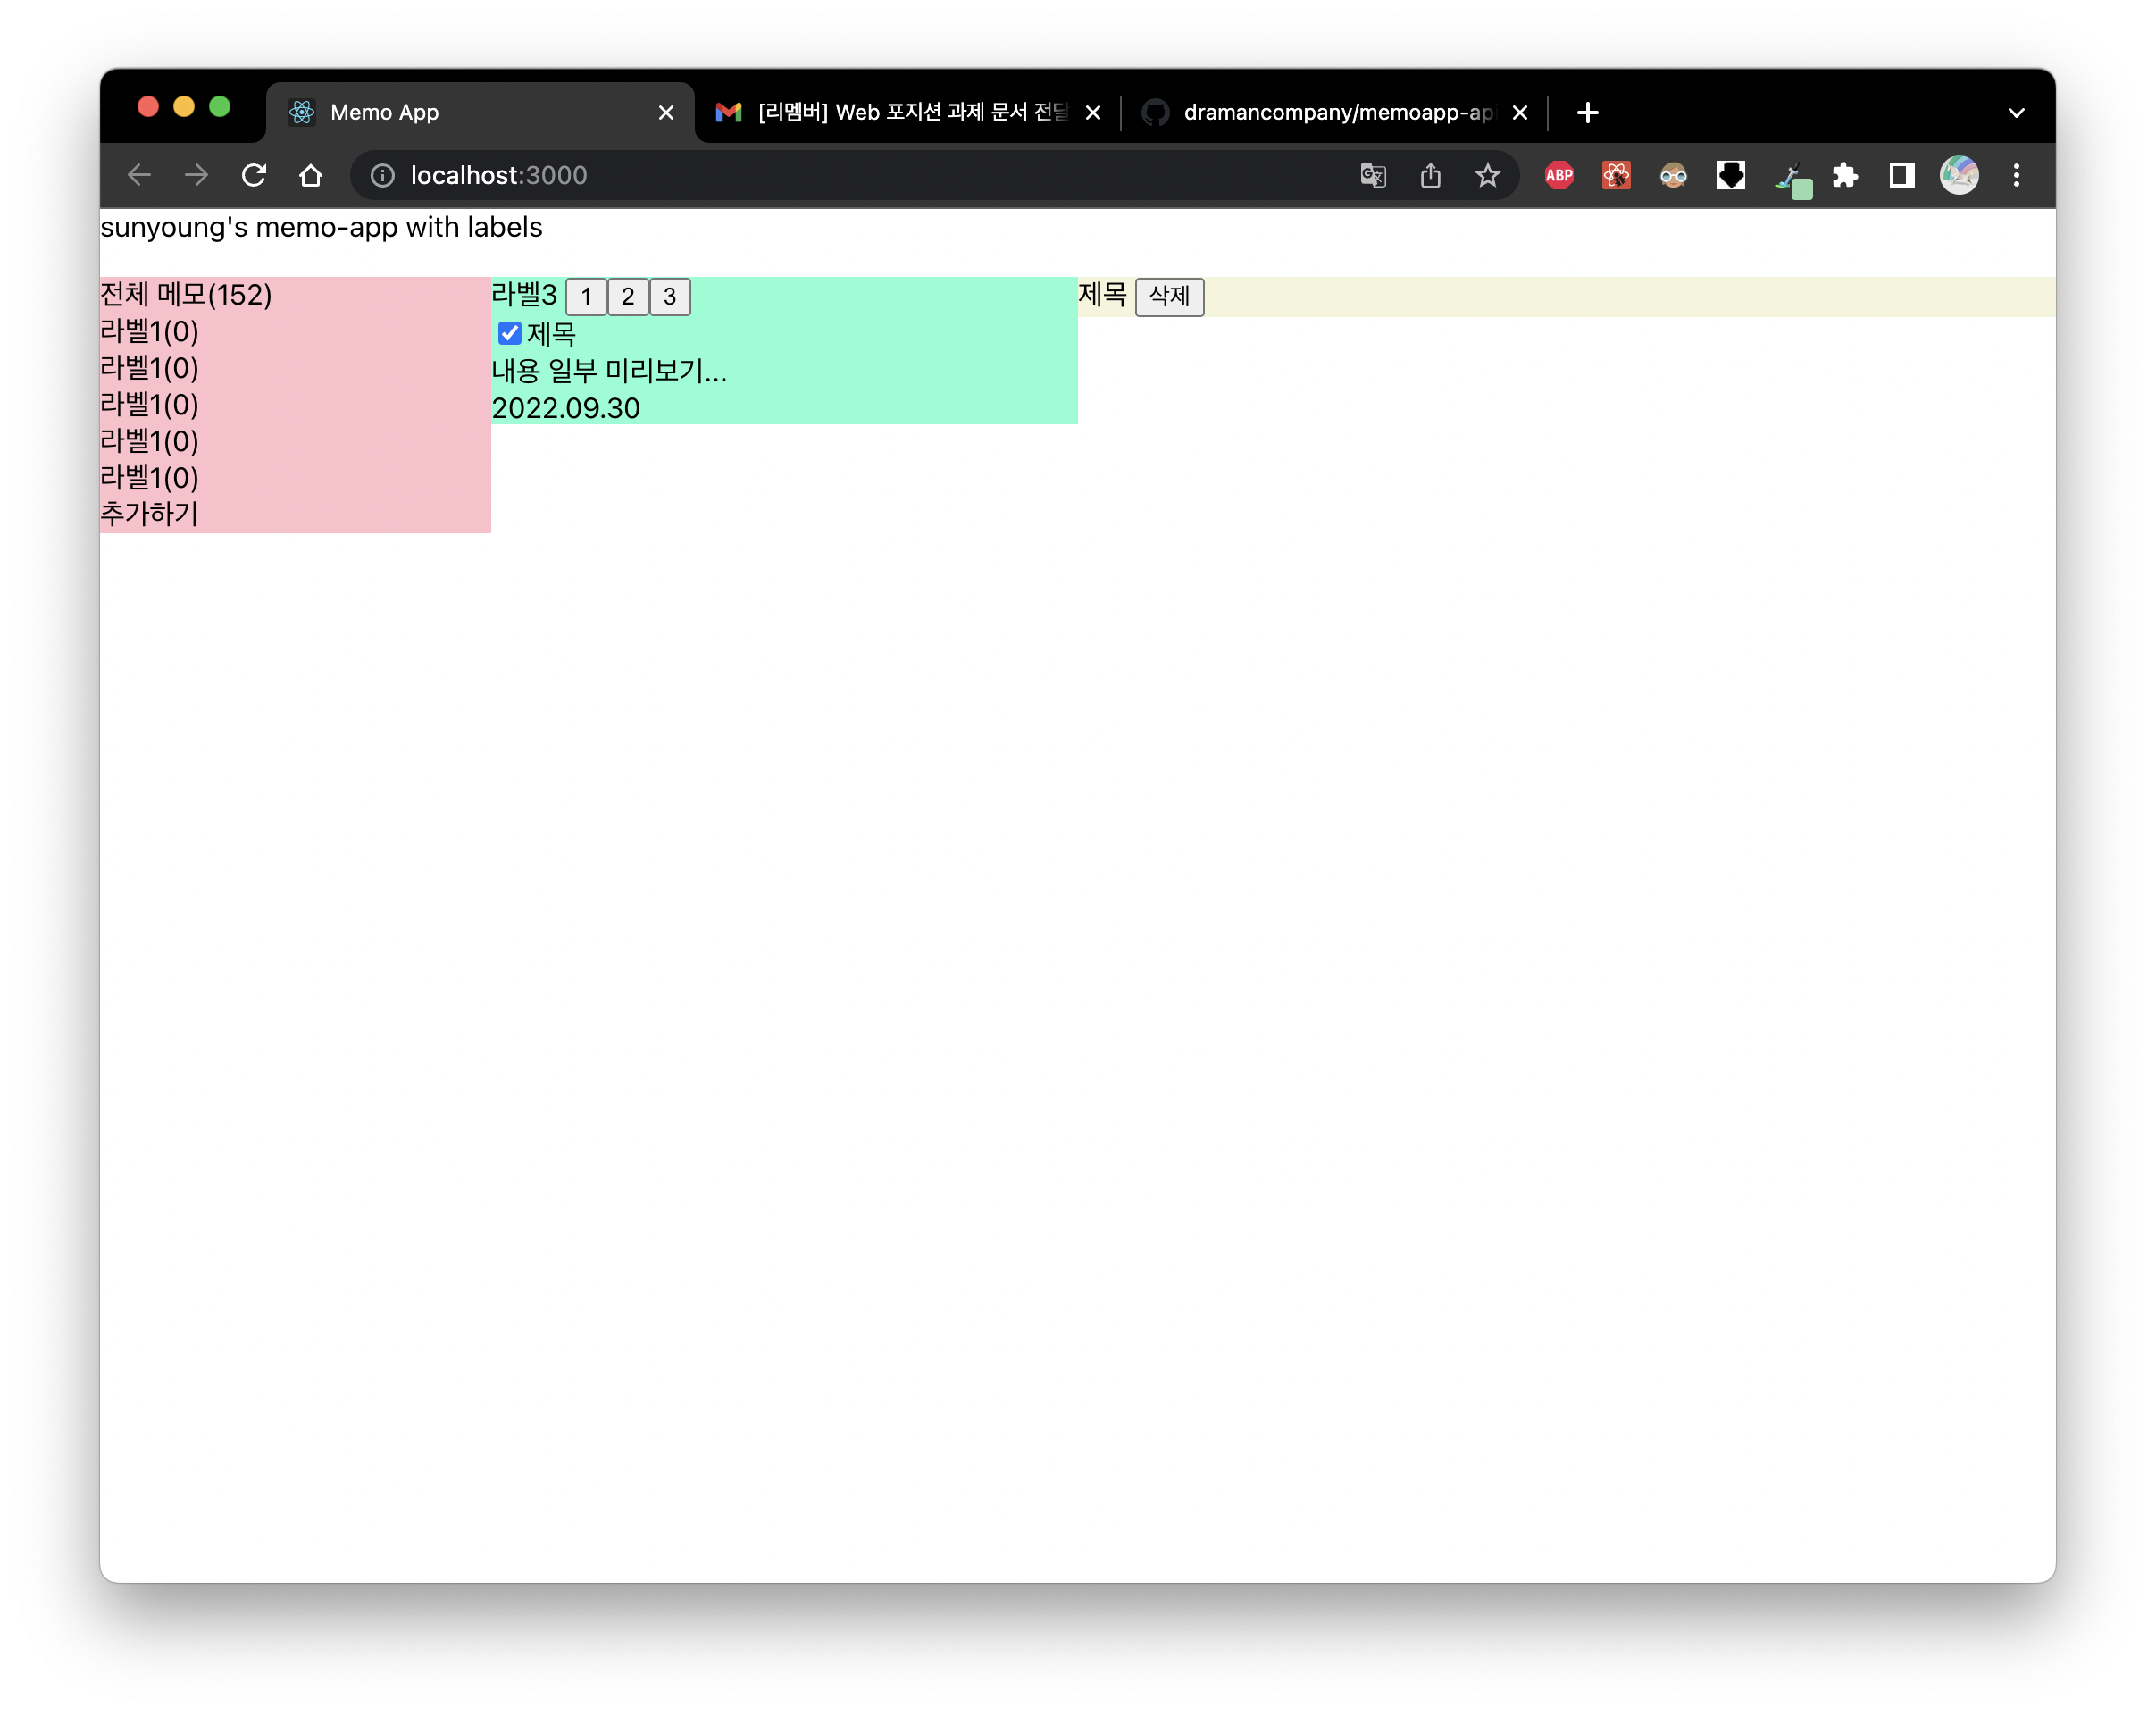
개발을 시작하면서 라벨, 메모, 메모 미리보기 이렇게 세 가지 section으로 구성되어 있어 페이지를 3개의 행으로 나누었다. UI는 div를 이용해서 간단하게 구현하였다. 아래와 같이 시작했다.
서버에서 데이터를 가져오는 부분은 api폴더에 각각 memo, label, relation 별도 파일로 구분해두었다. 꺌끔하게 작성했다고 생각하는 코드가 여기까지이다. 앞으로의 난관을 어떻게 헤쳐나가야할 지 고민이 많이 된다.
import { getRequest, postRequest, putRequest, deleteRequest } from './apis';

export const getMemosList = () => {
  return getRequest('/memos');
};

export const readMemo = (id) => {
  return getRequest(`/memos/${id}`);
};

export const createMemo = (data) => {
  return postRequest('/memos', data);
};

export const updateMemo = (id, data) => {
  return putRequest(`/memos/${id}`, data);
};

export const deleteMemo = (id) => {
  return deleteRequest(`/memos/${id}`);
};
App.js에 들어있는 수 많은 데이터들..
정리가 시급하다..
const [labelList, setLabelList] = useState([]); // 라벨 목록(section1)
  const [memoList, setMemoList] = useState([]); // 메모 전체 목록(section2-1)
  const [selectedId, setSelectedId] = useState({ label: '전체', label_id: '', new_label: '' });
  const [memoswithLabel, setMemoswithLabel] = useState([]); // 라벨 해당 메모 목록(section2-2)
  const [editLabel, setEditLabel] = useState(false); // 라벨 에디터 페이지
  const [editMemo, setEditMemo] = useState(false); // 메모 에디터 페이지
  const [addMemo, setAddMemo] = useState(false); // 메모 추가하기 라벨 지정 X
  const [memoIndex, setMemoIndex] = useState(0); // 메모 미리보기 index
  const [labelStatus, setLabelStatus] = useState(''); // 라벨이 삭제되면 removed로 값이 바뀐다.
꼭 필요한 데이터만 모아본다고 생각했는데 editor page 관련 변수는 한 번에 묶어서 처리했으면 더 깔끔했을 것 같다.
section1
  <div
  className="label__name"
  onClick={(e) => {
    setLabelStatus('');
    addOnClass(e);
    setSelectedId({ ...selectedId, label: '전체', label_id: '' });
    setMemoswithLabel(memoList);
  }}
    >
      {`전체 메모( ` + memoList?.length + ` )`}
  </div>
  {labelList?.map((item, index) => {
    return (
      <div
      className="label__name"
      style={{ cursor: 'pointer' }}
  key={index}
  onClick={(e) => {
    getSelectedMemos(item.id, item.title, e);
    //label_id, label title, eventListener
  }}
    >
      {item.title + `( ` + item.memoCount + ` )`}
  </div>
  );
  })}
section1에 대한 구현은 간단하다.
처음 페이지에 진입 시 전체 라벨과 전체 메모에 대한 데이터를 가져오기 때문에 라벨 데이터를 뿌려준다. 라벨 선택 시에 라벨에 해당하는 메모들을 가져오는 api를 호출하고 selectedMemos에 저장해준다.
<input type="text" name="new_label" size="10" placeholder="new label✨"
onChange={(e) => { onChange(e);}} required={true}/>
input 태그를 이용해 label을 추가하는 부분도 section1 맨 아래에서 확인할 수 있다.
section2
memoswithLabel?.map((item, index) => {
            return (
              <div
                className="title__label memos"
                key={index}
                onClick={() => {
                  setMemoIndex(index);
                }}
              >
                <input type="checkbox" className="tasks" name="titles" value={item.id} />
                <div className="title__text">
                  <div>{item.title}</div>
                  <div className="title__updated">{item.updatedAt.slice(0, 16).replace('T', ' ')}</div>
                  <div>{item?.content?.substring(0, 30) + '...'}</div>
                </div>
              </div>
            );
          })
section memo preview 부분은 memoswithLabel 배열에서 div를 생성하여 구현하였다.
section2의 난이도가 너무 높았다. 위의 프리뷰는 쉽게 완성할 수 있는데 라벨 이름 변경, 라벨 설정, 라벨 삭제 등의 기능이 추가되면서 데이터를 업데이트하는 데 난항을 겪었다.
실무에서도 항상 이런 어려움에 부딪히는데 이번 기회에 좋은 해결책을 위해 더 고민해봐야겠다.
라벨 삭제 기능은 정상적으로 동작한다. 삭제 후 바로 데이터 갱신까지 구현했다.
section3
{addMemo ? <AddMemo setAddMemo={setAddMemo} /> : <></>}
      {editMemo ? (
        <EditMemo data={memoswithLabel[memoIndex]} setEditMemo={setEditMemo} />
      ) : labelStatus !== 'removed' ? (
        <div className="block block--memo">
          <div className="memo__page">
            <div className="memo__title">{memoswithLabel[memoIndex]?.title}</div>
            <div className="memo__btns">
              <button className="memo__btn--remove" onClick={() => setAddMemo(true)}>
                생성
              </button>
              <button className="memo__btn--remove" onClick={() => setEditMemo(true)}>
                수정
              </button>
              <button
                className="memo__btn--remove"
                onClick={() => {
                  removeMemo(memoswithLabel[memoIndex]?.id, memoswithLabel[memoIndex]?.title);
                }}
              >
                삭제
              </button>
            </div>
            <div className="memo__updatedat">{memoswithLabel[memoIndex]?.updatedAt.slice(0, 16).replace('T', ' ')}</div>
            <div className="memo__contents">{memoswithLabel[memoIndex]?.content}</div>
          </div>
        </div>
      ) : (
        <div className="block block--memo"></div>
      )}
가독성의 문제가 많은 코드이다.
생성 버튼을 누르면 addMemo가 true가 되면서 새로운 메모를 만들 수 있는 컴포넌트가 뜬다.
생성되거나 취소되면 addMemo가 false로 변경된다.
수정 버튼도 마찬가지이다.
수정 버튼을 누르면 editMemo가 true가 되면서 해당 메모를 업데이트할 수 있는 폼이 뜬다. 구조는 AddMemo와 EditMemo 서로 비슷하다.
생성을 눌러 메모를 생성하면 전체 메모에서 바로 업데이트되어 확인이 가능하다. 하지만 라벨과 mapping하는 부분이 구현되어 있지 않다. 클릭한 메모들에 대한 index데이터는 배열에 가지고 있는데 이후에 설정을 누르면 어떤 식으로 동작을 하게 만들 지에 대한 고민에 많은 시간을 소요했다.
해당하는 memo preview들을 체크하고 설정을 누르면 모달창이 뜨면서 label을 고를 수 있게 구현하면 좋을 것 같다.
이틀은 조금 짧은 기간이었지만 덕분에 좋은 효율로 몰두할 수 있었다.
리팩토링과 마무리 짓지 못한 기능들을 구현하라는 마음의 소리가 커지고 있다.😵💫
실무에 가까운 과제를 선물해주신 D사 개발팀에게 감사드립니다:)