HOW TO DISPLAY JavaScript
1. innerHTML property
전에 알아보았듯이, document.getElementById() method를 사용해 HTML요소를 선택하고, innerHTML property를 이용해 요소의 내용이나 속성값을 변경한다.
<!DOCTYPE html>
<html>
<body>

<h2>My First Web Page</h2>
<p>My First Paragraph.</p>

<p id="demo"></p>

<script>
  document.getElementById("demo").innerHTML = 5 +6;
</script>

</body>
</html>
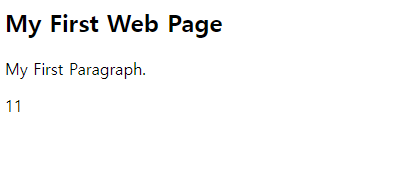
실행시키면 아래 화면이 나온다.
2. document.write() method
이 method를 이용하면 웹 페이지에 가장 먼저 데이터를 출력하기때문에 테스트용으로 많이 이용한다.
<!DOCTYPE html>
<html>
<body>

<h2>My Second Web Page</h2>
<p>My Second paragraph.</p>

<p>Never call document.write after the document has finished loading.
It will overwrite the whole document.</p>

<script>
  document.write(5+6);
</script>

</body>
</html>
실행시키면 아래 화면이 나온다.
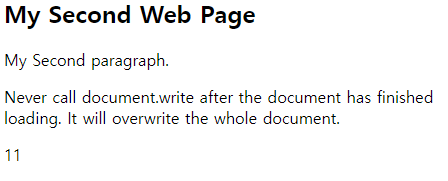
- HTML 문서가 로딩완료된 후 document.write()를 사용하면 기존 HTML이 모두 삭제된다. -> WHY?
3. window.alert() method
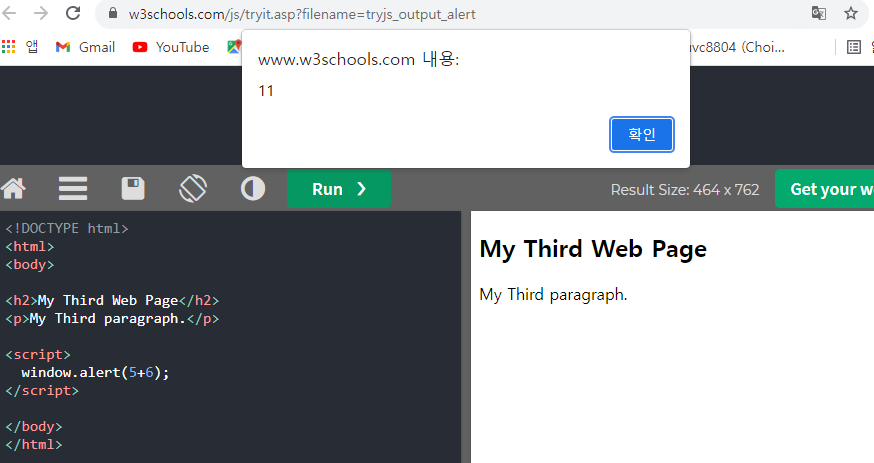
브라우저와는 별도의 대화 상자를 띄워 사용자에게 데이터를 전달한다.
가장 간단하게 데이터를 출력할 수 있는 방법이다.
window 객체의 모든 method나 property를 사용할 땐 window 접두사 생략가능.
<!DOCTYPE html>
<html>
<body>

<h2>My Third Web Page</h2>
<p>My Third paragraph.</p>

<script>
  window.alert(5+6);
</script>

</body>
</html>
실행시키면 대화상자가 나타난 아래 화면이 나온다.
4. console.log() method
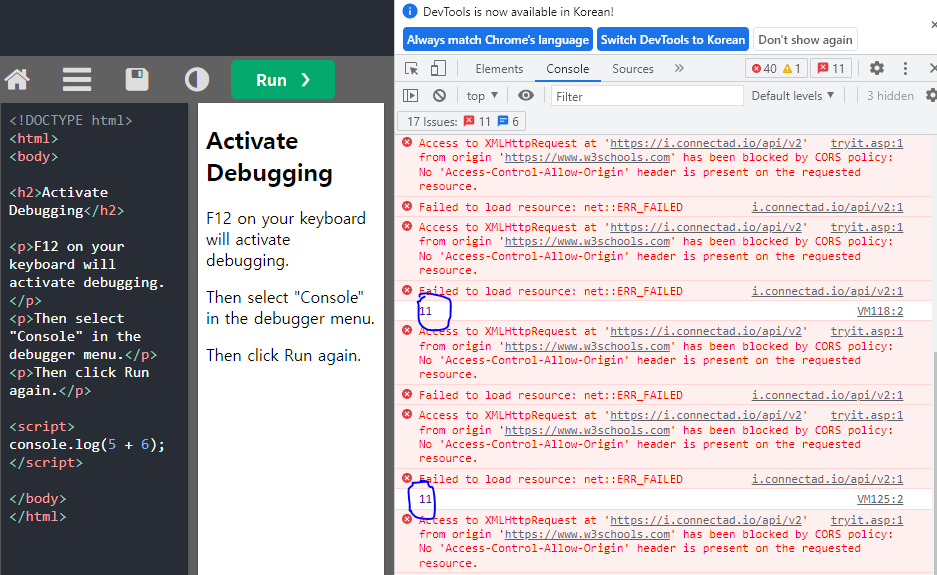
웹 브라우저의 콘솔을 통해 데이터를 출력해준다.
F12를 누르고 메뉴에서 콘솔을 클릭하면 콘솔 화면이 나온다.
여기선 좀 더 자세히 출력되기때문에, 디버깅할 때 도움이 된다.
<!DOCTYPE html>
<html>
<body>

<h2>Activate Debugging</h2>

<p>F12 on your keyboard will activate debugging.<p>
<p>Then select "Console" in the debugger menu.</p>
<p>Then click Run again.</p>

<script>
  console.log(5+6);
</script>

</body>
</html>
웹 브라우저에서 F12를 눌러 Console 화면을 키고 실행시키면 아래 화면이 보인다.
JavaScript Print
window.print()
위 method를 사용해 현재 창을 인쇄할 수 있다.
<!DOCTYPE html>
<html>
<body>

<h2>The window.print() Method</h2>
<p> Click the button to print the current page.</p>

<button onclick="window.print()">Print this page</button>

</body>
</html>
실행시키면 아래 화면이 나오는 데,
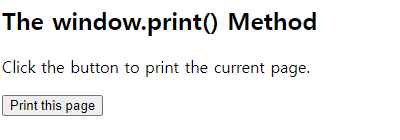
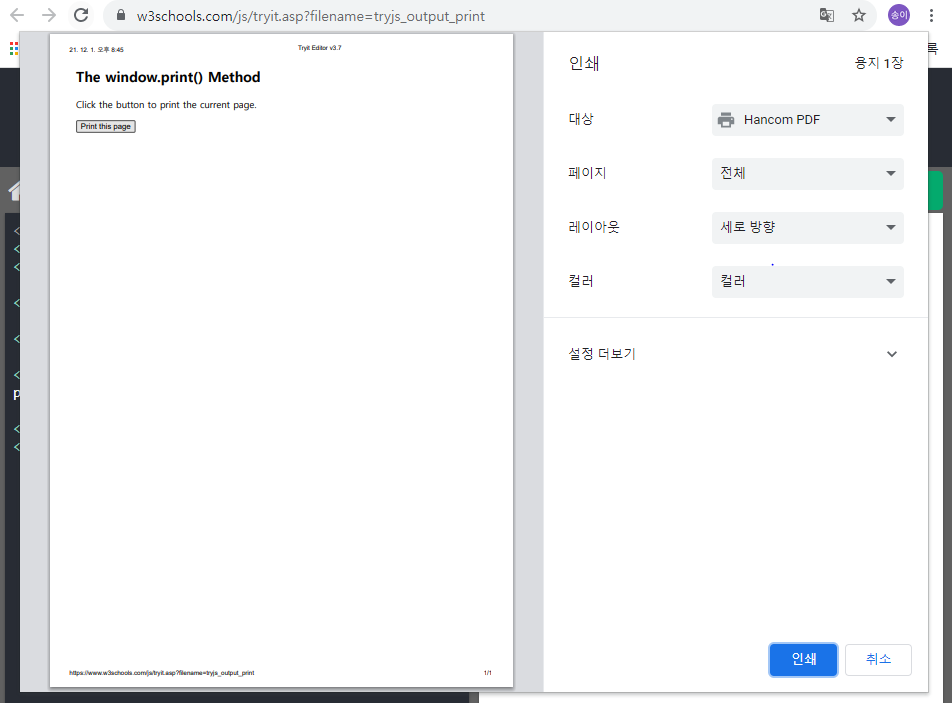
버튼을 클릭하면, 인쇄창으로 이동한다.
참고사이트
-TCPSCHOOL.com
-w3schools.com
