새로운 프로젝트를 만드는 것 부터 시작했다.
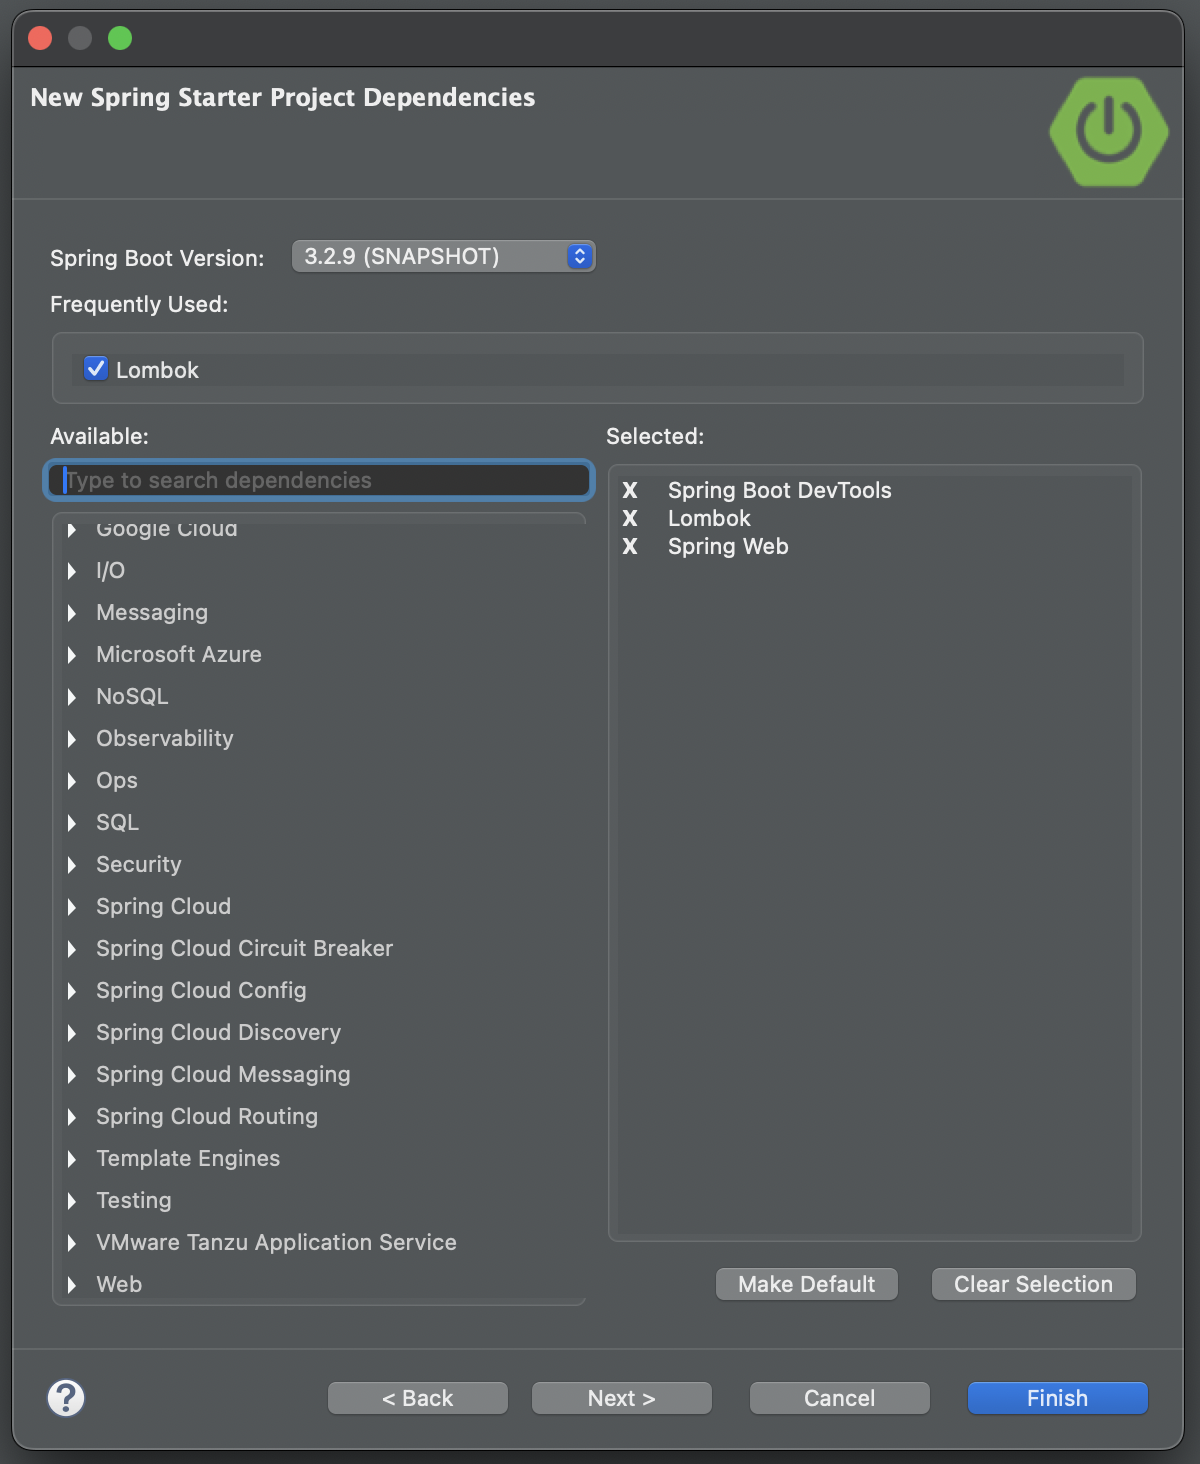
내가 사용할 라이브러리(도구)들을 정하고 finish로 생성해준다.
프로젝트가 서버 연결 없이도 잘 된다고 하셨는데, 나는 무슨 이유에서인지 잘 되지 않았다. 그래서 계속 방법을 찾다가 아예 새로운 경로에 새로운 프로젝트를 만들어서 실행하니까 그제서야 된다.
여하튼 화면에 해당 경로를 지정해주면 잘 나오나 확인을 해보았다.
우선 코드는 main, main2, main3이 url 경로에 화면이 잘 표시 되는가 확인해보자.
package com.example.demo.controller;

import org.springframework.stereotype.Controller;
import org.springframework.web.bind.annotation.RequestMapping;
import org.springframework.web.bind.annotation.ResponseBody;

@Controller
public class UsrHomeController {

	@RequestMapping("/usr/home/main")
	@ResponseBody
	public String showMain() {
		return "안녕하세요";
	}

	@RequestMapping("/usr/home/main2")
	@ResponseBody
	public String showMain2() {
		return "잘가";
	}

	@RequestMapping("/usr/home/main3")
	@ResponseBody
	public int showMain3() {
		int x = 1;
		int y = 2;

		return x + y;
	}

}
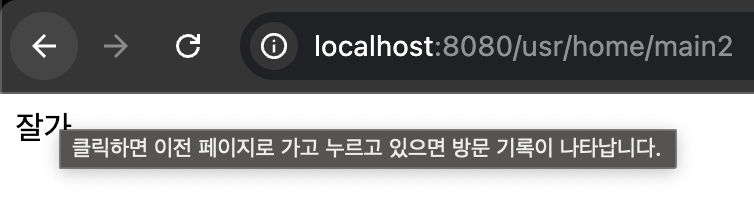
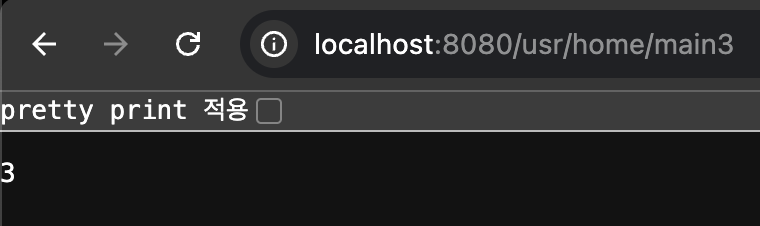
pretty print가 뭔지는 모르겠지만 일단 나오니까 그냥 넘어가자..
다음은 간단한 로직을 추가해서 main4에 숫자를 새로고침 할 때 마다 1씩 증가하게끔 만들어보자.
	private int count= 0;

	@RequestMapping("/usr/home/main4")
	@ResponseBody
	public int showMain4() {

		return count++;
	}
이렇게 만들었고 확인하는 과정에 숫자가 올라버려서 0부터 화면을 찍을 수가 없었다. 강사님이 초기화 하는 방법을 설명해주셨다.
	private int count;

	public UsrHomeController() {
		count = 0;
	}

	@RequestMapping("/usr/home/setCount")
	@ResponseBody
	public String showMain5() {
		count = 0;
		return "count 값 0으로 초기화";
	}

	@RequestMapping("/usr/home/getCount")
	@ResponseBody
	public int showMain4() {

		return count++;
	}
이렇게 만들어서 setCount(http://localhost:8080/usr/home/setCount)에 접속하면 0으로 초기화 된다.
원하는 값으로 초기화를 해주고 싶다면 해당 코드를 사용하면 된다.
	private int count;

	public UsrHomeController() {
		count = 0;
	}

	@RequestMapping("/usr/home/setCountValue")
	@ResponseBody
	public String showMain6(int value) {

		this.count = value;
		return "count 값 " + value + "(으)로 초기화";
	}


	@RequestMapping("/usr/home/setCount")
	@ResponseBody
	public String showMain5() {
		count = 0;
		return "count 값 0으로 초기화";
	}

	@RequestMapping("/usr/home/getCount")
	@ResponseBody
	public int showMain4() {

		return count++;
	}
url을 쓸 때 value 값을 입력하지 않으면 오류가 뜬다.
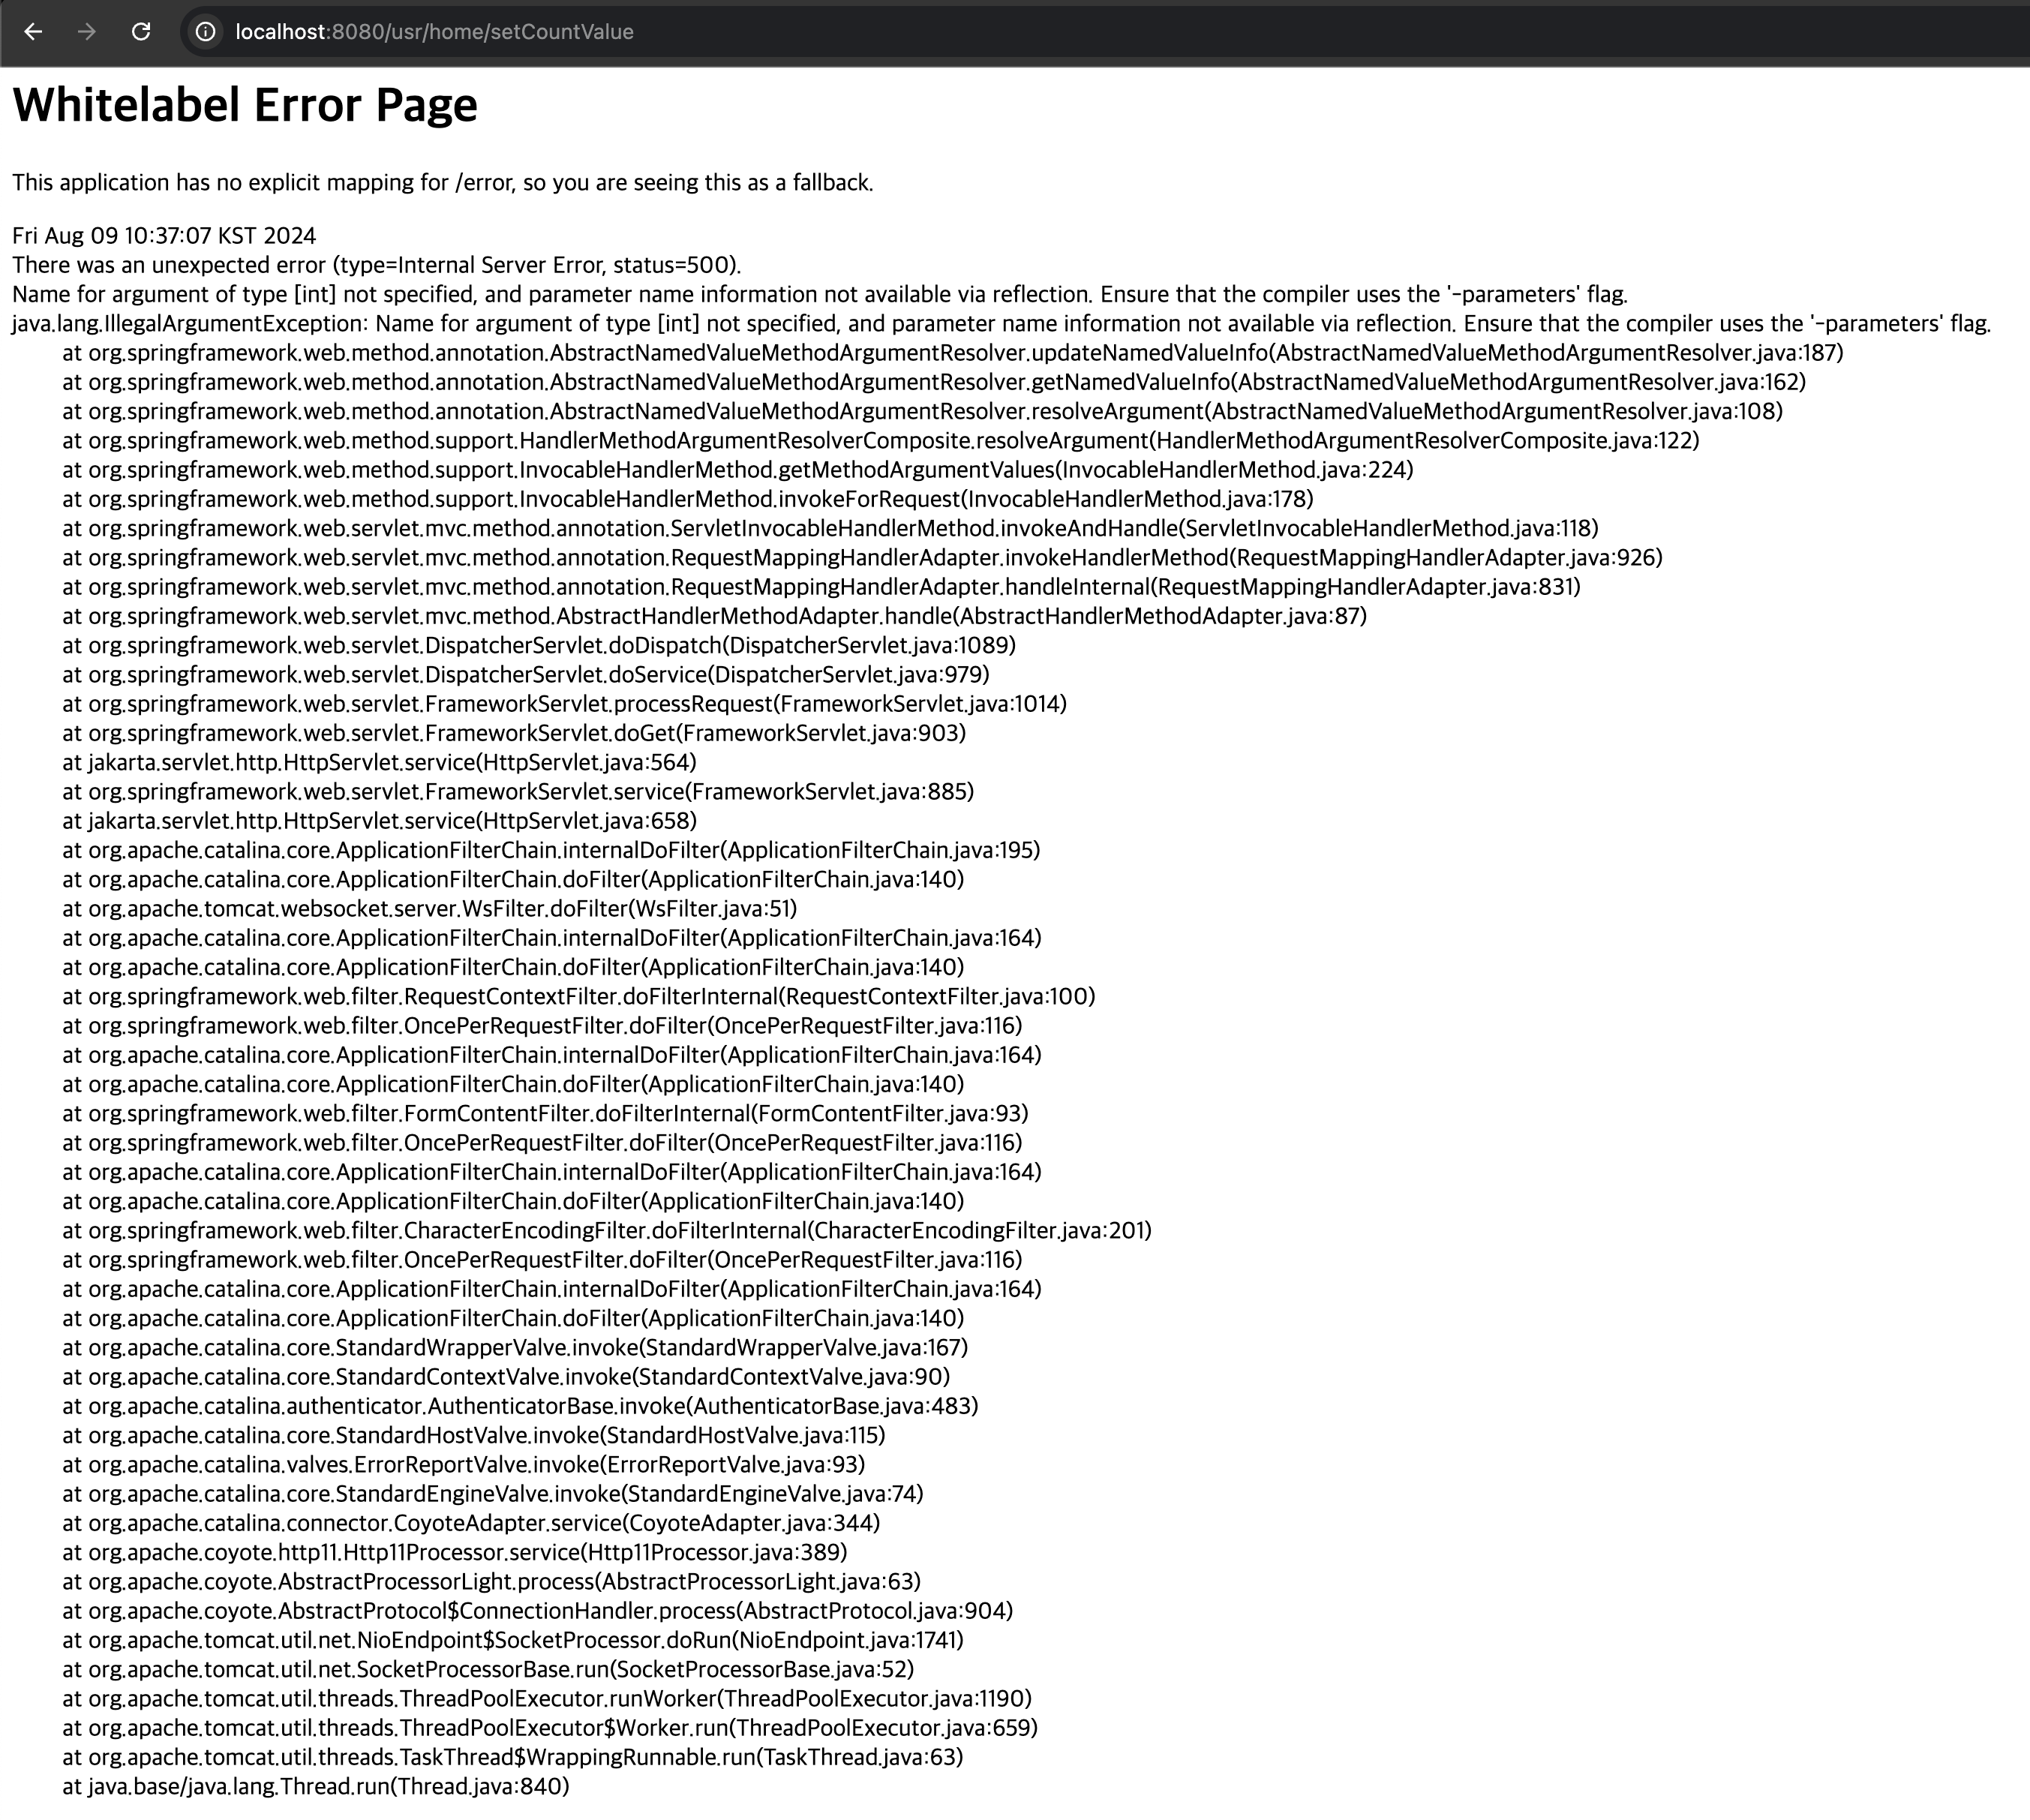
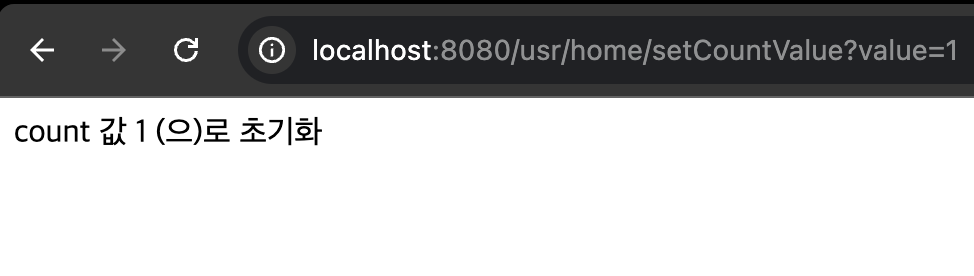
이렇게 url뒤에 벨류 값을 직접 넣어주면 int범위 내의 숫자로 초기화 할 수 있다.
다양한 리턴 타입을 사용해보았다.
package com.example.demo.controller;

import java.util.ArrayList;
import java.util.HashMap;
import java.util.List;
import java.util.Map;

import org.springframework.stereotype.Controller;
import org.springframework.web.bind.annotation.RequestMapping;
import org.springframework.web.bind.annotation.ResponseBody;

@Controller
public class UsrHomeController {

	@RequestMapping("/usr/home/getList")
	@ResponseBody
	public List<String> getList() {
		List<String> list = new ArrayList<>();
		list.add("철수 나이");
		list.add("영수 나이");
		return list;
	}

	@RequestMapping("/usr/home/getMap")
	@ResponseBody
	public Map<String, Object> getMap() {
		Map<String, Object> map = new HashMap<>();
		map.put("철수나이", 11);
		map.put("영수나이", 12);

		return map;
	}

	@RequestMapping("/usr/home/getDouble")
	@ResponseBody
	public double getDouble() {
		return 3.14;
	}

	@RequestMapping("/usr/home/getBoolean")
	@ResponseBody
	public boolean getBoolean() {
		return true;
	}

	@RequestMapping("/usr/home/getString")
	@ResponseBody
	public String getString() {
		return "abc";
	}

	@RequestMapping("/usr/home/getInt")
	@ResponseBody
	public int getInt() {
		return 1;
	}

}
모두 다 잘 작동한다.
잘 작동되는 것을 확인했으니 다음으로 article의 기본 틀을 잡는다,
package com.example.demo.controller;

import java.util.ArrayList;
import java.util.List;

import org.springframework.stereotype.Controller;
import org.springframework.web.bind.annotation.RequestMapping;
import org.springframework.web.bind.annotation.ResponseBody;

import com.example.demo.vo.Article;

@Controller
public class UsrArticleController {

	int lastArticleId;
	List<Article> articles;

	public UsrArticleController() {
		lastArticleId = 0;
		articles = new ArrayList<>();
	}

	@RequestMapping("/usr/article/doAdd")
	@ResponseBody
	public Article doAdd(String title, String body) {
		int id = lastArticleId + 1;
		Article article = new Article(id, title, body);
		articles.add(article);
		lastArticleId++;
		return article;
	}

	@RequestMapping("/usr/article/getArticles")
	@ResponseBody
	public List<Article> getArticles() {
		return articles;
	}

}
패키지 vo에 Article 클래스가 선언되어있다.

또한 잘 작동 되고, 지금 DB는 사용하지 않고 있다. 매번 이렇게 데이터를 넣을 수 없으니 테스트데이터를 만들어보자.
전에 다양한 리턴타입을 해보면서 만들어 둔 코드에 반복문을 추가하고 약간만 손보면 테스트데이터 생성 메서드를 만들 수 있다.
	// 테스트데이터 생성.
@RequestMapping("/usr/article/getTestArticle")
@ResponseBody
public List<Article> getArticle() {
//    List<Article> articles = new ArrayList<>();

    for (int i = 0; i <= 10; i++) {
        Article article = new Article(i, "제목" + i, "내용" + i);
        articles.add(article);
    }

    return articles;
}
일단은 이렇게 만들었고 잘 작동하는지 확인해보자.
우선은 해당 메서드가 실행되게끔 url로 컨트롤해주고 articles를 확인해보면 된다.

오케이 10개 잘 나온다. 저장까지 되었는가 확인을 하려면 위에 만들어둔 또 다른 articles를 확인해보면 되는데.
아.. 생각해보니까 메서드 안에서 List에 new를 눌러버리면 의미가 없다. 전역변수로 선언해놓고 왜 이런 실수를 했지? 각주 처리 했다.(내 코드에서는 그냥 지웠다).
다시 확인.
오케이 이렇게 하면 getArticles로도 데이터가 남아있는 것을 확인할 수 있다.
이번에는 삭제와 수정을 만들어보자.
	@RequestMapping("/usr/article/findById")
	@ResponseBody
    public Article findById(int id) {
        for (Article article : articles) {
            if (article.getId() == id) {
                return article;
            }
        }
        return null;
    }
    //게시물 삭제.
    @RequestMapping("/usr/article/doDeleteArticle")
    @ResponseBody
    public  String DoDeleteArticle(int id) {
    	Article article = findById(id);

    	if (article == null) {
    		return id + "번 게시물 존재하지 않음.";
    	} else articles.remove(article);


    	return id + "번 게시물 삭제.";
    }
우선은 이렇게 구현했다.

문구까지도 잘 뜨고, 한번 더 1번을 삭제해서 제대로 검증중인지 확인.

getArticles로 제대로 삭제되었는지 까지 확인.
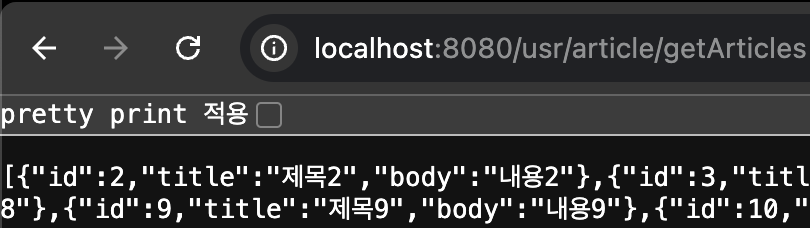
오케이!! 삭제가 잘 된다. 그럼 이제 modify로 넘어가보자. id를 검증하는 것은 넣었으니 이건 고민하지 않아도 되는데, 이게 url로 받을 데이터와 검증하는 값과 이래저래 복잡할 것 같다. int도 써야되고 String도 써야한다.
modify에서는 강사님이 조건을 붙혔는데 수정한 게시물의 내용(Article 타입으로)도 표시하라고 하셨다. 일단 그걸 빼놓고 구현을 하면 쉽다.
//게시물 수정.
    @RequestMapping("/usr/article/doModifyArticle")
    @ResponseBody
    public  String DoModifyArticle(int id, String newTitle, String newBody) {
    	Article article = findById(id);

    	if (article == null) {
    		return id + "번 게시물 존재하지 않음.";
    	} else {
    		article.setTitle(newTitle);
    		article.setBody(newBody);
    	}
    	//doModifyArticle?id=1%newTitle=%EC%83%88%EC%A0%9C%EB%AA%A9&newBody=%EC%83%88%EB%82%B4%EC%9A%A9

    	return id + "번 게시물 수정.";
    }
이렇게 추가하면 되는데 문제는 게시물의 내용까지 표시할 때 생긴다. 데이터 타입이 내가 출력하고자 하는 것은 String인데 게시물의 내용은 Article이기 떄문에 복잡해지기 때문이다.
    //게시물 수정.
	@RequestMapping("/usr/article/doModify")
	@ResponseBody
	public Object doModify(int id, String title, String body) {

		Article article = findById(id);

		if (article == null) {
			return id + "번 글은 없음";
		} else {
			article.setTitle(title);
			article.setBody(body);
		}

		return article;
	}
때문에 데이터타입을 최상위 Object로 선언해준다. 기능은 잘 돌아간다.
다음은 게시물 상세보기 기능이다.
//게시물 상세보기.
    @RequestMapping("/usr/article/getArticle")
	@ResponseBody
	public Object getArticle(int id) {

		Article article = findById(id);

		if (article == null) {
			return id + "번 글은 없음";
		}

		return article;
	}
findById메서드를 만들어놔서 간단하다.
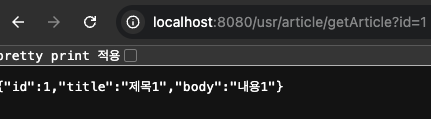
문제 없이 기능도 작동한다.
다음으로 구조 수정. service 패키지를 추가하고 service클래스로 해당 기능을 옮겨주자.
package com.example.demo.controller;

import java.util.List;

import org.springframework.beans.factory.annotation.Autowired;
import org.springframework.stereotype.Controller;
import org.springframework.web.bind.annotation.RequestMapping;
import org.springframework.web.bind.annotation.ResponseBody;

import com.example.demo.service.ArticleService;
import com.example.demo.vo.Article;

@Controller
public class UsrArticleController {

	@Autowired
	private ArticleService articleService;


	@RequestMapping("/usr/article/doAdd")
	@ResponseBody
	public Article doAdd(String title, String body) {
		Article article = articleService.writeArticle(title, body);
		return article;
	}

	@RequestMapping("/usr/article/getArticles")
	@ResponseBody
	public List<Article> getArticles() {
		return articleService.articles;
	}


    //게시물 삭제.
    @RequestMapping("/usr/article/doDelete")
    @ResponseBody
    public  String DoDeleteArticle(int id) {
    	Article article = articleService.findById(id);

    	if (article == null) {
    		return id + "번 게시물 존재하지 않음.";
    	} else articleService.articles.remove(article);


    	return id + "번 게시물 삭제.";
    }

    //게시물 상세보기.
    @RequestMapping("/usr/article/getArticle")
	@ResponseBody
	public Object getArticle(int id) {

		Article article = articleService.findById(id);

		if (article == null) {
			return id + "번 글은 없음";
		}

		return article;
	}
    //게시물 수정.
	@RequestMapping("/usr/article/doModify")
	@ResponseBody
	public Object doModify(int id, String title, String body) {

		Article article = articleService.findById(id);

		if (article == null) {
			return id + "번 글은 없음";
		} else {
			article.setTitle(title);
			article.setBody(body);
		}

		return article;
	}

}
package com.example.demo.service;
import java.util.ArrayList;
import java.util.List;
import org.springframework.web.bind.annotation.RequestMapping;
import org.springframework.web.bind.annotation.ResponseBody;
import com.example.demo.vo.Article;
@Service
public class ArticleService {
private int lastArticleId;
public List<Article> articles;
public ArticleService() {
lastArticleId = 0;
articles = new ArrayList<>();
makeTestData();
}
// 테스트데이터 생성.
private void makeTestData() {
for (int i = 1; i <= 10; i++) {
String title = "제목" + i;
String body = "내용" + i;
writeArticle(title, body);
}
}
public Article writeArticle(String title, String body) {
int id = lastArticleId + 1;
Article article = new Article(id, title, body);
articles.add(article);
lastArticleId++;
return article;
}
// 입력된 id와 일치하는 article 찾기
@RequestMapping("/usr/article/findById")
@ResponseBody
public Article findById(int id) {
for (Article article : articles) {
if (article.getId() == id) {
return article;
}
}
return null;
}
public void modifyArticle(int id, String title, String body) {
Article article = findById(id);
article.setTitle(title);
article.setBody(body);
}
public void deleteArticle(int id) {
Article article = findById(id);
articles.remove(article);
}
}이렇게 옮겼다. 만들어 두었던 모든 기능 문제 없이 잘 실행된다.
package com.example.demo.service;

import java.util.ArrayList;
import java.util.List;

import org.springframework.beans.factory.annotation.Autowired;
import org.springframework.stereotype.Service;
import org.springframework.web.bind.annotation.RequestMapping;
import org.springframework.web.bind.annotation.ResponseBody;

import com.example.demo.repository.ArticleRepository;
import com.example.demo.vo.Article;

@Service
public class ArticleService {

	@Autowired
	private ArticleRepository articleRepository;

	private int lastArticleId;
	public List<Article> articles;

	public ArticleService(ArticleRepository articleRepository) {
		this.articleRepository = articleRepository;

		makeTestData();
	}

	// 테스트데이터 생성.
	private void makeTestData() {
		for (int i = 1; i <= 10; i++) {
			String title = "제목" + i;
			String body = "내용" + i;

			articleRepository.writeArticle(title, body);
		}
	}

	public Article writeArticle(String title, String body) {
		return articleRepository.writeArticle(title, body);
	}

	// 입력된 id와 일치하는 article 찾기
	@RequestMapping("/usr/article/findById")
	@ResponseBody
	public Article findById(int id) {
		return articleRepository.getArticleById(id);
	}

	public void modifyArticle(int id, String title, String body) {
		articleRepository.modifyArticle(id, title, body);
	}

	public void deleteArticle(int id) {
		articleRepository.deleteArticle(id);
	}

	public List<Article> getArticles() {
		return articleRepository.getArticles();
	}
}
package com.example.demo.repository;
import java.util.ArrayList;
import java.util.List;
import org.springframework.stereotype.Component;
import com.example.demo.vo.Article;
@Component
public class ArticleRepository {
private int lastArticleId;
public List<Article> articles;
public ArticleRepository() {
lastArticleId = 0;
articles = new ArrayList<>();
}
public Article writeArticle(String title, String body) {
int id = lastArticleId + 1;
Article article = new Article(id, title, body);
articles.add(article);
lastArticleId++;
return article;
}
public void deleteArticle(int id) {
Article article = getArticleById(id);
articles.remove(article);
}
public void modifyArticle(int id, String title, String body) {
Article article = getArticleById(id);
article.setTitle(title);
article.setBody(body);
}
public Article getArticleById(int id) {
for (Article article : articles) {
if (article.getId() == id) {
return article;
}
}
return null;
}
public List<Article> getArticles() {
return articles;
}
}다음으로 Repository클래스를 만들어서 다시 또 해당 기능을 분리해준다. Dao랑 같은 기능이다.
이제는 DB를 추가할 것이다.
properties 파일을 수정해주고.
package com.example.demo.repository;

import java.util.List;

import org.apache.ibatis.annotations.Delete;
import org.apache.ibatis.annotations.Insert;
import org.apache.ibatis.annotations.Mapper;
import org.apache.ibatis.annotations.Select;
import org.apache.ibatis.annotations.Update;

import com.example.demo.vo.Article;

@Mapper
public interface ArticleRepository {

	@Insert("INSERT INTO article SET regDate = NOW(), updateDate = NOW(), title = #{title}, `body` = #{body}")
	public Article writeArticle(String title, String body);

	@Delete("DELETE FROM article WHERE id = #{id}")
	public void deleteArticle(int id);

	@Update("UPDATE article SET updateDate = NOW(), title = #{title}, `body` = #{body} WHERE id = #{id}")
	public void modifyArticle(int id, String title, String body);

	@Select("SELECT * FROM article WHERE id = #{id}")
	public Article getArticleById(int id);

	@Select("SELECT * FROM article ORDER BY id DESC")
	public List<Article> getArticles();

	@Select("SELECT LAST_INSERT_ID();")
	public int getLastInsertId();
}
해당 코드에 맞게끔 전의 write나 doAdd도 약간 수정하고,
쿼리를 날려주면 되는데 어째서인지 나는 잘 되지 않아서 일단은 올려두고 글은 마무리 하겠다.
