
2023.02.06
컴포넌트 스타일링
컴포넌트 구현해보기
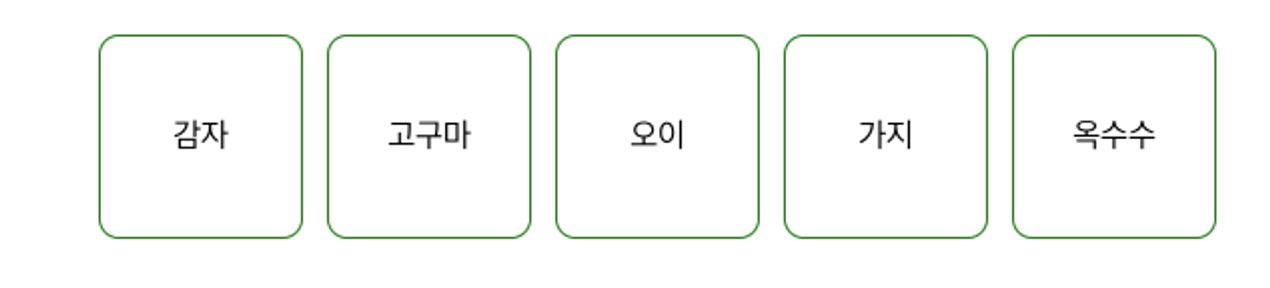
아래 이미지와 같이 한번 구현해보자.
import React from "react";

const App = () => {
  const style = {
    padding: "100px",
    display: "flex",
    gap: "12px",
  };

  const squareStyle = {
    width: "100px",
    height: "100px",
    border: "1px solid green",
    borderRadius: "10px",
		display: "flex",
    alignItems: "center",
    justifyContent: "center",
  };

  return (
    <div style={style}>
      <div style={squareStyle}>감자</div>
      <div style={squareStyle}>고구마</div>
      <div style={squareStyle}>오이</div>
      <div style={squareStyle}>가지</div>
      <div style={squareStyle}>옥수수</div>
    </div>
  );
};

export default App;
컴포넌트 파일에서 CSS 코드 분리하기
지금까지, 한 파일 내에 style을 작성해는데, 이부분을 CSS 파일로 따로 작성해보자.
JSX는 사실 HTML과 굉장히 닮아 있기 때문에 방법이 크게 다르지 않다. 단, 한가지 차이점이 있다면 class → className 을 사용한다는 점이다.
먼저, 컴포넌트 파일에서 className 을 넣어준다. 그리고 이 컴포넌트에서 적용할 CSS 파일을 import 해줘야 한다.
App.js
// src/App.js
import React from "react";
import Square from "./components/Square.js";
import "./App.css"; // 🔥 반드시 App.css 파일을 import 해줘야 합니다.

function App() {
  const users = [
    { id: 1, age: 30, name: "송중기" },
    { id: 2, age: 24, name: "송강" },
    { id: 3, age: 21, name: "김유정" },
    { id: 4, age: 29, name: "구교환" },
  ];

  return (
    <div className="app-style">
      {users.map((user) => {
        return <Square user={user} key={user.id} />;
      })}
    </div>
  );
}

export default App;
App.css
<!--src/App.css-->
.app-style {
  padding: 100px;
  display: flex;
  gap: 12px;
}
프론트엔드가 목표!