
이전 시간
이전 시간에 @EnableBatchProcessing 애너테이션과 DefaultBatchConfiguration 빈이 없으면 스프링 부트에서 배치 자동 구성을 해주고, JobLauncherApplicationRunner 빈이 생성되어 Job이 자동으로 실행됨을 확인하였습니다.
JobLauncherApplicationRunner가 빈으로 등록된 것은 알겠는데, 어떻게 Job을 실행하고 있는 것일까요?
Spring Boot로 SpringApplication 실행하기
기본적으로 스프링 이니셜라이저를 통해 스프링 부트 프로젝트를 생성하면, 다음과 같은 애플리케이션 클래스가 자동으로 만들어집니다.
kotlin
import org.springframework.boot.autoconfigure.SpringBootApplication
import org.springframework.boot.runApplication

@SpringBootApplication
class SpringBatchStudyApplication

fun main(args: Array<String>) {
    runApplication<SpringBatchStudyApplication>(*args)
}
java
@SpringBootApplication
public class SpringBatchStudyJavaApplication {

    public static void main(String[] args) {
       SpringApplication.run(SpringBatchStudyJavaApplication.class, args);
    }

}
여기서 SpringApplication.run()을 실행하면, Job이 실행이 됩니다.
이 과정에 대해 코드를 따라가 보며 확인해 보겠습니다.
SpringApplication의 run(Class, Stirng[])
/**
 * Static helper that can be used to run a {@link SpringApplication} from the
 * specified source using default settings. * @param primarySource the primary source to load
 * @param args the application arguments (usually passed from a Java main method)
 * @return the running {@link ApplicationContext}
 */
public static ConfigurableApplicationContext run(Class<?> primarySource, String... args) {
    return run(new Class<?>[] { primarySource }, args);
}

/**
 * Static helper that can be used to run a {@link SpringApplication} from the
 * specified sources using default settings and user supplied arguments. * @param primarySources the primary sources to load
 * @param args the application arguments (usually passed from a Java main method)
 * @return the running {@link ApplicationContext}
 */
public static ConfigurableApplicationContext run(Class<?>[] primarySources, String[] args) {
    return new SpringApplication(primarySources).run(args);
}
먼저 SpringApplication.run(Class, String[]) static 메서드를 호출하면, 위의 메서드가 먼저 호출됩니다.
자동으로 만들어진 Application 클래스를 primarySource로 등록하고, 아래에서 다시 run(String... ) 메서드를 호출하게 됩니다.
다시 run(String... args)
/**
 * Run the Spring application, creating and refreshing a new * {@link ApplicationContext}.
 * @param args the application arguments (usually passed from a Java main method)
 * @return a running {@link ApplicationContext}
 */
public ConfigurableApplicationContext run(String... args) {
    if (this.registerShutdownHook) {
       SpringApplication.shutdownHook.enableShutdowHookAddition();
    }
    long startTime = System.nanoTime();
    DefaultBootstrapContext bootstrapContext = createBootstrapContext();
    ConfigurableApplicationContext context = null;
    configureHeadlessProperty();
    SpringApplicationRunListeners listeners = getRunListeners(args);
    listeners.starting(bootstrapContext, this.mainApplicationClass);
    try {
       ApplicationArguments applicationArguments = new DefaultApplicationArguments(args);
       ConfigurableEnvironment environment = prepareEnvironment(listeners, bootstrapContext, applicationArguments);
       Banner printedBanner = printBanner(environment);
       context = createApplicationContext();
       context.setApplicationStartup(this.applicationStartup);
       prepareContext(bootstrapContext, context, environment, listeners, applicationArguments, printedBanner);
       refreshContext(context);
       afterRefresh(context, applicationArguments);
       Duration timeTakenToStartup = Duration.ofNanos(System.nanoTime() - startTime);
       if (this.logStartupInfo) {
          new StartupInfoLogger(this.mainApplicationClass).logStarted(getApplicationLog(), timeTakenToStartup);
       }
       listeners.started(context, timeTakenToStartup);
       callRunners(context, applicationArguments);
    }
    catch (Throwable ex) {
       if (ex instanceof AbandonedRunException) {
          throw ex;
       }
       handleRunFailure(context, ex, listeners);
       throw new IllegalStateException(ex);
    }
    try {
       if (context.isRunning()) {
          Duration timeTakenToReady = Duration.ofNanos(System.nanoTime() - startTime);
          listeners.ready(context, timeTakenToReady);
       }
    }
    catch (Throwable ex) {
       if (ex instanceof AbandonedRunException) {
          throw ex;
       }
       handleRunFailure(context, ex, null);
       throw new IllegalStateException(ex);
    }
    return context;
}
여기서 관심있게 봐야 할 곳은 callRunners(context, applicationArguments); 입니다.
다시 따라가 보겠습니다.
private void callRunners(ApplicationContext context, ApplicationArguments args) {
    List<Object> runners = new ArrayList<>();
    runners.addAll(context.getBeansOfType(ApplicationRunner.class).values());
    runners.addAll(context.getBeansOfType(CommandLineRunner.class).values());
    AnnotationAwareOrderComparator.sort(runners);
    for (Object runner : new LinkedHashSet<>(runners)) {
       if (runner instanceof ApplicationRunner applicationRunner) {
          callRunner(applicationRunner, args);
       }
       if (runner instanceof CommandLineRunner commandLineRunner) {
          callRunner(commandLineRunner, args);
       }
    }
}

private void callRunner(ApplicationRunner runner, ApplicationArguments args) {
    try {
       (runner).run(args);
    }
    catch (Exception ex) {
       throw new IllegalStateException("Failed to execute ApplicationRunner", ex);
    }
}

private void callRunner(CommandLineRunner runner, ApplicationArguments args) {
    try {
       (runner).run(args.getSourceArgs());
    }
    catch (Exception ex) {
       throw new IllegalStateException("Failed to execute CommandLineRunner", ex);
    }
}
애플리케이션 컨텍스트에 있는 ApplicationRunner 들과 CommandLineRunner들을 모두 모으고 각각 실행하게 됩니다. 실행 순서는 Ordered 인터페이스나 @Order 애너테이션으로 지정할 수 있습니다.
현재 ApplicationRunner 확인해보기
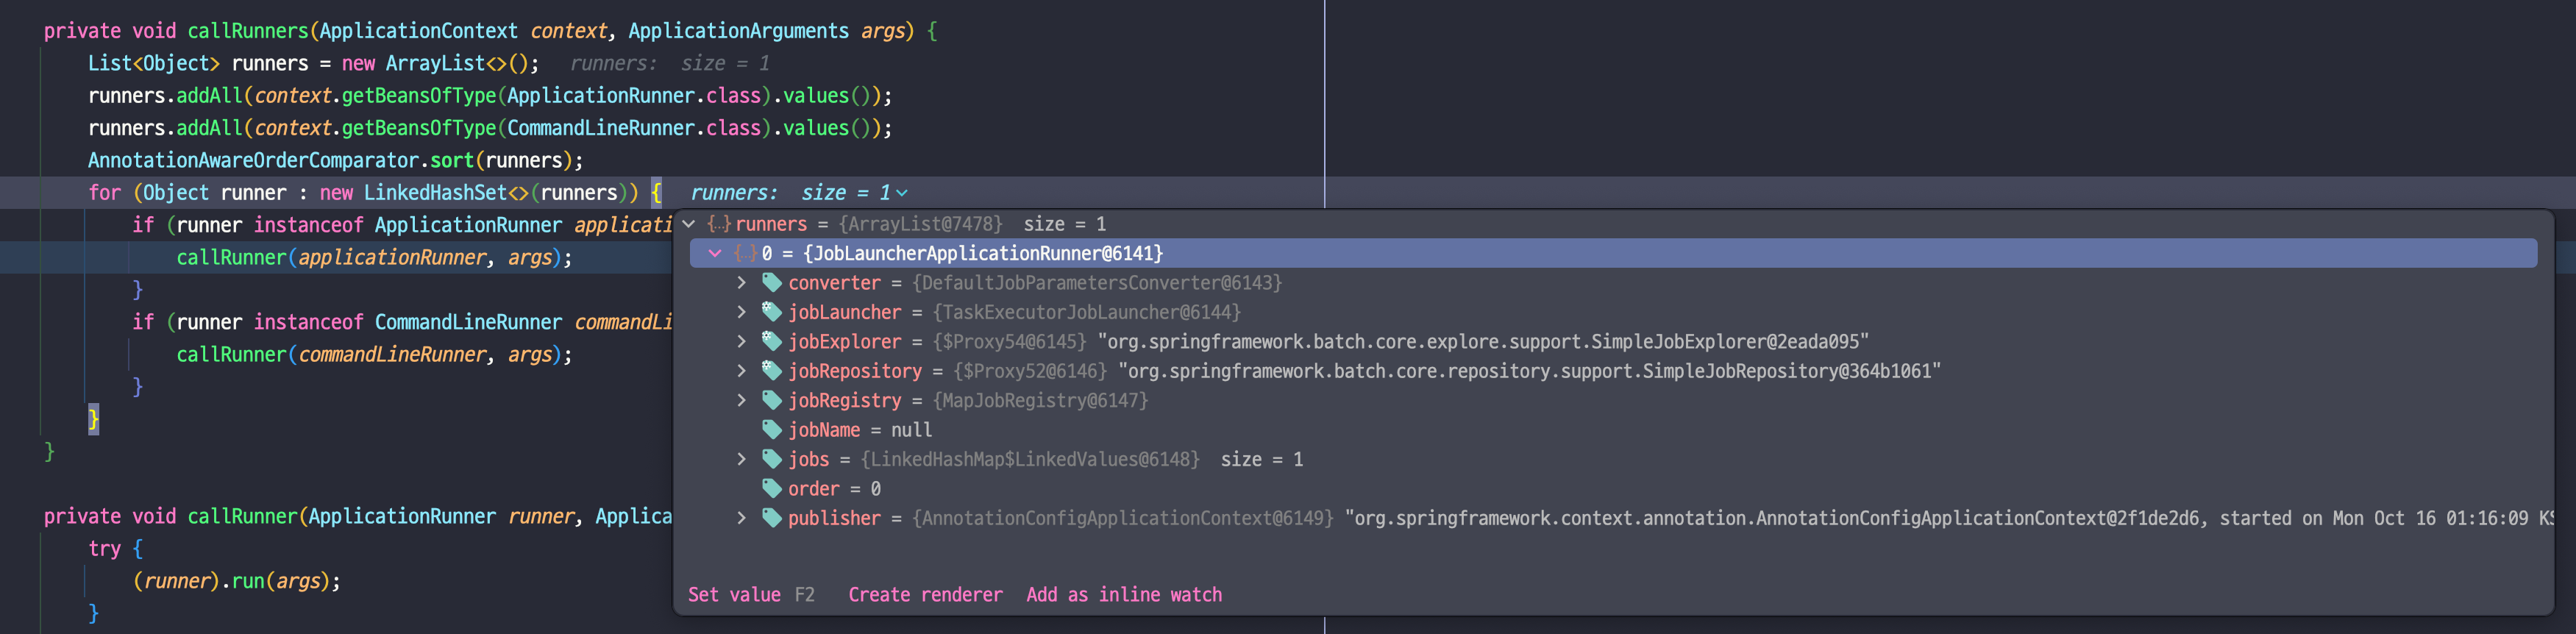
기본 구성으로 실행시켰을 경우엔, 스프링 부트의 배치 자동 구성에서 만들어준 JobLauncherApplicationRunner 빈이 하나 있는 것을 확인할 수 있습니다.
JobLauncherApplicationRunner에서의 과정
ApplicationRunner를 구현한 JobLauncherApplicationRunner가 SpringApplication.callRunner()를 통해 호출되었습니다.
이제 JobLauncherApplicationRunner의 행동을 살펴보겠습니다.
@Override
public void run(ApplicationArguments args) throws Exception {
    String[] jobArguments = args.getNonOptionArgs().toArray(new String[0]);
    run(jobArguments);
}

public void run(String... args) throws JobExecutionException {
    logger.info("Running default command line with: " + Arrays.asList(args));
    launchJobFromProperties(StringUtils.splitArrayElementsIntoProperties(args, "="));
}

protected void launchJobFromProperties(Properties properties) throws JobExecutionException {
    JobParameters jobParameters = this.converter.getJobParameters(properties);
    executeLocalJobs(jobParameters);
    executeRegisteredJobs(jobParameters);
}
위 순서대로 호출이 이루어집니다.
SpringApplication에서 호출된 가장 위의run메서드는ApplicationRunner의 메서드를 구현한 것입니다.import org.springframework.core.Ordered; import org.springframework.core.annotation.Order; @FunctionalInterface public interface ApplicationRunner { void run(ApplicationArguments args) throws Exception; }
private void executeLocalJobs(JobParameters jobParameters) throws JobExecutionException {
    for (Job job : this.jobs) {
       if (StringUtils.hasText(this.jobName)) {
          if (!this.jobName.equals(job.getName())) {
             logger.debug(LogMessage.format("Skipped job: %s", job.getName()));
             continue;
          }
       }
       execute(job, jobParameters);
    }
}

protected void execute(Job job, JobParameters jobParameters) throws JobExecutionAlreadyRunningException,
       JobRestartException, JobInstanceAlreadyCompleteException, JobParametersInvalidException {
    JobParameters parameters = getNextJobParameters(job, jobParameters);
    JobExecution execution = this.jobLauncher.run(job, parameters);
    if (this.publisher != null) {
       this.publisher.publishEvent(new JobExecutionEvent(execution));
    }
}executeLocalJobs에서 job의 이름을 확인하고 execute를 호출합니다.
그리고 이제 여기서 실제 Job을 실행시키는 JobLauncher의 run() 메서드가 호출되며 Job이 시작되게 됩니다.
JobLauncher는 어디에서 ?
JobLaunder의 경우 BatchAutoConfiguration에서 다시 등록해준 DefaultBatchConfiguration를 통해 TaskExecutorJobLauncher가 등록됨을 확인할 수 있습니다.
public class BatchAutoConfiguration {
	...

	@Configuration(proxyBeanMethods = false)
	static class SpringBootBatchConfiguration extends DefaultBatchConfiguration {
...@Configuration(proxyBeanMethods = false)
@Import(ScopeConfiguration.class)
public class DefaultBatchConfiguration implements ApplicationContextAware {
...
@Bean
public JobLauncher jobLauncher() throws BatchConfigurationException {
TaskExecutorJobLauncher taskExecutorJobLauncher = new TaskExecutorJobLauncher();
taskExecutorJobLauncher.setJobRepository(jobRepository());
taskExecutorJobLauncher.setTaskExecutor(getTaskExecutor());
try {
taskExecutorJobLauncher.afterPropertiesSet();
return taskExecutorJobLauncher;
}
catch (Exception e) {
throw new BatchConfigurationException("Unable to configure the default job launcher", e);
}
}
정리
스프링 배치 완벽 가이드란 책에서 지속적으로 JobLauncherCommandLineRunner를 사용한다고 적혀있습니다.
그런데 해당 이름을 가진 클래스는 찾을 수 없어서, 스프링 부트에서 가장 기초적인 Job 실행 메커니즘을 확인해 보았습니다.
결론적으로는 스프링 배치 v5 에서는 JobLauncherCommandLineRunner가 아닌 JobLauncherApplicationRunner가 사용되며,
@EnableBatchProcessing 애너테이션과 DefaultBatchConfiguration을 빈을 선언하지 않았을, 때 별도의 ApplicationRunner, CommandLineRunner 등록 없이 Job 실행이 이루어지게 됩니다.
JobRepository와 JobLauncher 등 스프링 배치의 인프라스트럭처 구성 요소들은,
스프링 부트가 자동으로 BatchAutoConfiguration을 설정 클래스로 등록하였을 때, DefaultBatchConfiguration 설정 클래스의 확장도 같이 구성하면서 만들어집니다.