git clone https://github.com/team-damda/Damda-Server.git위 command를 치니까 아래와 같은 에러 메세지가 떴다.
# remote: Support for password authentication was removed on August 13, 2021. Please use a personal access token instead.
# remote: Please see https://github.blog/2020-12-15-token-authentication-requirements-for-git-operations/ for more information.
# fatal: Authentication failed for 'https://github.com/team-damda/Damda-Server.git/'
그 동안 그냥 비밀번호랑 한 것과는 전혀 다르게 토큰을 사용해서 authenticate을 하라는 메시지에 당황을 했지만 일단 블로그에 접속해서 쭉 읽어봤다.
Token authentication requirements for Git operations
읽어보니까 이러저러한 보안 이슈로 인해 https token을 사용해서 Authentication을 진행하는 것으로 정책이 2021년도 8월 13일에 바뀐 것이었다(정말 따끈따끈..).
그래서 Creating a personal access token을 하라는 데로 따라 했다.
Creating a token
-
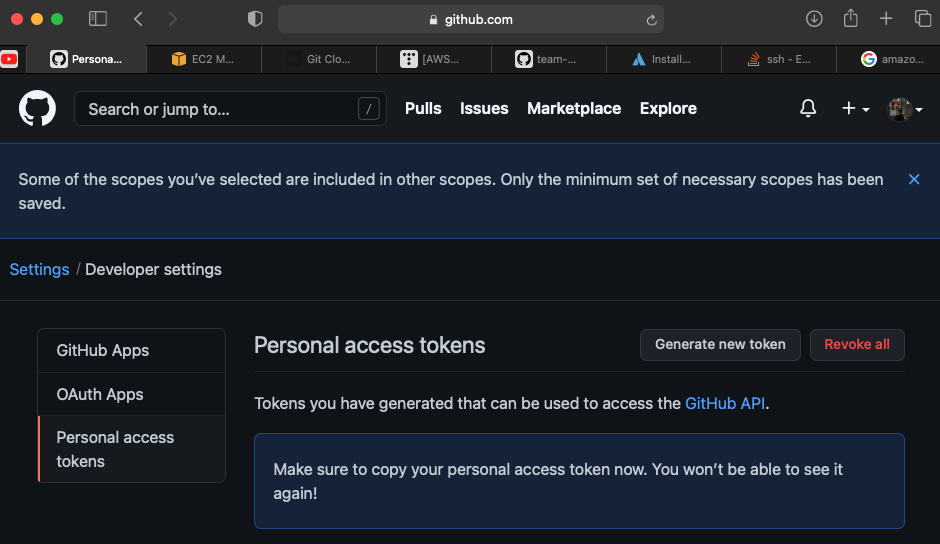
상단의 본인 프로필에서 Settings > Developer Settings > Personal access tokens로 가준다.
-
이제 여기에서 Generate new token을 클릭해준다.
-
Note에 아무말이나 적어준다. -
Expiration에 적당히 몇십일 넣어준다. -
Select scopes에서
repo,admin:repo_hook,delete_repo를 클릭해준다 -
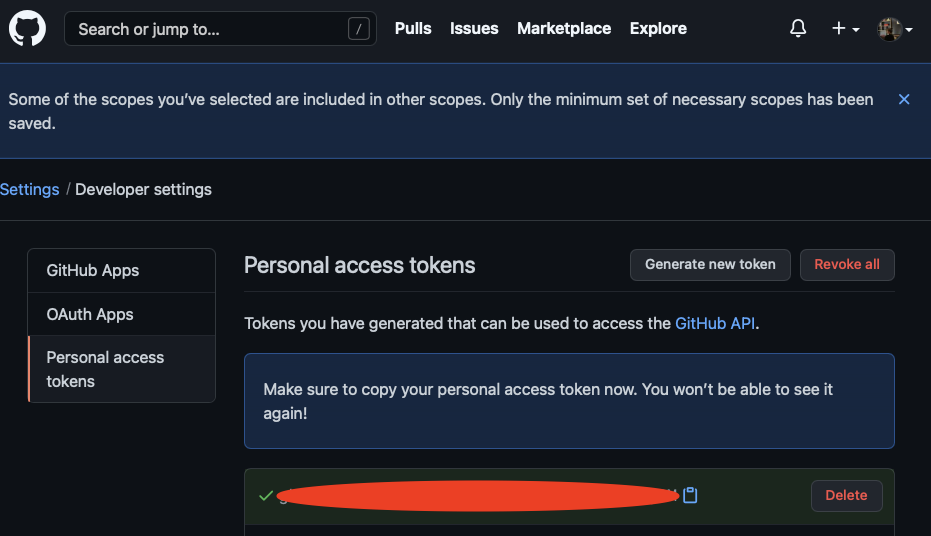
Generate token을 눌러준다. -
눌러주면 초록색 바탕의 알 수 없는 문자열이 나열되어있는 걸 볼 수 있는데(아래 사진의 빨간 타원 부분입니다) 그걸 반드시! 반드시 클립보드에 복사해서 어디에 적어둔다.
Using a token on the command line
이제 ec2로 돌아가서
git clone https://github.com/team-damda/Damda-Server.git해 주고 username에는 본인 깃허브에 적어둔 메일(XX@gmail.com 형식)을
password에는 아까 그 소중한 토큰을 적어준다.
그러면 성공! 후하핳하


감사합니다!!!!!!!!!!!!!!!!!!