개념수업을 앞부분에 쭈루룩 해주셨는데 프로젝트에 과제에 개인공부에 치여 3일동안 나눠서 개념수업을 들었다.
본격 크롬앱 만들기전까지 준비완료!
들어가기 전에 CSS, HTML JAVASCRIPT로 연습을 살짝 맛봤다.
-document
자바스크립트에서 HTML로 접근할 수 있는 방법으로 body, title, head같은 중요 요소들은 직접 가져오고
태그나 아이디, 클래스 같은 요소들은 getElementById(), getElementsByClassName(), querySelector() 등의 메소드를 이용해서 요소를 가져올 수 있다.
특히, querySelector() 메소드는 CSS방식으로 element를 가져올 수 있는데, id="hello"인 경우
document.getElementById("hell"); == document.querySelector("#hello"); 라고 볼 수 있다.
-JavaScript
- find element
- listen event
- react event
강의 때 배운 거 조금 활용해보기 (코드가 점점 간단해지는 순서로!....그만큼 편한게 많다는 뜻이겠쥬)
index.html
<!DOCTYPE html>
<html lang="en">
<head>
    <meta charset="UTF-8">
    <meta http-equiv="X-UA-Compatible" content="IE=edge">
    <meta name="viewport" content="width=device-width, initial-scale=1.0">
    <link rel="stylesheet" href="style.css" />
    <title>Momentum</title>
</head>
<body>
    <div class="hello">
        <h1>Good to see you!</h1>
    </div>
    <script src="app.js"></script>
</body>
</html>
app.js
const test = document.querySelector(".hello h1");

function titleClick(){
    if(test.className=="active"){
        test.className="";
    }else{
        test.className="active";
    }
}

test.addEventListener("click", titleClick);
style.css
body{
    background-color: beige;
}

h1{
    color: blue;
}

.active{
    color: tomato;
}
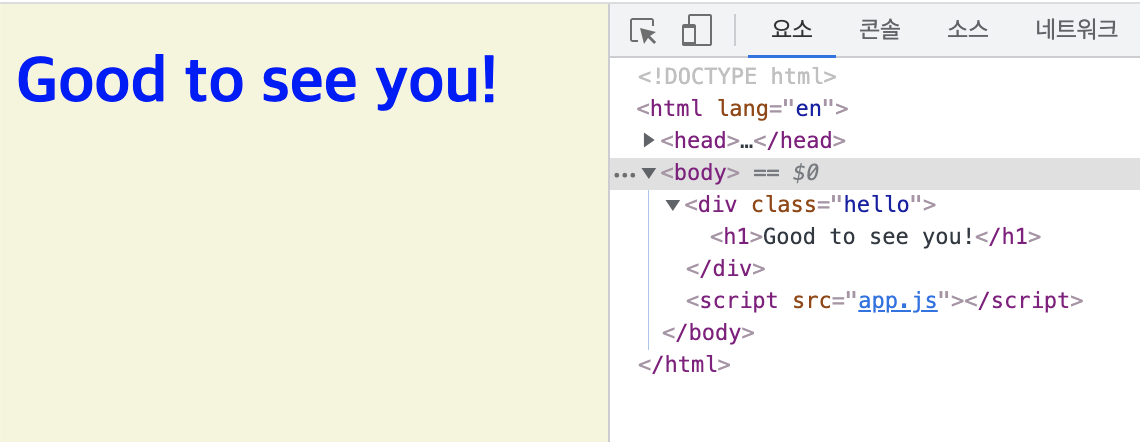
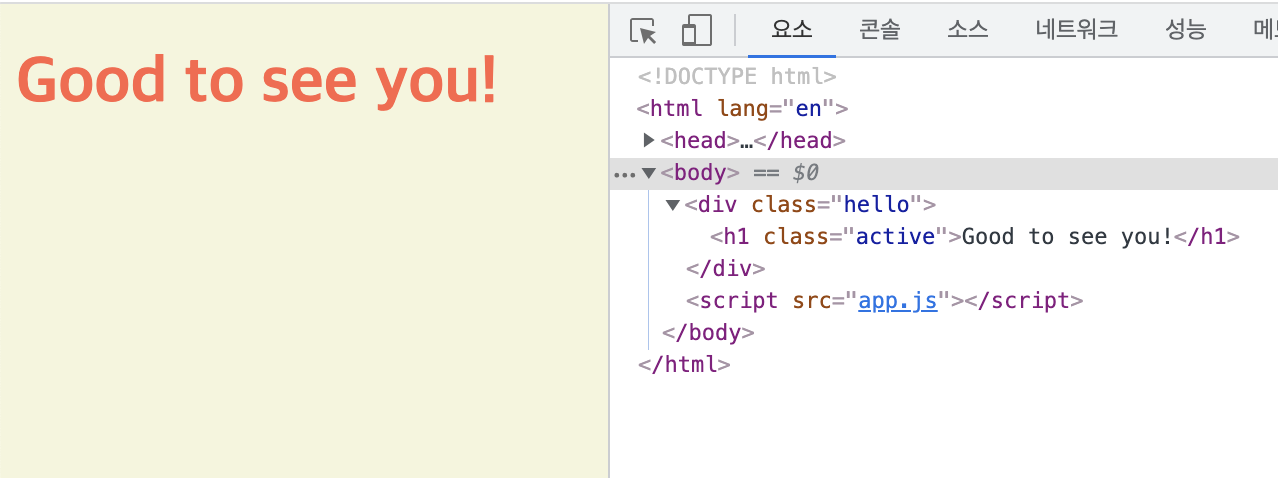
원래는 h1태그에 class명도 없고 파란색이지만 클릭하면 class="active"가 생기면서 색깔 바뀐다 두둥
넘나 기본이라서 올리기그랬지만,,
위에서 오타오류를 줄이기위해 const로 변수에 저장했다.
const test = document.querySelector(".hello h1");

function titleClick(){
    const activeClass = "active";
    if(test.className==activeClass){
        test.className="";
    }else{
        test.className=activeClass;
    }
}

test.addEventListener("click", titleClick);
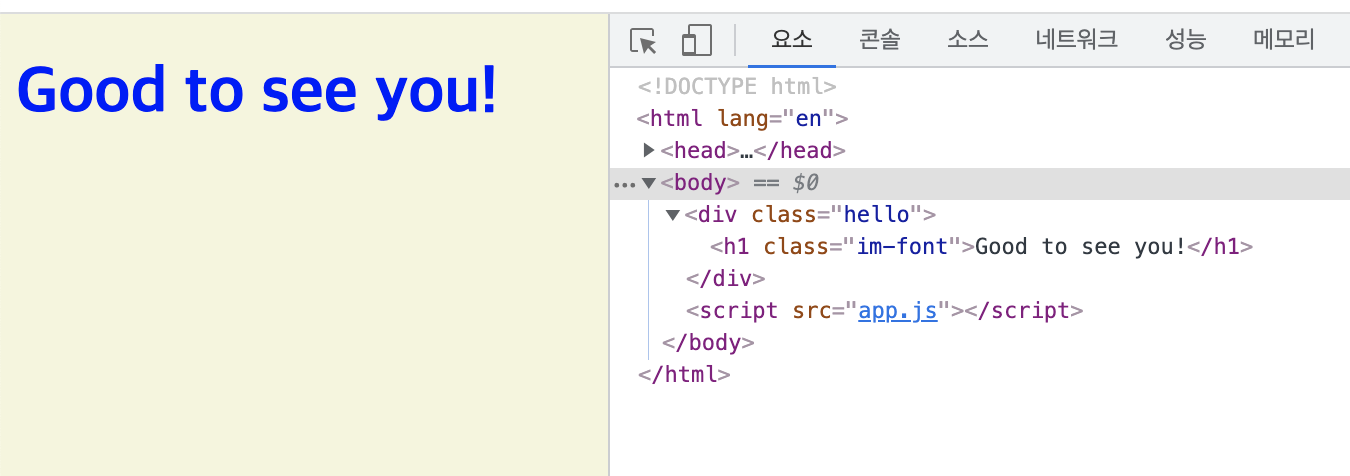
아래처럼 h1태그에 클래스명이 이미 존재할 때 버그가 생길 수 있다. 그럴때는 className대신 classList를 써서 add와 remove를 사용한다.
index.html
<!DOCTYPE html>
<html lang="en">
<head>
    <meta charset="UTF-8">
    <meta http-equiv="X-UA-Compatible" content="IE=edge">
    <meta name="viewport" content="width=device-width, initial-scale=1.0">
    <link rel="stylesheet" href="style.css" />
    <title>Momentum</title>
</head>
<body>
    <div class="hello">
        <h1 class="im-font">Good to see you!</h1>
    </div>
    <script src="app.js"></script>
</body>
</html>
app.js
const test = document.querySelector(".hello h1");

function titleClick(){
    const activeClass="active"
    if(test.classList.contains(activeClass)){
        test.classList.remove(activeClass);
    }else{
        test.classList.add(activeClass);
    }
}

test.addEventListener("click", titleClick);
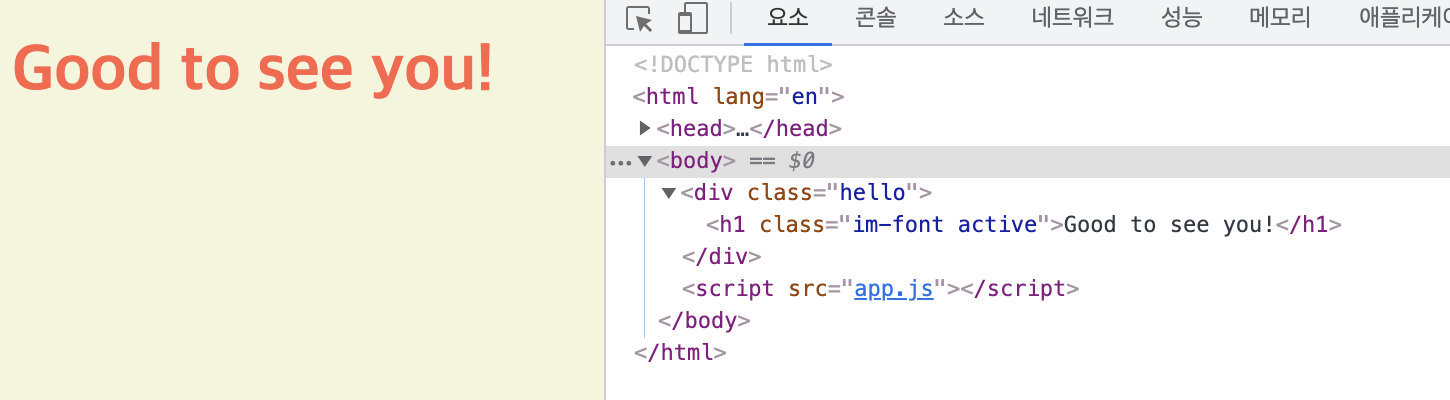
im-font 옆에 이쁘게 잘 자리잡았다.
이코드도 쓰다보면 너무 길고 귀찮으니까 한줄로 줄이는 방법이 있다.
바로 toggle!
const test = document.querySelector(".hello h1");

function titleClick(){
   test.classList.toggle("active");
}

test.addEventListener("click", titleClick);
결과는 위에 그림과 같이 잘 나온다
