
원티드 프리온보딩 챌린지 10월 1주차 과제
1주차 과제는 생각보다 간단하고 재미있었다.
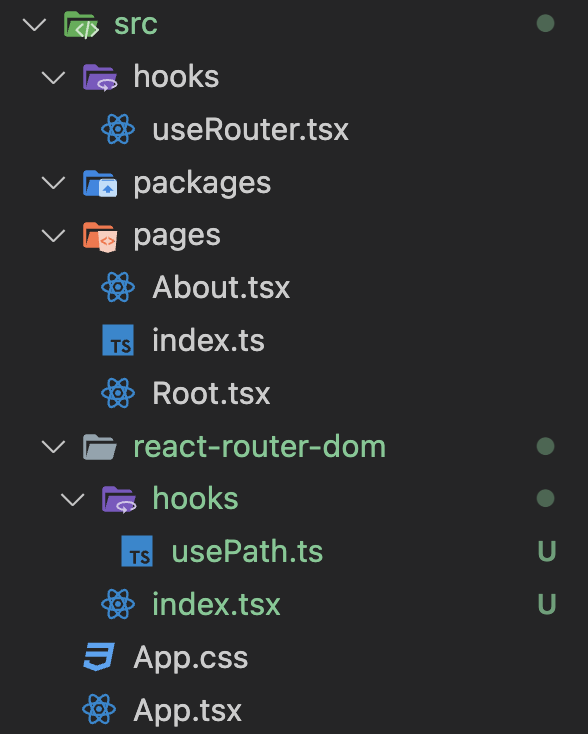
React > TypeScript 환경에서 History API를 사용해서 SPA Router를 구현하는 것이 과제의 목표였다.
실제로 React에서는 react-router-dom이라는 라이브러리를 사용해서 routing 처리를 한다.
이번 과제는 그래서 작은 custom react-router-dom을 구현한다고 생각했다.
과제 요구사항
1) 해당 주소로 진입했을 때 아래 주소에 맞는 페이지가 렌더링 되어야 한다.
/→root페이지/about→about페이지
2) 버튼을 클릭하면 해당 페이지로, 뒤로 가기 버튼을 눌렀을 때 이전 페이지로 이동해야 한다.
- 힌트)
window.onpopstate,window.location.pathnameHistory API(pushState)
3) Router, Route 컴포넌트를 구현해야 하며, 형태는 아래와 같아야 한다.
ReactDOM.createRoot(container).render(
  <Router>
    <Route path="/" component={<Root />} />
    <Route path="/about" component={<About />} />
  </Router>
);
4) 최소한의 push 기능을 가진 useRouter Hook을 작성한다.
const { push } = useRouter();고민 시작
- history.pushState() 라는 web API를 사용하면 browser의 session history stack에 내가 원하는 entry를 추가할 수 있다.
- history.pushState() 는 popstate 이벤트를 발생시키지 않는다.
(임의의 popstate를 발생시키자) - SPA Router기능을 구현하기 위해서 url 주소에 따른 알맞는 컴포넌트를 Rendering 시켜주면 된다.
Router or Route, 어디서 구현할지가 관심사였다... - Route에서 구현한다면
Router에 포함되는 모든Route가 일단 rendering 된다는 문제가 생긴다.Router에서 필터링을 통해 rendering 시켜주자.
온보딩 챌린지를 통해 배운 것
간단하게 말하면
"git open source를 Repo를 파보자" 이다.
우리가 자주 사용하는 라이브러리, 프레임워크의 공식문서만 볼 것이 아니라 'code' 그 자체를 보는 것이 원리를 이해하고 구조를 파악하는데 꽤 도움이 된다는 것이다.
cf) 좋은 컴포넌트의 특징을 모방한다. (✅ google의 material ui code 파보기)
react-router-dom 파보기
react-router git repo
코드를 읽는 능력은 더 연습해야한다.
// 구현해야하는 것 위주로 느낌만 보자

// Router

export function Router({
  basename: basenameProp = "/",
  children = null,
  location: locationProp,
  navigationType = NavigationType.Pop,
  navigator,
  static: staticProp = false,
}: RouterProps): React.ReactElement | null {

// 생략...

  return (
    <NavigationContext.Provider value={navigationContext}>
      <LocationContext.Provider
        children={children}
        value={{ location, navigationType }}
      />
    </NavigationContext.Provider>
  );
}- 우선 실제 Router코드를 보면 context.Provider 구조를 통해서 전역에서 navigationContext와 LocationContext를 공유하고 있는 것을 확인 할 수 있다.
// Route

export function Route(
  _props: PathRouteProps | LayoutRouteProps | IndexRouteProps
): React.ReactElement | null {
  invariant(
    false,
    `A <Route> is only ever to be used as the child of <Routes> element, ` +
      `never rendered directly. Please wrap your <Route> in a <Routes>.`
  );
}- Route는 내부에서 Routes element의 자식역할만 수행한다. (주석)
// Routes

export function Routes({
  children,
  location,
}: RoutesProps): React.ReactElement | null {
  let dataRouterContext = React.useContext(DataRouterContext);

// 생략...

  let routes =
    dataRouterContext && !children
      ? (dataRouterContext.router.routes as DataRouteObject[])
      : createRoutesFromChildren(children);
  return useRoutes(routes, location);
}

// createRoutesFromChildren

export function createRoutesFromChildren(
  children: React.ReactNode,
  parentPath: number[] = []
): RouteObject[] {
  let routes: RouteObject[] = [];

  // 생략 ... (에러처리 및 중첩 routes? 추가)

    routes.push(route);
  });

  return routes;
}

// useRouters

/**
 * Returns the element of the route that matched the current location, prepared
	현재 주소와 일치하는 element를 반환하는 로직이 여기 들어있다.
 */
export function useRoutes(
  routes: RouteObject[],
  locationArg?: Partial<Location> | string
): React.ReactElement | null {

  // 생략 ...

  let renderedMatches = _renderMatches(
    // 생략 ...
  );

  if (locationArg) {
    return (
      <LocationContext.Provider
        value={{
          // 생략 ...
          },
          navigationType: NavigationType.Pop,
        }}
      >
        {renderedMatches}
      </LocationContext.Provider>
    );
  }

  return renderedMatches;
}- 더 이상 안으로 가는 것은 너무 복잡하다...
대에충 정리해보자면 Context API를 통해 상태를 관리하고 Router > Routers > Router 이렇게 계층 구조를 가진다. 렌더링을 결정하는 로직은 Routers 안에서 useRoutes hook을 통해 결정한다.
구현
// Route

interface RouteProps {
  path: string;
  component: React.ReactNode;
}
export const Route = ({ component }: RouteProps) => {
  return <>{component}</>;
};- Route는 단순히 component를 반환하는 역할을 한다.
// Router

interface RouterProps {
  children: React.ReactElement<RouteProps>[];
}
export const Router = ({ children }: RouterProps) => {
  const currentPath = usePath();
  return (
    <>
      {children?.map((router: React.ReactElement<RouteProps>) => {
        if (router.props.path == currentPath) return router;
      })}
    </>
  );
};- Router에서 usePath HOOK을 사용해서 현재 경로를 읽는다.
- 현재 경로를 바탕으로 렌더링 조건을 결정한다.
// useRouter

const useRouter = () => {
  const push = (path: string) => {
    history.pushState(null, "", path);
    window.dispatchEvent(new Event("popstate"));
  };
  return { push };
};

export default useRouter;- useRouter에서 문제 조건에 맞게 push 함수를 구현한다.
- pushState는 popstate 이벤트를 발생하지 않기때문에 의도적으로 popstate 이벤트를 발생시키는 구문을 추가한다.
// usePath

const usePath = () => {
  const [path, setPath] = useState(window.location.pathname);

  const updatePath = () => {
    setPath(window.location.pathname);
  };

  useEffect(() => {
    window.addEventListener("popstate", updatePath);
    return () => {
      window.removeEventListener("popstate", updatePath);
    };
  }, []);

  return path;
};

export default usePath;
- usePath에서는 path의 상태관리와 eventListenr등록하는 로직을 함께 분리해주었다.
- popstate 이벤트가 발생할때마다 window.location.pathname으로 path 값을 update 해준다.