
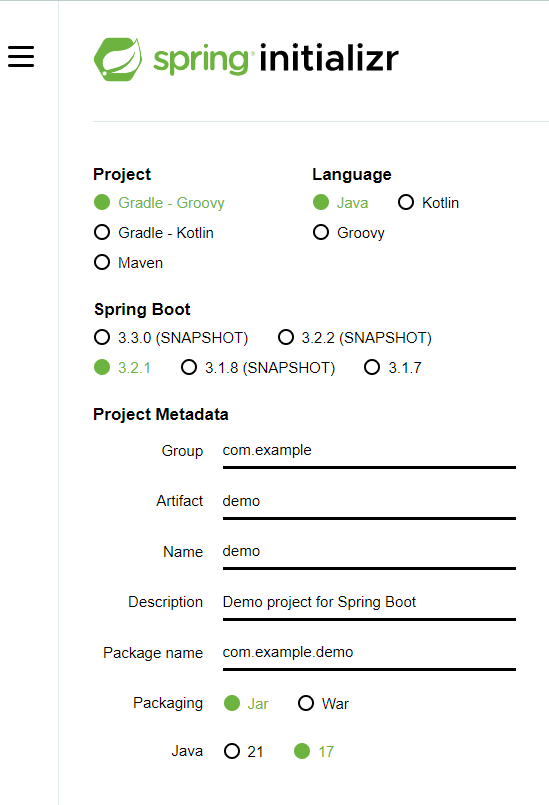

packaging: html사용 -> jar
jsp 사용 -> war
java version : 1.8 사용
group: com.회사명
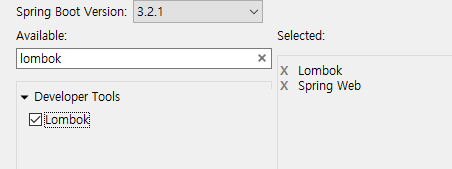
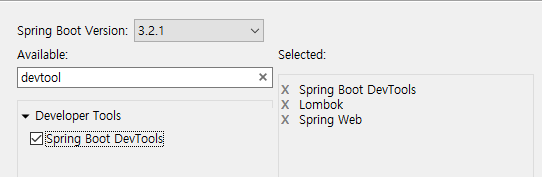
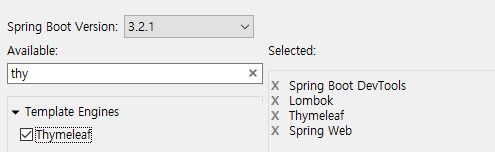
Dependency 추가
- Spring web

2, Lombok
- Dev tool
- Thymeleaf
- pom.xml에서 수정


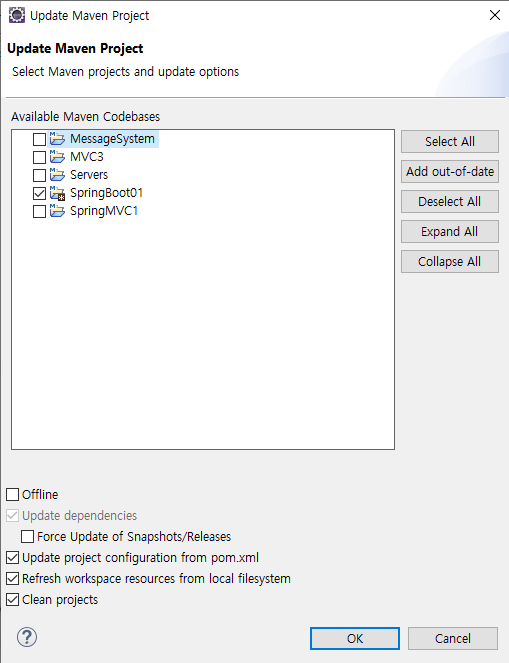
maven -> update project -> ok

xml파일 더 이상 없다, 쓰지 않아서
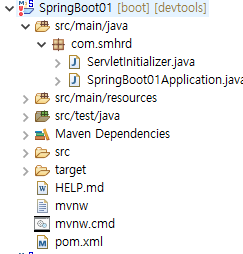
resources->templates 에 html, css 넣기
설정한 파일
Ctrl+V -> 선택
# bean에 대한 모든 설정을 application.properties안에서 진행
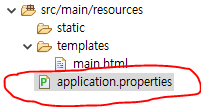
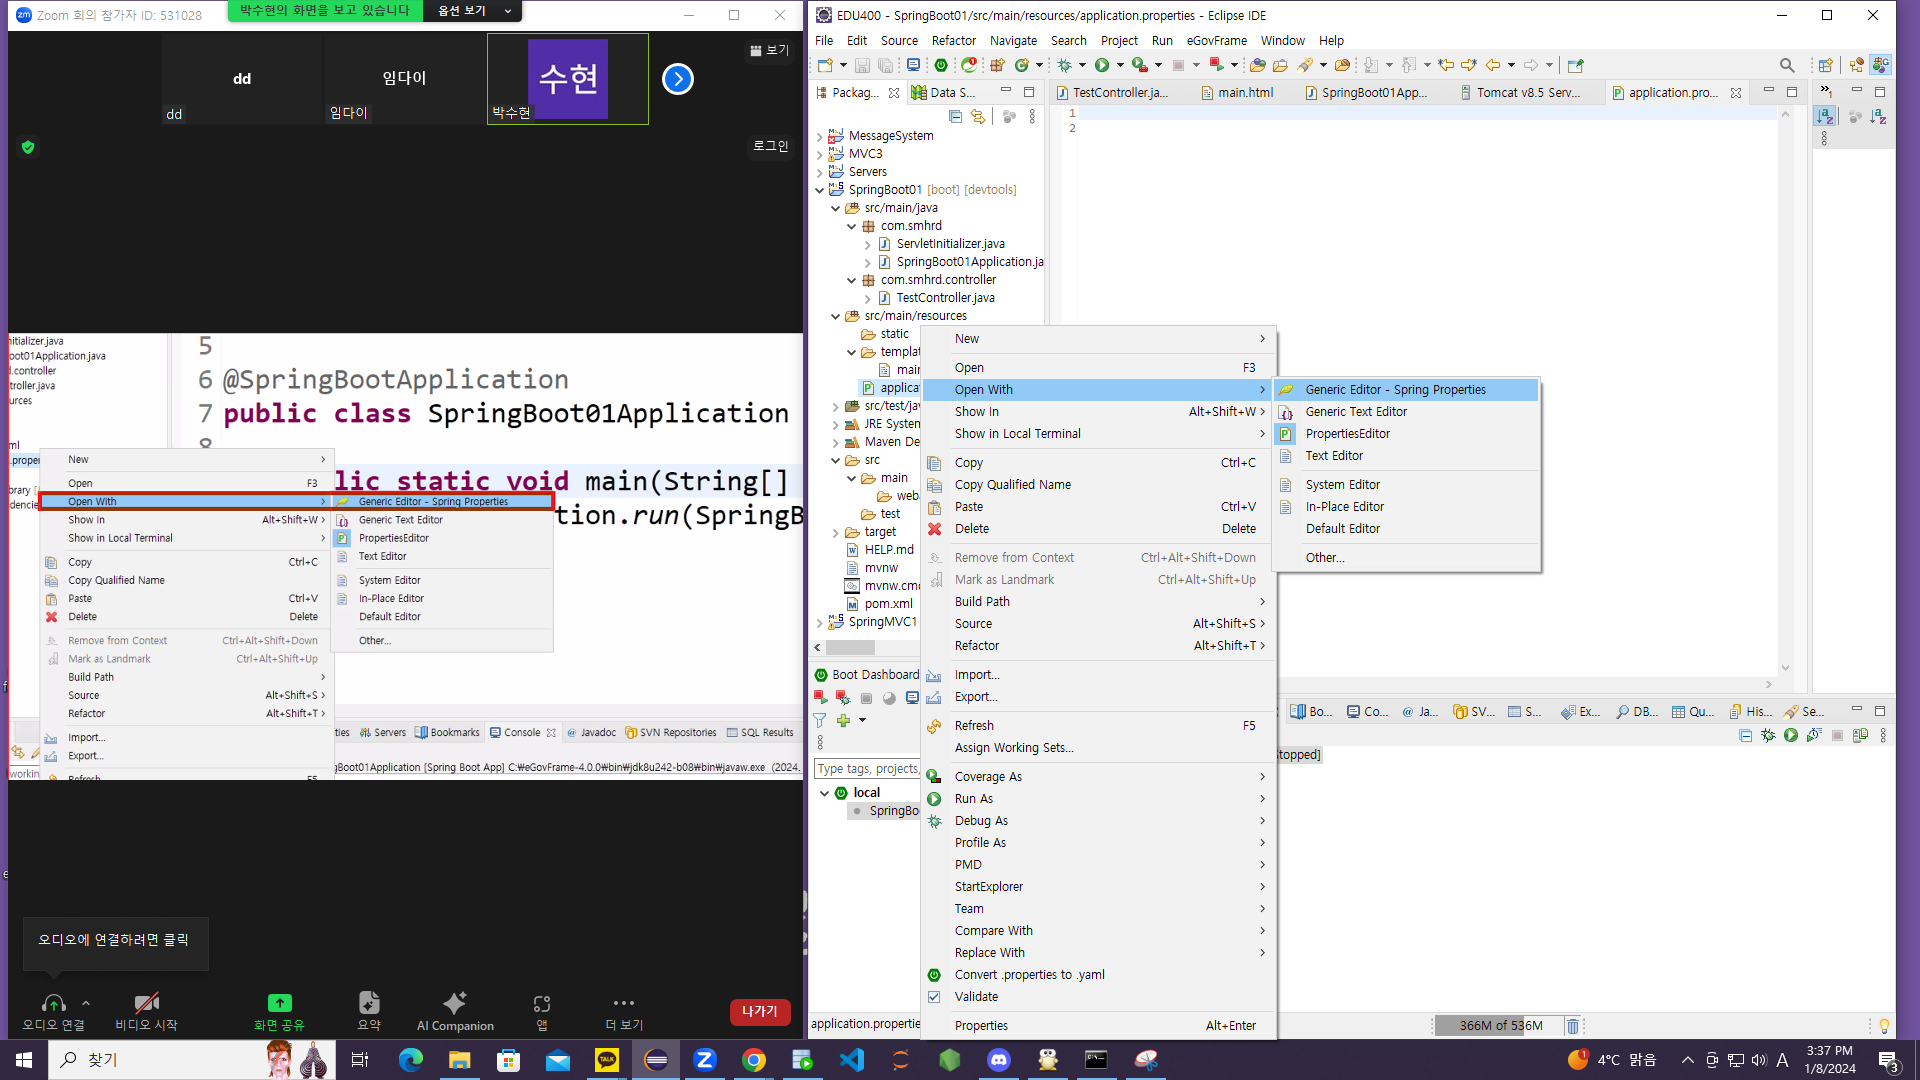
# 파일 click -> open with> Generic Editor> Spring Properties
# .~~~.~~.~~.......
# 내장 tomcat서버 port 번호 설정
server.port=8085
# http: //localhost:8081/{ContextPath}/{URLMapping}
server.servlet.context-path=/boot
#http: //localhost:8085/boot/{urlmapping}필요한 Dependency 🥳
<?xml version="1.0" encoding="UTF-8"?>
<project xmlns="http://maven.apache.org/POM/4.0.0" xmlns:xsi="http://www.w3.org/2001/XMLSchema-instance"
	xsi:schemaLocation="http://maven.apache.org/POM/4.0.0 https://maven.apache.org/xsd/maven-4.0.0.xsd">
	<modelVersion>4.0.0</modelVersion>
	<parent>
		<groupId>org.springframework.boot</groupId>
		<artifactId>spring-boot-starter-parent</artifactId>
		<version>2.7.15</version>
		<relativePath/> <!-- lookup parent from repository -->
	</parent>
	<groupId>com.smhrd</groupId>
	<artifactId>SpringBoot02</artifactId>
	<version>0.0.1-SNAPSHOT</version>
	<packaging>war</packaging>
	<name>SpringBoot02</name>
	<description>Demo project for Spring Boot</description>
	<properties>
		<java.version>1.8</java.version>
	</properties>
	<dependencies>
	 <dependency>
         <groupId>com.mysql</groupId>
         <artifactId>mysql-connector-j</artifactId>
         <scope>runtime</scope>
      </dependency>
	<dependency>
         <groupId>org.springframework.boot</groupId>
         <artifactId>spring-boot-starter-data-jpa</artifactId>
      </dependency>

		<dependency>
			<groupId>org.springframework.boot</groupId>
			<artifactId>spring-boot-starter-web</artifactId>
		</dependency>

		<dependency>
			<groupId>org.springframework.boot</groupId>
			<artifactId>spring-boot-devtools</artifactId>
			<scope>runtime</scope>
			<optional>true</optional>
		</dependency>
		<dependency>
			<groupId>org.projectlombok</groupId>
			<artifactId>lombok</artifactId>
			<optional>true</optional>
		</dependency>
		<dependency>
			<groupId>org.springframework.boot</groupId>
			<artifactId>spring-boot-starter-tomcat</artifactId>
			<scope>provided</scope>
		</dependency>
		<dependency>
			<groupId>org.springframework.boot</groupId>
			<artifactId>spring-boot-starter-test</artifactId>
			<scope>test</scope>
		</dependency>
		<dependency>
            <groupId>javax.servlet</groupId>
            <artifactId>jstl</artifactId>
            <version>1.2</version>
        </dependency>
        <dependency>
            <groupId>org.apache.tomcat.embed</groupId>
            <artifactId>tomcat-embed-jasper</artifactId>
        </dependency>

	</dependencies>

	<build>
		<plugins>
			<plugin>
				<groupId>org.springframework.boot</groupId>
				<artifactId>spring-boot-maven-plugin</artifactId>
				<configuration>
					<excludes>
						<exclude>
							<groupId>org.projectlombok</groupId>
							<artifactId>lombok</artifactId>
						</exclude>
					</excludes>
				</configuration>
			</plugin>
		</plugins>
	</build>

</project>
Application.properties 설치한 것을 여기에 설치
# Tomcat Port 번호 설정
server.port=8888
#contexyt phath 설덩
server.servlet.context-path=/boot
# jsp 사용하기 위한 설정
# 1. jstl, jasper dependency 추가
# 2. webapp> web-inf->views folder 구조를 생성
# 3. viewresolver 의 prefix, suffix설정
spring.mvc.view.prefix=/WEB-INF/views/
spring.mvc.view.suffix=.jsp
#jdbc설치을 위한 Connection pool (DataSource)연결정보 설정하기
# url
spring.datasource.url=jdbc:mysql://localhost:3306/com
# driver
spring.datasource.driver-class-name=com.mysql.cj.jdbc.Driver
# username
spring.datasource.username=com
# password
spring.datasource.password=com01
# spring jpa 설정하기
# 사용하는 database에 맞는 문법 클래스 지정
spring.jpa.database-platform=org.hibernate.dialect.MySQL5Dialect
#DDL: create/drop, ddl코드가 어떨게 실행될지 지정
# create: 테이블 확인 -> drop -> create
# update: 테이블의 컬럼이 변경 될때만 수정사항이 반영
spring.jpa.hibernate.ddl-auto=create
# 실행된sql문을 출력
spring.jpa.show-sql=true
# 이해할수 있도록, table 명이나 column이름을 피싱해서 출력
spring.jpa.properties.hibernate.format_sql=true
열심히 공부합시다! The best is yet to come! 💜