react 프로젝트 생성 및 환경셋팅에 이어 vue 프로젝트의 boilerPlate를 만들어보자
🧚 vue 버전 2 프로젝트 생성 및 환경 셋팅
- vue/cli
- Buefy 사용 및 커스터마이징
- Fragment (V3 에는 내장 되어있음)
- scss
- ESLint / prettier
1) vue/cli 설치 및 프로젝트 생성
🐝 vue/cli 설치
$ yarn global add @vue/cli🐝 프로젝트 생성
$ vue create <project-name>2) Buefy 사용 및 커스터마이징
🐝 materialdesign, fontawesome CDN 삽입
📃 index.html
<head>
  ...
  <!-- materialdesignicons -->
    <link
      rel="stylesheet"
      href="https://cdn.materialdesignicons.com/5.3.45/css/materialdesignicons.min.css"
    />
  <!-- fontawesome -->
    <link
      rel="stylesheet"
      href="https://use.fontawesome.com/releases/v5.2.0/css/all.css"
    />
  ...
</head>
🐝 Buefy 설치 및 사용
$ yarn add buefy📃 App.vue
import Vue from 'vue'
import Buefy from 'buefy'
import './_global.scss'
Vue.use(Buefy)
🐝 Primary color 등 커스터마이징
📃 _global.scss
👀 scss 파일 보기
// Import Bulma's core
@import '~bulma/sass/utilities/_all';

// Set your colors
$primary: #49f749; // 키 컬러 설정
$success: blue; // 커스터마이징 가능
$primary-light: findLightColor($primary);
$primary-dark: findDarkColor($primary);
$primary-invert: findColorInvert($primary);
$twitter: #4099ff;
$twitter-invert: findColorInvert($twitter);

...
3) Fragment 설치
🐝 Fragment 설치 및 사용
$ yarn add vue-fragment4) scss 사용 셋팅
$ yarn add sass$ yarn add sass-loader📃 component.vue
<style lang="scss" scoped>
  @import './Component1.scss';
</style>
6) ESLint 와 Prettier
🐝 Prettier 파일 작성
📃 .prettierrc
{
  "singleQuote": true,
  "semi": true,
  "useTabs": false,
  "tabWidth": 2,
  "trailingComma": "all",
  "printWidth": 80,
  "arrowParens": "avoid"
}
🐝 ESLint 와 Prettier 함께 사용
👍 이미 내장되어 있어서 ESLint는 커스터마이징 해서 사용할것 아니면
prettier와 함께쓰는 처리만 해주면 된다.
$ yarn add eslint-config-prettier📃 package.json
...
"eslintConfig": {
    ...
    "extends": [
      ...
      "prettier"
    ],
  },
...
패키지가 잘 반영되었나 확인해보려고 이것저것 넣어보면

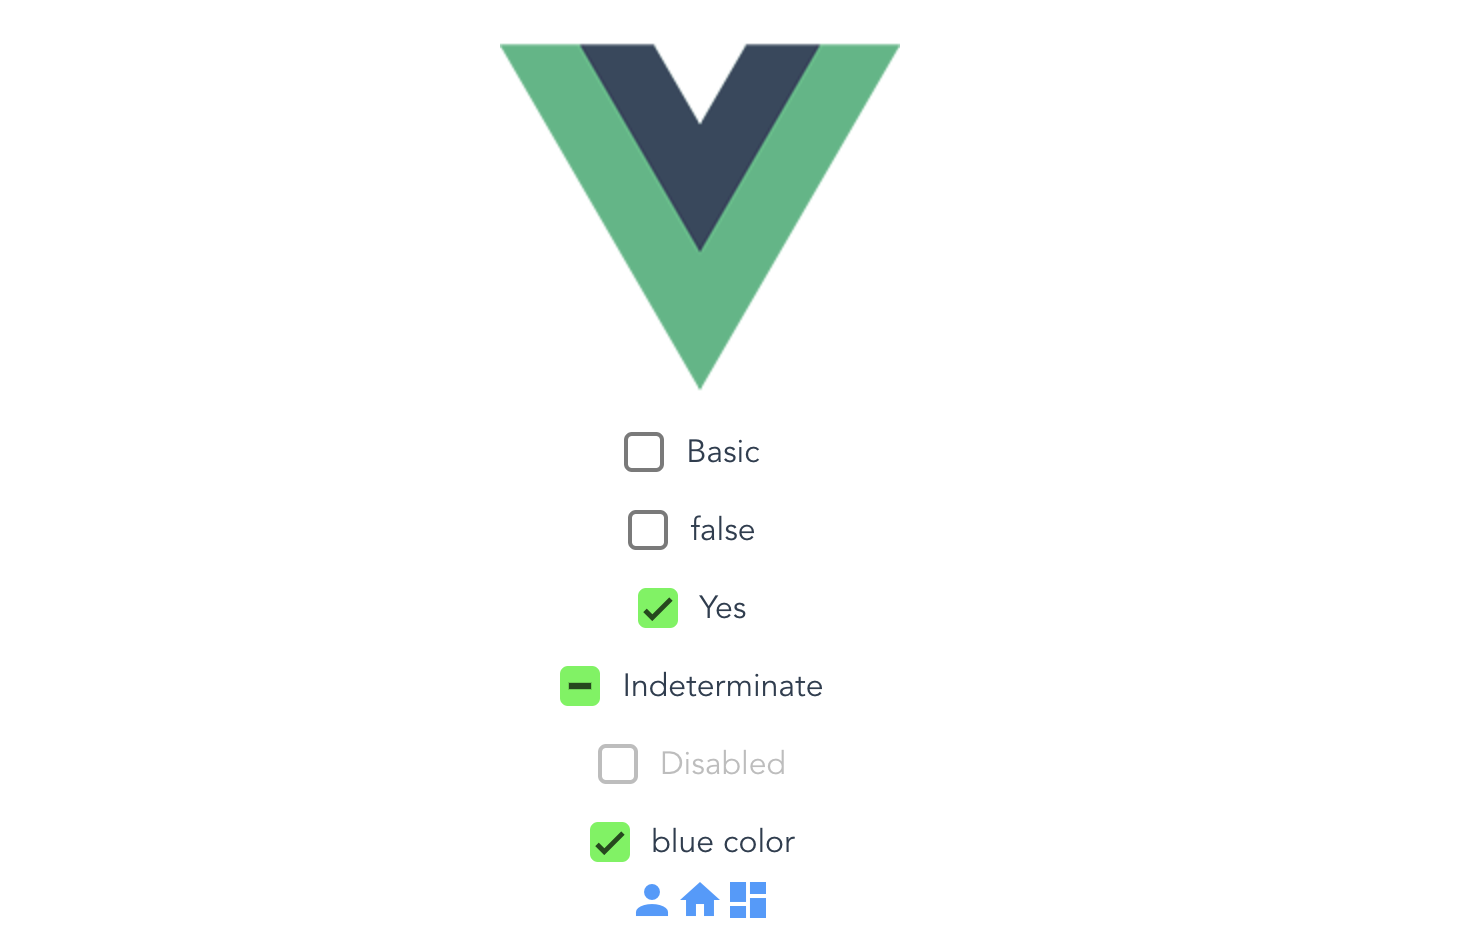
👏👏👏 잘 적용된 것을 볼 수 있다.
