Junit
-
Java에서 독립된 단위테스트(Unit Test)를 지원해주는 프레임워크이다.
-
단정(assert) 메서드로 테스트 케이스의 수행 결과를 판별한다.(ex: assertEquals(예상값, 실제값))
-
jUnit4 이후부터는 테스트를 지원 어노테이션을 제공한다.(@Test @Before @After 등)
-
@Test 메서드가 호출할 때 마다 새로운 인스턴스를 생성하여 독립적인 테스트가 이루어지게 한다.
-
5부터는 java8이상의 버전이 필요하다.
설정
	<dependencies>
		<dependency>
			<groupId>org.springframework.boot</groupId>
			<artifactId>spring-boot-starter-web</artifactId>
		</dependency>

		<dependency>
			<groupId>org.springframework.boot</groupId>
			<artifactId>spring-boot-starter-tomcat</artifactId>
			<scope>provided</scope>
		</dependency>
		<dependency>
			<groupId>org.springframework.boot</groupId>
			<artifactId>spring-boot-starter-test</artifactId>
			<scope>test</scope>
		</dependency>


		<!-- lombok  -->
		<dependency>
			<groupId>org.projectlombok</groupId>
			<artifactId>lombok</artifactId>
			<version>1.18.24</version>
			<scope>provided</scope>
		</dependency>

		<dependency>
			<groupId>org.junit.jupiter</groupId>
			<artifactId>junit-jupiter-engine</artifactId>
			<version>5.5.2</version>
			<scope>test</scope>
		</dependency>

	</dependencies>
(lombok같은 경우는 추가를 해줘도 되고 안해도 된다)
위와같이 추가가를 하고
그 다음 프로젝트 우클릭 Popertis > Java Build Path 에서
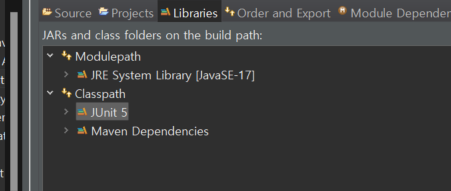
Junit5를 확인해준다
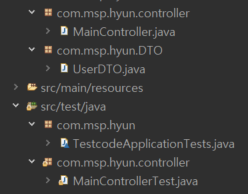
그리고 아래처럼 컨트롤러와 DTO를 하나 만들어줬다
@RestController
public class MainController {

	@GetMapping("/hello")
	public String hello() {

		return "hello";
	}

	@GetMapping("/bye")
	public String bye() {

		return "bye";
	}

	@GetMapping("/user")
	public String bye(@RequestBody UserDTO ud) {
		String info = "안녕하세요 "+ud.getAge()+"살 "+ ud.getName() + "입니다";
		System.out.println(info);
		return info;
	}
maincontroller에 작성을 해주고 controller class에 우클릭 후 new > JUnit Test Case 를 클릭하면 아래처럼 뜬다
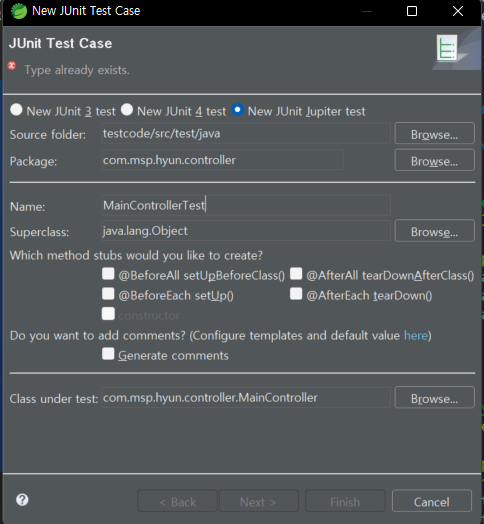
Name를 원하는 이름으로 작성하고 finish를 눌러 완료해준다
MaincontrollerTest에는
@RunWith(SpringRunner.class)
@SpringBootTest
@AutoConfigureMockMvc
public class MainControllerTest {
	 	@Autowired
	    private MockMvc mvc;

	    @Test
	    public void hello_테스트() throws  Exception {
	        String hello = "hello";

	        this.mvc.perform(get("/hello"))
	        		.andDo(print())
	        		.andExpect(content().string(hello))
	                .andExpect(status().isOk());

	    }

	    @Test
	    public void bye_테스트() throws  Exception {
	    	String bye = "bye";

	    	this.mvc.perform(get("/bye"))
	    	.andDo(print())
	    	.andExpect(status().isOk())
	    	.andExpect(content().string(bye));

	    }

	    @Test
	    public void user_테스트() throws  Exception {
	    	String user = "{\"name\": \"홍길동\", \"age\": \"100\"}";
	    	String info = "안녕하세요 100살 홍길동입니다";
	    	this.mvc.perform(get("/user")
	    	.contentType(MediaType.APPLICATION_JSON)
	    	.content(user))
	    	.andDo(print())
	    	.andExpect(status().isOk())
	    	.andExpect(content().string(info));

	    }
}
작성해준다
다음
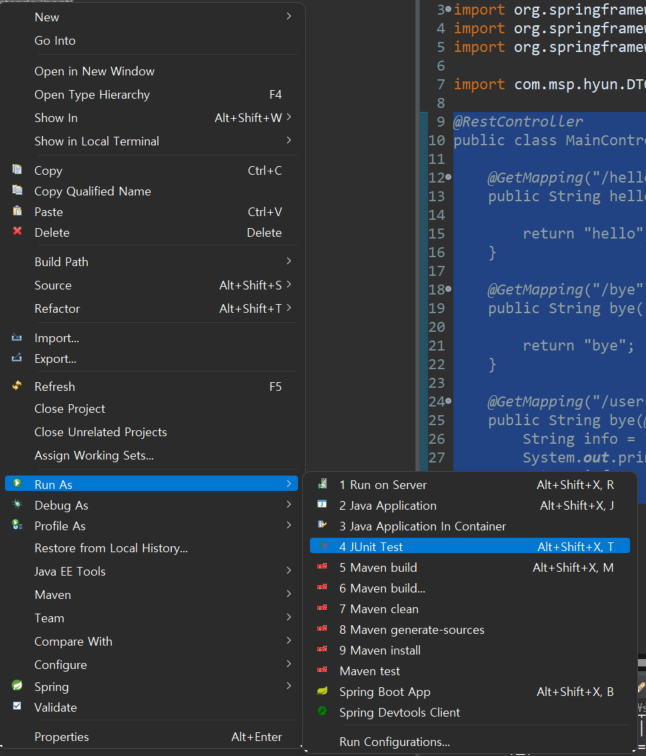
프로젝트 우클릭 후 위처럼 JUnit Test 를 진행하면
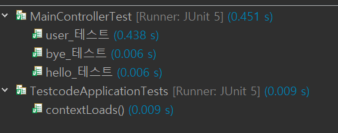
테스트가 성공한다면 아래와 같이 나온다
이번엔 틀려보겠다
String user = "{\"name\": \"홍길동\", \"age\": \"1\"}";입력값을 1로 바꾸고
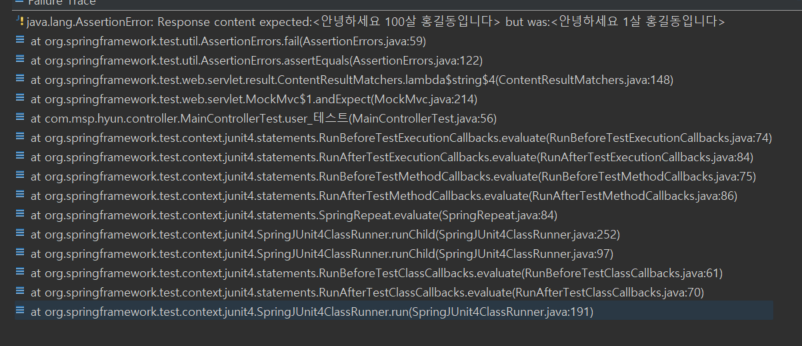
그럼 아래처럼 실패가 뜬다 맨 위를 보면 예상은 "안녕하세요 100살 홍길동입니다"
인데 1살로 나왔기 때문이다.
그리고 혹시 복붙을 하고 .andExpect(content().string())에서 빨간줄이 뜬다면 지웠다가 다시 직접 쳐보길 바랍니다.

까먹기전에 기록하자