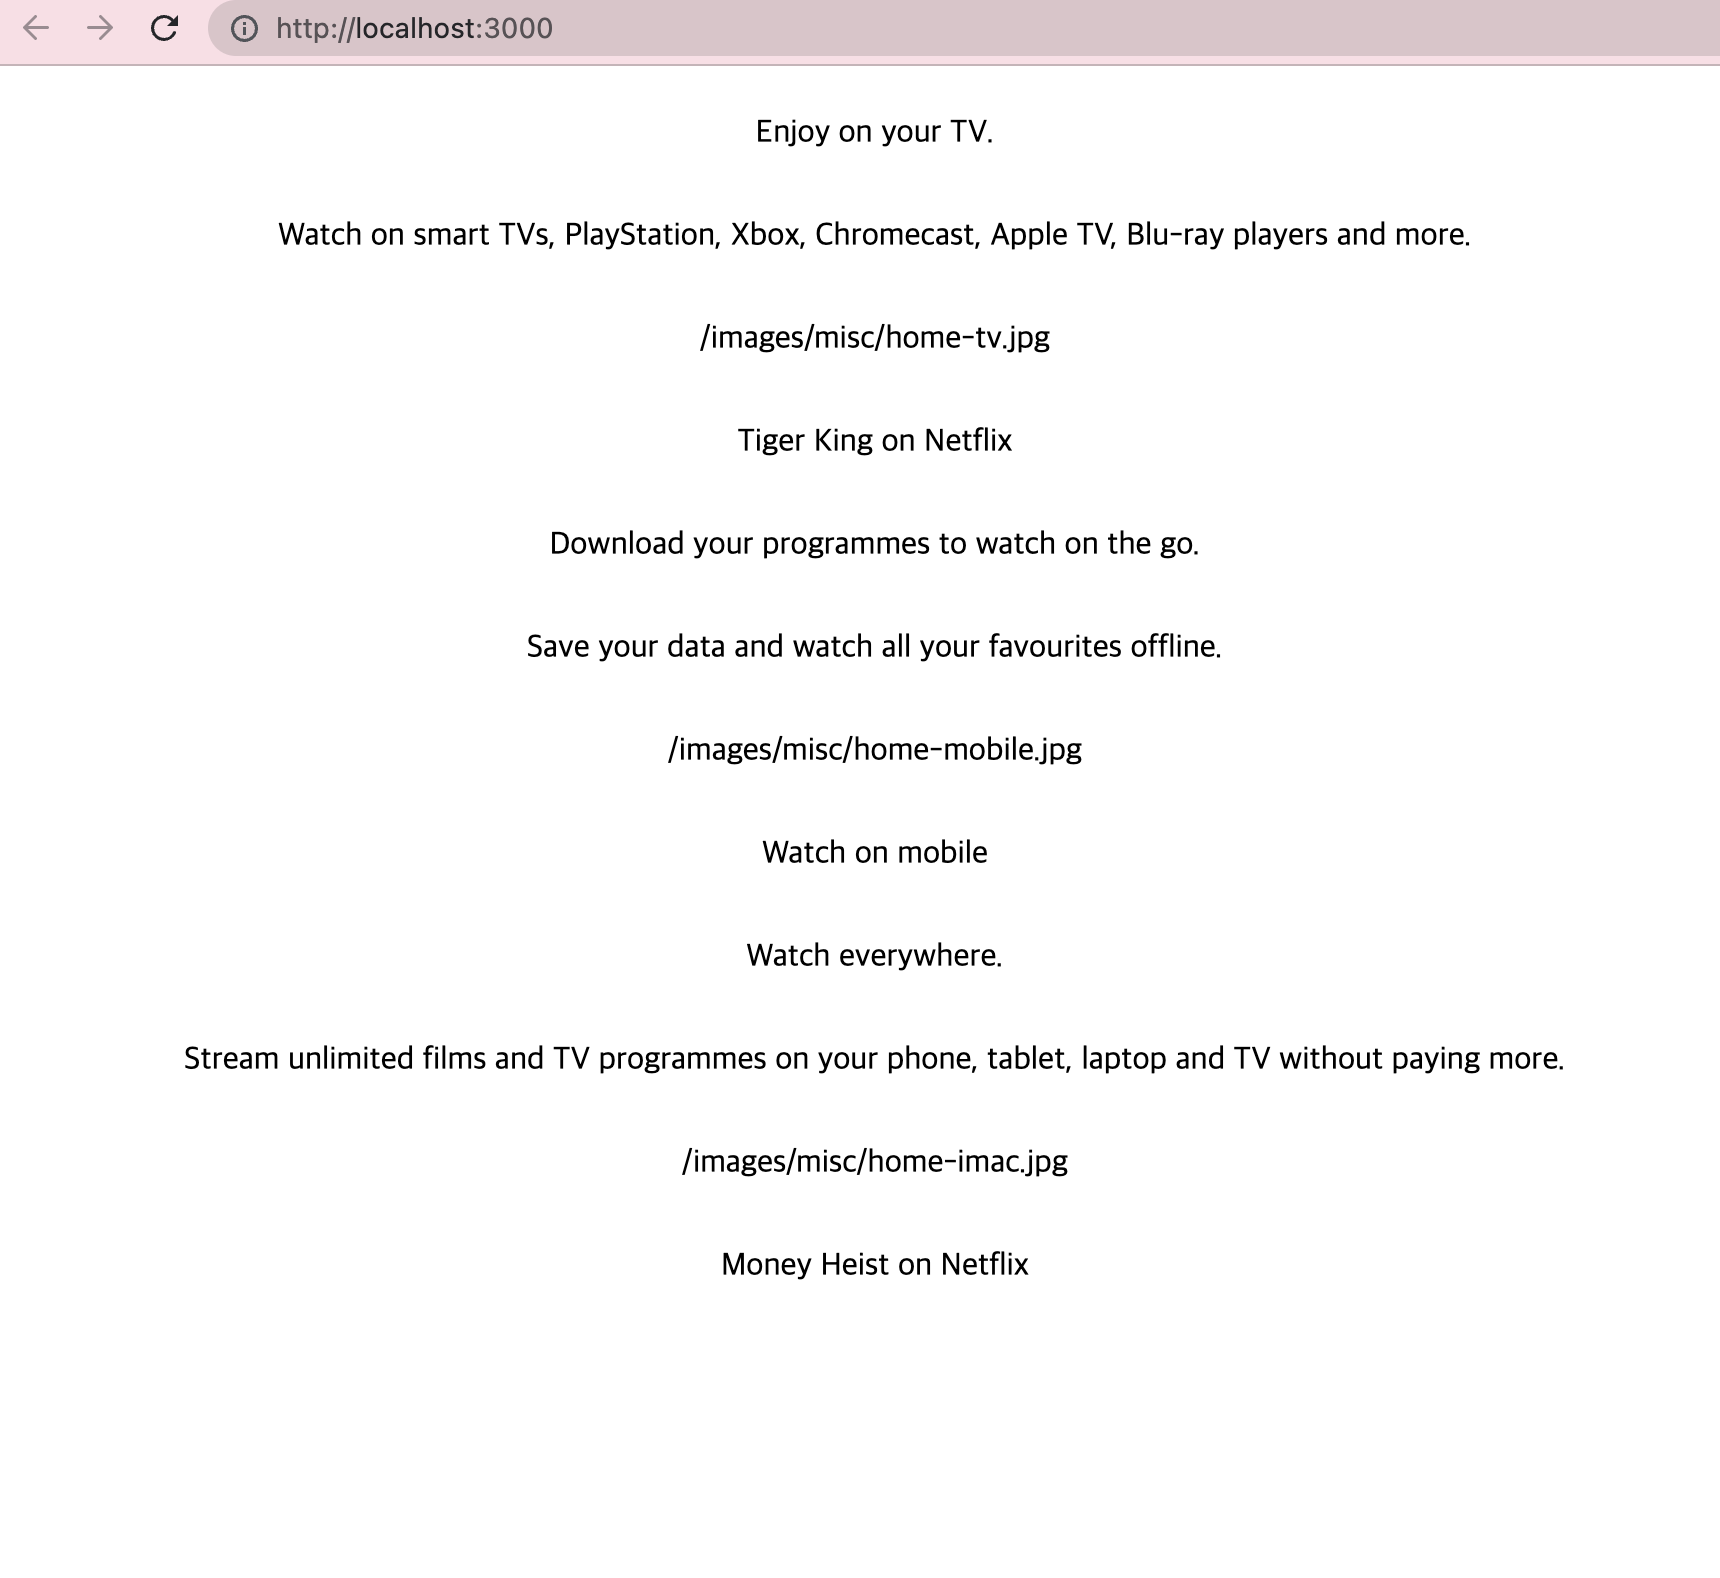
fixtures/jombotron 출력하기
jumbotron.js
import styled from 'styled-components/macro';

export const Inner = styled.div`
  display: flex;
  align-items: center;
  flex-direction: ${({ direction }) => direction};
  justify-content: space-between;
  max-width: 1100px;
  margin: auto;
  width: 100%;

  @media (max-width: 1000px) {
    flex-direction: column;
  }
`;

export const Container = styled.div``;
jumbotron/index.js
import React from "react";
import { Container, Inner } from "./styles/jumbotron";

export default function Jumbotron({children , direction = "row", ...restProps}) {
  return (
    <Inner direction={direction}>
      {children}
    </Inner>
  )
}

Jumbotron.Container = function JumbotronContainer({children, ...restProps}) {
  return <Container {...restProps}>{children}</Container>
}
app.js
import Jumbotron from "./components/jumbotron";
import jumboData from "./fixtures/jumbo";

export default function App() {
  return (
    <div>
      <Jumbotron.Container>
        {jumboData.map((item) => (
          <Jumbotron key={item.id} direction={item.direction}>
            <p>{item.title}</p>
            <p>{item.subTitle}</p>
            <p>{item.image}</p>
            <p>{item.alt}</p>
          </Jumbotron>
        ))}
      </Jumbotron.Container>
    </div>
  );
}
알아야할 내용
중요 코드
export default function Jumbotron({children , direction = "row", ...restProps}) {
  return (
    <Inner direction={direction}>
      {children}
    </Inner>
  )
}
spread 문법 (...restProps)
JSX에서 사용되는 모든 속성(props)을 모아서 객체로 받아오는 문법. 이렇게 수집된 속성들은 restProps라는 이름의 객체에 할당, 이렇게 수집된 속성들은 다른 컴포넌트로 전달하거나 필요에 따라 사용
children
children은 React 컴포넌트에서 내부에 포함된 컨텐츠.
direction={direction}
flex-direction: ${({ direction }) => direction};동적 스타일을 지정하고 사용
동적 prop을 전달하는것 direction = "row" 로 받은 prop이 Inner 컴포넌트로 전달되어 Inner 컴포넌트에서 flex-direction 속성을 동적으로 설정하였다.
기타
* styled-components/macro 사용 이유
styled-components 라이브러리는 CSS-in-JS 스타일링을 지원하는 인기 있는 도구이다. 그러나 styled-components를 가져오는 두 가지 방법에는 차이가 있다.
import styled from 'styled-components/macro';macro 형식의 styled-components는 개발자에게 다양한 이점을 제공한다.
주요 이점 중 하나는 자동으로 생성된 클래스 이름을 경량화하여 번들 크기를 줄이고, 디버깅을 더 쉽게 할 수 있다는 점이다.
또한, macro 형식을 사용하면 "Interpolation"을 사용할 때 더 명확하고 예측 가능한 결과를 얻을 수 있다.
import styled from 'styled-components';이 형식은 일반적인 방식으로 styled-components 패키지를 가져오는 방법이다.
이 경우, styled-components는 일반적인 기능과 기본 동작을 제공한다.
요약
번들 크기를 조금 더 줄이고 싶거나 특정 기능을 사용하고 싶지 않다면, styled-components 패키지를 그냥가져온다.
일반적으로, 대부분의 프로젝트에서는 import styled from 'styled-components'; 형식을 사용하여 styled-components를 가져오는 것이 일반적 styled-components/macro 형식은 번들 크기 최적화나 특정 기능이 필요한 경우에 선택적으로 사용될 수 있다.
* Troubleshooting
튜토리얼을 따라가던중 바벨 관련 오류가 났었는데
babel-preset-react-app 의존성이 @babel/plugin-proposal-private-property-in-object 패키지를 자체 의존성으로 선언하지 않고 가져오고 있어서 그런 오류가 나온것같다.
yarn add --dev @babel/plugin-proposal-private-property-in-object
yarn add --dev babel-plugin-styled-components
바벨관련 패키지들을 설치하고 진행하니 잘 출력이 되었다.
44:08분