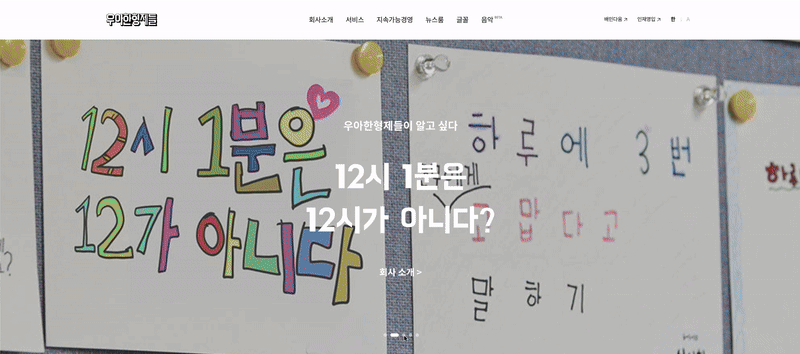
우아한형제들
- 사이트명 : 우아한형제들
- 사용언어 : HTML, CSS, JS
- 사용플러그인 : Swiper
- 분류 : 반응형, 클론코딩
🍀 : 프로젝트에서 사용
1. Lottie Animations
에어비앤비에서 개발한 라이브러리다.
After Effects(에프터 이펙트)으로 추출한 애니메이션 데이터(json)를 Bodymovin(오픈소스)를 이용하여 웹, 앱(Android, iOS React-native)에 적용할수 있다.
- 벡터기반의 애니메이션이며, 로티는 svg 형태로 되어 있다.
🌟 Lottie 애니메이션의 장점 :
- 벡터기반이라 용량이 적고 해상도 저하가 없다.
- 사용자의 인터렉션에 따라 제어가 가능하다.(ex: play,stop)
1-2. 또다른 방법이 있다면 @keyframes
- 우아한 형제들에서는 Lottie 애니메이션을 사용했지만, css animation을 사용해서 만들어봤다.
CSS Animation 사용법 ( @keyframes )
@keyframes는 '애니메이션 프레임'을 정의하는 CSS 규칙이다.
from, to 키워드로 애니메이션의 시작과 종료 스타일 정의하거나,
0%부터 100% 사이의 퍼센트 값으로 각 단계의 애니메이션을 정의할 수 있다.
🌟 주요 속성
animation-name: @keyframes의 이름animation-duration: 지속 시간animation-delay: 대기 시간animation-timing-function: 타이밍 함수animation-iteration-count: 반복 횟수animation-direction: 반복 방향animation-fill-mode: 전후 상태animation-play-state: 재생과 정지
ex)
.ani {
  animation: name duration timing-function delay iteration-count direction fill-mode;
}
🍀
.sc-visual .swiper-slide-active .let {
  animation: fade 0.2s forwards;
}
.sc-visual .swiper .let:nth-child(1) { animation-delay: calc(0.2s*1);}
.sc-visual .swiper .let:nth-child(2) { animation-delay: calc(0.2s*2);}
.sc-visual .swiper .let:nth-child(3) { animation-delay: calc(0.2s*3);}
.sc-visual .swiper .let:nth-child(4) { animation-delay: calc(0.2s*4);}
.sc-visual .swiper .let:nth-child(5) { animation-delay: calc(0.2s*5);}
.sc-visual .swiper .let:nth-child(6) { animation-delay: calc(0.2s*6);}
.sc-visual .swiper .let:nth-child(7) { animation-delay: calc(0.2s*7);}
.sc-visual .swiper .let:nth-child(8) { animation-delay: calc(0.2s*8);}
.sc-visual .swiper .let:nth-child(9) { animation-delay: calc(0.2s*9);}
@keyframes fade {
  0% {
    opacity: 0;
  }
  100%{
    opacity: 1;
  }
}-
animation: fade 0.2s forwards;
animation 이름은 fade,
0.2s는 0.2초 동안지속되는 시간(duration)이다.
forwards는 animation-fill-mode(애니메이션이 끝난 후의 상태)에서애니메이션이 끝난 후 마지막 상태를 유지하도록 하는 속성을 뜻한다. -
.let에 :nth-child(한 글자) .2초에 보이고, 사라지도록 만들었다.
2. marquee slide
<marquee>태그는 예전에 HTML에서 텍스트나 이미지를 자동으로 움직이게 할 때 사용되었지만, 현재는 HTML5에서 비추천되고 있어서 CSS Animation으로 구현이 가능합니다.
<!DOCTYPE html>
<html lang="ko">
<head>
    <style>
        .marquee {
            display: flex;
            overflow: hidden;
        }

        .marquee-wrapper {
            display: flex;
            width: max-content;
            animation: marquee 10s linear infinite;
        }

        @keyframes marquee {
            0% {
                transform: translateX(0%);
            }
            100% {
                transform: translateX(-100%);
            }
        }
    </style>
</head>
<body>
    <div class="marquee">
      <ul class="marquee-wrapper">
        <li class="marquee-slide"></li>
        <li class="marquee-slide"></li>
        <li class="marquee-slide"></li>
      </ul>
    </div>
</body>
</html>
3. < video > 태그
🌟 < video > 태그 속성
controls: 영상 컨트롤 막대를 표시한다.
컨트롤 막대에는 재생/멈춤, 진행바, 볼륨 등이 있다.width,height: 화면에 표시되는 영상의 크기를 조절한다.autoplay: 영상을 자동 재생한다.loop: 영상을 반복해서 재생한다.muted: 영상은 재생하지만 소리는 음소거한다. (웹접근성에 굿👍)preload: 영상을 재생하기 전에 미디어 파일을 다운로드 할 것인지 정한다. (ex> none, metadata, auto 속성 사용 가능)poster: 브라우저나 인터넷 문제등으로 영상을 재생할 수 없을 경우 표시한다.- 🌟
playsinline: IOS 운영체제에서 영상 재생 시 전체화면 뜰때 원하던 의도대로 화면 안에서 비디오가 재생되는 상황을 만들 수 있는 속성이다.
-> 전체화면이 뜨는 이유: IOS에서 영상 재생 시, 인라인 상태가 아니기 때문이다. iOS 비디오 정책이 바뀌어서 그런듯하다.
->> 그래서 내가 비디오태그 사용할때 쓰는 속성이 autoplay, loop, muted, playsinline, poster 정도는 쓰는 거 같다.

- 🍀 정지 버튼 누르고 다시 재생 버튼 누를 때 영상이 초기화 시작된다.
// sc-vision video btn
$('.sc-vision .play-btn').click(function () {

  if ($(this).hasClass('on')) {
    $('.sc-vision .video').get(0).currentTime=0;
    $('.sc-vision .video').get(0).play();
  } else {
    $('.sc-vision .video').get(0).pause();
  }

  $(this).toggleClass('on');

});- 버튼을 클릭했을 때,
.on이 있으면 video의 시간을 0으로 만들어줘서, 처음부터 재생 할 수 있다. - 버튼을 클릭했을 때,
.on이 없으면 video 정지 시킨다.