Thymeleaf(타임리프)는 컨트롤러가 전달하는 데이터를 이용해 동적으로 화면을 만들어주는 역할을 하는 템플릿 엔진이다.
이 타임리프를 사용해서 뷰 페이지를 효율적으로 개발해보자.
우선 타임리프 라이브러리를 추가하자.
dependencies {
	implementation 'org.springframework.boot:spring-boot-starter-thymeleaf'
   	implementation 'nz.net.ultraq.thymeleaf:thymeleaf-layout-dialect'
 }
그 다음 application.yml 에 타임리프 설정을 추가한다.
spring:
  thymeleaf:
    prefix: classpath:templates/
    suffix: .html
cache: false- 파일의 위치와 형식을 알려준다.
- 타임리프 결과는 캐싱이 디폴트 값이기 때문에 false로 해주면 새로고침만으로 페이지에 반영이 된다.
여기까지가 타임리프를 사용하기 위한 준비단계이다.
이제 직접 사용해보자.
만약 우리가 페이지 개발을 해야하는데 여러 페이지에 footer처럼 동일한 코드가 들어있다고 해보자.
우리는 이 footer를 공통으로 빼서 중복된 코드를 줄이고 싶다.
우선 footer 부분만 따로 작성해보자.
<!DOCTYPE html>
<html lang="ko" xmlns:th="http://www.thymeleaf.org">
  <th:block th:fragment="footerFragment"> <!-- 해당 부분을 fragment로 선언 -->
	<div style="background-color : lightgray">
		footer!!!
	</div>
  </th:block>
</html>
그리고 다른 페이지에 타임리프를 사용해서 위의 푸터를 추가해보자
<!DOCTYPE html>
<html lang="ko" xmlns:th="http://www.thymeleaf.org">
	<head>
		<meta charset="UTF-8">
		<title>Insert title here</title>
	</head>
	<body>
		main.html 입니다.
	</body>
	<th:block th:replace="~{fragments/footer :: footerFragment}"></th:block>
    <!-- footer.html의 footerFragment 를 현재 위치에 replace -->
</html>
이제 서버를 띄워서 확인해보자
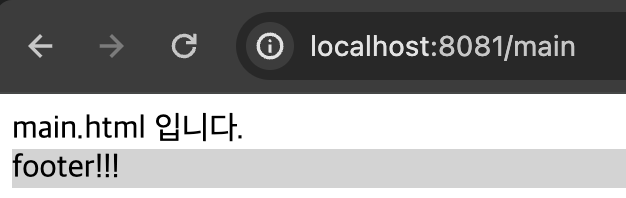
이렇게 뜬다면 정상이다!
이렇게만해도 footer의 코드를 한 줄로 처리할 수 있어서 깔끔해보이지만
앞으로 만들 모든 페이지에 '<th:block th:replace="fragments/footer :: footerFragment"></th:block>' 이 코드를 추가해야하니 여간 귀찮다.
이제 layout을 사용해 더 효율적으로 개발해보자.
페이지에 공통으로 들어갈 header, footer, ... 별로 html을 작성하고 위의 footer.html 처럼
<th:block th:fragment="***"></th:block>을 사용해 fragment로 선언한다.
이제 layout을 작성한다.
<!DOCTYPE html>
<html lang="ko" xmlns:th="http://www.thymeleaf.org"
      xmlns:layout="http://www.ultraq.net.nz/thymeleaf/layout"> <!-- 해당 레이아웃을 기본으로 설정 -->
    <head>
        <!-- 공통 CSS -->
        <th:block th:replace="~{fragments/headerScript :: headerScriptFragment}"></th:block>
      	<!-- headerScript.html 의 headerScriptFragment 이름의 fragment를 가져온다. -->
    </head>
    <body>
   		<!-- header -->
        <th:block th:replace="~{fragments/header :: headerFragment}"></th:block>

        <!-- content -->
        <th:block layout:fragment="content"></th:block>

    	<!-- footer -->
        <th:block th:replace="~{fragments/footer :: footerFragment}"></th:block>
    </body>

    <!-- 공통 스크립트 -->
    <th:block th:replace="~{fragments/footerScript :: footerScriptFragment}"></th:block>
</html>
<!DOCTYPE html>
<html lang="ko" xmlns:th="http://www.thymeleaf.org" xmlns:layout="http://www.ultraq.net.nz/thymeleaf/layout"
layout:decorate="~{layout/layout}"> <!-- layout폴더의 layout.html을 레이아웃으로 사용 -->
<th:block layout:fragment="content">
<body>
main.html 입니다.
</body>
</th:block>
</html>이렇게 작성하면
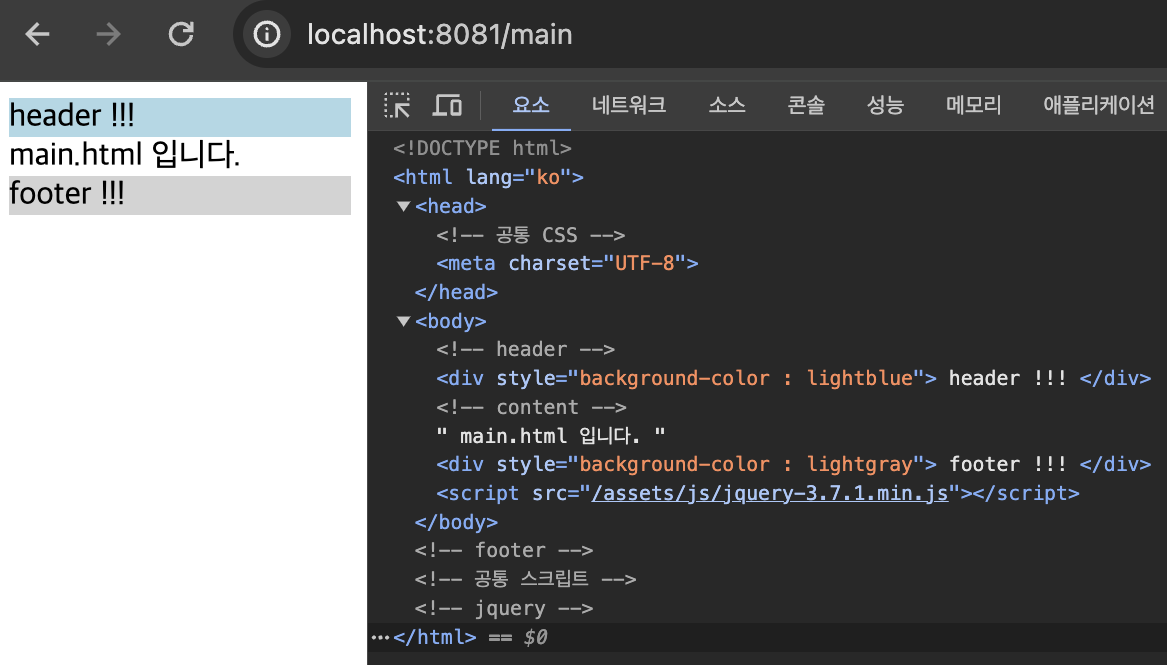
짠. 이제 효율적으로 페이지를 찍어낼 수 있게됐다.

열심히 뛰는 개발자🏃