오늘은 생활코딩의 next.js 유투브 강의를 보면서 따라한 내용을 정리할 것!
🟡 DB 세팅
글을 읽고, 작성하고, 보고, 삭제할 수 있는 crud 가 가능하도록 간단한 json.server 를 구축해 볼 것이다.
// 설치

npx json-server --port 9999 --watch db.jsonwatch: 서버에 변경사항이 생기면 서버가 재시동되어 즉시 변경사항이 적용되도록 함db.json: 내 db 파일 이름
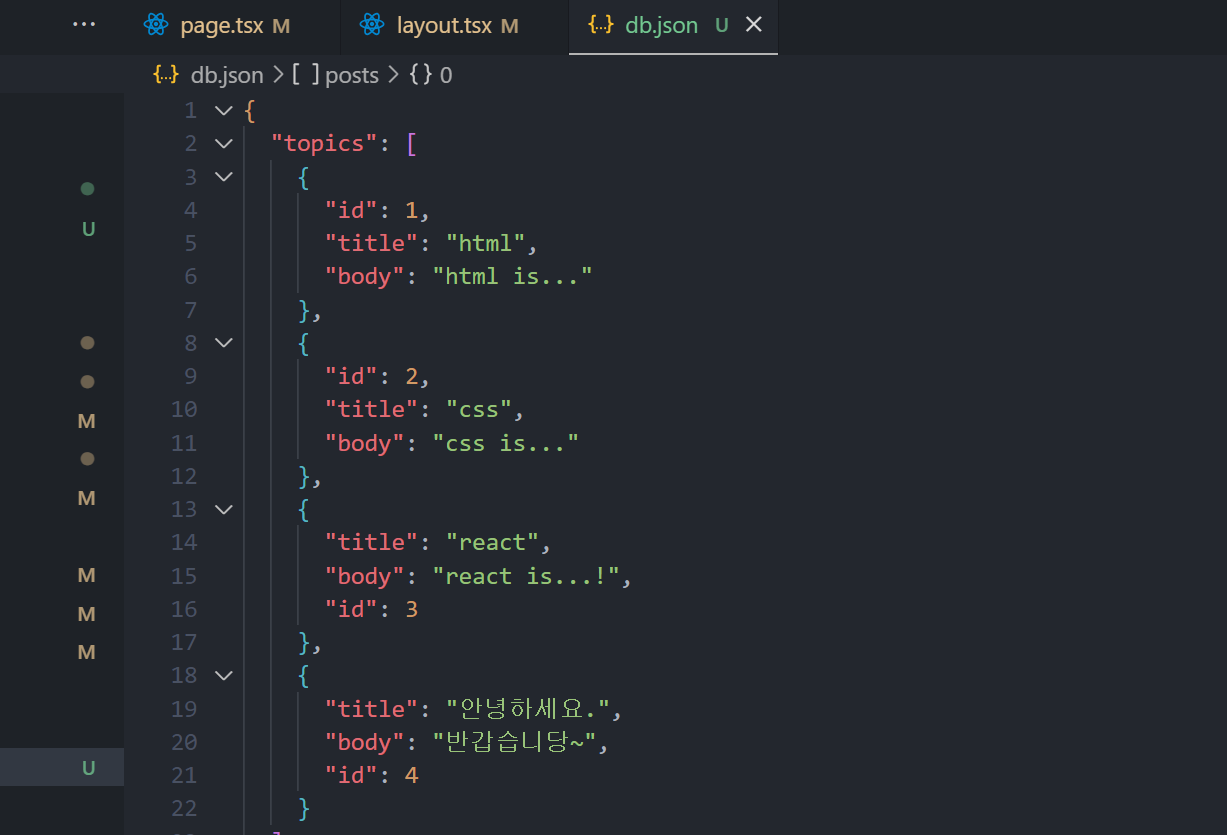
그리고 아래는 db.json 에 적어준 간단한 내용들.
{
  "topics": [
    {
      "id": 1,
      "title": "html",
      "body": "html is..."
    },
    {
      "id": 2,
      "title": "css",
      "body": "css is..."
    },
  ],
  "posts": [
    {
      "id": 1,
      "title": "json-server",
      "author": "typicode"
    }
  ],
  "comments": [
    {
      "id": 1,
      "body": "some comment",
      "postId": 1
    }
  ],
  "profile": {
    "name": "typicode"
  }
}
// 서버 실행
npx json-server --port 9999 --watch db.json
그리고 아래는 화면에 보일 메인 컴포넌트
// app/layout.tsx

import "./globals.css";
import Link from "next/link";

export const metadata = {
  title: "Leesu Blog",
  description: "Leesu's Bloog with Next.js",
};

export interface Topic {
  id: number;
  title: string;
  body: string;
}

export default async function RootLayout({
  children,
}: {
  children: React.ReactNode;
}) {
  const resp = await fetch(`http://localhost:9999/topics`, {
    cache: "no-store",
  });
  const topics: Topic[] = await resp.json();

  return (
    <html>
      <body>
        <h1>
          <a href="/">WEB</a>
        </h1>
        <ol>
          {topics.map(topic => {
            return (
              <li key={topic.id}>
                <Link href={`/read/${topic.id}`}>{topic.title}</Link>
              </li>
            );
          })}
        </ol>
        {children}
        <ul>
          <li>
            <a href="/create">Create</a>
          </li>
          <li>
            <a href="/update/1">Update</a>
          </li>
          <li>
            <input type="button" value="delete" />
          </li>
        </ul>
      </body>
    </html>
  );
}
cache: "no-store"
: next.js 는 데이터 캐싱을 기본적으로 지원한다. 즉, 우리가fetch요청을 했을 때 만약 같은 요청이 두번 들어온다면 첫번째 요청의 결과를 재사용 하는 것이다. 따라서 캐시를 사용하지 않는다고 적어준 것이다. 이는 이후에 자세히 다룰 예정!!!!!
🟡 글 읽기
서버 컴포넌트로 db.json 에 있는 내용 읽어오기
// read/[id]/page.tsx

export default async function Read(props: any) {
  const resp = await fetch(`http://localhost:9999/topics/${props.params.id}`);
  console.log(resp);
  const topic = await resp.json();

  return (
    <>
      <h2>{topic.title}</h2>
      {topic.body}
    </>
  );
}
🟡 글 생성
글을 생성해보자.
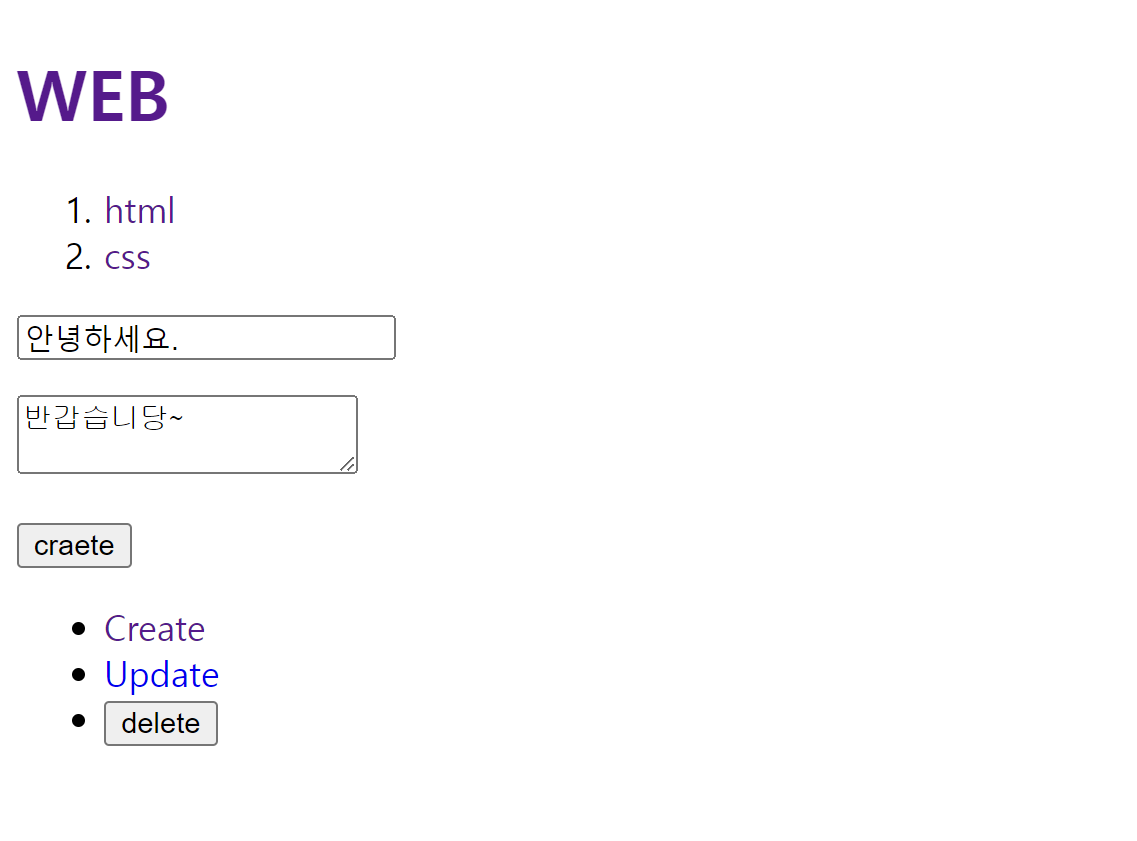
위와같이 작성해주고, create 버튼을 클릭하면 서버로 push 된다.
// create/page.tsx

"use client";

import { useRouter } from "next/navigation";

export default function Create() {
  const router = useRouter();
  return (
    <form
      onSubmit={(e: React.FormEvent<HTMLFormElement>) => {
        e.preventDefault();

        const title = (
          e.currentTarget.elements.namedItem("title") as HTMLInputElement
        ).value;
        const body = (
          e.currentTarget.elements.namedItem("body") as HTMLInputElement
        ).value;

        const options = {
          method: "post",
          headers: {
            "content-Type": "application/json",
          },
          body: JSON.stringify({ title, body }),
        };

        fetch(`http://localhost:9999/topics`, options)
          .then(res => res.json())
          .then(result => {
            const lastid = result.id;
		   router.push(`/read/${lastid}`);
           router.refresh();
          });
      }}
    >
      <p>
        <input name="title" type="text" placeholder="title" />
      </p>
      <p>
        <textarea name="body" placeholder="body" />
      </p>
      <p>
        <input type="submit" value="craete" />
      </p>
    </form>
  );
}
-
e: React.FormEvent<HTMLFormElement>
: TypeScript 에서 이벤트 핸들러 함수의 매개변수 e 의 타입을 명시적으로 선언하는 부분.
선언하지 않을 경우 TypeSctipt 가 이벤트 객체에 있는 속성이나 메소드를 정확히 알 수 없어 오류를 발생시킬 수 있다. -
e.currentTarget.elements.namedItem("title") as HTMLInputElement
: 자바스크립트에서 했던 것 처럼,e.target.title.value로 하면 찾을 수 없다.왜냐하면, 이벤트가 발생한
form요소 안의'title'이라는 이름을 가진input요소를 찾아야하는데,
지만, 이 메소드는 반환값의 타입이HTMLElement이기 때문에 입력 필드에 특정한 메소드나 속성(이 경우 value)에 접근하려면 해당 요소를HTMLInputElement로명시적으로 형변환해야한다.
그럼 TypeScript 가 해당 요소가HTMLInputElement임을 인지하고, value 속성에 안전하게 접근할 수 있는 것이다.
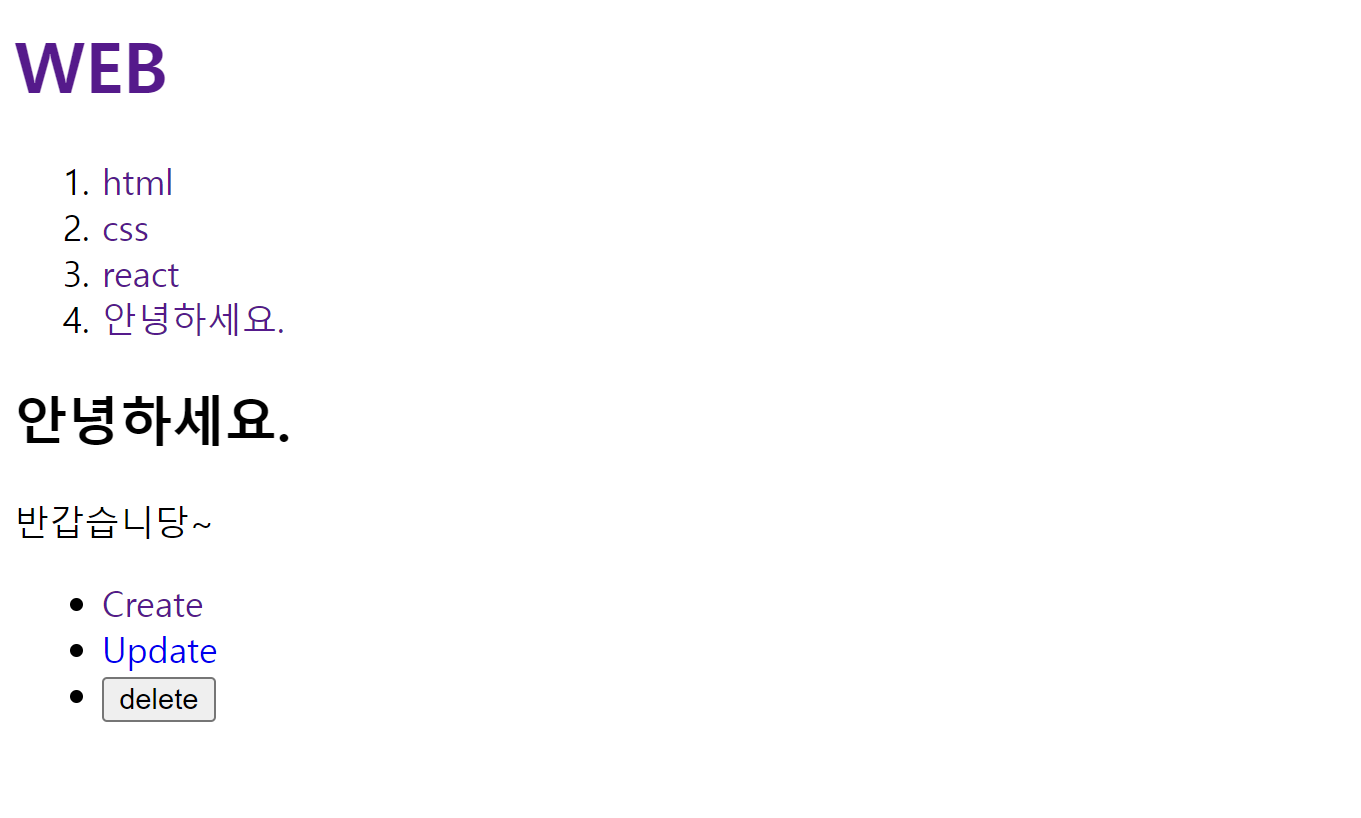
글 생성 후, 해당 위치로 이동완료.