
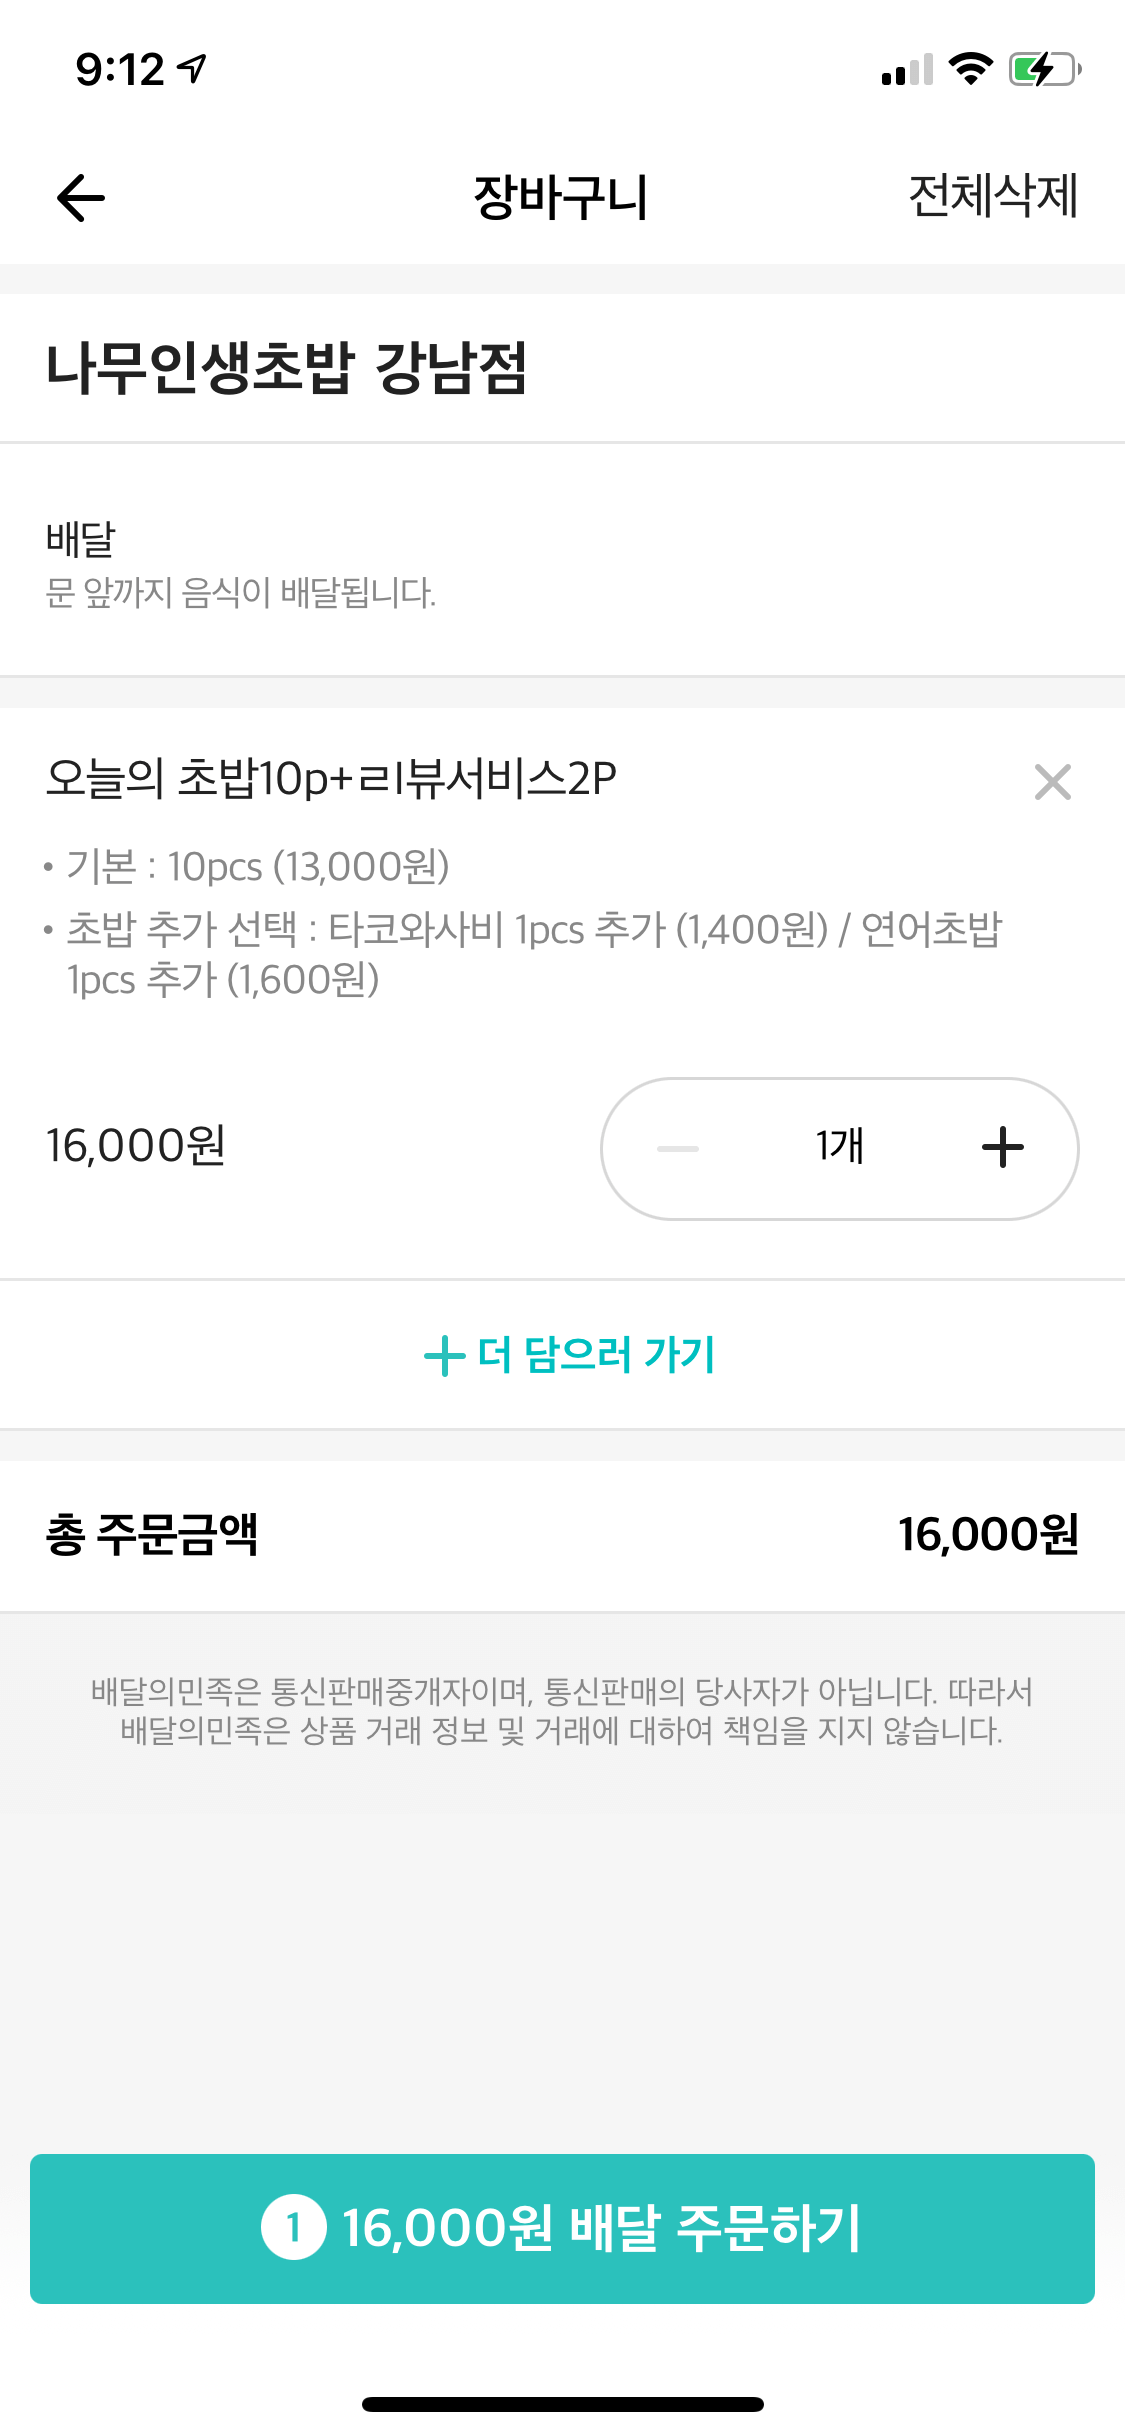
주문 페이지 완성
직접 만든 페이지
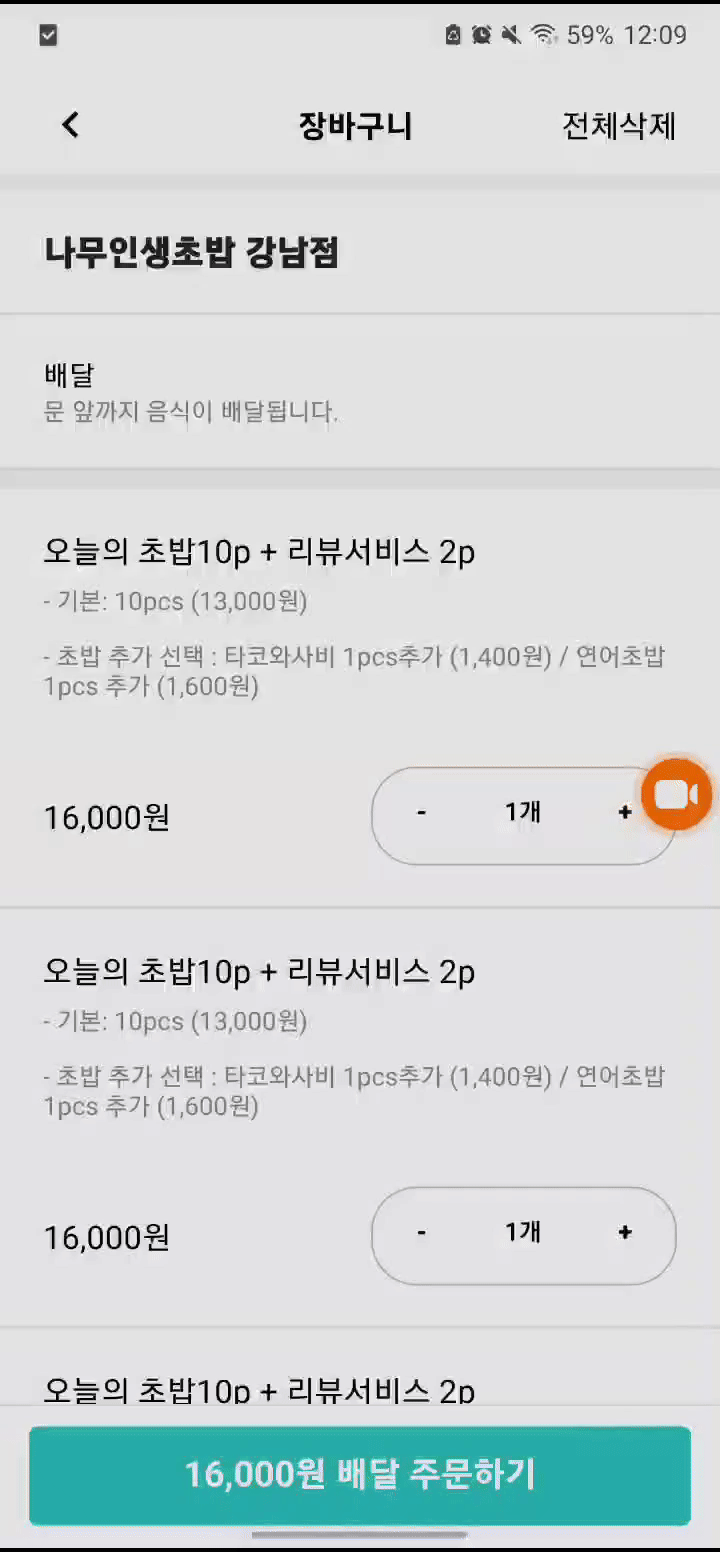
배민 레퍼런스
일단 첫 페이지 껍데기는 완성되었네요
네비게이션 기능 추가하기 (라우팅)

리액트 네이티브에서는 react-router 말고
React Navigaion이라는 라이브러리가 쓰인다
특징적인 것은 이동한 히스토리가 Stack 형식으로 남아서
뒤로 가기를 편하게 할 수 있고
계속 쌓이기 때문에 reset, popToTop 등으로 관리를 해줘야 한다.
import { NavigationContainer } from '@react-navigation/native';
import { createNativeStackNavigator } from '@react-navigation/native-stack';

const Stack = createNativeStackNavigator();

const customStackNavigaionOptions = {
  headerShown: false,
};

export default function App() {
  loadFonts();
  return (
    <NavigationContainer>
        <AppView>
          <Stack.Navigator
            initialRouteName={'Home'}
            screenOptions={customStackNavigaionOptions}
          >
            <Stack.Screen name="Home" component={MenuSelectPage} />
            <Stack.Screen name="MenuOrder" component={MenuOrderPage} />
          </Stack.Navigator>
        </AppView>
    </NavigationContainer>
  );
}
const Stack = createNativeStackNavigator();
createNativeStackNavigator()는 Screen, Navigator 두 개의 프로퍼티가 있고
네비게이터는 스크린 요소를 가질 수 있고 라우트로 배치한다
보통 App.js의 루트에 위치한다
나는 헤더를 따로 디자인 해줘서 커스텀 옵션으로 안보이게 설정해줬다
react-router처럼 옮겨다닐 페이지 위에 컨테이너를 하나두고
밑에는 <Route>처럼 <Stack>을 활용해서 구성하면 된다
버튼에 이벤트로 활용할 때
// MenuSelectPage.js
import { useNavigation } from '@react-navigation/native';
import { TouchableOpacity } from 'react-native';
import styled from 'styled-components';

const SelectView = styled.View`
  align-items: center;
  justify-content: center;
  top: 50%;
`;
const SelectText = styled.Text`
  text-align: center;
`;

const MenuSelectPage = () => {
  const navigation = useNavigation();
  return (
    <SelectView>
      <TouchableOpacity onPress={() => navigation.navigate('MenuOrder')}>
        <SelectText>장바구니</SelectText>
      </TouchableOpacity>
    </SelectView>
  );
};

export default MenuSelectPage;
가장 중요한 것!
내가 한 시간 날려먹은 부분인데
const navigation = useNavigaion()을 반드시 컴포넌트 안에서 초기화 해야한다
그래야 이벤트로 사용할 수 있다
메뉴 페이지 작업 + 라우팅
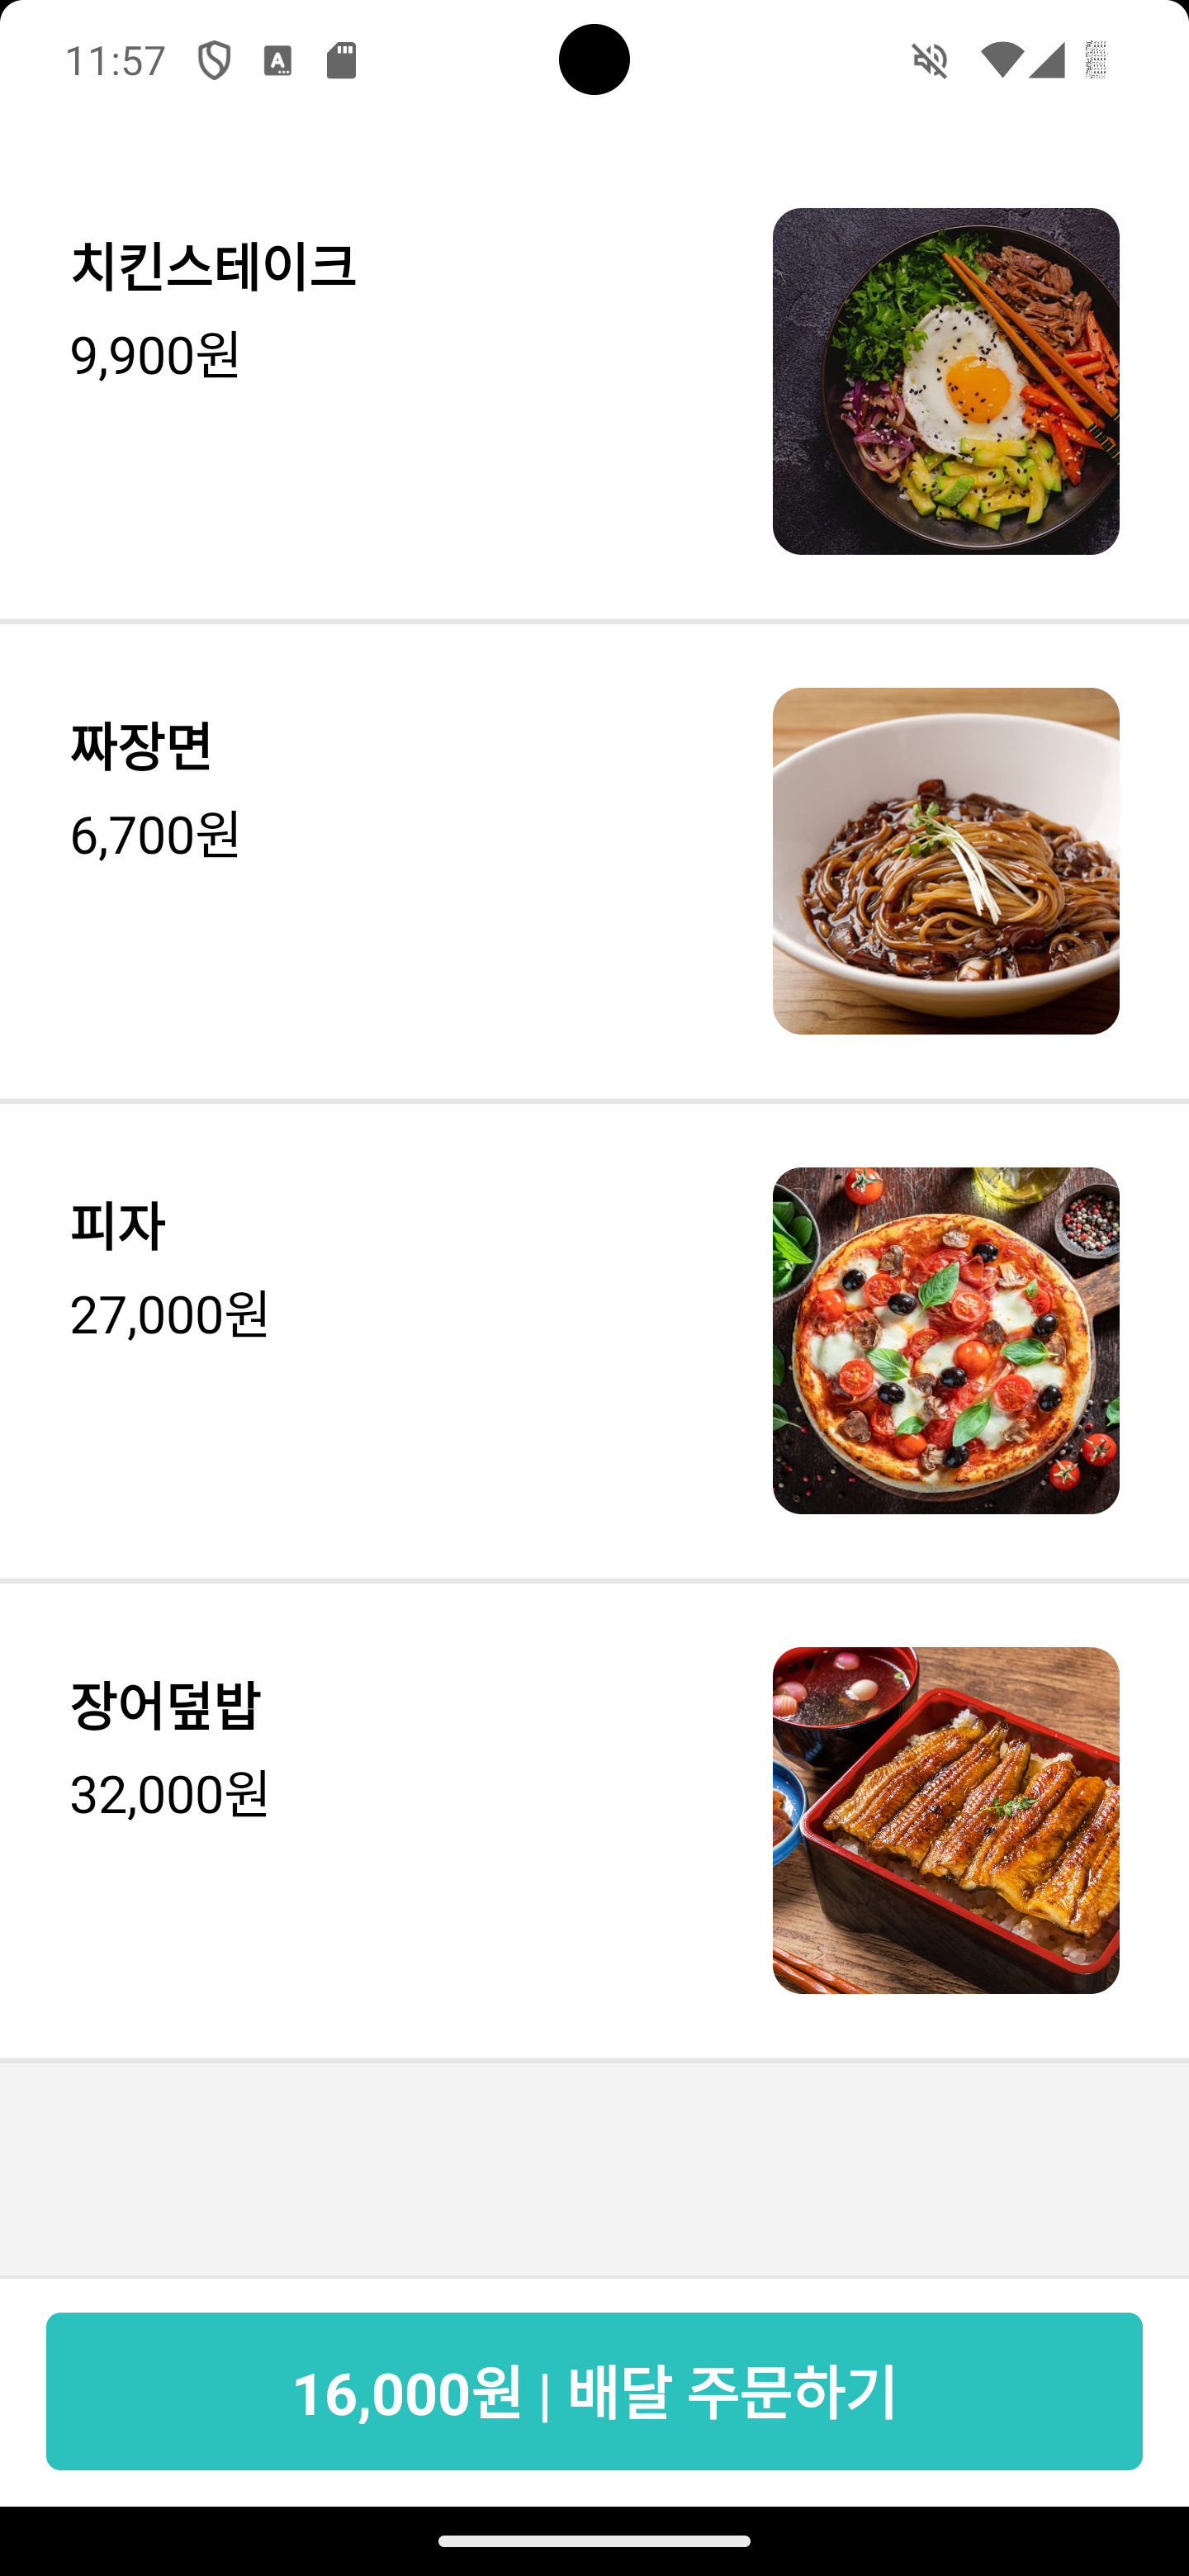
zustand를 이용해서 전역 변수를 관리하고 싶었는데
메뉴 선택 페이지가 없으니 작업하기가 애매해서
간단하게 메뉴 페이지 만들었다

이찬