Background
- 최근 TVING 을 떠나면서 내 개인 맥북도 전체 콘텐츠를 한 번 지워 주었다. 이참에 iterm 설치 방법이랑 neofetch 로 터미널 꾸미기 과정을 다시 기록해보자.
Install Homebrew
Homebrew를 통해 iTerm2를 설치하려 한다. 아래 명령어로 Homebrew 부터 설치해주자.
# homebrew 설치
$ /bin/bash -c "$(curl -fsSL https://raw.githubusercontent.com/Homebrew/install/HEAD/install.sh)"

$ echo >> /Users/jmkim/.zprofile
$ echo 'eval "$(/opt/homebrew/bin/brew shellenv)"' >> /Users/jmkim/.zprofile
$ eval "$(/opt/homebrew/bin/brew shellenv)"
Install iTerm2
# brew 에서 iterm 이름으로 설치 가능한 패키지 검색
$ brew search iterm

# iterm2 설치
$ brew install iterm2
Install oh-my-zsh
아래 명령어로 oh-my-zsh 를 설치하고 https://github.com/ohmyzsh/ohmyzsh/wiki/Themes 주소에서 마음에 드는 테마로 예쁘게 꾸며보자.
(나는 agnoster 가 좋은 것 같다.)
# oh-my-zsh 설치
$ sh -c "$(curl -fsSL https://raw.githubusercontent.com/ohmyzsh/ohmyzsh/master/tools/install.sh)"

# ZSH_THEME 값을 수정하여 테마 설정
$ vim ~/.zshrc
ZSH_THEME="agnoster"
Install D2Coding Font
위와 같이 agnoster 테마를 설정하면 한글이 깨진다. Naver-d2codingfont 를 설치해서 한글 깨짐을 방지할 수 있다.
- 나는 위 주소에서
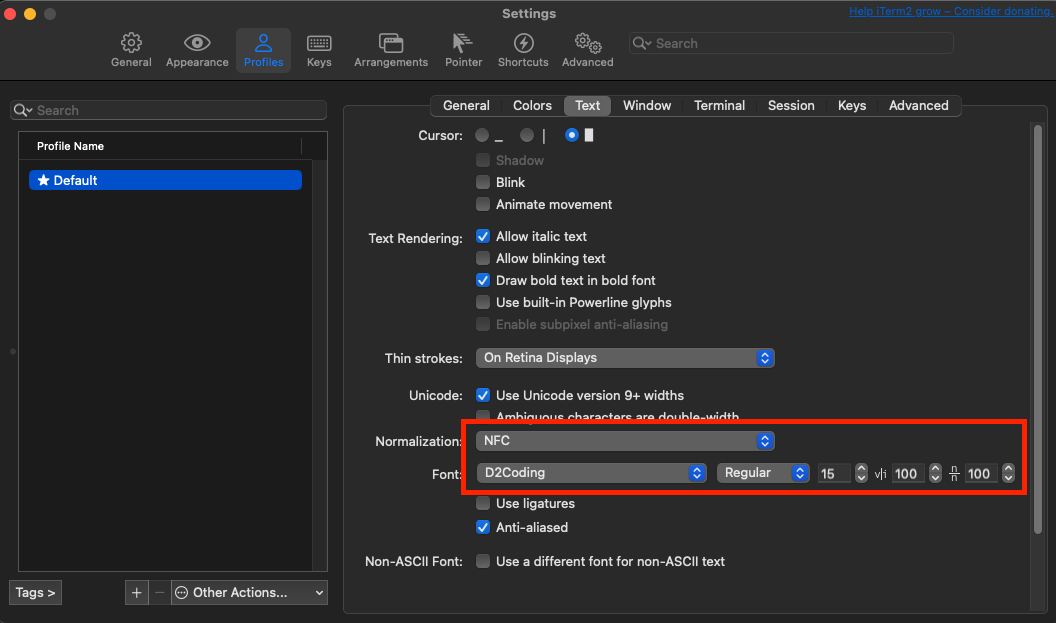
D2Coding-Ver1.3.2-20180524.zip를 다운로드 받은 후 압축 해제 하였다. D2Coding-Ver1.3.2-20180524.ttc파일을 더블 클릭하여 글씨체 등록iTerm2 > Settings > Profiles > Text에서 아래 이미지와 같이 설정
Install neofetch
# neofetch 설치
$ brew install neofetch

# zsh 가 실행 될 때마다 neofetch 실행하도록 설정
$ echo 'neofetch' >> ~/.zshrc
$ source ~/.zshrc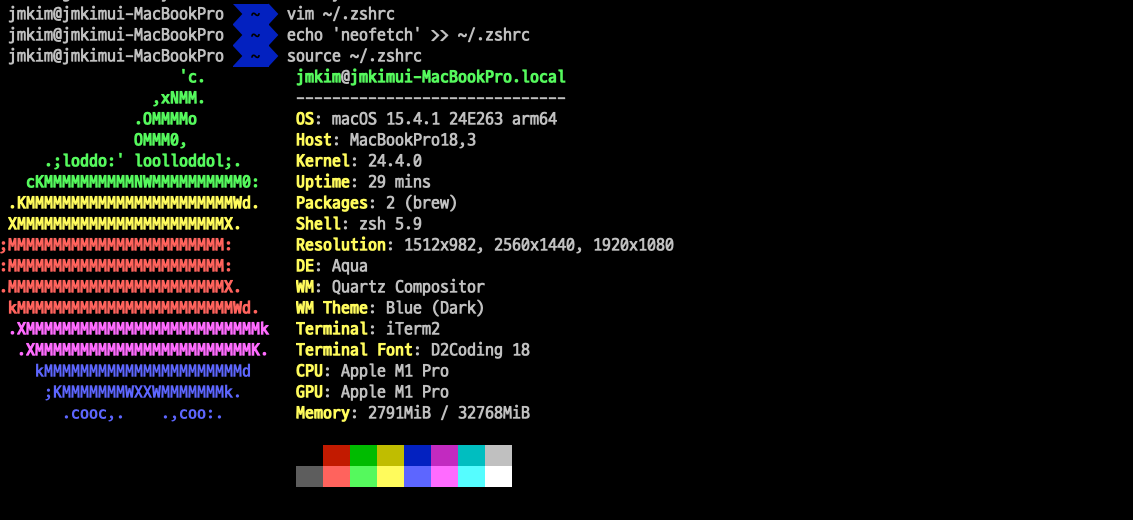
Install iTerm Color Preset
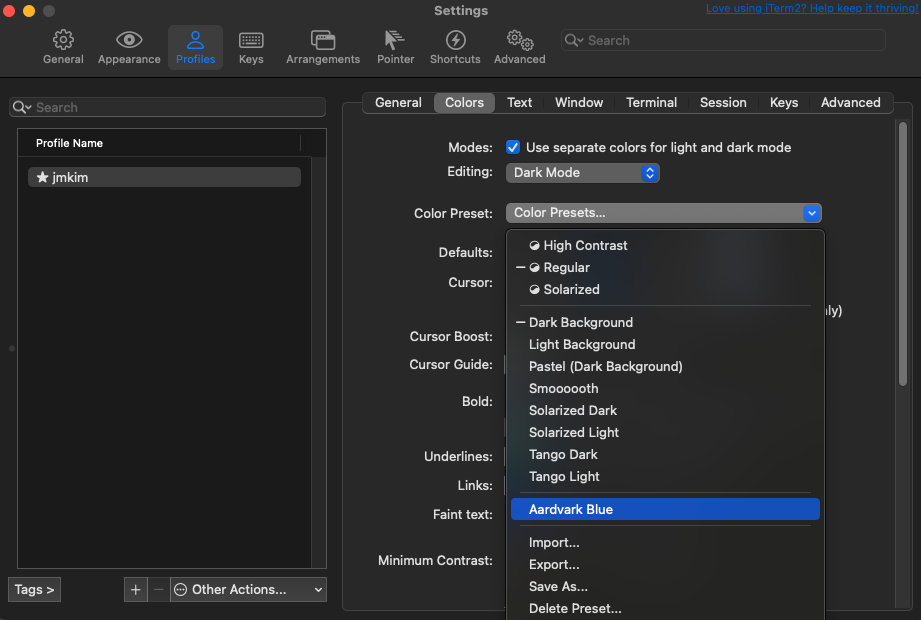
https://iterm2colorschemes.com/ 에서 Aardvark Blue 를
Option + 클릭하여 파일 다운로드한 후 iTerm 모니터 색상 프리셋을 변경해보자.
위치:iTerm2 > Settings > Profiles > Colors
iTerm2 > Settings > Profiles > Colors > Color Preset > import위치에서 다운로드 받은Aardvark Blue.itermcolors파일을 import 할 수 있다. 그리고 아래 이미지 처럼 선택하면 적용 된다.
유용한 zsh 플러그인
zsh-autosuggestions
- 명령어 자동 추천 플러그인
$ brew install zsh-autosuggestions
$ echo 'source /opt/homebrew/share/zsh-autosuggestions/zsh-autosuggestions.zsh' >> ~/.zshrc
$ source ~/.zshrc
zsh-syntax-highlighting
- 유요한 명령어가 아닐 경우 빨갛게 표시해주는 플러그인
$ brew install zsh-syntax-highlighting
$ echo 'source /opt/homebrew/share/zsh-syntax-highlighting/zsh-syntax-highlighting.zsh' >> ~/.zshrc
$ echo 'export ZSH_HIGHLIGHT_HIGHLIGHTERS_DIR=/opt/homebrew/share/zsh-syntax-highlighting/highlighters' >> ~/.zshrc
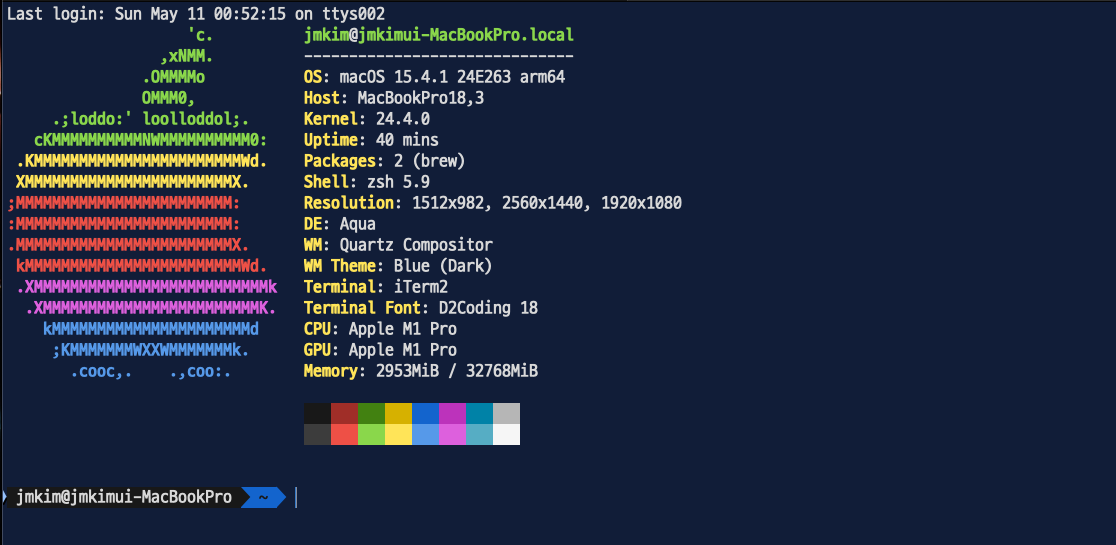
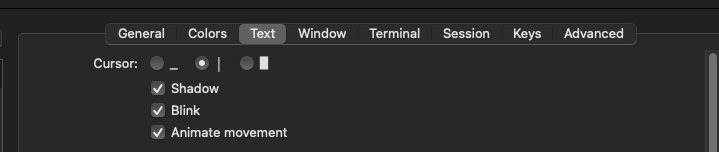
$ source ~/.zshrcText Cursor
- 아래와 같이 Cursor 설정하니까 사용하기 좋은 것 같다.
ETC
MAC Iterm 에서 ll 명령어 사용하기
$ echo "alias ll='ls -lgafh'" >> ~/.zshrc
$ source ~/.zshrc
안녕하세요. 데이터 엔지니어 김재민 입니다.