Jenkins 설정
jenkins pull 받기
docker pull jenkins/jenkins:ltsJenkins Container 실행
docker run -itd --name=be-jenkins -p 18080:8080 -p 50000:50000 \
--privileged=true -u root \
--restart=always \
-v /var/run/docker.sock:/var/run/docker.sock \
-v /home/dsti/jenkins:/var/jenkins_home \
jenkins/jenkins:lts-
docker run -itd --name=be-jenkins
컨테이너를 백그라운드에서 실행하라는 의미입니다. -
-p 18080:8080 -p 50000:50000
18080 포트를 8080과 연결 (Jenkins 웹 UI 접속 용도)
50000 포트를 50000과 연결 (노드 통신 용도) -
--privileged=true -u root
true가 아닐경우 docker.sock에 접근할 수 없으며, 컨테이너 내부에서 docker 명령어 실행이 불가능합니다. -
--restart=always
컨테이너가 중지되더라도 항상 재시작하는 명령어입니다. -
/var/run/docker.sock:/var/run/docker.sock
Docker-in-Docker의 개념으로 Jenkins가 Docker 컨테이너 내부에서 다른 컨테이너를 실행할 수 있습니다. 즉, 컨테이너 내부에서 호스트 Docker 엔진을 사용할 수 있도록 Docker 소켓을 공유하는 것입니다. -
/home/dsti/jenkins:/var/jenkins_home
Jenkins 데이터를 호스트의 /home/dsti/jenkins 에 저장하는 것입니다. 즉, 컨테이너가 삭제되어도 데이터가 유지됩니다.
Docker가 사용하는 네트워크 포트 상태 확인
sudo netstat -nltp | grep docker-proxy18080 포트 열기
sudo ufw allow 18080
sudo systemctl reload ufw
18080 포트로 Jenkins 웹 UI 접속하기
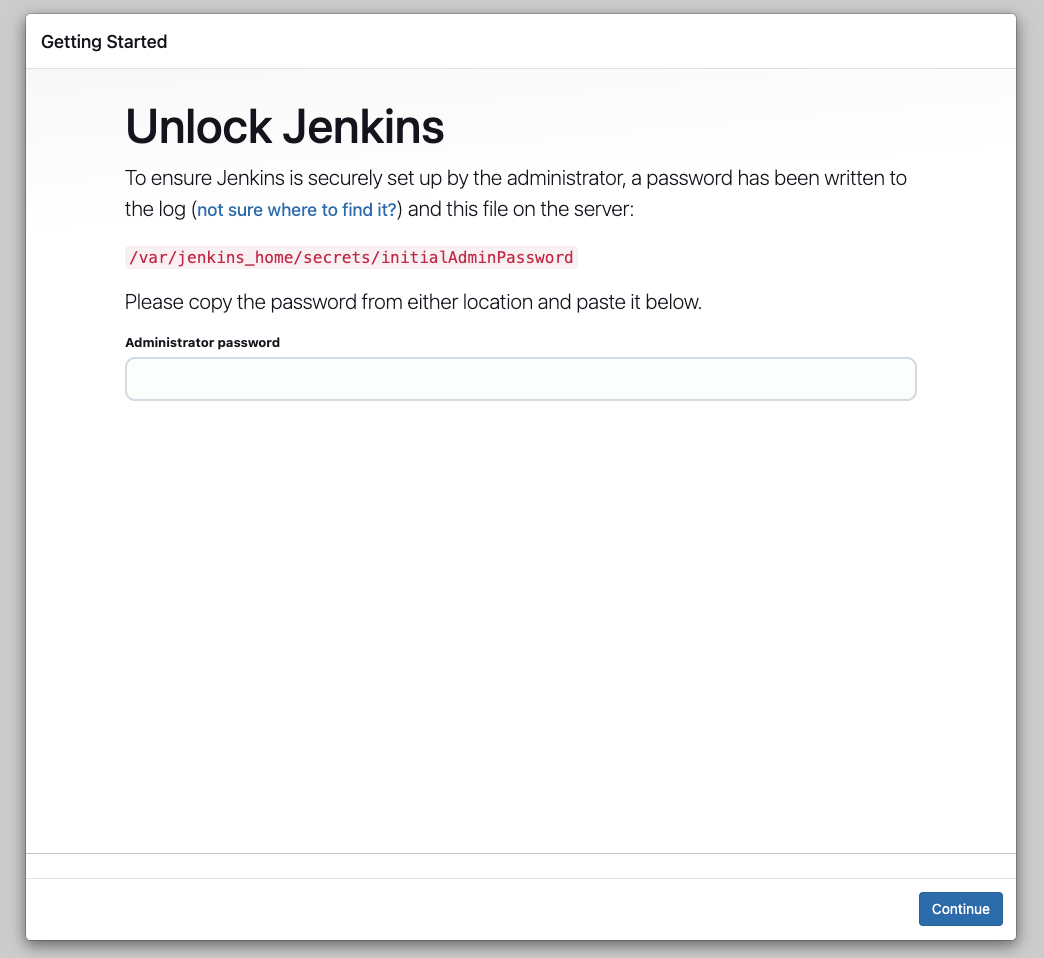
비밀번호 확인하기
docker exec f34 cat /var/jenkins_home/secrets/initialAdminPasswordf34는 컨테이너 아이디 앞자리 3글자입니다. 아이디 대신 이름을 적어도 괜찮습니다.
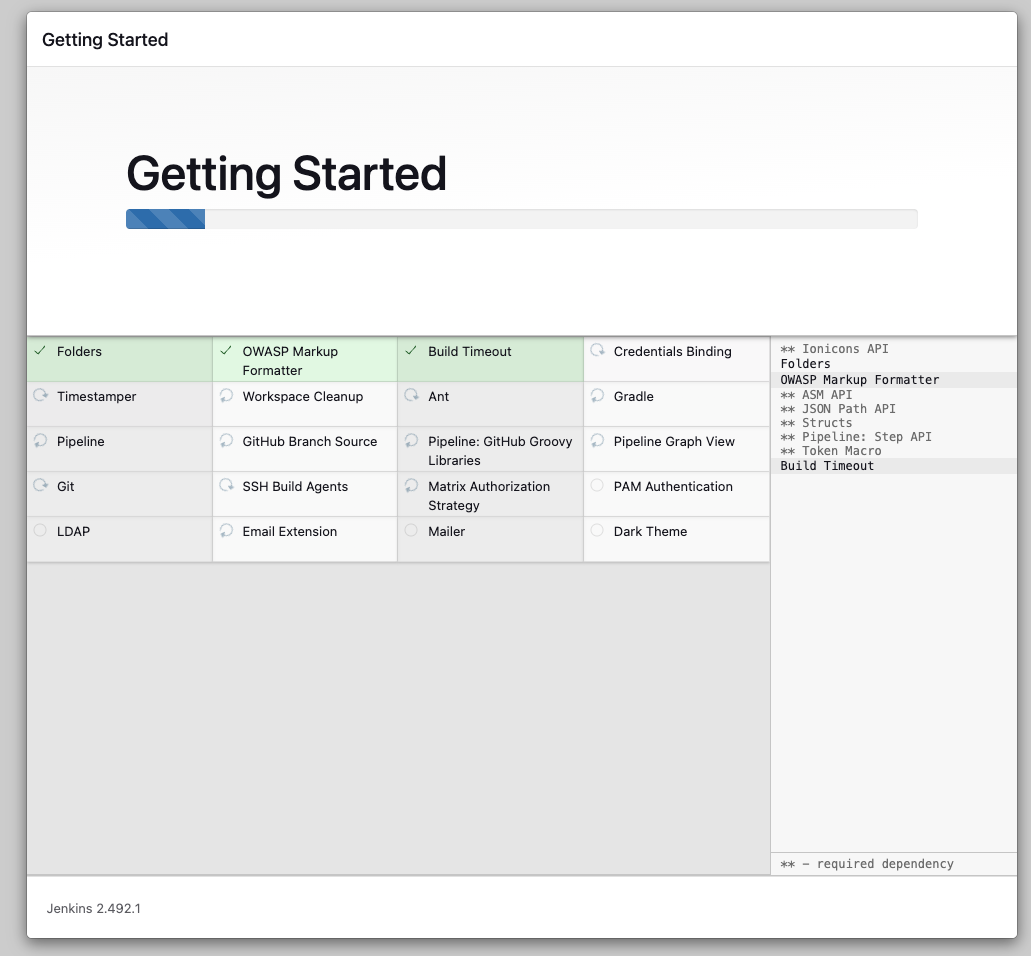
Install Suggest Plugin 을 선택
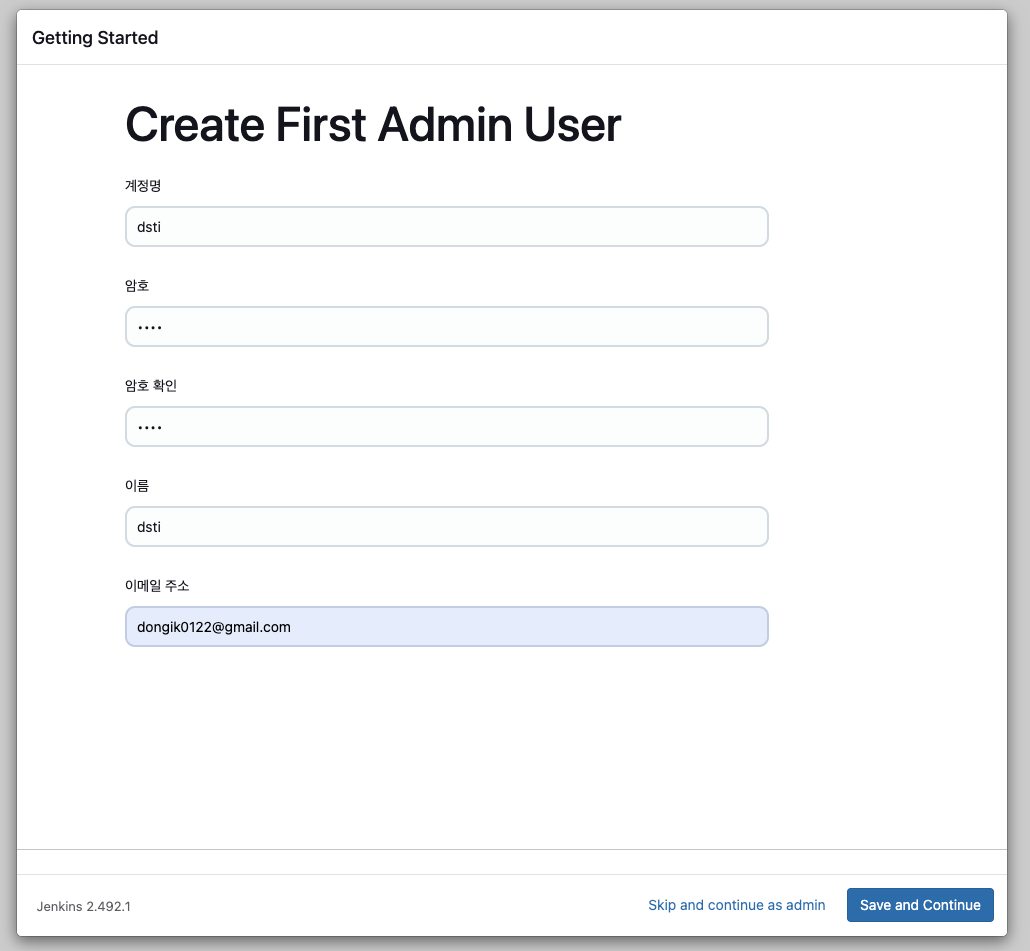
계정 생성
Github 연동
docker exec -it f34 bashcd /var/jenkins_home/
mkdir .ssh && cd $_
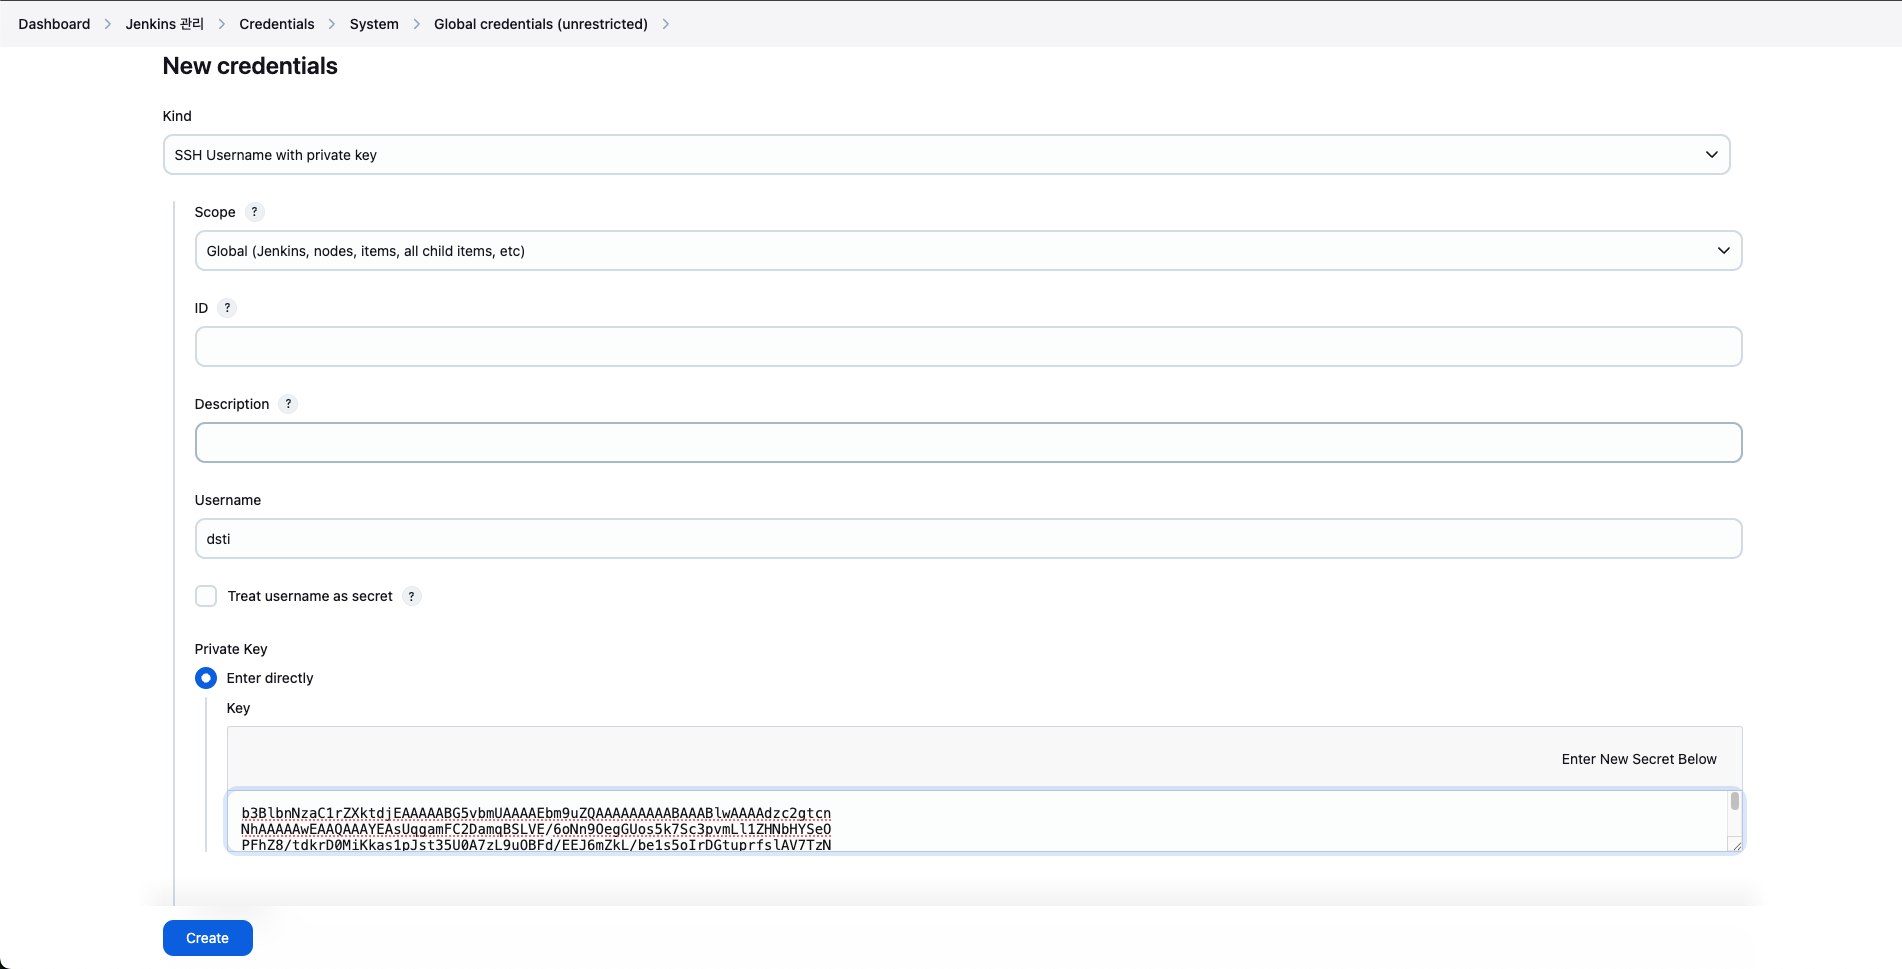
ssh-keygen -t rsa -f /var/jenkins_home/.ssh/jenkins- jenkins
- jenkins.pub
Credentials 접속
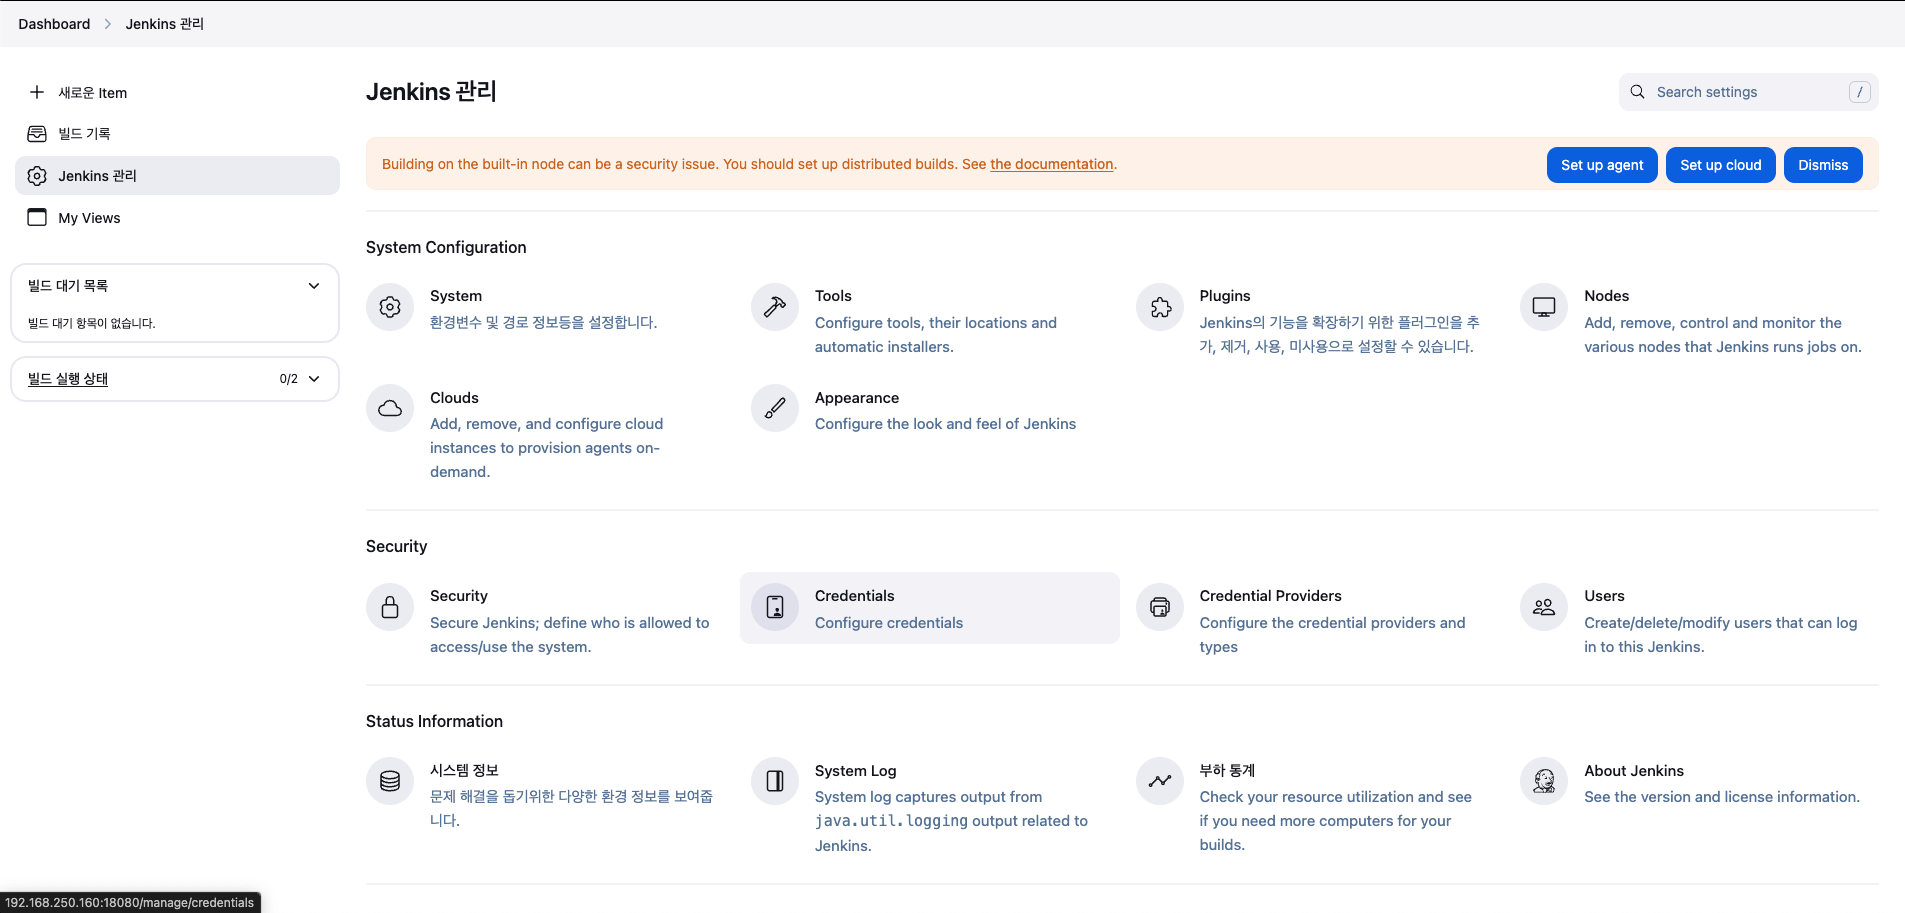
Add Credentials
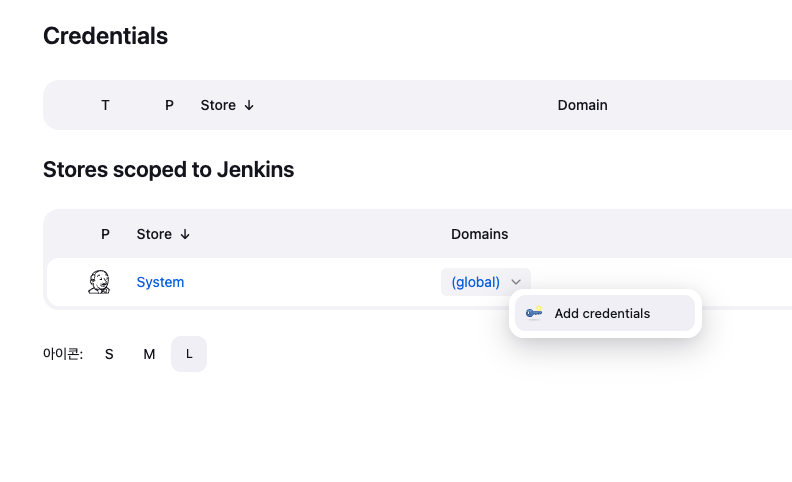
credentials 생성하기
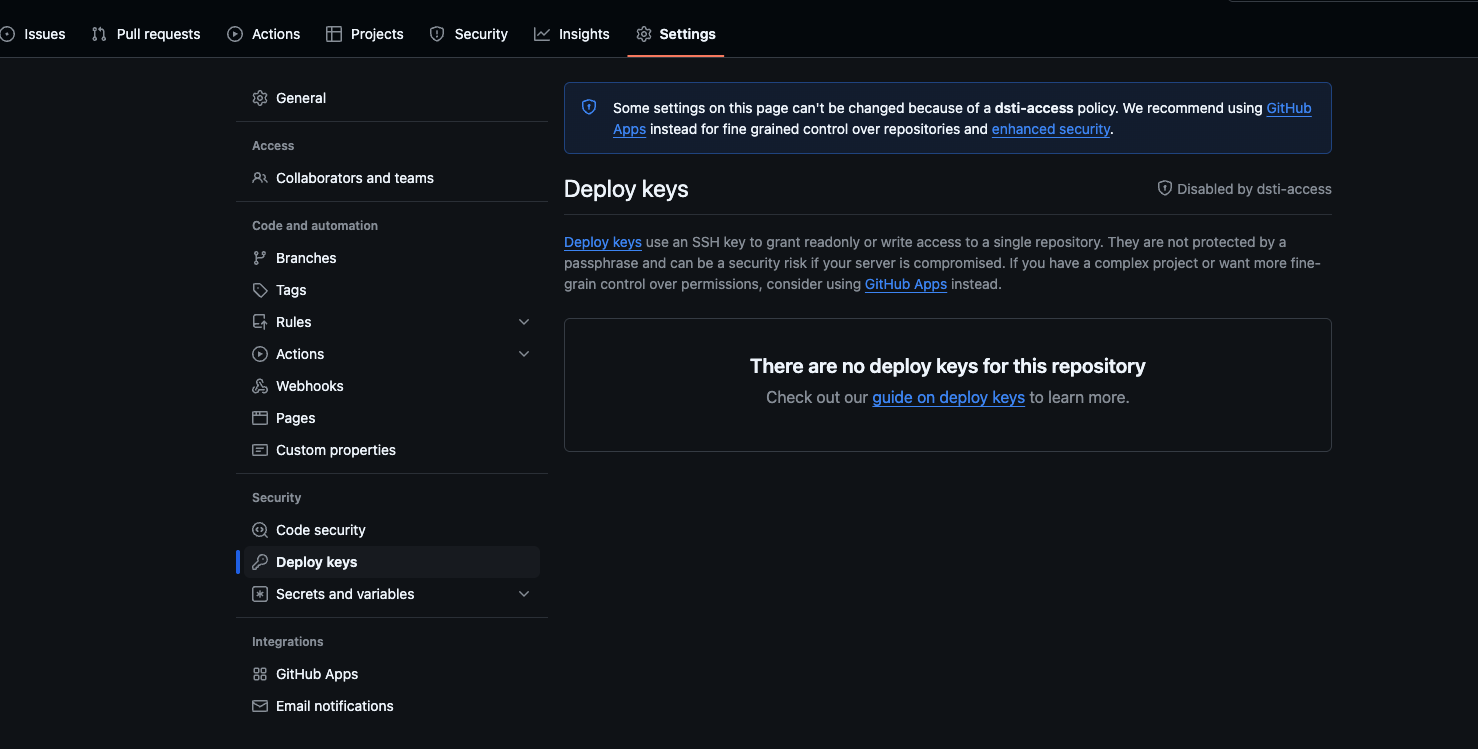
Deploy keys 접속
Deploy keys 설정
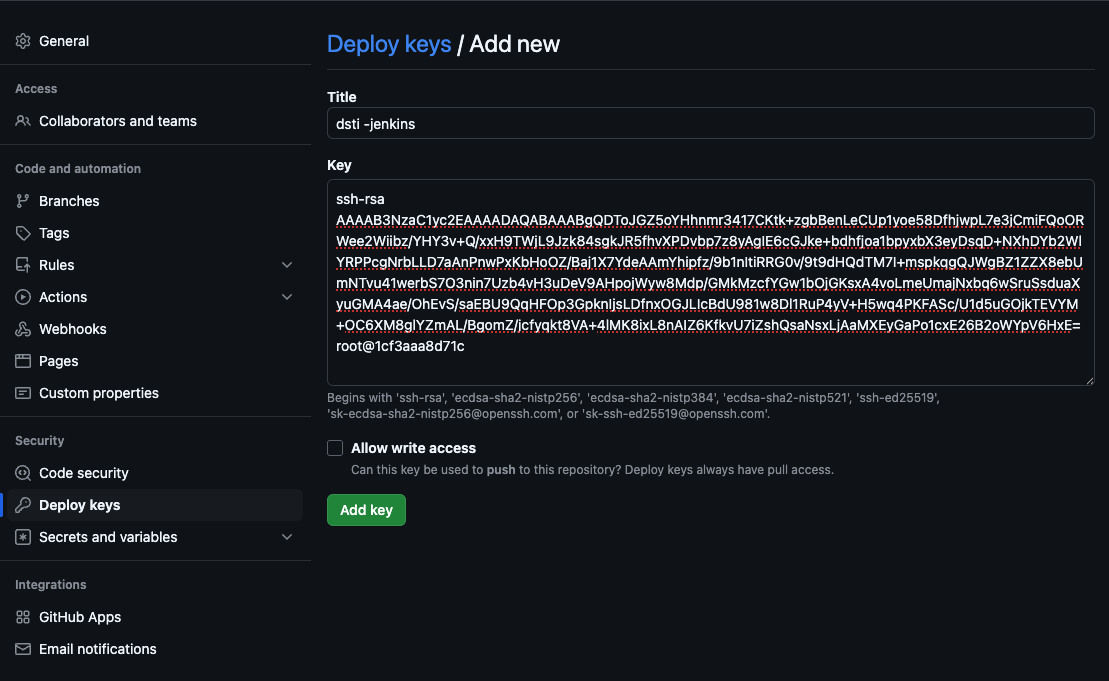
- public 키 입력
plugin 설치
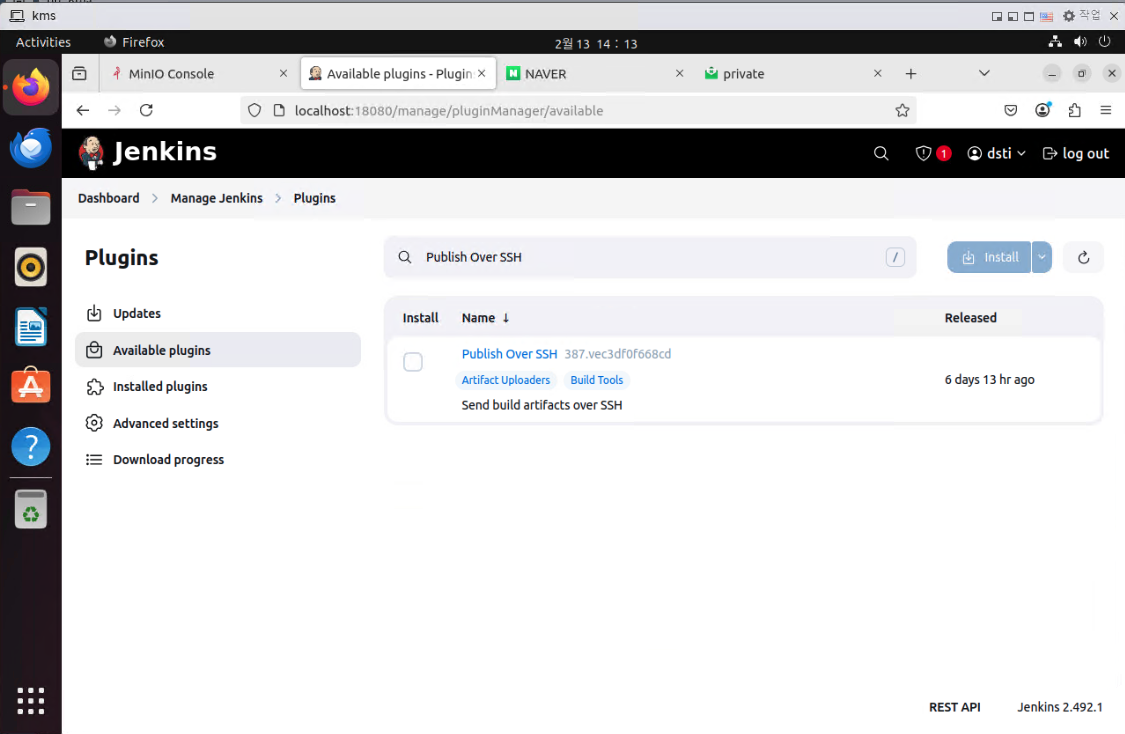
Publish Over SSH 설치
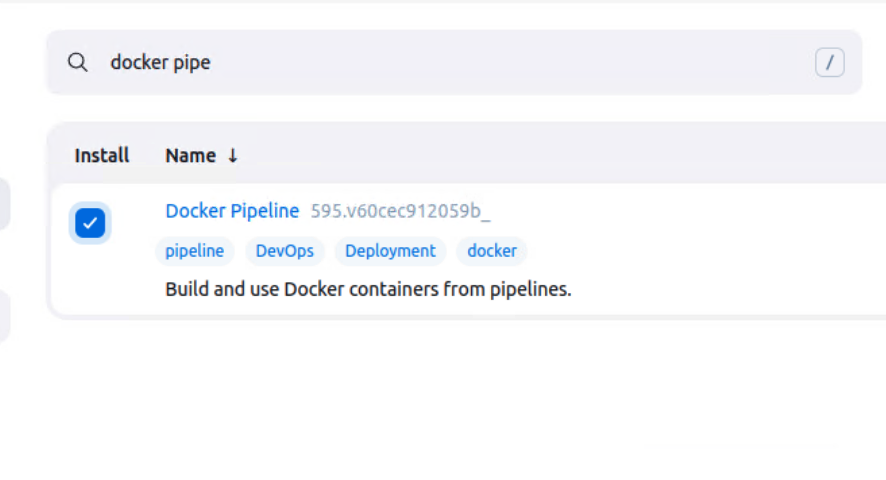
docker pipe 설치
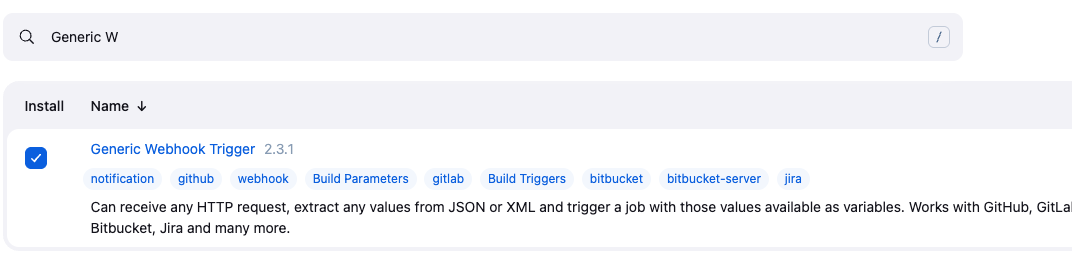
Generic Webhook 설치
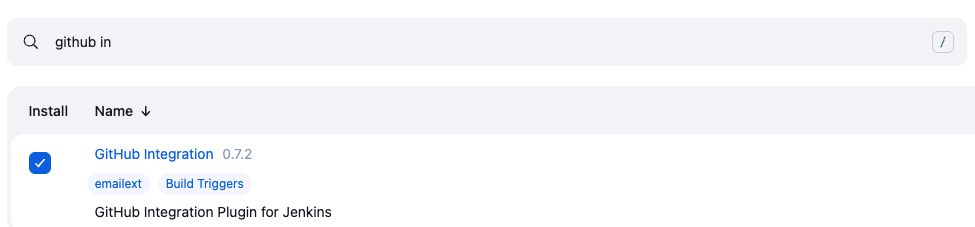
Github integration 설치
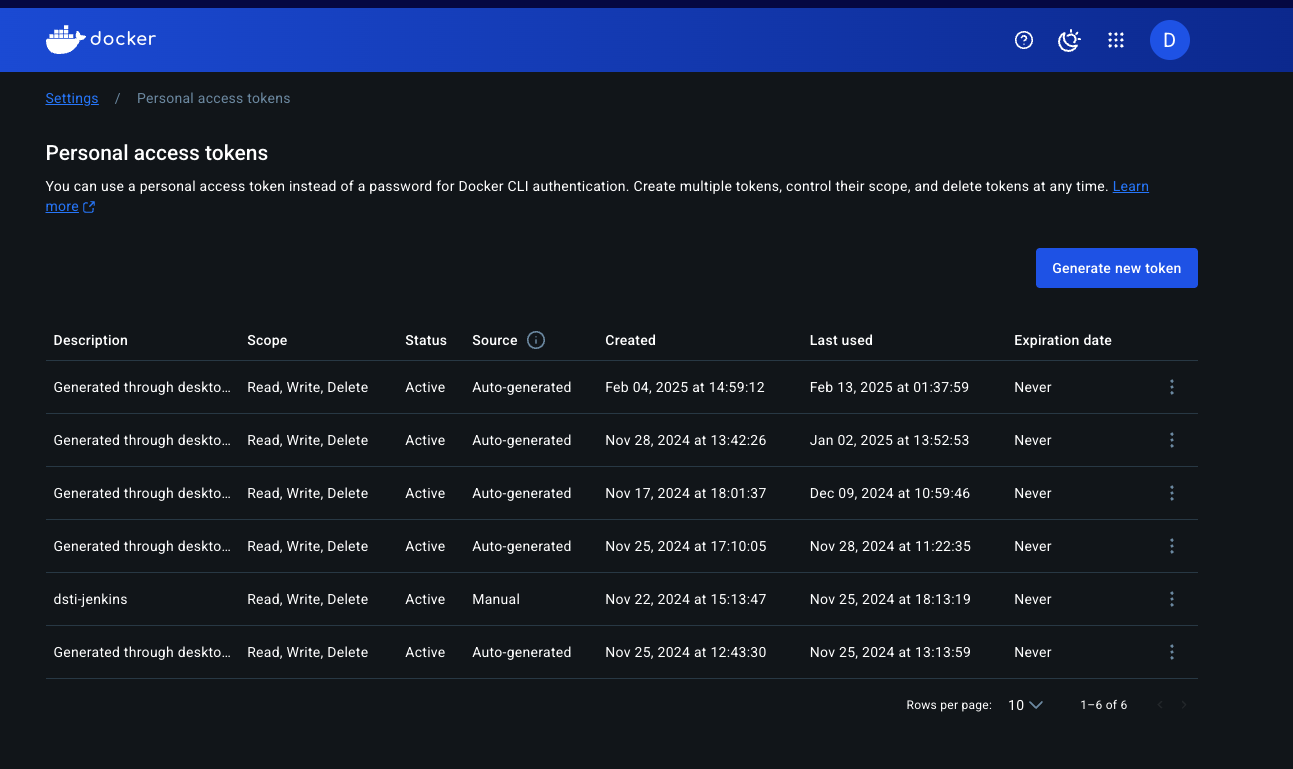
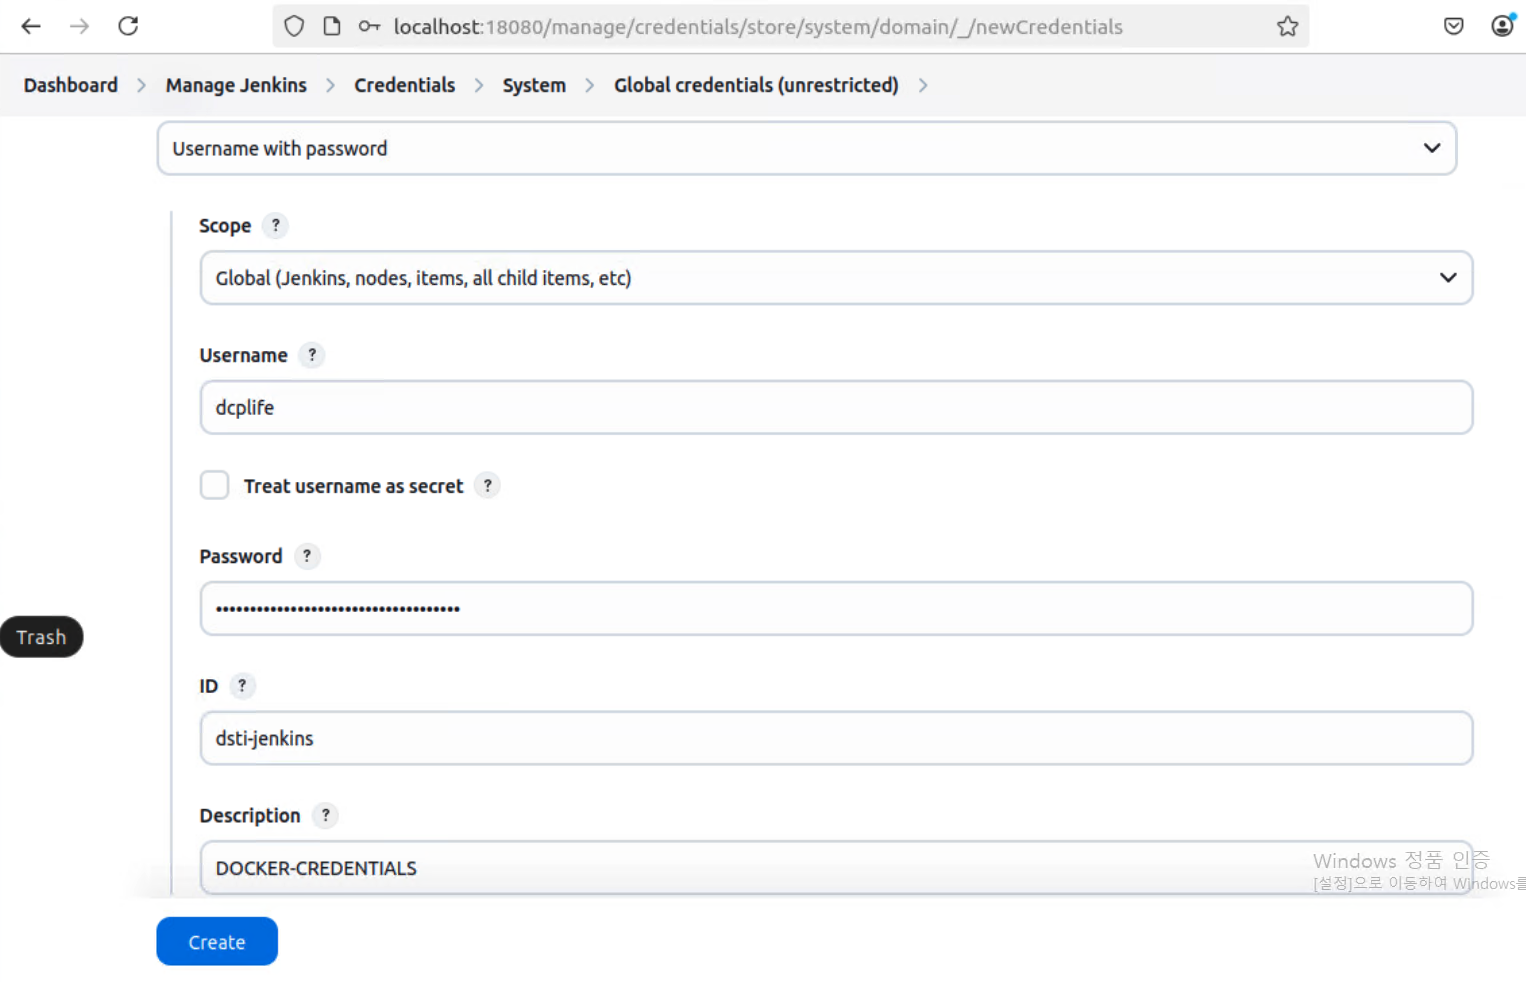
Docker Credentials 생성
Github Credentials 생성
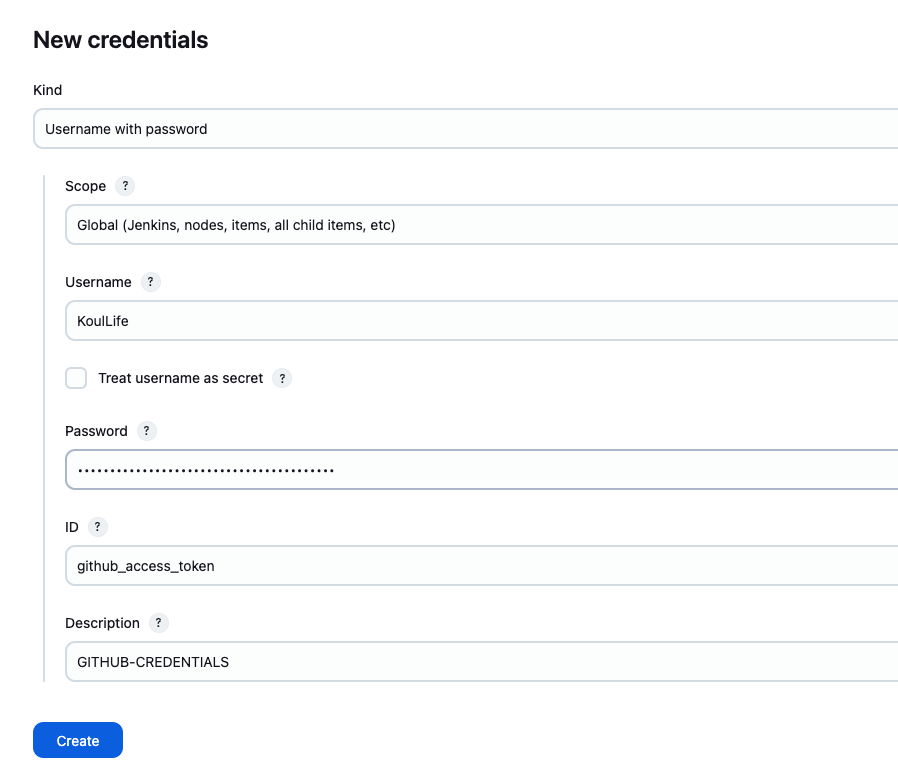
- username : 깃허브 ID
- Password : 깃허브 토큰
- ID : 식별할 수 있는 ID
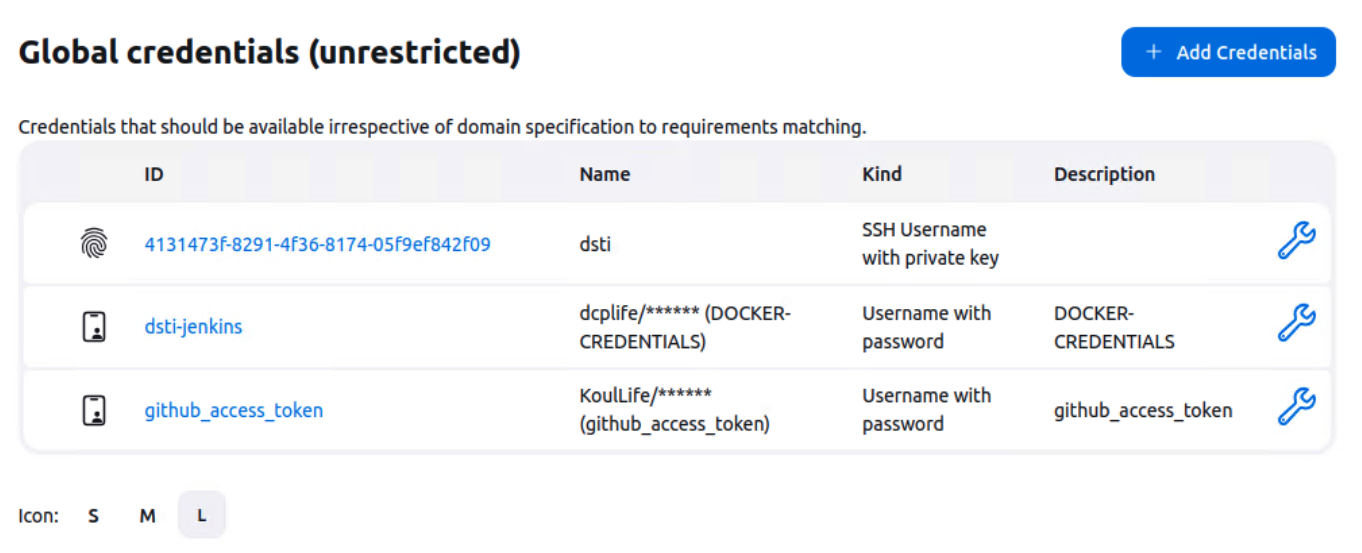
최종 Credentials
Github Webhook 설정
디렉토리 생성
/home/dsti-prod/netbackupgit repo 구성
git init
git config --global user.email "{자신의 깃허브 이메일}"
git config --global user.name "{자신의 깃허브 유저네임}"
git add .
git commit -m "first commit"
git branch -M main
git remote add origin origin {깃허브 레포지 주소}
git push -u origin main 혹은 git push -u origin +main
DIND
Docker 컨테이너 진입
docker exec -it -u root d7a bashDocker 설치하기
curl https://get.docker.com/ > dockerinstall && chmod 777 dockerinstall && ./dockerinstall
docker ps 를 실행하면 host에서 수행했을때과 같은 결과를 보입니다.
파이프라인 구축
새로운 아이템 생성
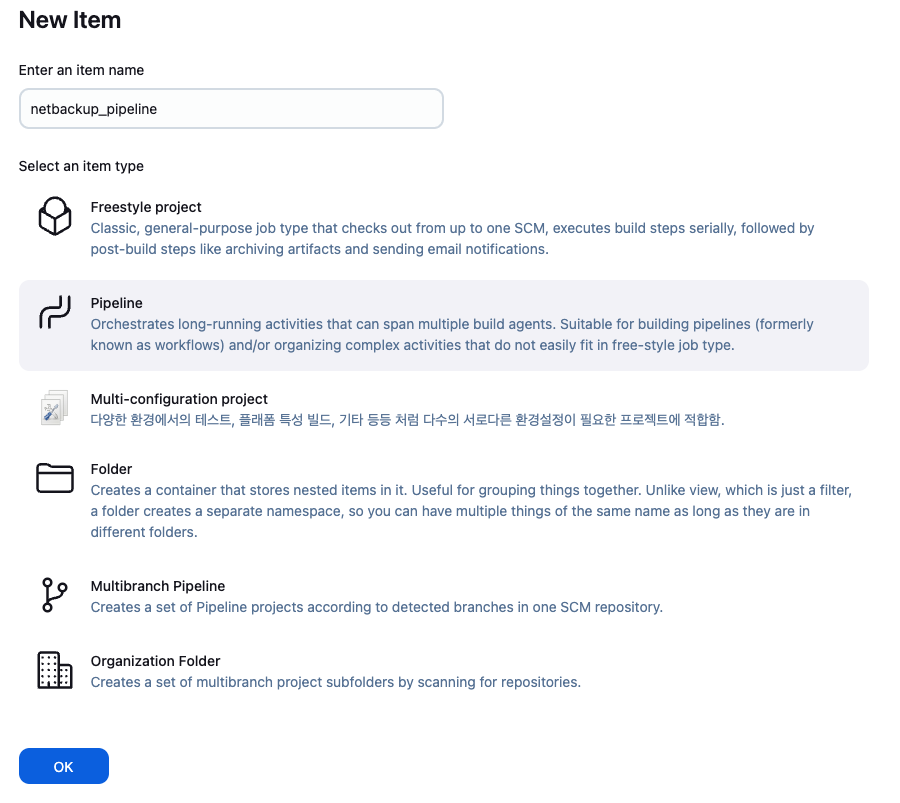
- pipeline 선택
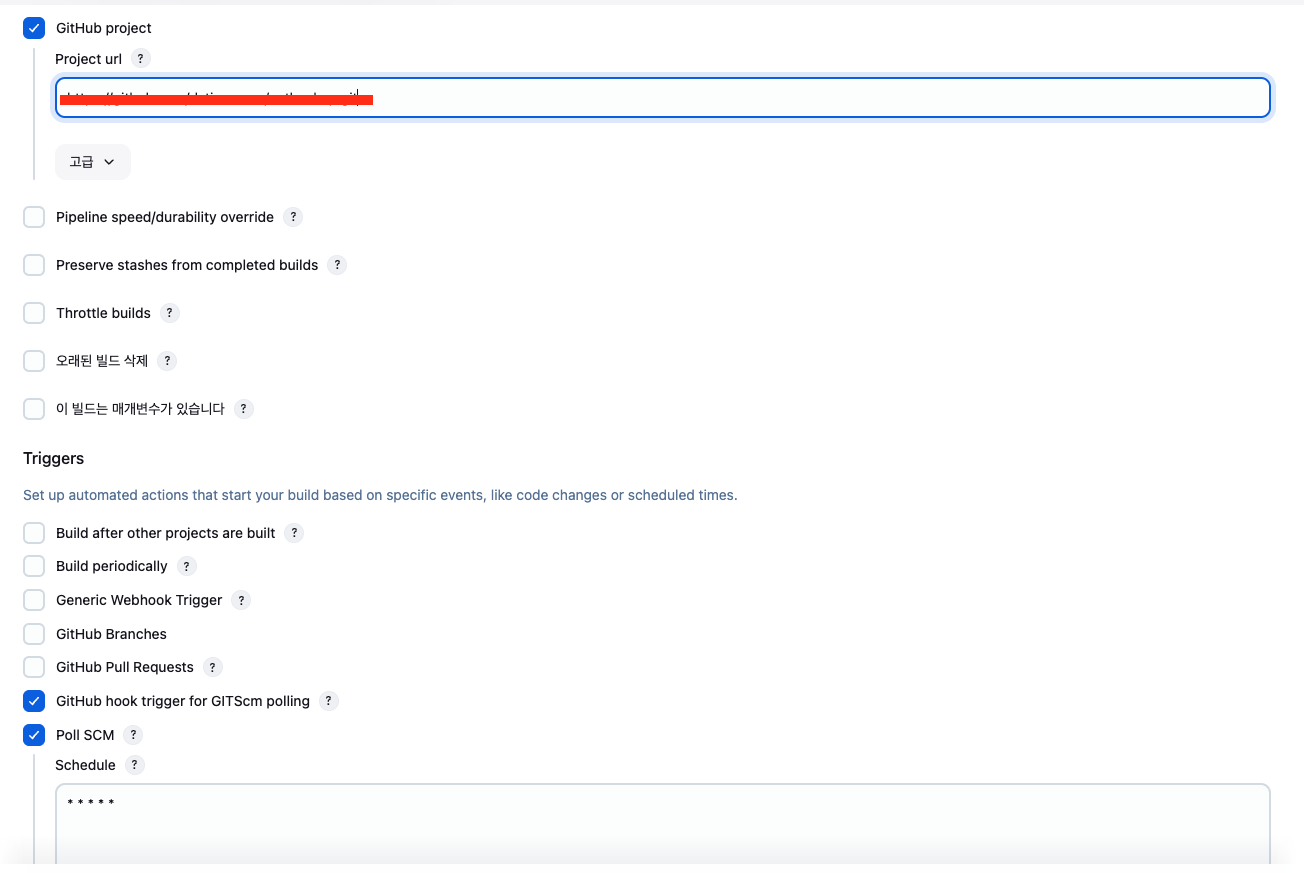
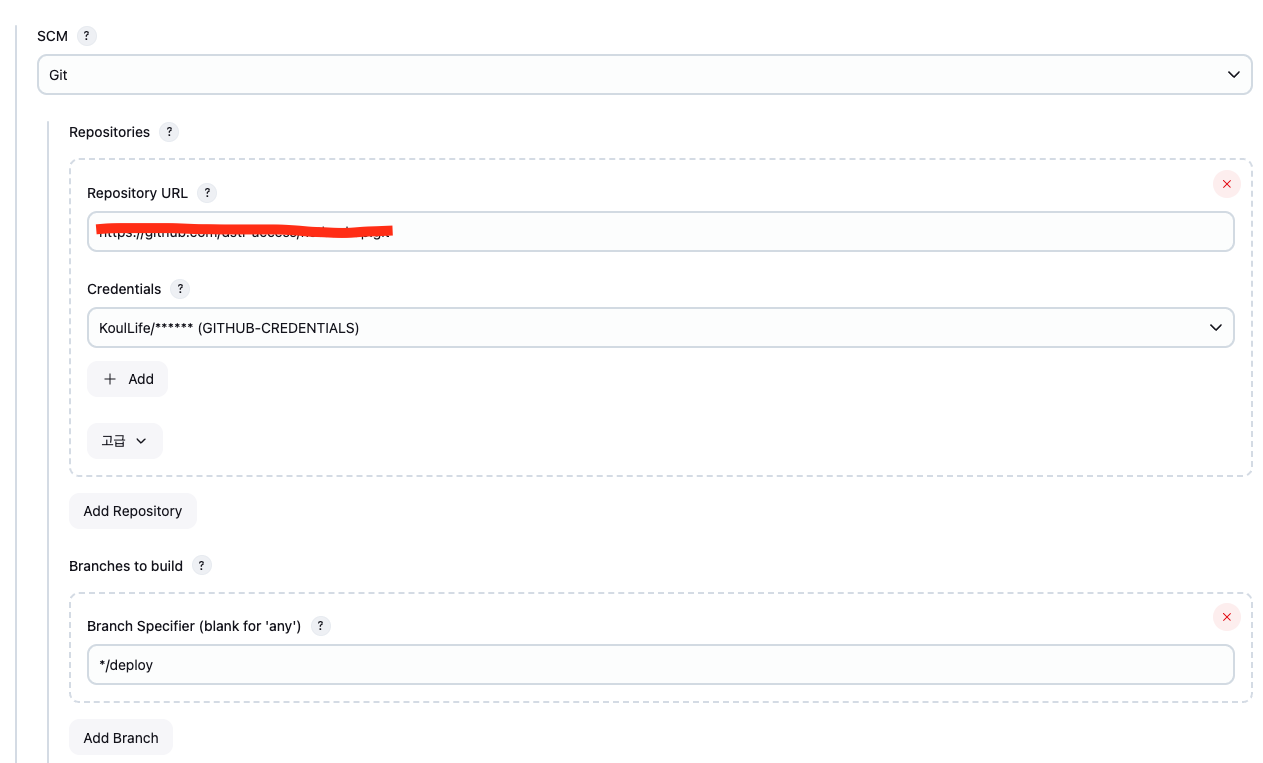
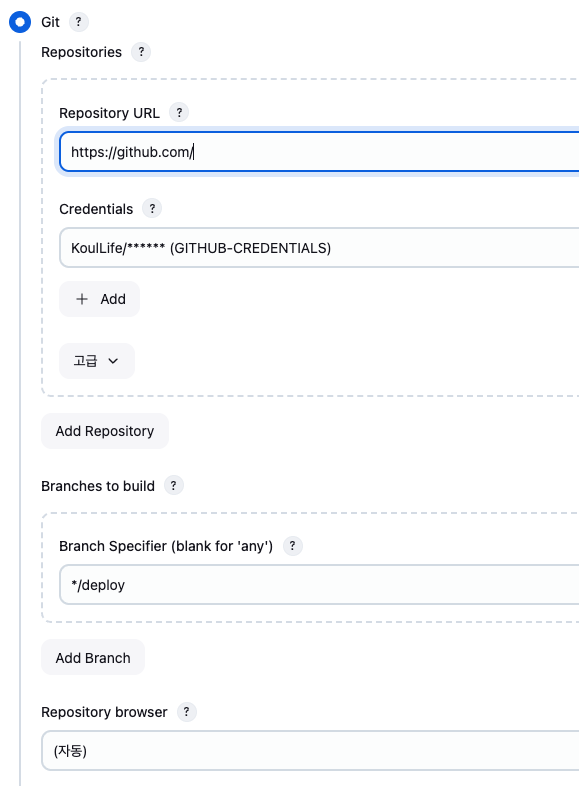
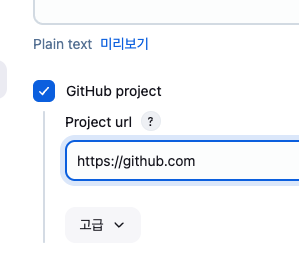
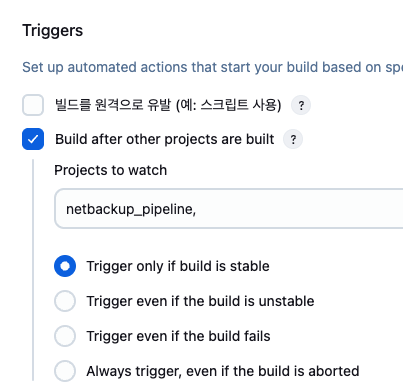
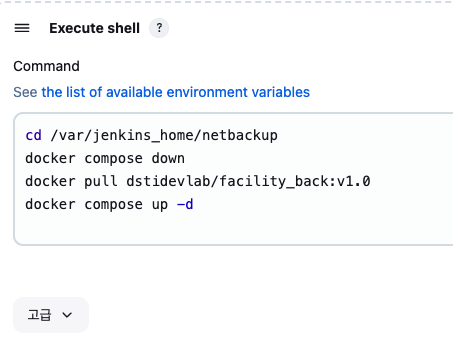
Deploy 생성
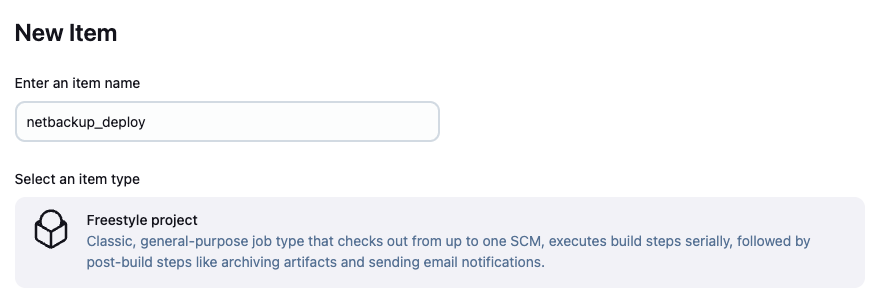
코드 작성
Dockerfile
FROM openjdk:21-slim AS builder
WORKDIR /app
COPY . .

RUN chmod +x gradlew
RUN ./gradlew clean bootJar --no-daemon

FROM openjdk:21-slim
COPY --from=builder /app/build/libs/netbackup-0.0.1-SNAPSHOT.jar ./ROOT.jar
ENV TZ=Asia/Seoul
ENTRYPOINT ["java", "-jar -Dspring.profile.active=dev", "./ROOT.jar"]
docker-compose.yml
version: '3.3'
services:
  webserver:
    image: dcplife/netbackup:v1.0
    ports:
      - "8081:8081"
    environment:
      - SERVER_PORT=8081
Jenkinsfile
node {
    dir('/home/dsti-prod/netbackup') {
        stage('Clone repository') {
            git branch: 'deploy',
                credentialsId: 'github_access_token',
                url: 'https://github.com/dsti-access/netbackup.git'
        }

        stage('Build image') {
            dockerImage = docker.build("dcplife/netbackup:v1.0")
        }

        stage('Push image') {
            withDockerRegistry([credentialsId: "dsti-jenkins", url: ""]) {
                dockerImage.push()
            }
        }
    }
}