최근 프로젝트 진행 중 이메일 템플릿을 담당하여 제작했던 내용을 간단히 정리하고자 합니다.
- 이메일 템플릿 예시 코드
<!-- 중앙 정렬용 table -->
<table cellpadding="0" cellspacing="0" style="width: 100%">
  <tbody>
    <tr align="center">
      <td>
        <!-- 본문용 table -->
        <table cellpadding="0" cellspacing="0" style="min-width: 360px; max-width: 720px; border: 2px solid #d65d5d">
          <thead style="background-color: #fff">
            <tr>
              <td style="height: 30px"></td>
            </tr>
            <tr>
              <td style="padding-left: 20px; padding-right: 20px">
                <img
                  src="https://encrypted-tbn0.gstatic.com/images?q=tbn:ANd9GcQ8dyOYfDD2bKDAm3Q9lpXok7ekrF3XTNtzlyL3EV85dMPvKsCPoSV6DbTTgApUi12NAjc&usqp=CAU"
                  width="80"
                  height="30"
                  alt="로고"
                  style="max-width: 100%; height: auto; vertical-align: top"
                />
              </td>
            </tr>

            <tr>
              <td style="height: 30px"></td>
            </tr>
            <tr>
              <td
                style="
                  font-size: 20px;
                  font-weight: 700;
                  padding-left: 15px;
                  padding-right: 15px;
                "
              >
                회원 가입을 축하합니다.
              </td>
            </tr>
            <tr>
              <td style="height: 12px"></td>
            </tr>
            <tr>
              <td
                style="font-size: 14px; line-height: 20px; color: #787878; padding-left: 20px; padding-right: 20px"
              >
                <span style="color: #000; font-weight: 700">${name}</span>
                님 회원 가입을 축하드립니다.
              </td>
            </tr>
            <tr>
              <td style="height: 30px"></td>
            </tr>
          </thead>
          <tbody style="background-color: pink">
            <tr>
              <td style="height: 30px"></td>
            </tr>
            <tr>
              <td style="padding-left: 20px; padding-right: 20px">
                <table
                  style="
                    border: 1px solid #e8e8e8;
                    width: 100%;
                    padding-top: 20px;
                    padding-left: 20px;
                    padding-right: 20px;
                    padding-bottom: 20px;
                  "
                  cellpadding="0"
                  cellspacing="0"
                >
                  <tr>
                    <td style="font-size: 14px; font-weight: 700; width: 64px">이메일</td>
                    <td style="font-size: 14px">${email}</td>
                  </tr>
                  <tr>
                    <td style="height: 12px"></td>
                  </tr>
                  <tr>
                    <td style="font-size: 14px; font-weight: 700; width: 64px">아이디</td>
                    <td style="font-size: 14px">${id}</td>
                  </tr>
                </table>
              </td>
            </tr>
            <tr>
              <td style="height: 32px"></td>
            </tr>
          </tbody>
        </table>
      </td>
    </tr>
  </tbody>
</table>-
Table 태그를 이용한 레이아웃
프로젝트에서는 이메일 템플릿의 레이아웃을 위해 테이블 태그를 사용했습니다. div 태그를 사용할 수 없는 것은 아니지만, 일부 이메일 클라이언트에서는 'position'이나 'display: flex'와 같은 레이아웃을 돕는 스타일을 지원하지 않는 점을 고려해 Table 태그를 사용했습니다.
-
인라인 css 스타일 적용
일부 메일 클라이언트들은 보안상의 이유로 외부 스타일 시트나 문서 내부의 스타일 시트를 제한적으로만 지원합니다. 이에 반해, 인라인 스타일은 대부분의 클라이언트에서 안정적으로 작동합니다 또한 인라인 스타일 적용 시 스타일의 우선순위가 높아 여러 클라이언트 환경에서 개발자가 의도한 스타일 보여줄 수 있습니다.
-
이메일 템플릿 중앙 정렬
이메일을 발송할 때, 어떤 태그와 스타일이 각 이메일 클라이언트에서 어떻게 적용될지 예측하기 어렵습니다. 따라서 전체 테이블을 감싸는 테이블 태그를 생성하고, 너비를 100%로 지정한 다음, 메인 테이블 태그를 감싸는 tr 태그에 align="center"를 적용하여 클라이언트에 관계없이 중앙 정렬을 할 수 있습니다.
-
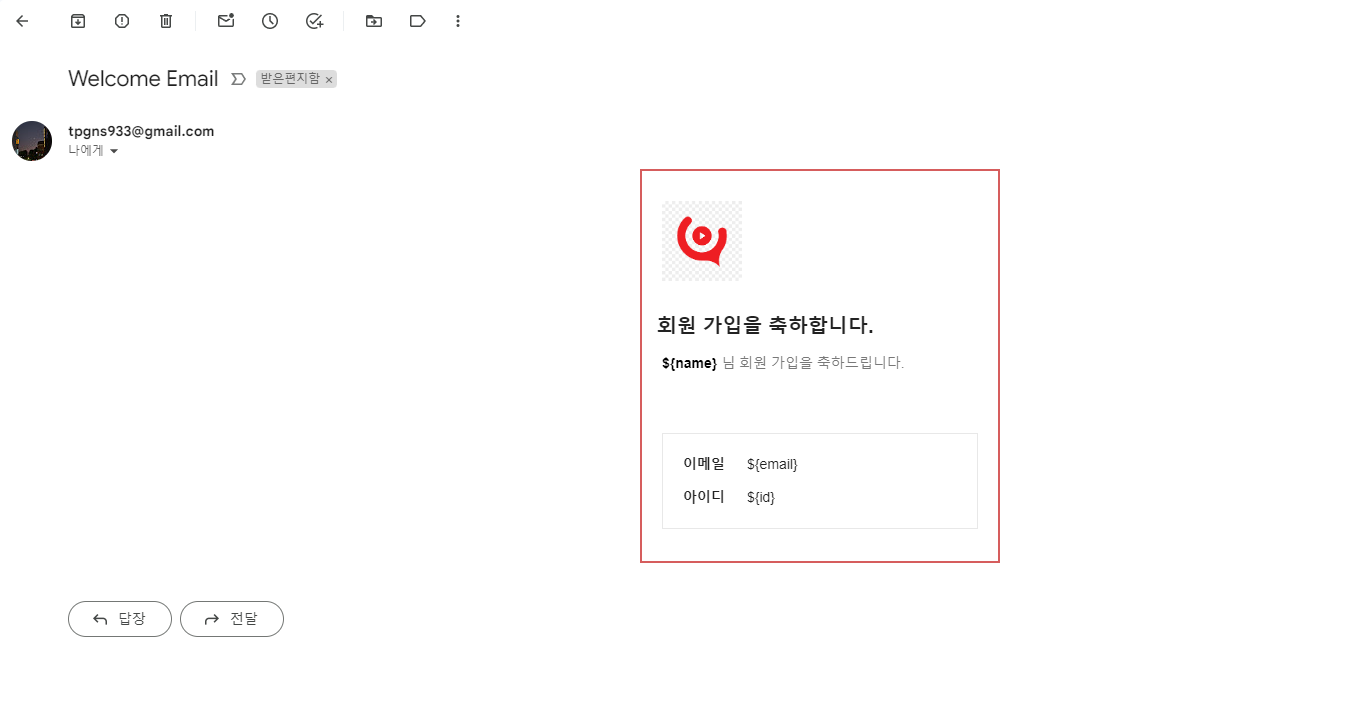
백엔드 개발자와 동적 데이터 플레이스 홀더 약속하기
이메일 템플릿에서 JavaScript를 사용하여 동적 데이터를 삽입할 수 없기 때문에, 서버에서 이메일 템플릿 HTML을 로드하고 수신자의 정보(동적 데이터)를 추가하는 과정이 필요합니다. 프로젝트에서 ${} 형태로 표시된 부분은 이러한 동적 데이터를 위한 플레이스 홀더로 사용되었습니다.
https://www.caniemail.com/ caniemail는 이메일 템플릿에 적용 가능한 html 태그 css 스타일 확인 시 유용합니다.
- 이메일 전송 예시 코드
const nodemailer = require('nodemailer');
const fs = require('fs');
const dotenv = require('dotenv');
dotenv.config();

const { user, pass, to } = process.env;

let transporter = nodemailer.createTransport({
  service: 'gmail',
  auth: {
    user: user,
    pass: pass,
  },
});

fs.readFile('./test.html', 'utf8', (err, html) => {
  if (err) {
    console.error('Error reading the HTML file:', err);
    return;
  }

    const dynamicData = {
      name: "secoon",
      email: "tpgns933@gmail.com",
      id: "secoon123",
    };

    Object.keys(dynamicData).forEach(key => {
      html = html.replace(new RegExp(`\\$\\{${key}\\}`, 'g'), dynamicData[key]);
    });

  let mailOptions = {
    from: user,
    to: to,
    subject: 'Welcome Email',
    html: html,
  };

  transporter.sendMail(mailOptions, (error, info) => {
    if (error) {
      return console.log(error);
    }
    console.log('Message sent: %s', info.messageId);
  });
});
- html 파일 이 있는 폴더에 이메일 전송을 위한 js 파일을 만들어 줍니다.
저는 server.js로 생성했습니다.
아래 참고 사이트를 참고하여 nodemailer에 gmail을 연결합니다.
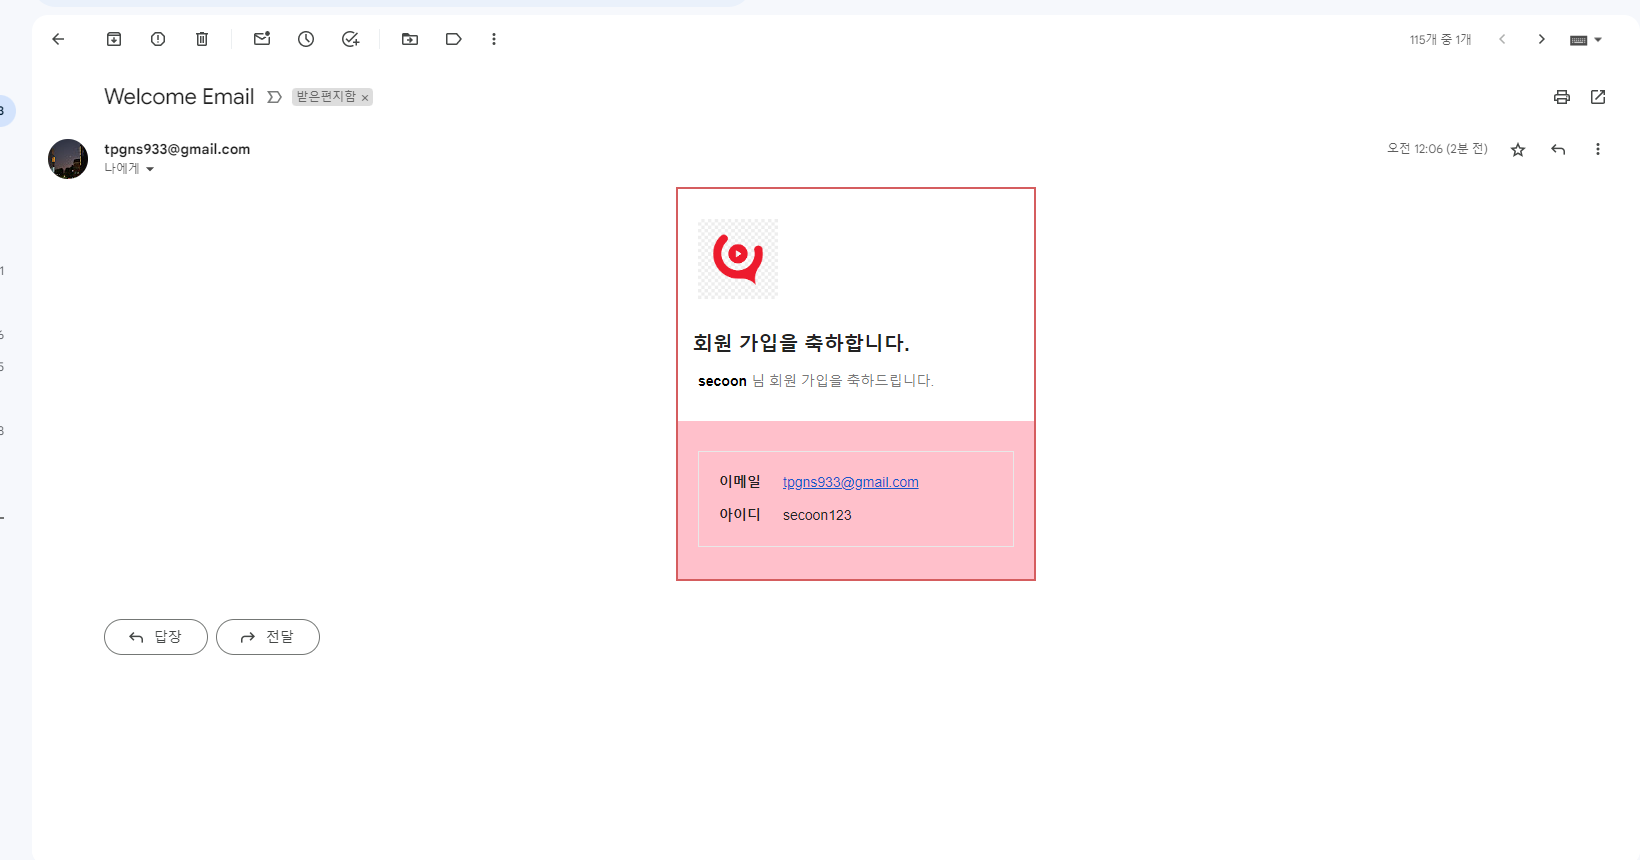
동적 데이터 삽입을 위해 플레이스 홀더를 데이터로 리플레이스 합니다.
터미널에 node server.js를 실행하고 to에 지정한 이메일을 확인하면 메일이 정상적으로 수신된 걸 확인할 수 있습니다.
https://www.cckn.dev/dev/2000-9-nodemailer/ nodemailer에 gmail 연결 참고
이 프로젝트를 통해 이메일 템플릿 제작에 대해 많은 것을 배울 수 있었습니다.
처음 시작할 때 이메일 템플릿에 대해 전혀 몰랐고, 다음 날 백엔드 개발자와의 사전 미팅이 예정되어 있어 막막했지만 밤새 공부하여 다행히 원활히 미팅을 진행할 수 있었습니다
이 글이 이메일 템플릿 제작에 처음 도전하는 분들에게 조금이나마 도움이 되길 바랍니다.