개발하는 웹 페이지가 국내 유저 뿐만 아니라, 글로벌 유저를 타겟할 경우, 외국어 전환 기능을 페이지에 삽입하는 것을 고려할 수 있다. Next.js로 개발하는 경우, next-i18next 라이브러리를 이용하면 언어전환을 비교적 쉽게 구현하는 것이 가능하다.
패키지 설치
npm i next-i18next react-i18next i18next
or
yarn add next-i18next react-i18next i18next
디렉토리 및 파일 구성
root 디렉토리에 next-i18next.config.js 파일을 추가한다.
해당 파일은 next.config.js와 동일선상에 있어야한다.
next-i18next.config.js
const path = require('path');
module.exports = {
i18n: {
defaultLocale: "ko",
locales: ["en", "ko"],
localeDetection:true,
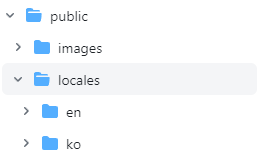
localePath: path.resolve('./public/locales'),
},
};1. defaultLocale을 한국어로 설정했다.
2. locales에 en과 ko를 추가하여, 영어와 한국어를 지원하도록 했다.
3. localeDetection을 true로 설정하여, 웹서버에 요청시 요청 헤더의 accept-language를 사용해서 언어를 지정할지를 결정했다.
4. public 디렉토리에 locales 디렉토리의 언어 json파일을 참조한다. root url에 /en을 붙이면 영어가, /ko를 붙이면 한국어가 보여지도록 의도했으며,
이제 next.config.js에 i18n을 추가해야한다.
next.config.js
/** @type {import('next').NextConfig} */
const {i18n}=require("./next-i18next.config")


const nextConfig = {
  i18n,
  reactStrictMode: true

}

module.exports = nextConfig
다음은, public 디렉토리에 locales 디렉토리를 만들고, 그 안에 각각 en과 ko (설정한 언어) 디렉토리를 추가한다.
_app.tsx의 App컴포넌트에 appWithTranslation을 감싸주는 것으로 기본적인 구성을 마무리한다.
_app.tsx
import {appWithTranslation} from 'next-i18next';

export default appWithTranslation(App)
언어 전환 구현하기
메인페이지 (index.tsx)에서 한국어/영어를 자유자재로 전환하고자 한다.
이를 위해, 가장 먼저 만들어뒀던 locales디렉토리의 en과 ko에 index.json파일을 추가한다.
그리고 index.json에 각각 전환할 문구들을 작성한다.
/locales/ko/index.json
{
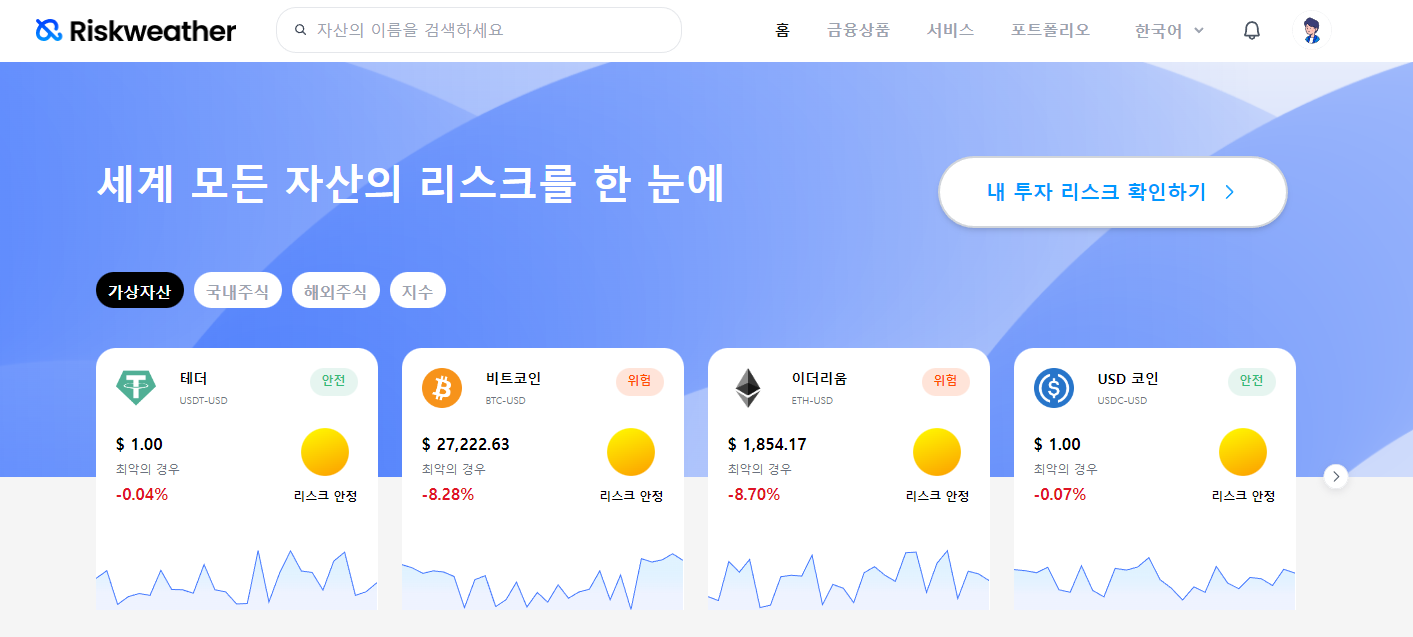
"headerTitle": "세계 모든 자산의 리스크를 한 눈에",
"mobileTitle1":"세계 모든 자산의",
"mobileTitle2":"리스크를 한 눈에",
"headerButton":"내 투자 리스크 확인하기",
"mobileMapButton": "세계 리스크 지도 확인하기",
"mapTitle": "세계 리스크 지도",
"nowTrendingTitle": "거래대금 상위",
"nowTrendingButton1":"펼치기",
"nowTrendingButton2":"접기",
"toExplore":"더 보기",
"tableName":"이름",
"tableRisk":"리스크 수준",
"tableLoss":"최악의 경우",
"tableChart":"리스크 차트",
"tableWeather":"날씨",
"goBack" :"돌아가기",
"riskLevelTitle": "리스크 수준"
}
/locales/en/index.json
{
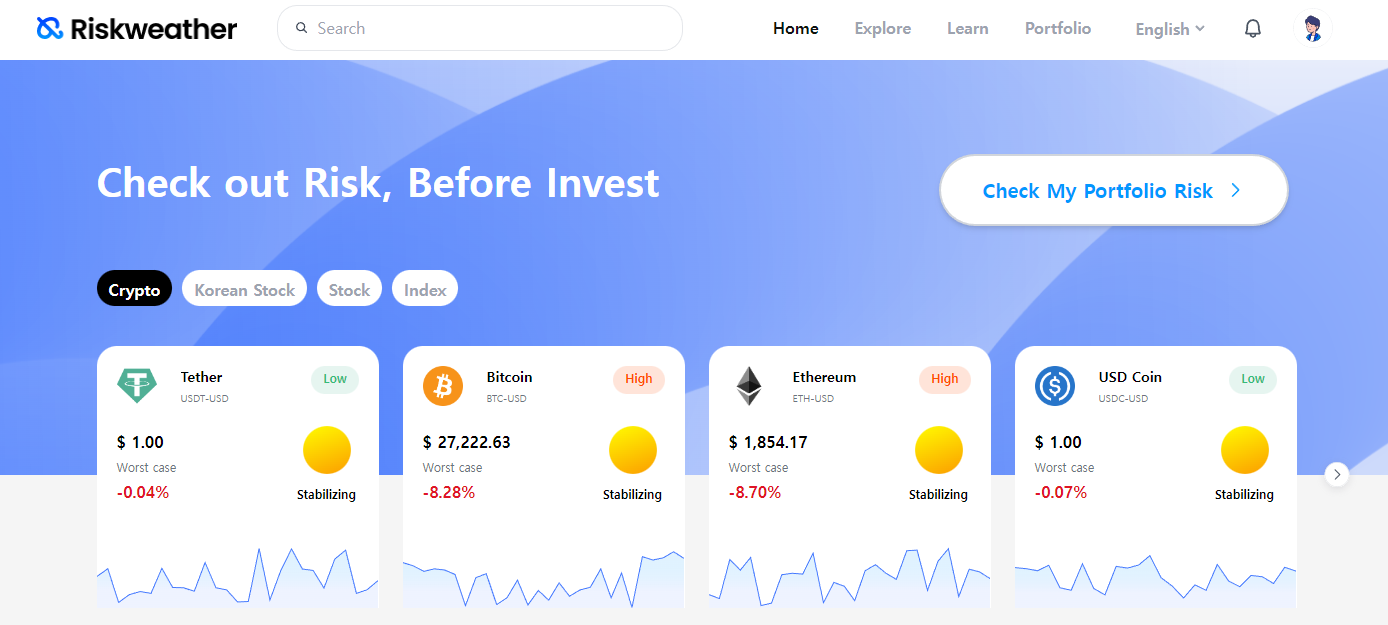
"headerTitle": "Check out Risk, Before Invest",
"mobileTitle1":"Check out Risk",
"mobileTitle2":"Before Invest",
"headerButton":"Check My Portfolio Risk",
"mobileMapButton": "Explore World Risk Weather",
"mapTitle": "World Risk Map",
"nowTrendingTitle": "Now Trending",
"nowTrendingButton1":"More",
"nowTrendingButton2":"Fold",
"toExplore":"View All",
"tableName":"Name",
"tableRisk":"Risk Level",
"tableLoss":"Worst case",
"tableChart":"Risk chart",
"tableWeather":"Weather",
"goBack" :"Go Back",
"riskLevelTitle": "Risk Level"
}index.tsx에 서버사이드로 작성한 json파일들에 대한 정보를 넘겨주기 위해 next-i18next의 serverSideTranslations를 getStaticProps 혹은 getServerSideProps에 추가한다.
index.tsx
import { NextPage } from "next";
import WebComponent from "components/pages/w/Main";
import MobileComponent from "components/pages/m/Main";
import {useState} from 'react'
import {serverSideTranslations} from 'next-i18next/serverSideTranslations'
import { GetServerSidePropsContext } from "next";
import {IndexData} from "interfaces/main"

interface Props {
  isMobile: boolean;
  indexData:IndexData[];
}

const Main: NextPage<Props> = ({isMobile,indexData}) => {
  return isMobile ? <MobileComponent /> : <WebComponent  indexData={indexData}/>;
};

export default Main;

export async function getServerSideProps({locale}:GetServerSidePropsContext) {

  const res= await
      fetch(`${process.env.NEXTAUTH_URL}/api/mapIndex`);
  const indexData= await res.json()

  return { props: {indexData, ...(await serverSideTranslations(locale as string,['index']))} };

}
이제 메인페이지의 컴포넌트에서 useTranslation 훅을 통해 쉽게 언어전환을 구현할 수 있다.
import { useTranslation } from "next-i18next";

const {t}=useTranslation('index')
useTranslation을 import해오고, serverSideTranlations를 통해 index.tsx에 설정해둔, index.json을 활용하기 위해, useTranslation에 'index'인자를 준 t를 선언한다.
이제 t를 통해 언어전환 텍스트를 html에 삽입할 수 있다.
 <h1 className="mb-[60px] text-center  text-[40px] text-white">
    {t('headerTitle')}
 </h1>
예를들어, t('headerTitle') 은 언어 설정이 en인 사람에게는 "Check out Risk, before Invest"로 보일 것이고, ko인 사람에게는 "세계모든 리스크를 한 눈에"로 보일 것이다.
언어 전환 버튼 구현하기
root url이 /ko이면 한국어, /en이면 영어가 보여질 것이다.
const handleLocaleChange=async(locale)=>{
  await  router.push(router.pathname,router.asPath,{locale})
}

... 중간 생략

  <div className={'mr-8 flex text-md text-gray-400 text-center font-semibold'}>
     <select className={'items-center justify-center'}
        defaultValue={router.locale}
        onChange={(e) => handleLocaleChange(e.target.value)}
      >
        <option className={'text-black'} value="en">English</option>
        <option className={'text-black'}  value="ko">한국어</option>
    </select>
  </div>
결과