wkhtmltopdf
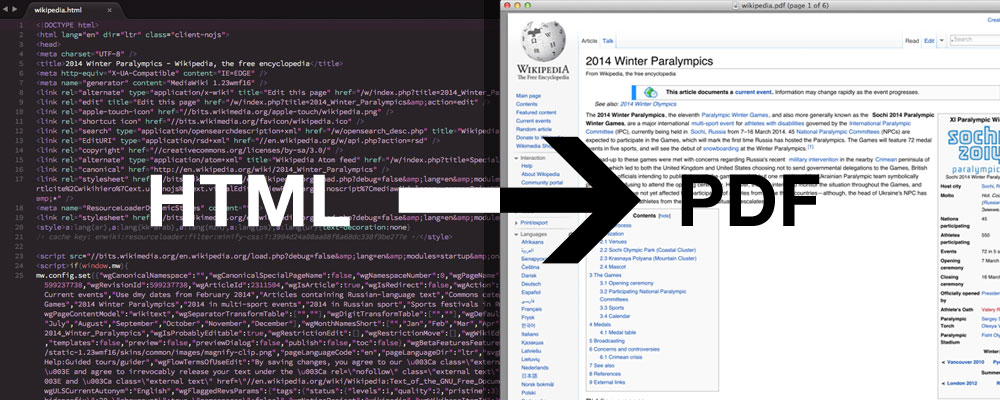
html파일을 pdf로 변환하고 싶을 때 많이들 사용하는게 wkhtmltopdf이다.
python-pdfkit
wkhtmltopdf를 python에서 사용하고 싶으면, python-pdfkit을 사용하면 된다.
코드를 읽어보면 단순히 wkhtmltopdf를 subprocess.Popen을 사용해서 실행해주는 라이브러리다.
installation
README의 설치방법을 따라해보자.
1. Install python-pdfkit
$ pip install pdfkit2. Install wkhtmltopdf
$ sudo apt-get install wkhtmltopdfusage
사용 방법은 다음과 같다.
basic usage
import pdfkit

pdfkit.from_url('http://google.com', 'out.pdf')
pdfkit.from_file('test.html', 'out.pdf')
pdfkit.from_string('Hello!', 'out.pdf')
pdfkit에서 제공하는 api는 총 3가지가 있다.
- from_url은 url로 접속을 해서 가져온 html을 pdf로 바꿔주고
- from_file은 file_path를 주거나 file object를 주면 된다.
- from_string은 raw한 html 텍스트를 넣어주면 된다.
option
wkhtmlpdf에는 여러가지 옵션이 존재한다. 자세한 옵션은 여기서 확인해 볼 수 있다.
pdfkit에서 옵션을 적용하는 방법은 다음과 같다.
options = {
    'page-size': 'Letter',
    'margin-top': '0.75in',
    'margin-right': '0.75in',
    'margin-bottom': '0.75in',
    'margin-left': '0.75in',
    'encoding': "UTF-8",
    ...
}

pdfkit.from_url('http://google.com', 'out.pdf', options=options)
실행해보자!
위의 예시대로 실행을 한번 해봤다.
import pdfkit
options = {
  'margin-top': '0',
  'margin-right': '0',
  'margin-bottom': '0',
  'margin-left': '0',
}
pdfkit.from_string(html_text, 'output.pdf', options=options)
실패
실행결과
OSError: wkhtmltopdf exited with non-zero code 1. error:
QStandardPaths: XDG_RUNTIME_DIR not set, defaulting to '/tmp/runtime-root'
qt.qpa.screen: QXcbConnection: Could not connect to display
Could not connect to any X display.
원인
환경변수 XDG_RUNTIME_DIR가 설정이 안돼있는거는 warning인 것 같고, X display에 연결이 되지 않는게 문제인 것 같다.
지금 작업환경이 ubuntu desktop이 아니라 ubuntu server라서 생기는 문제인 것 같다.
해결책
스택오버플로우에 따르면 xvfb을 사용해서 virtual x-server상에서 실행하면 된다!
$ sudo apt-get install xvfb
$ xvfb-run wkhtmltopdf input.html output.pdf
python에서는..?
흐음.. 근데 나는 wkhtmltopdf를 직접 사용하는게 아니라 python-pdfkit을 사용하고 있어서 xvfb-run으로 실행을 시킬 수 가 없다. (물론 내가 직접 subprocess를 띄워서 실행할 수 도 있지만, python-pdfkit을 최대한 활용하고 싶었다.)
그래서 python-pdfkit이 어떻게 wkhtmltopdf를 실행하고 있는지 자세히 살펴본 결과 대략적으로 다음과 같다. 자세한 코드는 여기서 확인할 수 있다.
# 우리가 호출하는 from_url 함수 (api.py)
def from_url(url, output_path, ...):
    r = PDFKit(url, 'url', ...)
    return r.to_pdf(output_path)

# class PDFKit (pdfkit.py)
class PDFKit():
    ...
    # function to_pdf
    def to_pdf(self, path=None):
        args = self.command(path)
		...
        subprocess.Popen(args, ...)
        ...
    # function command
    def command(self, path=None):
        return list(self._command(path))

    # function _command
    def _command(self, path=None):
        ...
        yield self.wkhtmltopdf
        ...
        for argpart in self._genargs(self.options):
            if argpart:
                yield argpart
        ...
실행 순서대로 간략하게 요약해보자면
- from_url을 호출하면 PDFKit 인스턴스를 생성
- 생성한 인스턴스로 to_pdf를 호출
- to_pdf에서는 command 메소드를 통해 subprocess에서 실행할 args 배열을 구성
- subprocess로 args를 실행
해결책 (in python)
command함수에서 xvfb-run를 args 맨앞에 넣으면 될 것 같다!
import pdfkit


class MyPdfKit(pdfkit.PDFKit):
    def command(self, path=None):
        return ['xvfb-run'] + super().command(path)

def my_from_url:
    r = MyPDFKit(url, 'url', ...)
    return r.to_pdf(output_path)
이제 my_from_url을 사용하면 정상적으로 실행된다!
하지만..
실패 2..
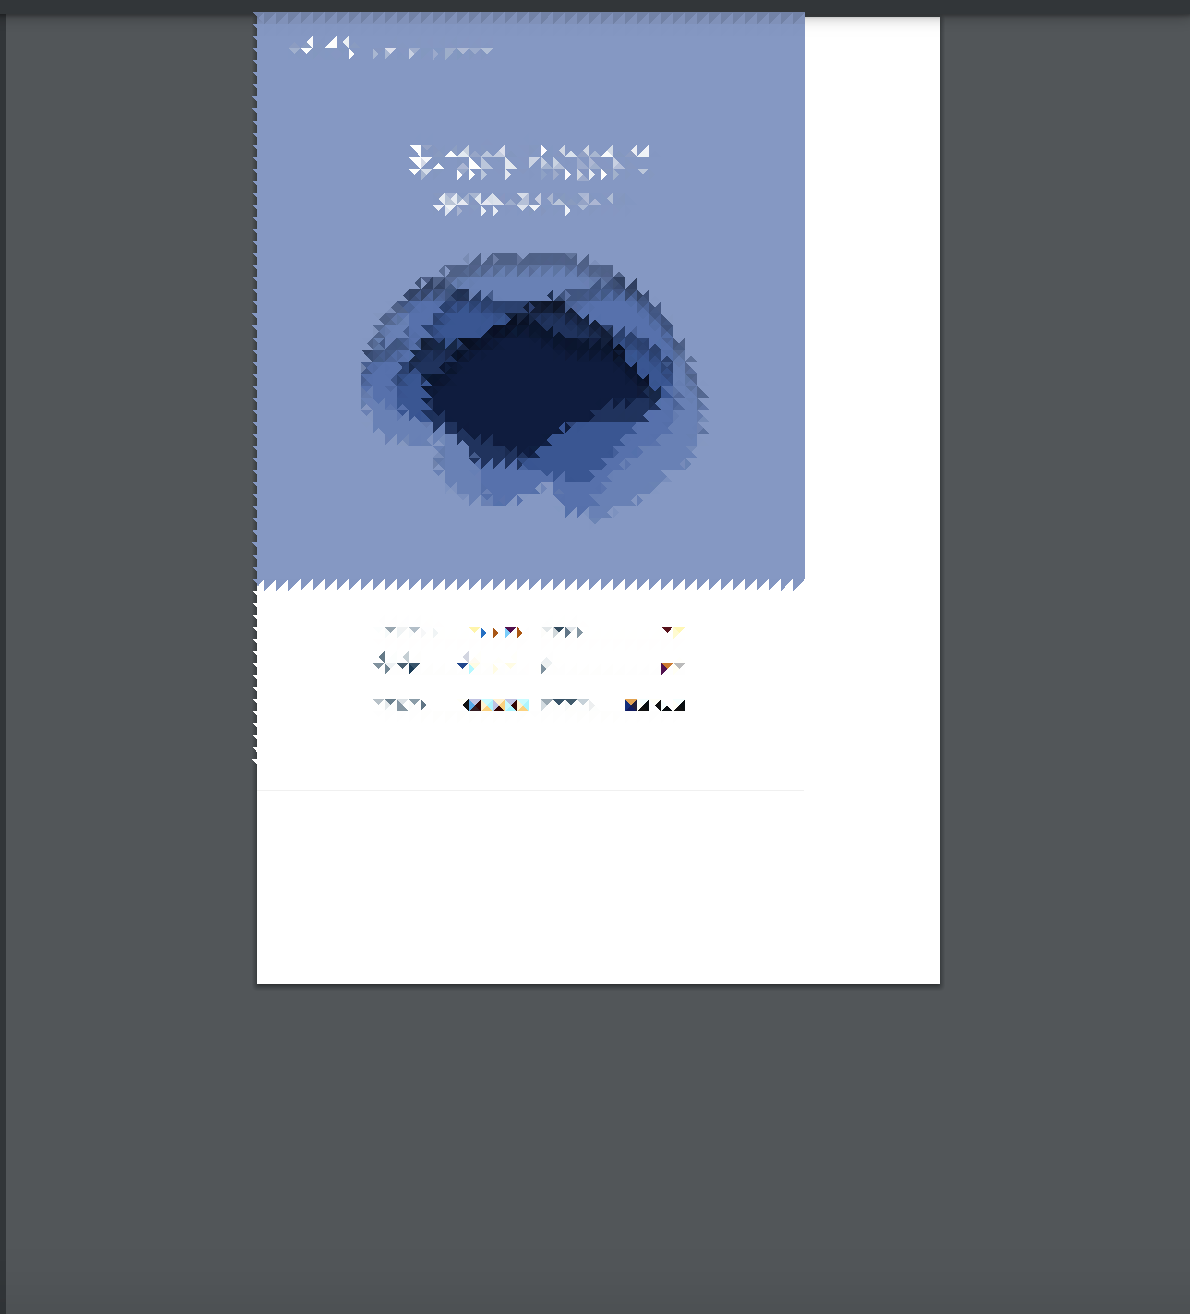
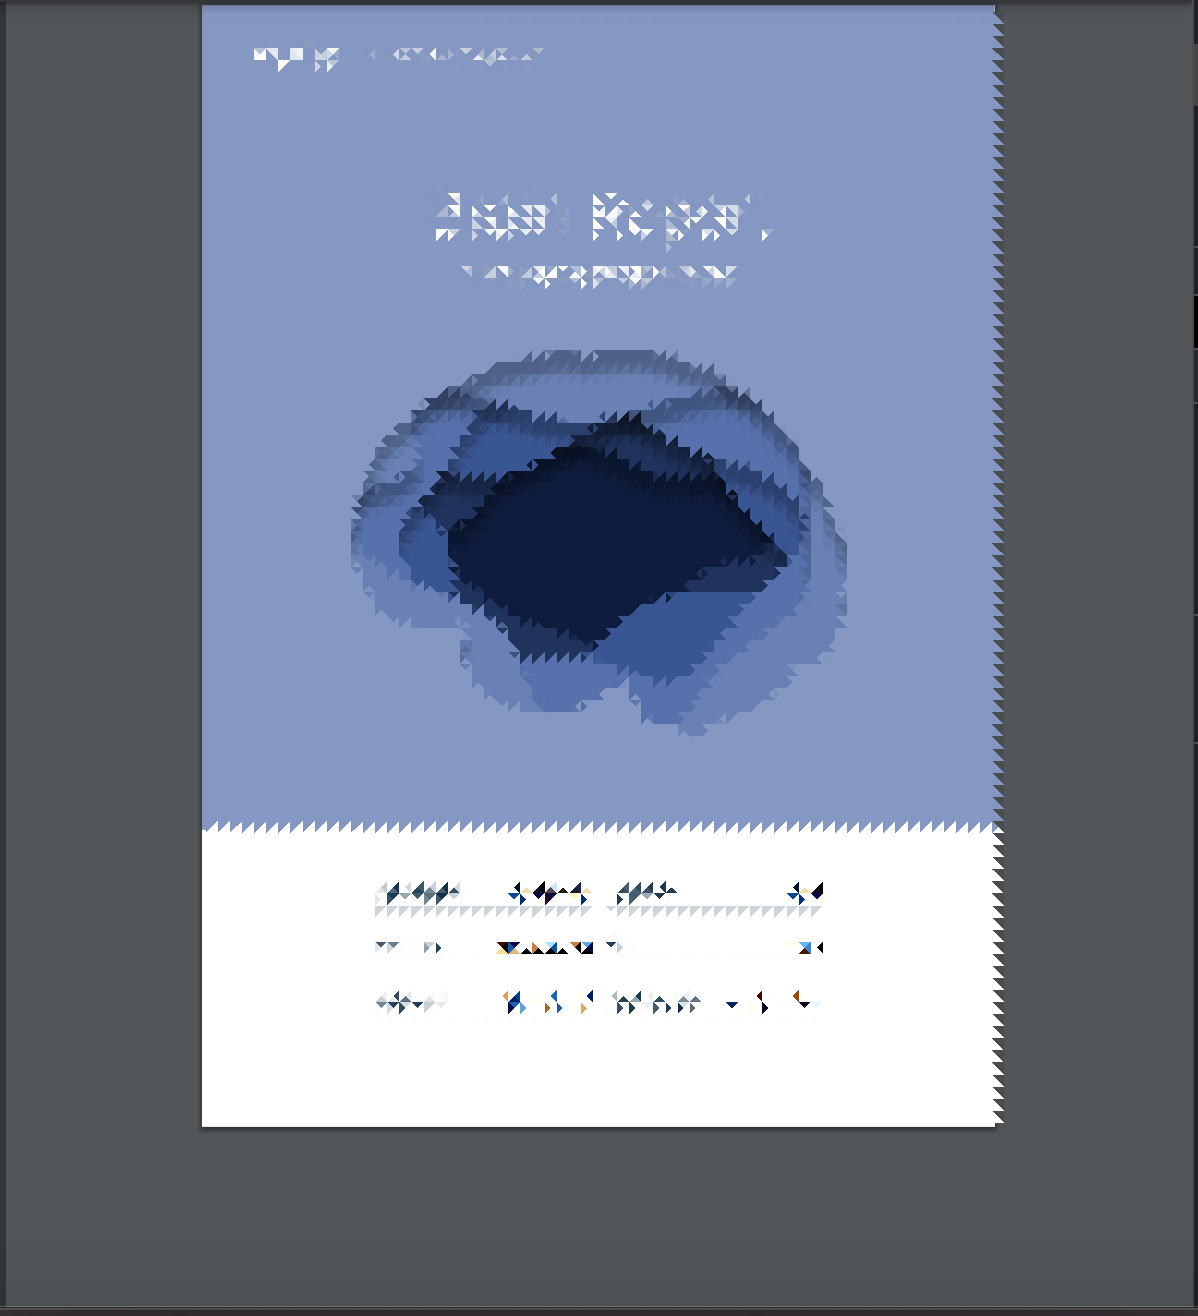
실행결과 (내용은 모자이크 처리했습니다.)

🤔흠.. margin을 모두 0으로 줬는데도 우측과 하단에 여백이 들어간 상태로 rendering이 되어있었다.
혹시 나와 비슷한 사람이 있을까 찾아보니, 역시나 존재했다.
https://github.com/wkhtmltopdf/wkhtmltopdf/issues/3226
정확히 똑같은 현상!!
이분이 제시한 해결책은 다음과 같다.
아까 말한 wkhtmltopdf 옵션에는 disable-smart-shrinking에 대해 아래와 같이 설명되어 있다.
이 옵션을 주고 다시 실행해보자.
options = {
    'margin-top': '0',
    'margin-right': '0',
    'margin-bottom': '0',
    'margin-left': '0',
    'disable-smart-shrinking': True
}
my_from_url(url, output_path, options=options)
실패 3...
여전히 불필요한 여백이 붙어서 나온다.
한참을 헤매다가, python-pdfkit을 사용하지 않고, wkhtmltopdf를 직접 shell에서 실행 해봤다.
$ wkhtmltopdf -L 0 -R 0 -T 0 -B 0 --disable-smart-shrinking input.html output.pdf
> The switch --disable-smart-shrinking, is not support using unpatched qt, and will be ignored.
...
unpatched qt에서는 disable-smart-shrinking이 먹히지 않는다고 한다.😢
찾아보니 wkhtmltopdf를 apt install로 설치하면, qt가 최신 버전이 아니라 생기는 문제라고 한다.
그래서 wkhtmltopdf github의 release파일을 설치하면 qt가 최신버전이라 disable-smart-shrinking옵션이 적용되는 것 같다.
참고: 스택오버플로우
$ wget https://github.com/wkhtmltopdf/wkhtmltopdf/releases/download/0.12.3/wkhtmltox-0.12.3_linux-generic-amd64.tar.xz
$ tar vxf wkhtmltox-0.12.3_linux-generic-amd64.tar.xz
$ sudo cp wkhtmltox/bin/wk* /usr/local/bin/
$ sudo apt-get install libxrender1 # 주의사항
주의사항
apt-get install wkhtmltopdf이렇게 설치하면 자동으로 libxrender1 라이브러리가 설치가 되는 반면에, wget으로 github의 release파일만 가져오게 되면 libxrender1을 따로 설치해줘야 한다. 원문 에는 포함되어 있지 않아서 추가했다.
성공!!

결론
python에서 wkhtmltopdf를 사용하는 법을 알아봤다.
-
결과물에 불필요한 여백이 붙어나오는 경우
apt install로 wkhtmltopdf를 바로 설치하지 말고 libxrender1 라이브러리와 github release파일을 받아와서 wkhtmltopdf를 직접 설치하자.
그러고 disable-smart-shrinking를 옵션을 주고 실행하자. -
ubuntu-server에서 사용하는 경우
xvfb를 설치하고 python-pdfkit을 마개조해서 사용하자.


같은 문제에 부딪혀서 헤맸는데, 덕분에 해결했습니다. 정말 감사합니다!