Guideline 이란?
안드로이드에서 XML뷰를 그릴 때 ConstraintLayout 내부에서 가상의 점선 형태의 컴포넌트를 Guideline이라고 한다. 이 GuideLine을 사용하면 좀 더 간편하게 뷰 끼리의 제약을 걸어줄 수 있다.
사용
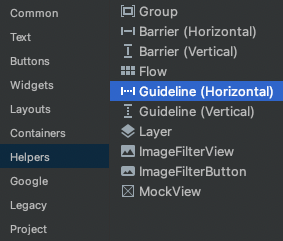
XML 에서 Helpers 에 Guidline 이 수평, 수직에 따라 Horizontal, Vertical 두 가지가 존재한다.
1. vertical guideline
다음과 같이 vertical guidelined 을 생성한 후layout_constraintGuide_percent를 사용해서 부모 constraint layout width 가 100% 기준에서 퍼센트 값에 위치시킬 수 있다. 왼쪽(0) 부터 오른쪽(1) 값으로 퍼센트를 매긴다. 0.1 은 10퍼센트를 뜻한다.
<androidx.constraintlayout.widget.Guideline
	android:id="@+id/guideline_left"
    android:layout_width="0dp"
    android:layout_height="0dp"
    android:orientation="vertical"
    app:layout_constraintGuide_percent="0.1" />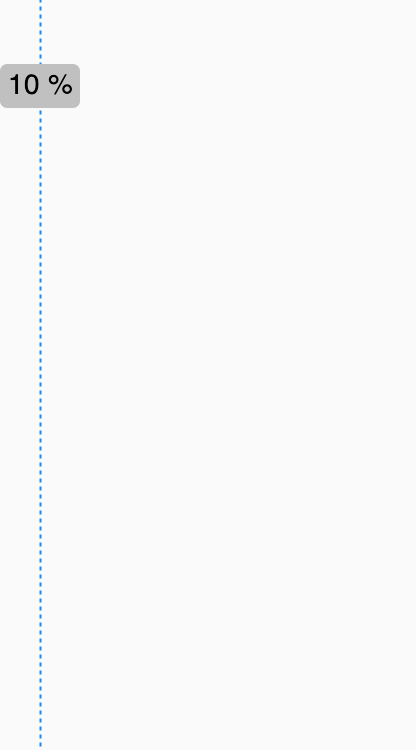
2. horizontal guideline
다음과 같이 horizontal guidelined 을 생성한 후layout_constraintGuide_percent를 사용해서 부모 constraint layout height 가 100% 기준에서 퍼센트 값에 위치시킬 수 있다. 위(0) 부터 바닥(1) 값으로 퍼센트를 매긴다. 0.2 은 20퍼센트를 뜻한다.
<androidx.constraintlayout.widget.Guideline
	android:id="@+id/guideline_top"
    android:layout_width="0dp"
    android:layout_height="0dp"
    android:orientation="horizontal"
    app:layout_constraintGuide_percent="0.2" />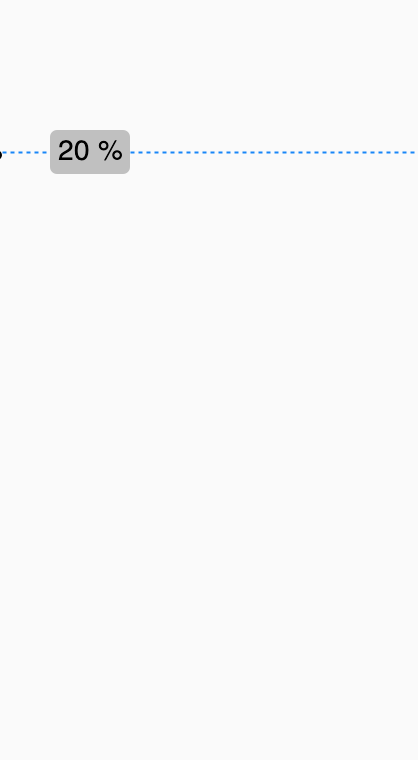
3. 가벼운 응용
guideline 4개를 이용해서 사각형을 올바른 위치에 그려보자!
- 왼쪽에서 10% 떨어져 있음
- 오른쪽에서 15% 떨어져 있음
- 위에서 20% 떨어져 있음
- 아래에서 60% 떨어져 있음
<androidx.constraintlayout.widget.ConstraintLayout
        android:layout_width="match_parent"
        android:layout_height="match_parent">

        <androidx.constraintlayout.widget.Guideline
            android:id="@+id/guideline_left"
            android:layout_width="0dp"
            android:layout_height="0dp"
            android:orientation="vertical"
            app:layout_constraintGuide_percent="0.1" />

        <androidx.constraintlayout.widget.Guideline
            android:id="@+id/guideline_right"
            android:layout_width="0dp"
            android:layout_height="0dp"
            android:orientation="vertical"
            app:layout_constraintGuide_percent="0.85" />

        <androidx.constraintlayout.widget.Guideline
            android:id="@+id/guideline_top"
            android:layout_width="0dp"
            android:layout_height="0dp"
            android:orientation="horizontal"
            app:layout_constraintGuide_percent="0.2" />

        <androidx.constraintlayout.widget.Guideline
            android:id="@+id/guideline_bottom"
            android:layout_width="0dp"
            android:layout_height="0dp"
            android:orientation="horizontal"
            app:layout_constraintGuide_percent="0.6" />

        <androidx.constraintlayout.widget.ConstraintLayout
            android:layout_width="0dp"
            android:layout_height="0dp"
            android:background="@color/primary"
            app:layout_constraintBottom_toTopOf="@id/guideline_bottom"
            app:layout_constraintLeft_toRightOf="@id/guideline_left"
            app:layout_constraintRight_toLeftOf="@id/guideline_right"
            app:layout_constraintTop_toBottomOf="@id/guideline_top">

        </androidx.constraintlayout.widget.ConstraintLayout>
    </androidx.constraintlayout.widget.ConstraintLayout>
사용 이유
위와 같이 완벽히 떨어지는 비율이 아닌 애매한 위치에 있는 뷰를 그릴 때 특히 좋다고 느꼈다. 이 외에도 화면 가장 외곽 테두리나 복잡한 뷰를 그릴 때 Guideline을 사용하면 좋았다.
guideline을 안쓴다면? 컴포넌트를 여러개 만들어나가면서 비율로 쪼개야 한다. 다소 복잡하고 위치를 잡기위한 목적의 뷰들이 많이 만들어져 비효율적이다.
고찰
단, Guideline을 사용하면서 id를 어떤 형식으로 해줘야 할 지는 항상 고민이다.
1. Guideline에 제약이 걸리는 컴포넌트 아이디도 포함을 해줘야할지
2. 치수로만 표현할지
3. left, top, bottom, right 등 도 표시해줘야 할지
4. guideline도 길기 때문에 gl 로 줄여서 할지
컴포넌트 아이디를 사용하자니 이름이 너무 길어지고, 치수로 표현하자니 중복이 생길수 도 있을 것 같고, 치수를 수정할 때 마다 이름을 같이 수정해줘야하는 것이 힘들 것 같고,, 흠
