redux-toolkit-todo
이번 포스팅에서는 useSelector, useDispatch, createSelector를 활용하여 기능을 구현해보겠습니다.
새로운 Todo 추가
새로운 Todo는 add 액션을 dispatch 하면 됩니다. Header 컴포넌트에서 구현해보겠습니다.
useDispatch
먼저 input 폼과 컴포넌트를 연동하는 코드 및 엔터키 동작 코드를 아래와 같이 구현합니다.
// src/components/Header.js

import { useState } from 'react'

function Header() {
  const [input, setInput] = useState('')

  const handleAddTodo = e => {
    if (!(e.keyCode === 13 || e.key === 'Enter')) {
      return
    }
  }

  return (
    <header className="header">
      <h1>todos</h1>
      <input
        autoFocus
        className="new-todo"
        onInput={ e => setInput(e.target.value) }
        onKeyDown={ handleAddTodo }
        placeholder="What needs to be done?"
        value={ input }
      />
    </header>
  )
}

export default Header
엔터키가 눌렸을 때, add 액션을 dispatch 하면 됩니다. action은 export 한 것을 import 하면 되고, dispatch는 useDispatch로 할 수 있습니다.
useDispatch는 앞에 use prefix로 볼 수 있듯이, 리액트 hook에서 redux action을 dispatch 하는 방법입니다. 사용법은 간단합니다. useDispatch는 dispatch 함수를 리턴합니다. add는 action creator입니다. 따라서 dispatch(add())를 하면 됩니다.
import { useState } from 'react'
// 👇👇👇
import { useDispatch } from 'react-redux'
import { add as addTodo } from '../state/todos'

function Header() {
  const [input, setInput] = useState('')
  // 👇👇👇
  const dispatch = useDispatch()

  const handleAddTodo = e => {
    if (!(e.keyCode === 13 || e.key === 'Enter')) {
      return
    }

    // 👇👇👇
    const text = input.trim()
    if (text === '') {
      return
    }

    setInput('')
    dispatch(addTodo(text))
  }

  return (
    <header className="header">
      <h1>todos</h1>
      <input
        autoFocus
        className="new-todo"
        onInput={ e => setInput(e.target.value) }
        onKeyDown={ handleAddTodo }
        placeholder="What needs to be done?"
        value={ input }
      />
    </header>
  )
}

export default Header
이제 아이템의 목록을 뿌려주는 기능을 구현해보겠습니다.
useSelector
아이템의 목록을 뿌려주는 Main 컴포넌트로 이동하여 아래와 같이 구현합니다.
// src/components/Main/index.js

import { useSelector } from 'react-redux'
import Todo from './Todo'

const todosSelector = state => state.todos.items

function Main() {
  const todos = useSelector(todosSelector)
  const Todos = todos.map(todo => <Todo key={ todo.id } { ...todo }/>)

  return (
    <section className="main">
      <input id="toggle-all" className="toggle-all" type="checkbox" />
      <label htmlFor="toggle-all">Mark all as complete</label>
      <ul className="todo-list">
        { Todos }
      </ul>
    </section>
  )
}

export default Main
그리고 Todo 컴포넌트를 아래와 같이 변경합니다.
// src/components/Main/Todo.js

function Todo({ id, done, text }) {
  return (
    <li className={ done ? 'completed' : '' }>
      <div className="view">
        <input
          checked={ done }
          className="toggle"
          type="checkbox"
        />
        <label>{ text }</label>
        <button className="destroy" />
      </div>
      <input className="edit" value="Create a TodoMVC template" />
    </li>
  )
}

export default Todo
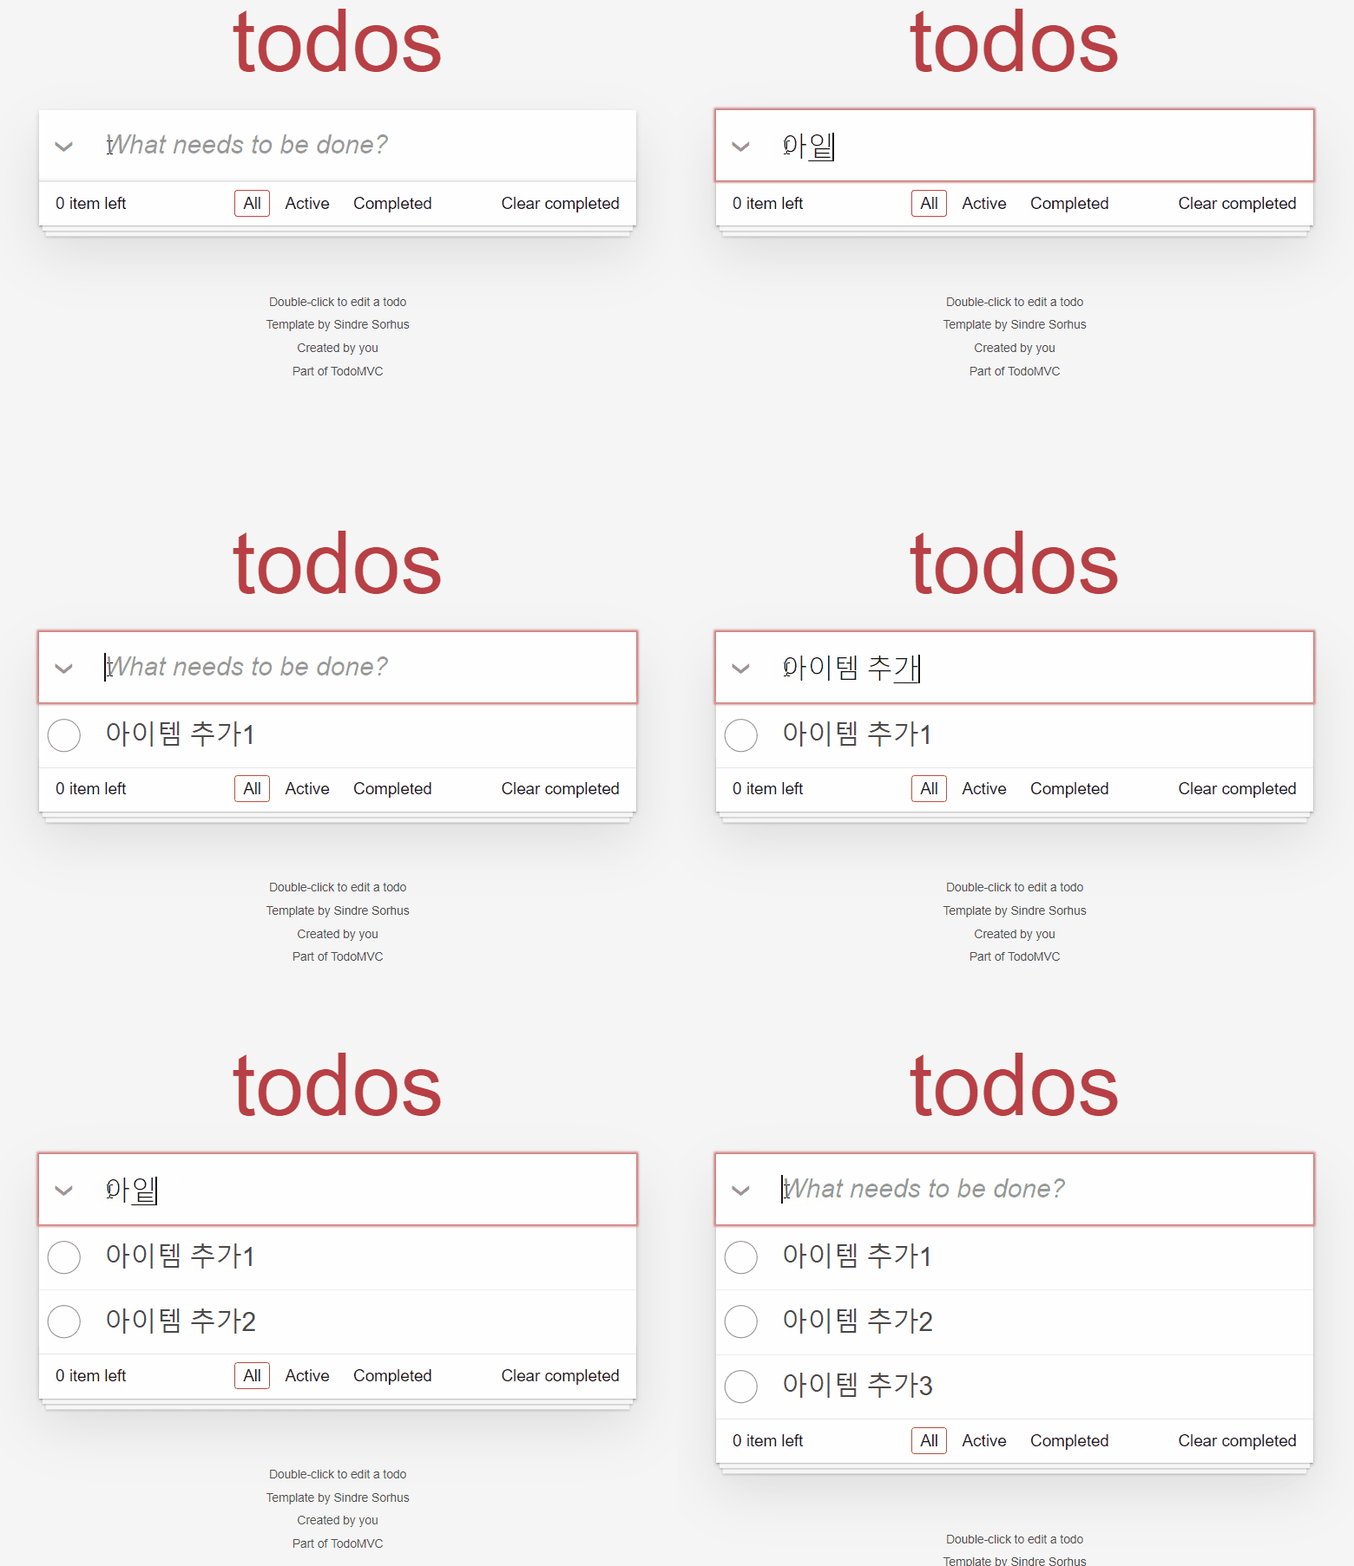
결과는 아래와 같습니다.

useSelector는 콜백 함수를 하나 받습니다. 해당 함수는 state의 값을 매개변수로 받습니다. 우리는 store에서 아래와 같이 정의했습니다.
// src/store.js

import { configureStore } from '@reduxjs/toolkit'
import todos from './state/todos'

export default configureStore({
  reducer: {
    // 👇👇👇
    todos,
  },
})state.todos에서 todos가 바로 reducer의 프로퍼티로 전달한 todos입니다. todos의 state는 아래와 같았습니다.
// src/state/todos.js

import { createSlice } from '@reduxjs/toolkit'

let uniqId = 0

const todosSlice = createSlice({
  name: 'todos',
  // 👇👇👇
  initialState: {
    filterType: 'all',
    items: [],
  },

// ...
따라서 state.todos.items의 값을 가져온 겁니다. useSelector 자체는 훅 함수이기 때문에, 리액트 컴포넌트 안에서 호출되어야만 합니다(그래야 컴포넌트에 훅을 겁니다). useSelector의 매개변수 콜백은 순수 함수이기 때문에 컴포넌트 밖에 정의해도 됩니다.
즉, 이 콜백은 말 그대로 selector입니다. state에서 뿌려줄 어떤 값을 선택해주는 함수죠. 그리고 이 selector를 useSelector로 사용을 한겁니다. 직관적인 이름입니다.
Main 컴포넌트에서는 모든 todos를 뿌려주지 않아야 합니다. filterType에 따라 todos를 뿌려줘야 합니다. 이제 createSelector를 알아보겠습니다.
createSelector
createSelector는 selector를 만듭니다. 즉, 이 함수의 결과는 selector입니다. 그러면 이 selector를 useSelector로 사용해야겠죠.
우선 바로 구현에 들어가보겠습니다. 우리가 원하는 결과는 filterType에 따라 필터링된 items를 보여주는 것입니다.
import { useSelector } from 'react-redux'
// 👇👇👇
import { createSelector } from '@reduxjs/toolkit'
import Todo from './Todo'

const todosSelector = state => state.todos.items
// 👇👇👇
const filterTypeSelector = state => state.todos.filterType

// 👇👇👇
const filteredTodosSelector = createSelector(
  todosSelector,
  filterTypeSelector,
  (items, filterType) => {
    switch (filterType) {
      case 'do':
        return items.filter(todo => !todo.done)

      case 'done':
        return items.filter(todo => todo.done)

      default:
        return items
    }
  }
)

function Main() {
  // 👇👇👇
  const todos = useSelector(filteredTodosSelector)
  const Todos = todos.map(todo => <Todo key={ todo.id } { ...todo }/>)

  return (
    <section className="main">
      <input id="toggle-all" className="toggle-all" type="checkbox" />
      <label htmlFor="toggle-all">Mark all as complete</label>
      <ul className="todo-list">
        { Todos }
      </ul>
    </section>
  )
}

export default MaincreateSelector는 selector들을 매개변수로 받고, 맨 마지막 매개변수는 이 selector들의 결과를 각각 순서에 맞게 매개변수로 받는 selector를 매개변수로 받습니다.
즉, (items, filterType) => ... 에서 items와 filterType은 각각 todosSelector, filterTypeSelector의 리턴값이 들어옵니다.
createSelector의 장점은 무엇일까요? 이는 recoil에서 atom이 아닌 selector로 상태를 정의하는 이유와 같습니다. Vue에서 computed가 동작하는 방식과 Vuex의 getter가 동작하는 방식과 같습니다. 다른 상태에 의존하며, 해당 상태가 변화할때만 다시 계산되는 캐시효과를 얻을 수 있습니다.
사실 useDispatch useSelector createSelector를 배웠으므로 이번 시리즈에서의 목적은 달성한 셈입니다. 앞으로 쭉쭉 기능들을 구현해보겠습니다.
먼저 Footer 컴포넌트에 필요한 모든 기능들을 구현해보겠습니다.
필터링 구현
Footer 컴포넌트에서 아래와 같이 구현합니다.
import { useDispatch, useSelector } from 'react-redux'
import { filter as filterTodo } from '../state/todos'

const filterTypeSelector = state => state.todos.filterType

function Footer() {
  const dispatch = useDispatch()
  const filterType = useSelector(filterTypeSelector)

  return (
    <footer className="footer">
      <span className="todo-count"><strong>0</strong> item left</span>
      <ul className="filters">
        <li>
          <a className={ filterType === 'all' ? 'selected' : '' }
             href="#/"
             onClick={ () => dispatch(filterTodo('all')) }
          >All</a>
        </li>
        <li>
          <a
            className={ filterType === 'do' ? 'selected' : '' }
            href="#/active"
            onClick={ () => dispatch(filterTodo('do')) }
          >Active</a>
        </li>
        <li>
          <a
            className={ filterType === 'done' ? 'selected' : '' }
            href="#/completed"
            onClick={ () => dispatch(filterTodo('done')) }
          >Completed</a>
        </li>
      </ul>
      <button className="clear-completed">Clear completed</button>
    </footer>
  )
}

export default Footer
left item 구현
남은 done: false 아이템 갯수 출력 기능도 바로 구현해보겠습니다.
import { useDispatch, useSelector } from 'react-redux'
import { filter as filterTodo } from '../state/todos'

const filterTypeSelector = state => state.todos.filterType
// 👇👇👇
const todoCountSelector = state => state.todos.filter(todo => !todo.done).length

function Footer() {
  const dispatch = useDispatch()
  const filterType = useSelector(filterTypeSelector)
  // 👇👇👇
  const todoCount = useSelector(todoCountSelector)

  return (
    <footer className="footer">
      // 👇👇👇
      <span className="todo-count"><strong>{ todoCount }</strong> item left</span>

      // 생략...
Clear Completed 구현
import { useDispatch, useSelector } from 'react-redux'
// 👇👇👇
import {
  filter as filterTodo,
  clearCompleted as clearCompletedTodo,
} from '../state/todos'

const filterTypeSelector = state => state.todos.filterType
const todoCountSelector = state => state.todos.items.filter(todo => !todo.done).length

function Footer() {
  const dispatch = useDispatch()
  const filterType = useSelector(filterTypeSelector)
  const todoCount = useSelector(todoCountSelector)

  return (
    // 생략 ...
    // 👇👇👇
      <button
        className="clear-completed"
        onClick={ () => dispatch(clearCompletedTodo()) }
      >Clear completed</button>
  )
}

export default Footer
이미 모든 action들을 정의했기 때문에 너무 수월합니다. 지금까지의 코드는 아래와 같습니다.
// src/components/Footer.js

import { useDispatch, useSelector } from 'react-redux'
import {
  filter as filterTodo,
  clearCompleted as clearCompletedTodo,
} from '../state/todos'

const filterTypeSelector = state => state.todos.filterType
const todoCountSelector = state => state.todos.items.filter(todo => !todo.done).length

function Footer() {
  const dispatch = useDispatch()
  const filterType = useSelector(filterTypeSelector)
  const todoCount = useSelector(todoCountSelector)

  return (
    <footer className="footer">
      <span className="todo-count"><strong>{ todoCount }</strong> item left</span>
      <ul className="filters">
        <li>
          <a className={ filterType === 'all' ? 'selected' : '' }
             href="#/"
             onClick={ () => dispatch(filterTodo('all')) }
          >All</a>
        </li>
        <li>
          <a
            className={ filterType === 'do' ? 'selected' : '' }
            href="#/active"
            onClick={ () => dispatch(filterTodo('do')) }
          >Active</a>
        </li>
        <li>
          <a
            className={ filterType === 'done' ? 'selected' : '' }
            href="#/completed"
            onClick={ () => dispatch(filterTodo('done')) }
          >Completed</a>
        </li>
      </ul>
      <button
        className="clear-completed"
        onClick={ () => dispatch(clearCompletedTodo()) }
      >Clear completed</button>
    </footer>
  )
}

export default Footer
아이템 완료 상태 변경하기
필터링 기능을 위해 아이템 완료 상태 변경 기능을 구현해보도록 하겠습니다.
// src/components/Main/Todo.js

import { useDispatch } from 'react-redux'
import { check as checkTodo } from '../../state/todos'

function Todo({ id, done, text }) {
  const dispatch = useDispatch()

  return (
    <li className={ done ? 'completed' : '' }>
      <div className="view">
        <input
          checked={ done }
          className="toggle"
          onChange={ e => dispatch(checkTodo({ id, checked: e.target.checked })) }
          type="checkbox"
        />
        <label>{ text }</label>
        <button className="destroy" />
      </div>
      <input className="edit" value="Create a TodoMVC template" />
    </li>
  )
}

export default Todo
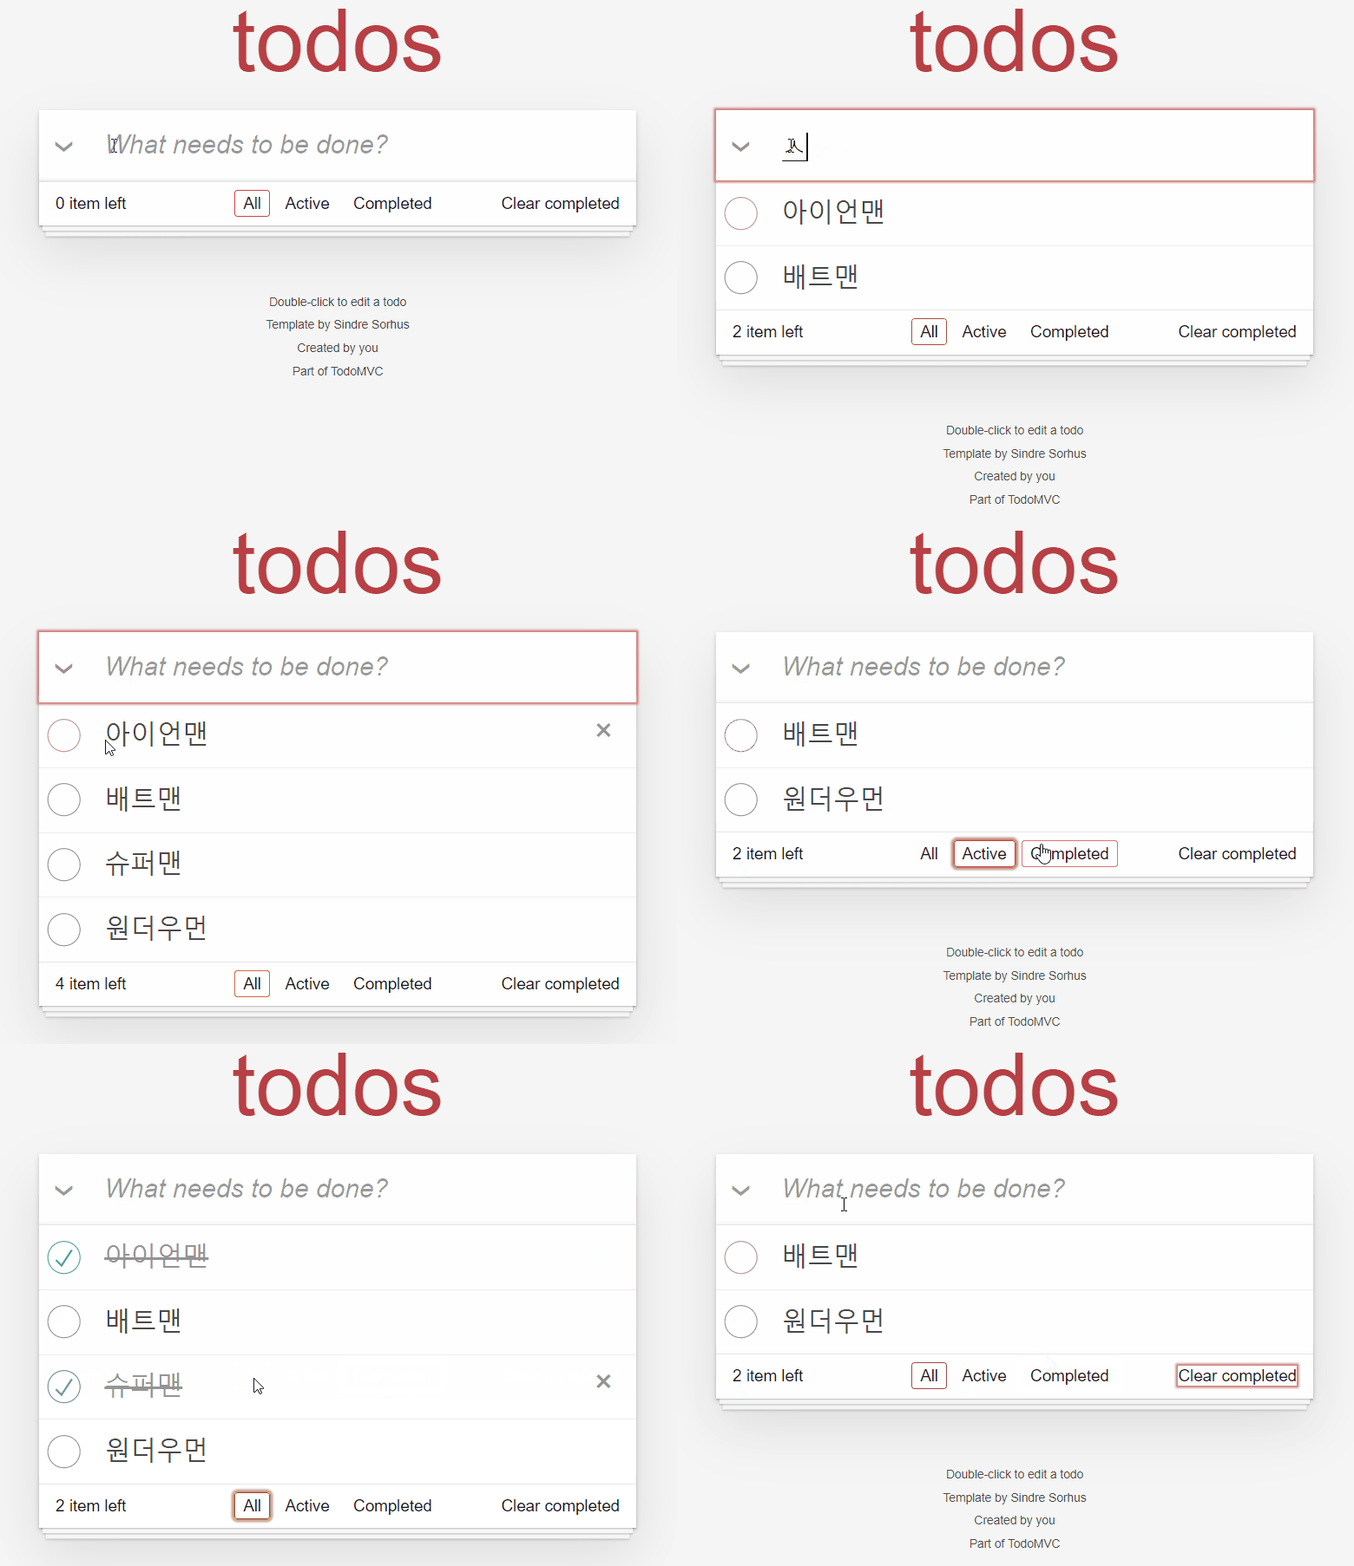
지금까지의 결과는 아래와 같습니다.

정리
selector의 경우 순수함수이기 때문에 따로 분리할 수 있는 장점이 있습니다. 예를 들어, 현재 Main 컴포넌트와 Footer 컴포넌트에서 filterTypeSelector는 동일합니다.
즉, 어떤 state를 가져오는 selector 함수를 따로 분리해서 공통되는 부분에서 사용하면 코드의 중복을 막을 수 있고, 이는 나중에 state의 구조가 변경되더라도 selector의 구현만 변경하면 된다는 장점이 생깁니다.
다음 포스팅에서 남은 기능들을 구현하고 redux-toolkit의 기본 정리를 마치도록 하겠습니다.

left item 구현 에서
const todoCountSelector = state => state.todos.filter(todo => !todo.done).length
를
const todoCountSelector = state => state.todos.items.filter(todo => !todo.done).length
수정해야 숫자가 나오네요.