15. Annotation 객체 생성
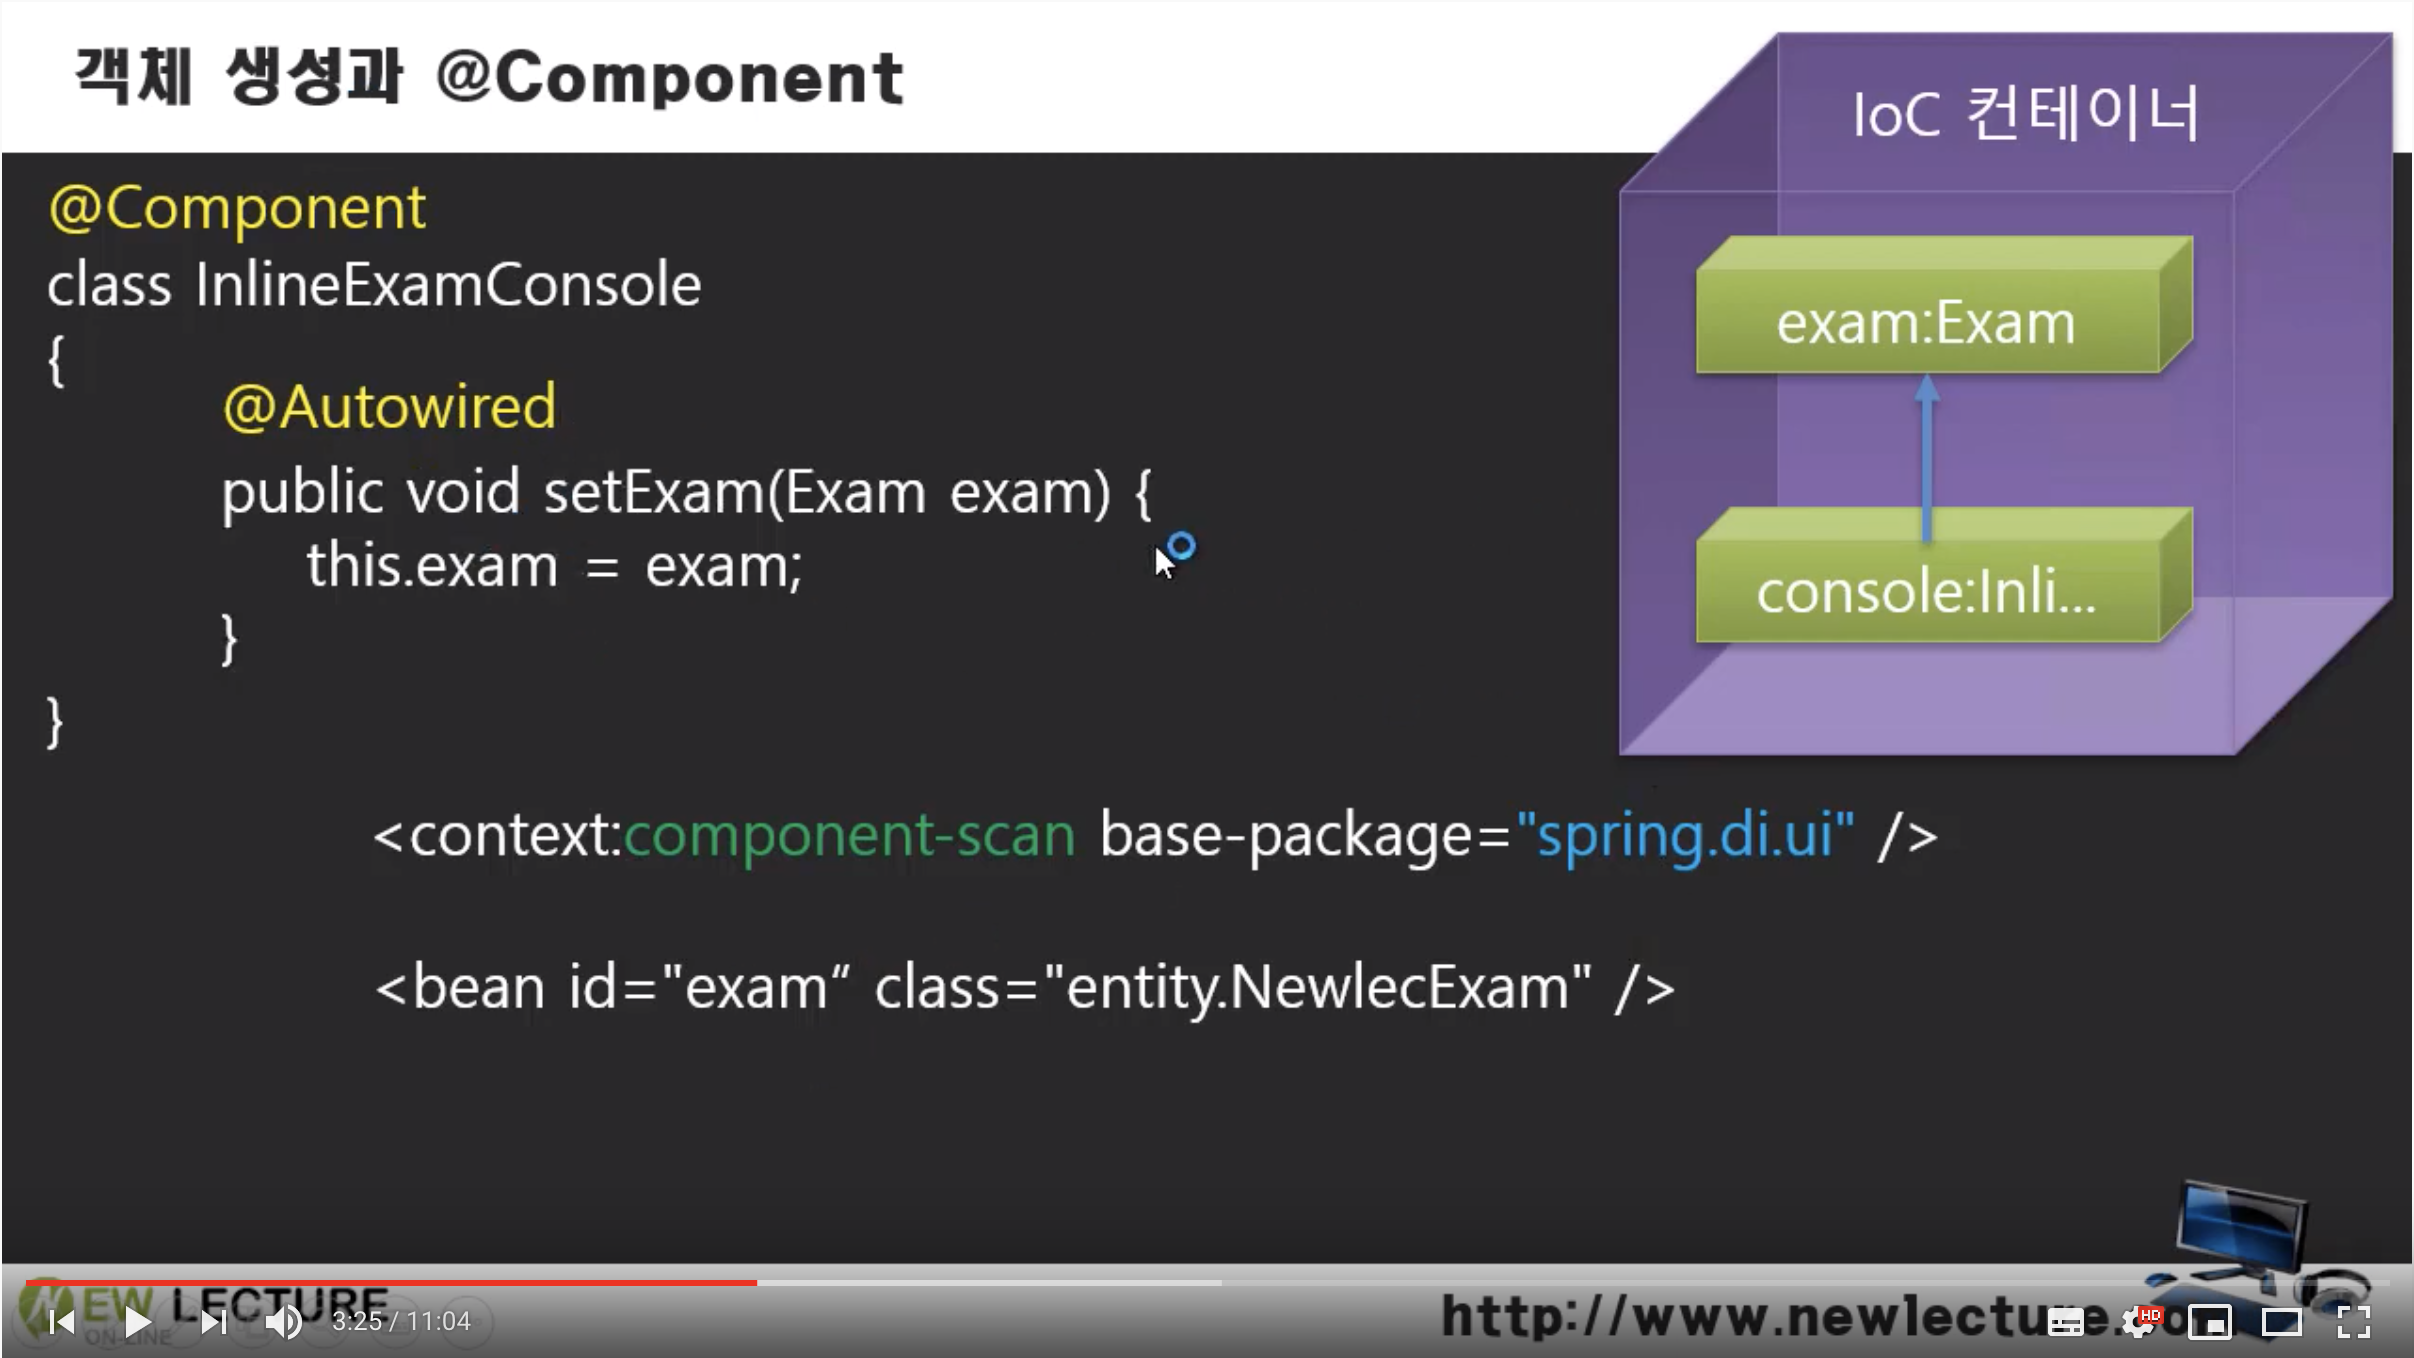
객체 생성과 @Component
이제 DI 뿐만 아니라 객체까지 Annotation으로 커버해본다. 우선 아래와 같이 작성이 된 것을

다음과 같이 바꿔주게 된다. 빈을 삭제하면서 해당 소스코드 클래스 위에 @Component라는 Annotation을 붙여주고 이후 스프링이 이를 찾을 수 있도록 <context:component-scan ... 내용을 xml에 추가한다. 이때 @Autowired관련 내용은 자동으로 찾기 때문에 <context:annotation...내용은 삭제해도 된다.
InlineExamConsole.java
먼저 각 클래스에 @Component를 붙여주고 필요시 이름을 명명해준다.
package spring.di.ui;

import org.springframework.beans.factory.annotation.Autowired;
import org.springframework.beans.factory.annotation.Qualifier;
import org.springframework.stereotype.Component;

import spring.di.entity.Exam;

@Component("console")
public class InlineExamConsole implements ExamConsole {

	@Autowired
//	@Qualifier("exam1")
	private Exam exam;

	public InlineExamConsole() {
		System.out.println("constructor");
	}

	public InlineExamConsole(Exam exam) {
		this.exam = exam;
		System.out.println("overload constructor");
	}

	@Override
	public void print() {
		if(exam == null)
			System.out.printf("total is %d, avg is %f\n", 0, 0.0);
		else
			System.out.printf("total is %d, avg is %f\n", exam.total(), exam.avg());
	}

	@Override
	public void setExam(Exam exam) {
		this.exam = exam;
		System.out.println("setter");
	}

}
NewlecExam.java
package spring.di.entity;

import org.springframework.stereotype.Component;

@Component
public class NewlecExam implements Exam {

	private int kor;
	private int eng;
	private int math;
	private int com;

	public NewlecExam() {
		// TODO Auto-generated constructor stub
	}

	public NewlecExam(int kor, int eng, int math, int com) {
		super();
		this.kor = kor;
		this.eng = eng;
		this.math = math;
		this.com = com;
	}

	public int getKor() {
		return kor;
	}

	public void setKor(int kor) {
		this.kor = kor;
	}

	public int getEng() {
		return eng;
	}

	public void setEng(int eng) {
		this.eng = eng;
	}

	public int getMath() {
		return math;
	}

	public void setMath(int math) {
		this.math = math;
	}

	public int getCom() {
		return com;
	}

	public void setCom(int com) {
		this.com = com;
	}

	@Override
	public int total() {
		// TODO Auto-generated method stub
		return kor+eng+math+com;
	}

	@Override
	public float avg() {
		// TODO Auto-generated method stub
		return total()/4.0f;
	}

	@Override
	public String toString() {
		return "NewlecExam [kor=" + kor + ", eng=" + eng + ", math=" + math + ", com=" + com + "]";
	}

}
Program.java
이후 실행해보면 정상적으로 동작하는 것을 확인할 수 있다. 이로써 객체 생성과 DI모두 Spring Annotation으로 해결하였다.
package spring.di;

import org.springframework.context.ApplicationContext;
import org.springframework.context.support.ClassPathXmlApplicationContext;

import spring.di.ui.ExamConsole;

public class Program {

	public static void main(String[] args) {

		ApplicationContext context =
				new ClassPathXmlApplicationContext("spring/di/setting.xml");

		ExamConsole console = (ExamConsole) context.getBean("console");
        	console.print();
	}

}
setting.xml
그리고 스프링의 setting.xml 파일 내용이 아주 간결해졌다.
<?xml version="1.0" encoding="UTF-8"?>
<beans xmlns="http://www.springframework.org/schema/beans"
	xmlns:xsi="http://www.w3.org/2001/XMLSchema-instance"
	xmlns:p="http://www.springframework.org/schema/p"
	xmlns:util="http://www.springframework.org/schema/util"
	xmlns:context="http://www.springframework.org/schema/context"
	xsi:schemaLocation="http://www.springframework.org/schema/beans http://www.springframework.org/schema/beans/spring-beans.xsd
		http://www.springframework.org/schema/context http://www.springframework.org/schema/context/spring-context-4.3.xsd
		http://www.springframework.org/schema/util http://www.springframework.org/schema/util/spring-util-4.3.xsd">

	<context:component-scan base-package="spring.di.ui, spring.di.entity"/>


</beans>

logos and alogos